1998 CHEVROLET VENTURE ECU
[x] Cancel search: ECUPage 168 of 474
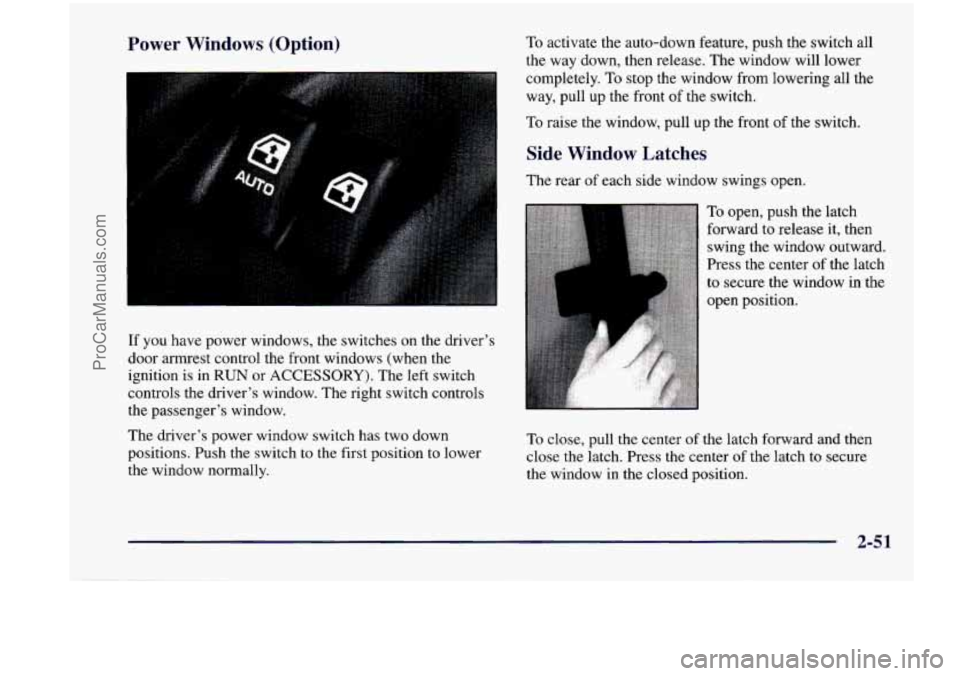
Power Windows (Option) To activate the auto-down feature, push the switch all
the way down, then release. The window will lower
I completely. To stop the window from lowering all the
way, pull up the front of the switch.
To raise the window, pull up the front of the switch.
Side Window Latches
I
The rear of each side window swings open.
If you have power windows, the switches on the driver’s door armrest control the front windows (when the
ignition is in
RUN or ACCESSORY). The left switch
controls the driver’s window. The right switch controls
the passenger’s window.
The driver’s power window switch has two down
positions. Push the switch to the first position to lower
the window normally.
To open, push the latch
forward to release it, then swing the window outward.
Press the center of the latch
to secure the window in the
open position.
To close, pull the center of the latch forward and then
close the latch. Press the center of the latch to secure
the window in the closed position.
2-51
ProCarManuals.com
Page 183 of 474
Both outside mirrors can be folded forward or rearward.
In the rearward position, they will fold almost flush with
the vehicle. This feature is particularly useful
in
automatic car washes.
Your mirrors have
a blue tint to reduce glare while
driving at night.
Convex Outside Mirror
Your passenger’s side mirror is convex. A convex
mirror’s surface is curved
so you can see more from
the driver’s seat.
A CAUTION: I
A convex mirror can make things (like other
vehicles) look farther away than they really are.
If you cut too sharply into the right lane, you
could hit a vehicle on your right. Check your
inside mirror or glance over your shoulder before
changing lanes.
Storage Compartments
Your vehicle’s large carrying capacity can store many
items. If you have the extended wheelbase version, you
can carry things as large as a
4’ x 8’ piece of plywood.
You can also use the floor pins that are used to attach the
seats, to secure larger loads. This section also describes
storage areas for specific items like sunglasses and cups.
Glove Box
Your vehicle has a glove box below the instrument panel.
To open the glove box, lift the latch release. Use the key
to lock or unlock the glove box.
The glove box door has a detent to prevent the door
from lowering too far. Open the
glove box until the door
is partway open, then pull the door down if you need it
fully open.
To close the glove box, the door must be
pushed up past the detent.
In the door of the glove box, you will find a tissue pack
holder and clip for
a pen or pencil.
2-66
ProCarManuals.com
Page 192 of 474
NOTICE:
Loading cargo that weighs more than 150 lbs.
(68 kg) on the luggage carrier may damage
your vehicle.
When you carry cargo
on the luggage carrier of a
proper size and weight, put it on the slats, as
far
forward as you can. Then slide the crossrail up
against the rear
of the load, to help keep it from
moving.
You can then tie it down. Don't exceed the
maximum vehicle capacity when
loading your vehicle. For more information on vehicle
capacity and loading, see "Loading Your Vehicle" in
the Index.
To prevent damage or loss of cargo as you're driving,
check now and then to make sure the luggage carrier
and cargo are still securely fastened.
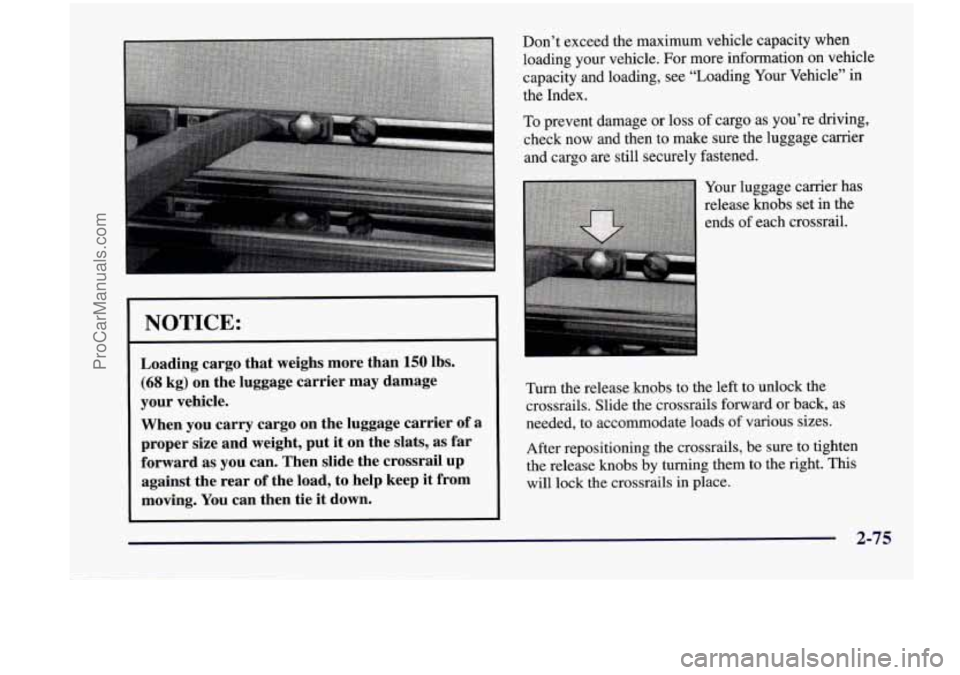
Your luggage carrier has
release knobs set in the
ends of each crossrail.
Turn the release knobs to the left to unlock the
crossrails. Slide the crossrails forward or back, as
needed,
to accommodate loads of various sizes.
After repositioning the crossrails, be sure
to tighten
the release knobs by turning them to the right.
This
will lock the crossrails in place.
2-75
ProCarManuals.com
Page 193 of 474
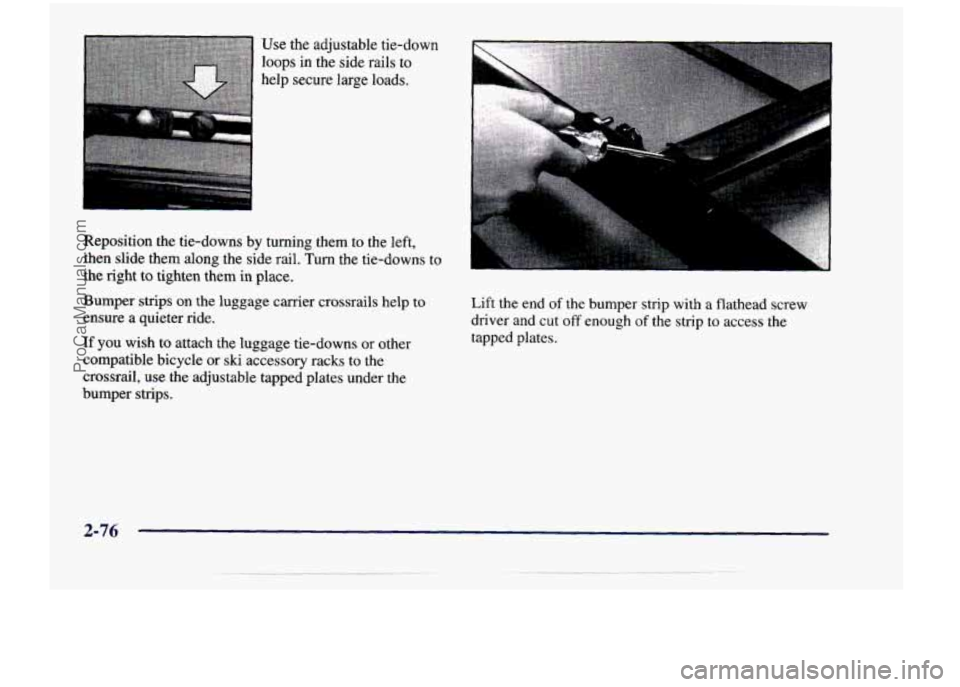
Use the adjustable tie-down loops in the side rails to
help secure large loads.
Reposition
the tie-downs by turning them to the left,
then slide them along the side rail.
Turn the tie-downs to
the right to tighten them in place.
Bumper strips on the luggage carrier crossrails help to
ensure a quieter ride.
If you wish to attach the luggage tie-downs or other
compatible bicycle
or ski accessory racks to the
crossrail,
use the adjustable tapped plates under the
bumper strips. Lift the end
of the bumper strip with a flathead screw
driver
and cut off enough of the strip to access the
tapped plates.
ProCarManuals.com
Page 197 of 474

has the pressure gage, Then attach that end of the hose
to the object you wish to inflate. Remove the protective
cap covering the outlet. Attach the other end of the hose
to the outlet. Press the ON switch. The ON switch will
work even with the ignition off.
If the air inflator system does not turn on, the fuse may
be blown
or installed incorrectly. See “Fuses and Circuit
Breakers” in the Index or see your dealer for service.
Your air inflator will automatically shut off after about
10 minutes.
To reset, press the ON switch again.
Don’t run your air inflator for longer than
30 minutes at
one time. If you do, you may damage the system. After
30 minutes, wait at least 10 minutes before restarting the
air inflator.
To turn off the inflator, press OFF and detach the hose,
first from the inflated object, then from the outlet.
Replace the protective cap. Place the inflator kit tools
in the pouch, and store in the glove box.
To replace the cover, line up the tabs at the back of the
cover and put it in place. Push down the tab to secure
the cover.
Accessory Power Outlet
The rear power outlet is located in the rear compartment
on the driver’s side. To remove the cover, pull the tab
on
the cover and pull it off.
The front power outlet
is located next to the ashtray and
lighter. Pull the cover down to
use the power outlet.
2-80
ProCarManuals.com
Page 198 of 474
The power outlets can be used to plug in electrical
equipment such as a cellular telephone,
CB radio, etc.
Follow the proper installation instructions that are
included
with any electrical equipment you install.
When not in use, always cover the rear outlet with the
protective cap.
To replace the cover on the rear outlet, line up the tabs
at the back
of the cover and put the cover in place. Push
down on the tab to secure the cover.
I NOTICE:
When using the accessory power outlet:
Maximum load of any electrical equipment
should not exceed
20 amps.
Be sure to turn off any electrical equipment
when not in use. Leaving electrical
equipment on for extended periods can
drain your battery.
2-81
ProCarManuals.com
Page 244 of 474
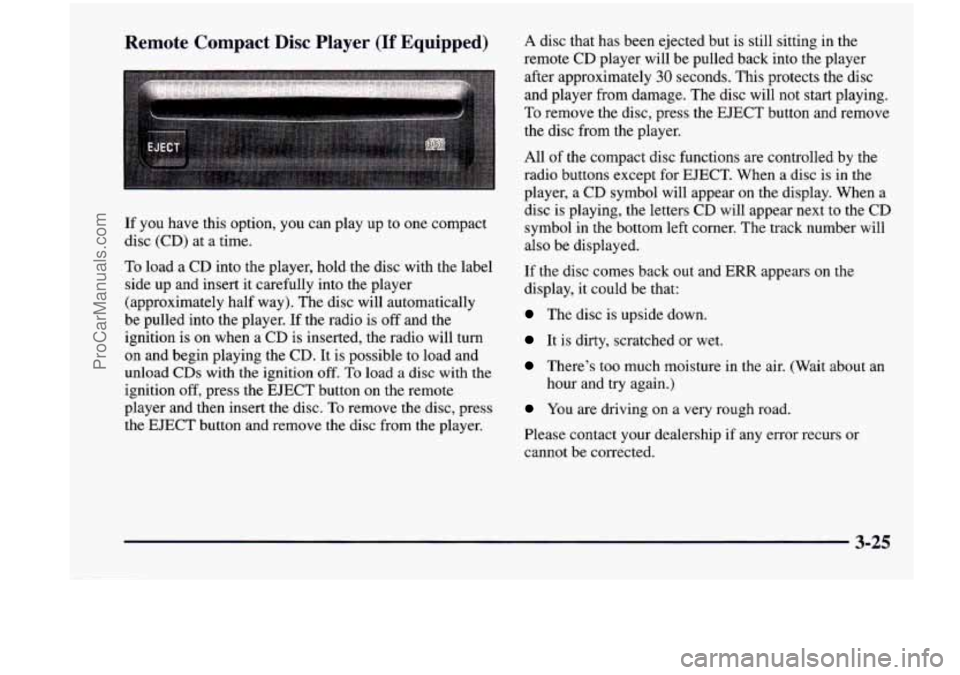
If you have this option, you can play up to one compact
disc (CD) at a time.
To load a CD into the player, hold the disc with the label
side up and insert it carefully into the player
(approximately half way). The disc will automatically
be pulled into the player. If the radio is
off and the
ignition
is on when a CD is inserted, the radio will turn
on and begin playing the CD. It is possible to load and
unload
CDs with the ignition off. To load a disc with the
ignition
off, press the EJECT button on the remote
player and then insert the disc. To remove the disc, press
the EJECT button and remove the disc from the player.
A disc that has been ejected but is still sitting in the
remote CD player will be pulled back into the player
after approximately
30 seconds. This protects the disc
and player from damage. The disc will not start playing.
To remove the disc, press the EJECT button and remove
the disc from the player.
All of the compact disc functions are controlled by the
radio buttons except for EJECT. When a disc is in the
player, a CD symbol will appear on the display. When a
disc is playing, the letters CD will appear next to the CD
symbol
in the bottom left corner. The track number will
also be displayed.
If the disc comes back out and ERR appears
on the
display, it could be that:
The disc is upside down.
It is dirty, scratched or wet.
There’s too much moisture in the air. (Wait about an
hour and try again.)
You are driving on a very rough road.
Please contact your dealership if any error recurs or
cannot be corrected.
3-25
ProCarManuals.com
Page 246 of 474
When THEFTLOCK is activated, the radio will display
LOC to indicate a locked condition anytime battery
power has been interrupted. If your battery loses power
for any reason, you must unlock the radio with the secret
code before it will operate.
Activating the Theft-Deterrent Feature
The instructions which follow explain how to enter your
secret code to activate the THEFTLOCK system. It is
recommended that you read through all nine steps
before starting the procedure.
NOTE: If you allow more than
15 seconds to elapse
between any steps, the radio automatically reverts to
time and you must start the procedure over at Step
4.
1. Write down any three or four-digit number from
000 to 1999 and keep it in a safe place separate from
the vehicle.
2. Turn the ignition to ACCESSORY or RUN.
3. Turn the radio off.
4. Press the 1 and 4 buttons together. Hold them down
until
--- shows on the display. Next you will use the
secret code number which you have written down.
5. Press MN and 000 will appear on the display.
6. Press MN again to make the last two digits agree
with your code.
7. Press HR to make the first one or two digits agree
with your code.
code matches the secret code you have written down.
The display will
show REP to let you know that you
need to repeat Steps
5 through 7 to confirm your
secret code.
8. Press AM-FM after you have confirmed that the
9. Press AM-FM and this time the display will show
SEC to let you know that your radio is secure. The
indicator by the volume control will begin flashing
when the ignition
is turned off.
Unlocking the Theft-Deterrent Feature After a
Power
Loss
Enter your secret code as follows; pause no more than
15 seconds between steps:
1. LOC appears when the ignition is on.
2. Press MN and 000 will appear on the display.
3. Press MN again to make the last two digits agree
with your code.
4. Press HR to make the first one or two digits agree
with your code.
3-27
ProCarManuals.com