1998 CHEVROLET VENTURE ECU
[x] Cancel search: ECUPage 247 of 474
5. Press AM-FM after you have confirmed that the
code matches the secret code you have written down.
The display will show
SEC, indicating the radio is
now operable and secure.
If you enter the wrong code eight times, INOP will
appear
on the display. You will have to wait an hour
with the ignition on before you can try again. When you
try again, you will only have three chances to enter the
correct code before INOP appears.
If you lose or forget your code, contact your dealer.
Disabling the Theft-Deterrent Feature
Enter your secret code as follows; pause no more than
15 seconds between steps:
1. Turn the ignition to ACCESSORY or RUN.
2. Turn the radio off.
3. Press the 1 and 4 buttons together. Hold them down
until
SEC shows on the display.
4. Press MN and 000 will appear on the display.
5. Press MN again to make the last two digits agree
with your code.
6. Press HR to make the first one or two digits agree
with your code.
7. Press AM-FM after you have confirmed that the
code matches the secret code you have written down.
The display will show
---, indicating that the radio is
no longer secured.
If the code entered is incorrect, SEC will appear on the
display. The radio will remain secured until the correct
code is entered.
When battery power is removed and later applied
to a
secured radio, the radio won’t turn on and
LOC will
appear on the display.
To unlock a secured radio, see “Unlocking the
Theft-Deterrent Feature After a Power
Loss” earlier in
this section.
3-28
ProCarManuals.com
Page 279 of 474
Winter Driving Include an ice scraper, a small brush or broom, a supply
of windshield washer fluid, a rag, some winter outer
clothing, a small shovel, a flashlight, a red cloth and
reflective warning triangles. And,
if you will be driving
under severe conditions, include a small bag of
sand, a
piece of old carpet or a couple
of burlap bags to help
provide traction. Be sure you properly secure these
items in your vehicle.
Driving on Snow or Ice
Most of the time, those places where your tires meet the
road probably have good traction.
However, if there is snow or ice between your tires and
the road, you can have a very slippery situation. You’ll
have
a lot less traction or “grip” and will need to be
very careful.
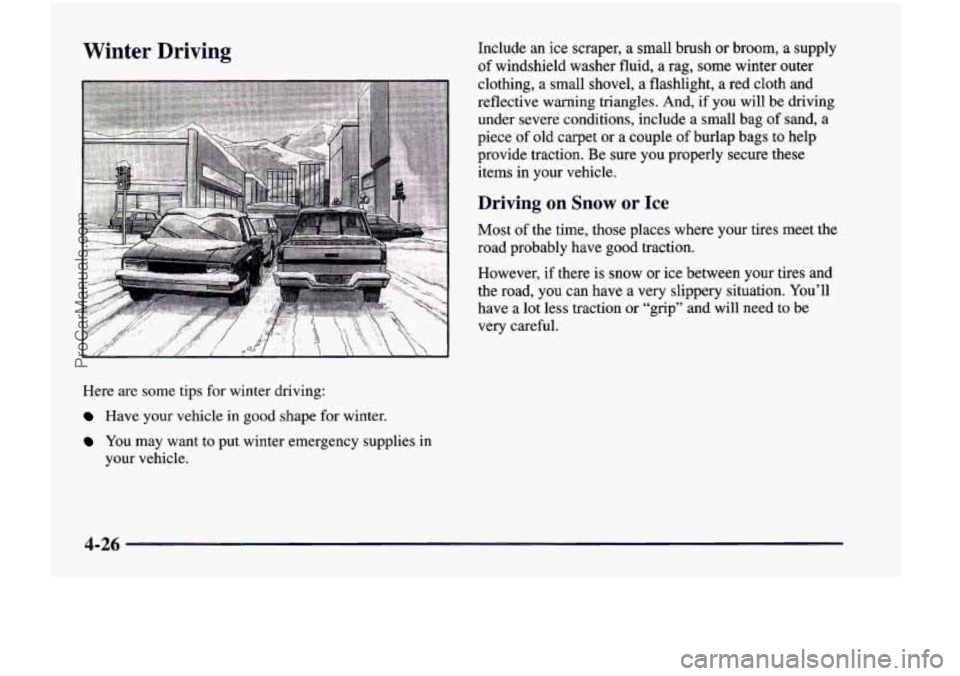
Here are some tips for winter driving:
Have your vehicle in good shape for winter.
You may want to put winter emergency supplies in
your vehicle.
4-26
ProCarManuals.com
Page 285 of 474
Things you put inside your vehicle can strike
and injure people in a sudden stop or turn, or in
a crash.
0 Put things in the cargo area of your vehicle.
0 Never stack heavier things, like suitcases,
Try to spread the
weight evenly.
inside the vehicle
so that some of them are
above the tops
of the seats.
Don’t leave an unsecured child restraint in
your vehicle.
0 When you carry something inside the
vehicle, secure
it whenever you can.
0 Don’t leave a seat folded down unless you
need to.
Payload (Cargo Van Only)
The payload capacity is shown on the Certificatioflire
label. This is the maximum load capacity that your
vehicle can carry. Be sure to include the weight of the people inside as part
of your load.
If you added any
accessories or equipment after your vehicle left the
factory, remember to subtract the weight
of these things
from the payload. You should never exceed the
GVWR
or the GAWR. Your dealer can help you determine
your payload.
Electronic Level Control (Option)
On vehicles equipped with the optional electronic level
control, the rear of the vehicle is automatically kept
level as you load or unload your vehicle. However, you
should still not exceed the
GVWR or the GAM.
You may hear the compressor operating when you load
or unload your vehicle, and periodically as the system
self-adjusts.
This is normal.
The compressor should operate for brief periods of time.
If the sound continues for an extended period of time,
your vehicle needs service. To keep your battery from
being drained, you may want to remove the ELC fuse in
the fuse control panel until you can get your vehicle
serviced (see “Fuses and Circuit Breakers” in the Index)\
.
Using heavier suspension components to get added
durability might not change your weight ratings. Ask
your dealer to help you load your vehicle the right way.
4-32
ProCarManuals.com
Page 291 of 474
Towing a trailer requires a certain amount of experience.
Before setting out for the open road, you’ll want to get
to know your rig. Acquaint yourself with the feel of
handling and braking with the added weight of the
trailer. And always keep in mind that the vehicle you are
driving
is now a good deal longer and not nearly as
responsive as your vehicle is by itself.
Before you start, check the trailer hitch and platform
(and attachments), safety chains, electrical connector,
lamps, tires and mirror adjustment. If the trailer has
electric brakes, start your vehicle and trailer moving and
then apply the trailer brake controller by hand to be sure
the brakes are working. This lets you check your
electrical connection at the same time.
During your trip, check occasionally to be sure that the
load
is secure, and that the lamps and any trailer brakes
are still working.
Following Distance
Stay at least twice as far behind the vehicle ahead as you
would when driving your vehicle without
a trailer. This
can help you avoid situations that require heavy braking
and sudden turns.
Passing
You’ll need more passing distance up ahead when
you’re towing
a trailer. And, because you’re a good deal
longer, you’ll need to go much farther beyond the
passed vehicle before you can return to your lane.
Backing Up
Hold the bottom of the steering wheel with one hand.
Then, to move the trailer to the left, just move that hand
to the left.
To move the trailer to the right, move your
hand to the right. Always back up slowly and, if
possible, have someone guide you,
4-38
ProCarManuals.com
Page 305 of 474
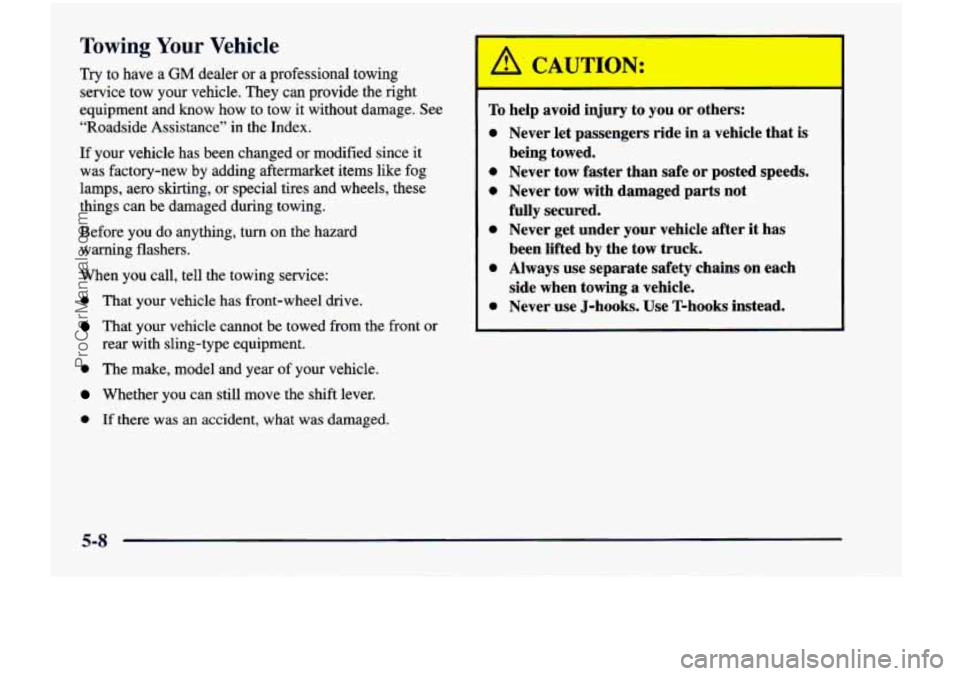
Towing Your Vehicle
Try to have a GM dealer or a professional towing
service tow your vehicle. They can provide the right
equipment and know how to tow it without damage. See
“Roadside Assistance” in the Index.
If your vehicle has been changed or modified since it
was factory-new
by adding aftermarket items like fog
lamps, aero skirting,
or special tires and wheels, these
things can be damaged during towing.
Before you do anything, turn on the hazard
warning flashers.
When you call, tell
the towing service:
0 That your vehicle has front-wheel drive.
That your vehicle cannot be towed from the front or
0 The make, model and year of your vehicle.
Wether you can still move the shift lever.
0 If there was an accident, what was damaged.
rear with sling-type
equipment.
To
0
0
e
0
0
0
help avoid
injury to you or others:
Never let passengers ride in a vehicle that is
being towed.
Never tow faster than safe
or posted speeds.
Never tow with damaged parts not
fully secured.
Never get under your vehicle after it has
been lifted by the tow truck.
Always use separate safety chains on each
side when towing a vehicle.
Never use J-hooks. Use T-hooks instead.
5-8
ProCarManuals.com
Page 306 of 474
A vehicle can fall from a car carrier if it isn’t
adequately secured. This can cause a collision,
serious personal injury and vehicle damage. The
vehicle should be tightly secured with chains or
steel cables before it is transported.
Don’t use substitutes (ropes, leather straps,
canvas webbing, etc.) that can be cut
by sharp
edges underneath the towed vehicle. Always use
T-hooks inserted in the T-hook slots. Never use
J-hooks. They will damage drivetrain and
suspension components.
~~
NOTICE:
If you are using car-carrier equipment, you must
pull the Electronic Level Control (ELC) fuse, in
the instrument panel fuse block, before securing
the vehicle.
Damage to the shocks or leveling system may
occur if the Electronic Level Control (ELC) fuse
is not disabled.
When your vehicle is being towed, have the ignition key
in
OFF. The steering wheel should be clamped in a
straight-ahead position, with a clamping device
designed for towing service.
Do not use the vehicle’s
steering column lock for this. For front towing, the
transaxle should be in
PARK (P) and the parking brake
released. For rear towing, the transaxle should be in
NEUTRAL (N) and the parking brake engaged.
5-9
ProCarManuals.com
Page 330 of 474
NOTICE:
Improperly tightened wheel nuts can lead to
brake pulsation and rotor damage.
To avoid
expensive brake repairs, evenly tighten the wheel
nuts in the proper sequence and to the proper
torque specification.
Don’t try to put a wheel cover
on the compact spare tire.
It won’t fit. Store the wheel cover securely in the rear
of
the vehicle until you have the flat tire repaired or
replaced.
I NOTICE:
Wheel covers won’t fit on your compact spare. If
you try to put a wheel cover on your compact
spare, you could damage the cover or the spare.
Storing a Flat or 5are Tire and Tools
A CAUTION:
Storing a jack, a tire or other equipment in the
passenger compartment
of the vehicle could
cause injury.
In a sudden stop or collision, loose
equipment could strike someone. Store all these
in the proper place.
Lay
the tire near the rear of the vehicle with the valve
stem down. Slide the cable retainer through the center
of
the wheel and start to raise the tire. When the tire is
almost in the stored position, turn the tire so the valve is
towards the rear
of the vehicle. This will help when you
check and maintain tire pressure in the spare.
Keep raising the wheel until you hear the hoist
mechanism click twice. This means the wheel
is firmly
stored against the underside
of the vehicle. Push
against the wheel to be sure
it does not move and is
stored securely.
5-33
ProCarManuals.com
Page 331 of 474
NOTE:
INSTALL
OF BAG , BOlTOM
.BAG & TOOLS
I TOOL STORAGE
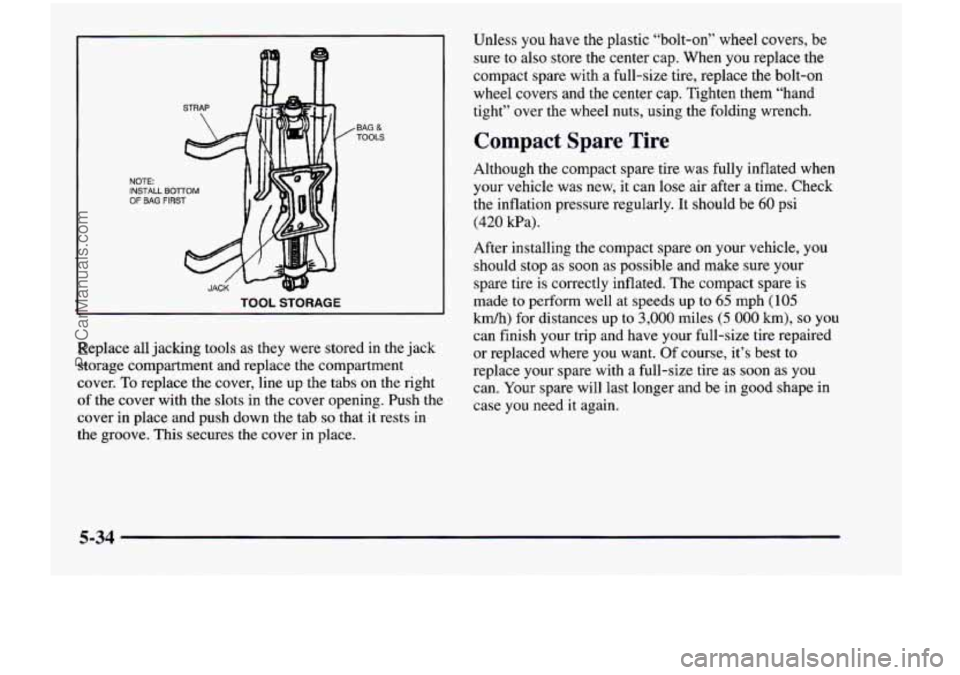
Replace all jacking tools as they were stored in the jack
storage compartment and replace the compartment
cover. To replace the cover, line up the tabs on the right
of the cover with the slots
in the cover opening. Push the
cover in place and push down the tab
so that it rests in
the groove. This secures the cover in place. Unless you have the plastic “bolt-on” wheel covers, be
sure
to also store the center cap. When you replace the
compact spare with
a full-size tire, replace the bolt-on
wheel covers and the center cap. Tighten them “hand
tight” over the wheel nuts, using the folding wrench.
Compact Spare Tire
Although the compact spare tire was fully inflated when
your vehicle was new, it can lose air after a time. Check
the inflation pressure regularly. It should be
60 psi
(420 Pa).
After installing the compact spare on your vehicle, you
should stop as soon as possible and make sure your
spare tire
is correctly inflated. The compact spare is
made
to perform well at speeds up to 65 mph (105
km/h) for distances up to 3,000 miles (5 000 km), so you
can finish your trip and have your full-size tire repaired
or replaced where
you want. Of course, it’s best to
replace your spare with a full-size tire as soon as you
can. Your spare will last longer and be in good shape in
case you need it again.
5-34
ProCarManuals.com