1998 CHEVROLET VENTURE clock
[x] Cancel search: clockPage 9 of 474
iv
In 1932 Chevrolet
introduced the
Synchro-Mesh transmission and
ofSered a host
of
accessories -- including
such niceties as a clock!
I
The legacy of America's favorite sportscar I
began in 1953, when 319 hand-assembled ;
white Corvettes :
launched the I
first use of a I
fiberglass body in :
a production car
I
------------I
ProCarManuals.com
Page 220 of 474
0 Section 3 Comfort Controls and Audio Systems
In this section, you’ll find out how to operate the comfort control and audio systems offered with your vehicle. Be
sure to read about the particular systems supplied with your vehicle.
3-2 3-3
3-4
3-4
3-5
3-6
3-8
3-9
3-9 3- 10 3-12 Comfort
Controls
Air Conditioning
Heating Defogging and Defrosting
Rear Window Defogger (If Equipped)
Rear Climate Control (If Equipped)
Ventilation System
Setting the Clock for Systems without
Automatic Tone Control
Setting the Clock for Systems with Automatic
Tone Control
AM-FM Stereo
AM-FM Stereo with Cassette Tape Player
(If Equipped) 3-15
3- 19 3-23 3-25
3
-26
3-29
3-39
3-30
3-3 1
3-32
3-32
AM-FM Stereo with Cassette Tape Player and
Automatic Tone Control (If Equipped)
AM-FM Stereo with Compact Disc Player and
Automatic Tone Control
(If Equipped)
Rear Seat Audio
(If Equipped)
Remote Compact Disc Player (If Equipped)
Theft-Deterrent Feature
(If Equipped)
Understanding Radio Reception
Tips About Your Audio System
Care of Your Cassette Tape Player
Care
of Your Compact Discs
Care
of Your Compact Disc Player
Integrated Windshield Antenna
3-1
ProCarManuals.com
Page 228 of 474

Ventilation Tips
0
a
0
0
Keep the hood and front air inlet free of ice, snow or
any other obstruction (such as leaves). This will
allow the heater and defroster to work much better,
reducing the chance of fogging the inside of
your windows.
When you enter a vehicle in cold weather,
turn the
blower fan to
“5” for a few moments before driving
off. This helps clear the intake ducts of snow and
moisture, and reduces the chance of fogging the
inside of your windows.
Keep the area around the base
of the center
instrument panel console and the air path under the
front seats clear
of objects. This helps air to circulate
throughout your vehicle.
In cold weather, operating the system in the
OUTSIDE
AIR mode will improve the time it takes
to warm the vehicle.
Audio Systems
Your Delco Electronics audio system has been designed
to operate easily and give years of listening pleasure.
You will get the most enjoyment out of it if you acquaint
yourself with it first. Find out what your Delco
Electronics system can do and how to operate all its
controls, to be sure you’re getting the most
out of the
advanced engineering that went into it.
Setting the Clock for Systems without
Automatic Tone Control
Press SET. SET will appear on the display for five
seconds. Within five seconds, press and hold the right
arrow on the SEEK button until the correct minute
appears. Press and hold the left
arrow on the SEEK
button until the correct
hour appears.
Setting the Clock for Systems with
Automatic Tone Control
Press and hold HR until the correct hour appears. Press
and hold
MN until the correct minute appears.
3-9
ProCarManuals.com
Page 234 of 474
AM-FM Stereo with Cassette Tape Player
and Automatic Tone Control
(If Equipped)
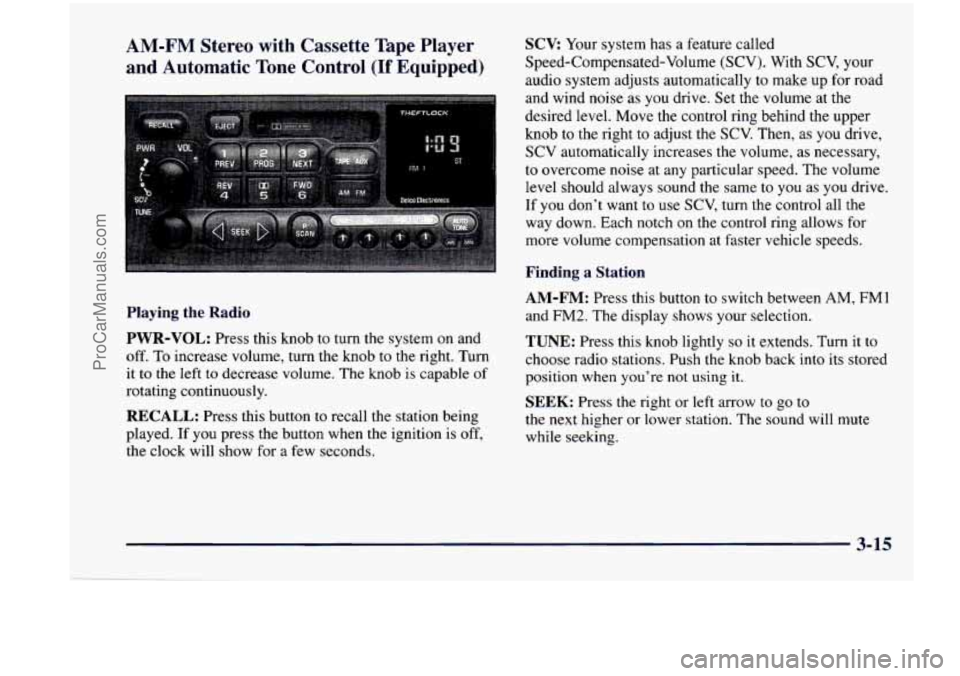
SCV Your system has a feature called
Speed-Compensated-Volume (SCV). With
SCV, your
audio system adjusts automatically to make
up for road
and wind noise as you drive. Set the volume at the
desired level. Move the control ring behind the upper
knob to the right to adjust the SCV. Then, as you drive,
SCV automatically increases the volume,
as necessary,
to overcome noise at any particular speed. The volume
level should always sound the same to you as
you drive.
If you don’t want to use SCV,
turn the control all the
way down. Each notch on the control ring allows for
more volume compensation at faster vehicle speeds.
Finding a Station
Playing the Radio
PWR-VOL:
Press this knob to turn the system on and
off. To increase volume, turn the knob to the right. Turn
it to the left to decrease volume. The knob is capable
of
rotating continuously.
RECALL: Press this button to recall the station being
played. If you press the button when the ignition is off,
the clock will show for a few seconds.
AM-FM: Press this button to switch between AM, FM1
and FM2. The display shows your selection.
TUNE: Press this knob lightly so it extends. Turn it to
choose radio stations. Push the knob back into its stored
position when you’re
not using it.
SEEK: Press the right or left arrow to go to
the next higher or lower station. The sound will mute
while seeking.
3-15
ProCarManuals.com
Page 238 of 474
AM-FM Stereo with Compact Disc Player
and Automatic
Tone Control (If Equipped)
CLN: If this message appears on the display, the
cassette tape player needs to be cleaned. It will still play
tapes, but you should clean it as
soon as possible to
prevent damage to the tapes and player. See “Care
of
Your Cassette Tape Player” in the Index. After you clean
the player, press and hold EJECT for five seconds to
reset the
CLN indicator. The radio will display --- to
show
the indicator was reset.
CD Adapter Kits
It is possible to use a CD adapter kit with your cassette
tape player after activating the bypass feature on your
tape player.
To activate the bypass feature, use the following steps:
1. Turn the ignition to RUN or ACCESSORY.
2. Turn the radio off.
3. Press and hold the TAPE AUX button for five
seconds. The tape symbol on the display will flash
for two seconds, indicating the feature is active.
4. Insert the adapter. It will power up the radio and
begin playing.
This override routine will remain active until EJECT
is pressed.
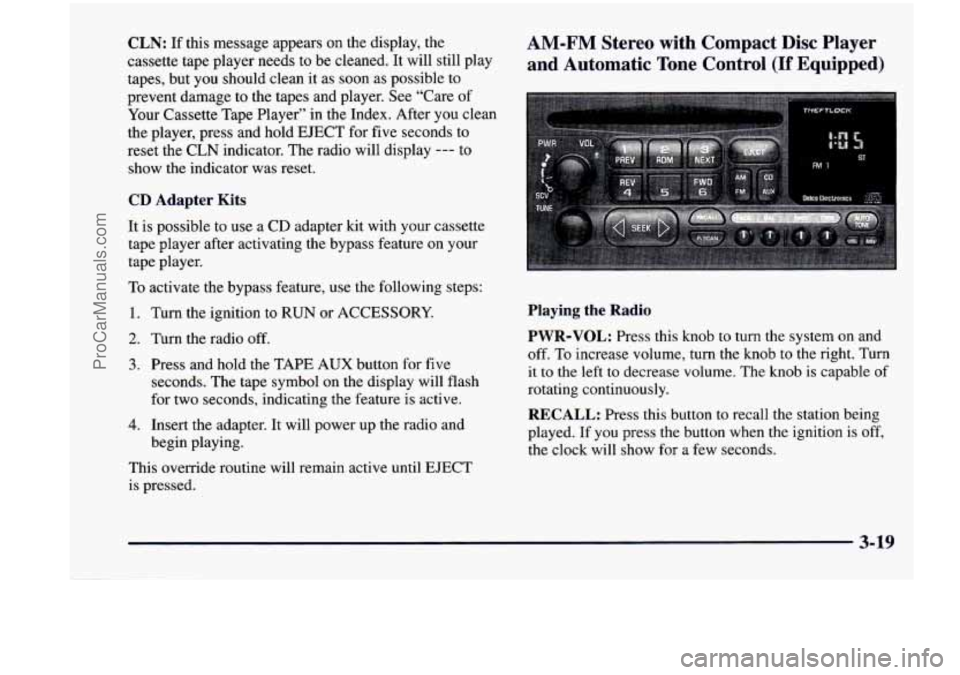
Playing the Radio
PWR-VOL:
Press this knob to turn the system on and
off. To increase volume,
turn the knob to the right. Turn
it to the left to decrease volume. The knob is capable of
rotating continuously.
RECALL: Press this button to recall the station being
played. If you press the button when the ignition is off,
the clock will show for a few seconds.
3-19
ProCarManuals.com
Page 265 of 474
Steering in Emergencies
There are times when steering can be more effective
than braking. For example, you come over a hill and
find a truck stopped in your lane, or a car suddenly pulls
out from nowhere, or a child darts out from between
parked cars and stops right in front of you. You can
avoid these problems by braking
-- if you can stop in
time. But sometimes you can’t; there isn’t room.
That’s the time for evasive action
-- steering around
the problem.
Your vehicle can perform very well in emergencies like
these. First apply your brakes. (See “Braking in
Emergencies” earlier in this section.) It is better to
remove as much speed as you can from a possible
collision. Then steer around the problem, to the left or
right depending on the space available. An
emergency like this requires close attention and a
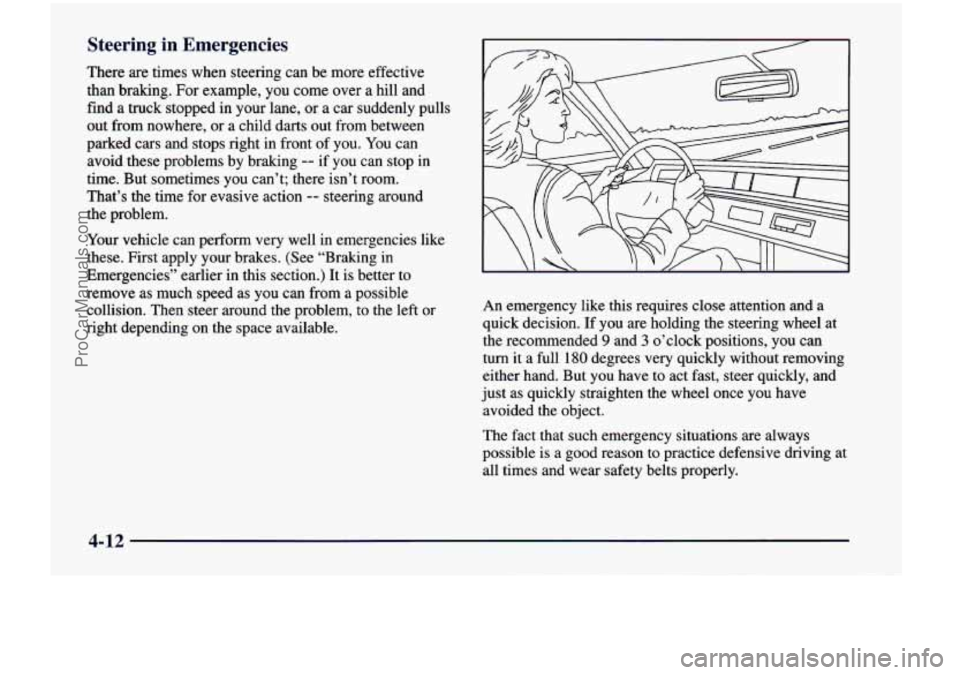
quick decision. If you are holding the steering wheel at
the recommended 9 and
3 o’clock positions, you can
turn it a full 180 degrees very quickly without removing
either hand. But you have to act fast, steer quickly, and
just as quickly straighten the wheel once you have
avoided the object.
The fact that such emergency situations are always
possible is a good reason to practice defensive driving at
all times and wear safety belts properly.
4-12
ProCarManuals.com
Page 318 of 474
How to Add Coolant to the Radiator
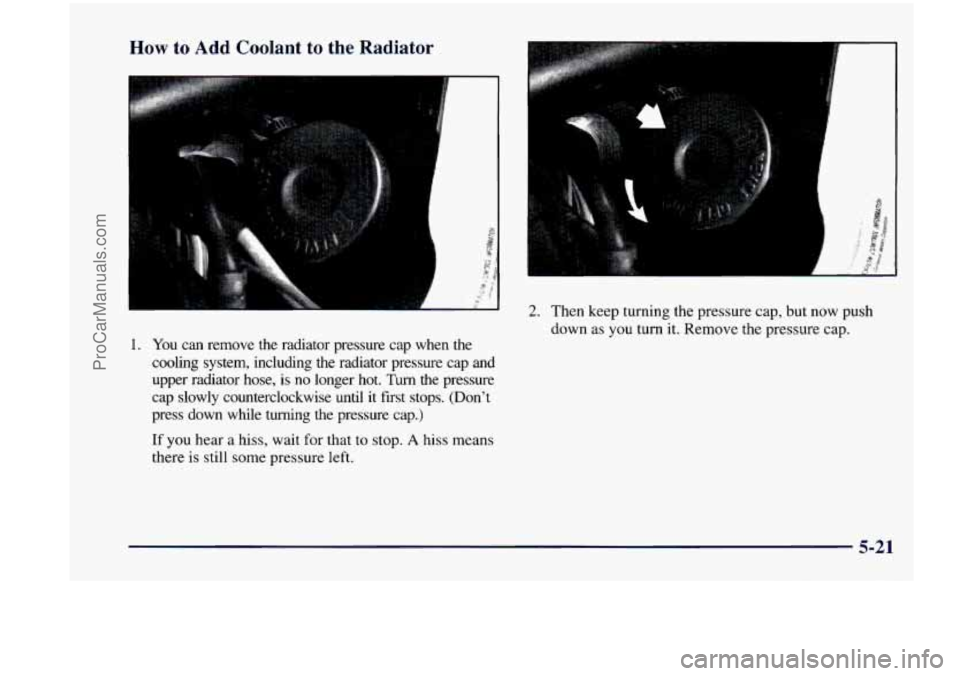
2. Then keep turning the pressure cap, but now push
down as you turn
it. Remove the pressure cap.
1.
You can remove the radiator pressure cap when the
cooling system, including the radiator pressure cap and
upper radiator hose, is
no longer hot. Turn the pressure
cap slowly counterclockwise until it first stops. (Don’t
press down while
turning the pressure cap.)
If you hear a hiss, wait for that to stop. A hiss means
there is still some pressure left.
ii
5-21
ProCarManuals.com
Page 341 of 474
Gasoline vapor is highly flammable. It burns
violently, and that can cause very bad injuries.
Don’t smoke if you’re near gasoline or refueling
your vehicle. Keep sparks, flames and smoking
materials away from gasoline.
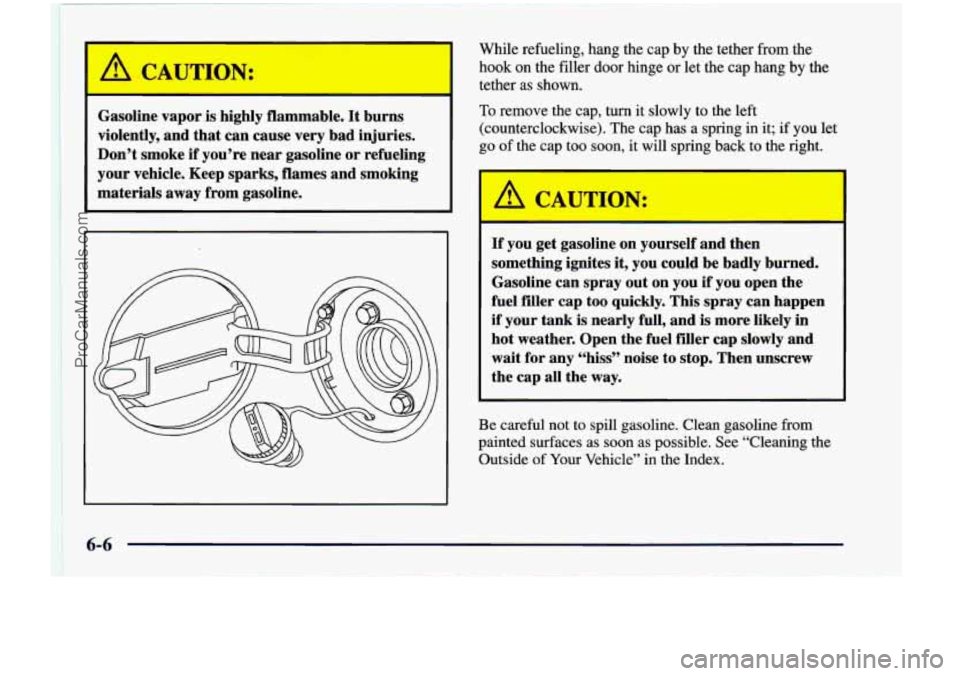
While refueling, hang the cap by the tether from the
hook
on the filler door hinge or let the cap hang by the
tether as shown.
To remove the cap, turn it slowly to the left
(counterclockwise). The cap has a spring in it; if
you let
go of the cap too sc I, it will spring back to the right.
If you get gasoline on yourself and then
something ignites
it, you could be badly burned.
Gasoline can spray out on you
if‘ you open the
fuel filler cap too quickly. This spray can happen
if your tank is nearly full, and is more likely in
hot weather. Open the fuel filler cap slowly and
wait for any “hiss” noise to stop. Then unscrew
the cap all the way.
Be careful not to spill gasoline. Clean gasoline from
painted surfaces as soon as possible. See “Cleaning
the
Outside of Your Vehicle” in the Index.
I ,
6-6
ProCarManuals.com