1998 CHEVROLET CORVETTE set clock
[x] Cancel search: set clockPage 160 of 378
Downloaded from www.Manualslib.com manuals search engine Section 3 Comfort Controls and Audio Systems
In this section, you’ll find out how to operate the comfort control and audio systems offered with your vehicle. Be
sure to read about the particular systems supplied with your vehicle.
3-2
3-2
3-4
3-9
3- 10
3-11 3-11
3- 12 3-12
3-12
3-17 Comfort Controls
Manual
Comfort Controls
Automatic Electronic Dual Climate Control
System (If Equipped)
Sensors
Air Conditioning
Heating
Defogging and Defrosting
Audio Systems Setting the Clock for
All Systems
AM-FM Stereo with Cassette Tape Player and
Automatic Tone Control
CD Adapter Kits
3- 17
3-2 1
3-25
3 -27
3-27
3-28
3-29
3-29
3-29
3-30 AM-FM Stereo with Compact Disc Player and
Automatic Tone Control
(If Equipped)
Trunk Mounted CD Changer Theft-Deterrent Feature
Understanding Radio Reception
Tips About Your Audio System
Care of Your Cassette Tape Player
Care of Your Compact Discs
Care
of Your Compact Disc Player
Power Mast Antenna (Option)
Integrated Windshield and Rear Window
Antennas (Option)
3-1
Page 164 of 378
Downloaded from www.Manualslib.com manuals search engine When adjusting the temperature, start with a driver-set
temperature of
73°F (23 "C) until you determine your
comfort zone. If you choose
60°F (16"C), the system
will remain at maximum cooling and will not
automatically adjust fan speed or air delivery. If you
choose
90°F (32"C), the system will remain at
maximum heating and will not automatically adjust fan
speed or air delivery. Choosing either maximum setting
will not cause the system to heat or cool any faster.
Turning the knob past either maximum setting has no
effect on the operation of the system.
Passenger Temperature Offset
The PASSENGER knob changes the temperature on the
passenger's side of the vehicle. When the knob is in the
12 o'clock position, the passenger's temperature is the
same as the driver's. Turn the knob to the right for
warmer air
on the passenger's side, to the left for cooler
air. If the driver-set temperature is set at
60°F (1 6 " C) or
90 OF (32 " C), turning the passenger knob has no effect
because the system is locked at a maximum setting.
Automatic Operation
Press the AUTO button to place the entire system in the
automatic mode. After a five second display of the current settings, only the word
AUTO and the outside
temperature will be shown on the digital display. The
system will operate to achieve your comfort set
temperature as quickly as possible. If you have set the
driver temperature at
60°F (16°C) or 90°F (32"C), the
system will not operate automatically until a different
temperature is selected. The AUTO control system
works best with the windows up and the removable roof
installed or the convertible top up.
A Typical Cold Weather Example:
Your vehicle has been parked outside overnight in cold
weather (below
32 OF/ 0 " C) and you have set the driver
temperature at
73°F (23°C) and have selected the AUTO
mode. The system will automatically adjust the
temperature output to maximum heating. The fan will start
at a low speed. This is to avoid blowing cold
air into the
vehicle. The length of the delay depends on the amount of
time since the engine was last started, the outside
temperature and the engine coolant temperature. As the
coolant warms up, the fan speed will gradually increase.
Air will flow to the floor with some air to the windshield
to prevent fogging under most normal conditions.
3-5
Page 171 of 378
Downloaded from www.Manualslib.com manuals search engine When you enter a vehicle in cold weather, turn the
blower fan to the highest speed for a few moments
before driving
off. This helps clear the intake outlets
of snow and moisture, and reduces the chance of
fogging the inside of the windows.
Keep the area around the base of the center
instrument panel console and air path under the seats
clear of objects. This helps air circulate throughout
your vehicle.
Audio Systems
Your Delco Electronics audio system has been designed
to operate easily and give years of listening pleasure.
You will get the most enjoyment out of it if you acquaint
yourself with it first. Find out what your Delco
Electronics system can do and how to operate all its
controls, to be sure you're getting the most out of the
advanced engineering that went into it.
Setting the Clock for All Systems
Press and hold HR until the correct hour appears. Press
and hold
MN until the correct minute appears.
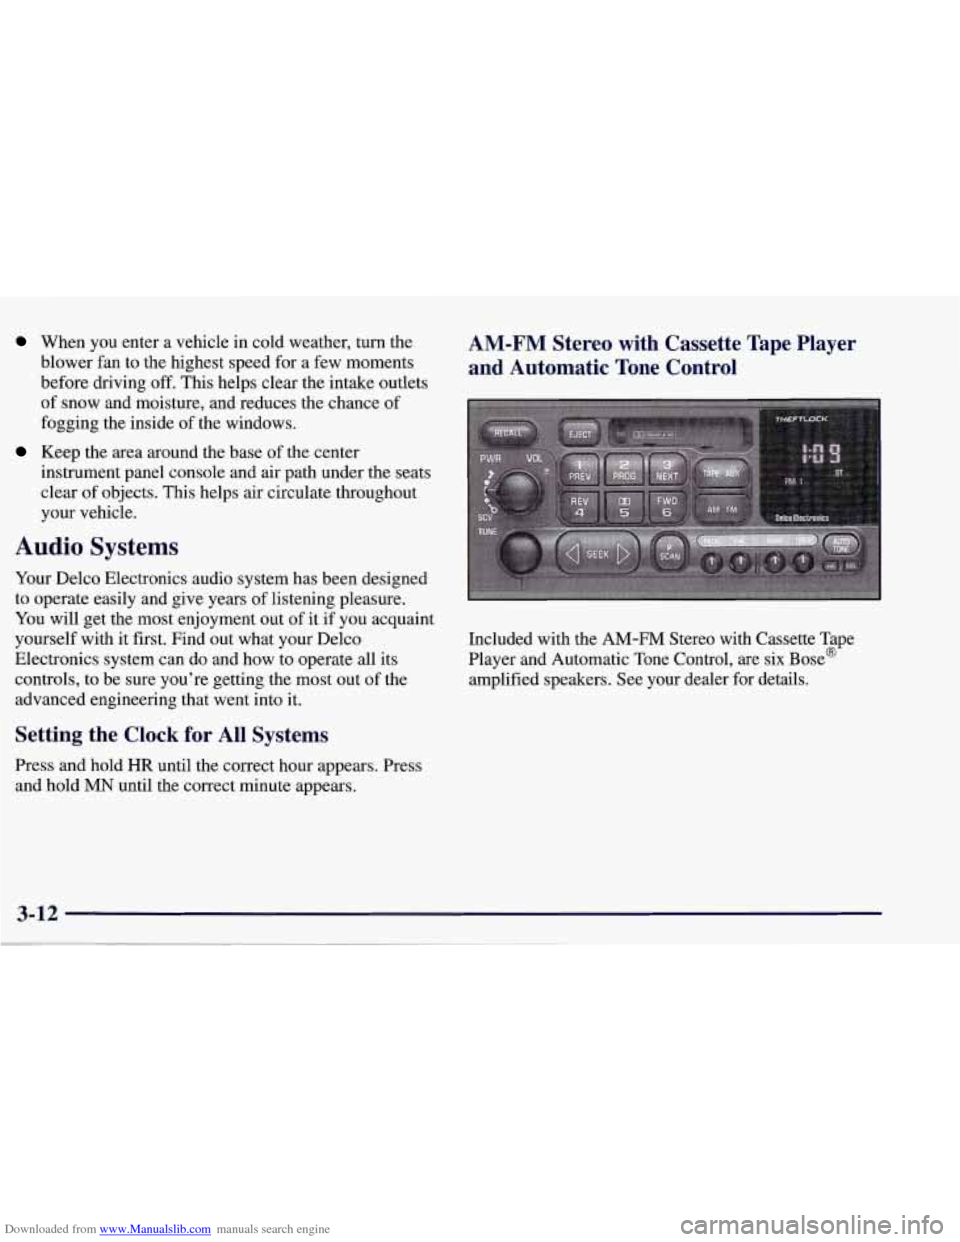
AM-FM Stereo with Cassette Tape Player
and Automatic Tone Control
Included with the AM-FM Stereo with Cassette Tape
Player and Automatic Tone Control, are six Bose@
amplified speakers. See your dealer for details.
Page 172 of 378
Downloaded from www.Manualslib.com manuals search engine Playing the Radio
PWR-VOL: Press this knob to turn the system on and
off. To increase volume, turn the knob to the right. Turn
it to the left to decrease volume. The knob is capable of
rotating continuously.
RECALL: Press this button to recall the station being
played. If you press the button when the ignition is
off,
the clock will show for a few seconds.
SCV: Your system has a feature called
Speed-Compensated-Volume (SCV). With SCV, your
audio system adjusts automatically to make up for road
and wind noise as you drive. Set the volume at the
desired level. Move the control ring behind the upper
knob to the right to adjust the SCV. Then, as you drive,
SCV automatically increases the volume, as necessary,
to overcome noise at any particular speed. The volume
level should always sound the same to you as you drive.
If you don’t want to use SCV, turn the control all the
way down. Each notch on the control ring allows for
more volume compensation at faster vehicle speeds.
Finding a Station
AM-FM: Press this button to switch between AM, FM1
and FM2. The display shows your selection.
TUNE: Press this knob lightly so it extends. Turn it to
choose radio stations. Push the
knob back into its stored
position when you’re not using it.
SEEK: Press the right or left arrow to go to the
next higher
or lower station. The sound will mute
while seeking.
SCAN: Press one of the SEEK arrows for two seconds,
and SCAN will appear in the display. Use SCAN to
listen to stations for a few seconds. The radio will go to
a station, stop for a few seconds, then
go on to the next
station. Press SEEK again to stop scanning. The sound
will mute while scanning.
PUSHBUTTONS: The six numbered pushbuttons let
you return to your favorite stations. You can set up to
18 stations (six AM, six FM1 and six FM2). Just:
1. Turn the radio on.
2. Press AM-FM to select the band.
3. Tune in the desired station.
4. Press AUTO TONE to select the equalization that
best suits the type of station selected.
3-13
Page 177 of 378
Downloaded from www.Manualslib.com manuals search engine Playing the Radio
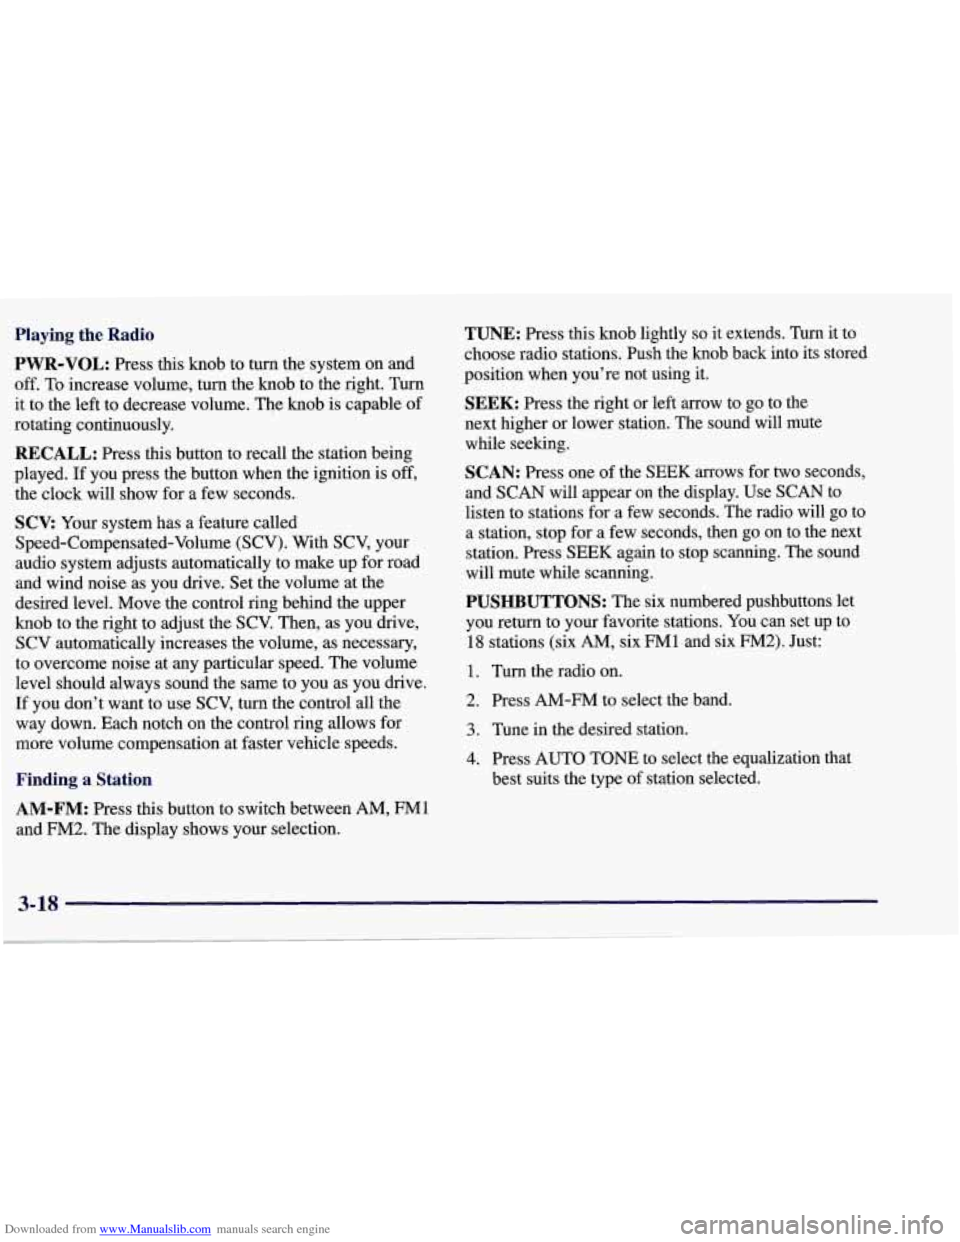
PWR-VOL: Press this knob to turn the system on and
off. To increase volume, turn the knob to the right. Turn
it to the left to decrease volume. The knob is capable of
rotating continuously.
RECALL: Press this button to recall the station being
played. If you press the button when the ignition is off,
the clock will show for a few seconds.
SCV: Your system has a feature called
Speed-Compensated-Volume (SCV). With SCV, your
audio system adjusts automatically to make up for road
and wind noise as you drive. Set the volume at the
desired level. Move the control ring behind the upper
knob to the right to adjust the SCV. Then, as you drive,
SCV automatically increases the volume, as necessary,
to overcome noise at any particular speed. The volume
level should always sound the same to you as you drive. If you don’t want to use SCV, turn the control all the
way down. Each notch on the control ring allows for
more volume compensation at faster vehicle speeds.
Finding a Station
AM-FM: Press this button to switch between AM, FM1
and
FM2. The display shows your selection.
TUNE: Press this knob lightly so it extends. Turn it to
choose radio stations. Push the knob back into its stored
position when you’re not using it.
SEEK: Press the right or left arrow to go to the
next higher or lower station. The sound will mute
while seeking.
SCAN: Press one of the SEEK arrows for two seconds,
and SCAN will appear on the display. Use
SCAN to
listen to stations for a few seconds. The radio will
go to
a station, stop for a few seconds, then go on to the next
station. Press
SEEK again to stop scanning. The sound
will mute while scanning.
PUSHBUTTONS: The six numbered pushbuttons let
you return to your favorite stations. You can set up to
18 stations (six AM, six FM1 and six FM2). Just:
1. Turn the radio
on.
2. Press AM-FM to select the band.
3. Tune in the desired station.
4. Press AUTO TONE to select the equalization that
best suits the type of station selected.
3-18
Page 357 of 378
Downloaded from www.Manualslib.com manuals search engine Brake (Continued) Master Cylinder
.............................. 6-29
Parking
..................................... 2-32
PedalTravel
................................. 6-31
Replacing System Parts
........................ 6-32
System Warning Light
......................... 2-79
Transmission Shift Interlock
.................... 2-36
Wear
....................................... 6-31
Brakes. Anti-Lock
............................... 4-7
Brake-Transmission Shift Interlock Check
........... 7- 13
Braking
........................................ 4-6
Braking in Emergencies
........................... 4-9
Break.In. New Vehicle
.......................... 2-20
BTSI
......................................... 2-36
BTSICheck
................................... 7-13
Bulb Replacement
......................... 6.33. 6.69
Canadian Roadside Assistance
.................... 8-7
Capacities and Specifications
...................... 6-70
Carbon Monoxide
.................... 2.15.2.37. 4.28
Cassette Deck Service
........................... 7- 11
Cassette Tape Player ............................ 3-12
CareofYour
................................. 3-28
Center Console
................................. 2-55
Certification Label
.............................. 4-29
Chains. Tire
................................... 6-51
Check Gages Light
.............................. 2-85
Checking Your Restraint Systems
.................. 1-37
Chemical Paint Spotting
.......................... 6-60
Child Restraints
................................ 1-27
Add-on
..................................... 1-27
Securing in the Passenger Seat Position
........... 1-28
Top Strap
.................................... 1-3 1
Types ...................................... 1-27
WheretoPut
................................ 1-27
Cigarette Lighter
............................... 2-58
Circuit Breakers and Fuses
....................... 6-64
Cleaner. Air
................................... 6-16
Cleaning Aluminum Wheels
............................ 6-58
Coated Moldings
............................. 6-53
ConvenienceNet
............................. 6-54
Exterior LampsLenses
........................ 6-56
Fabric
...................................... 6-53
Glass
....................................... 6-54
Inside of Your Vehicle
......................... 6-52
Instrument Panel
............................. 6-54
Leather
..................................... 6-53
Outside of Your Vehicle
........................ 6-56
Removable Roof Panel
......................... 6-55
Security Shade
............................... 6-54
Soft-Touch Paint Surfaces
...................... 6-54
Stains
...................................... 6-53
Tires
....................................... 6-58
Vinyl
....................................... 6-53
Weatherstrips
................................ 6-55
Wheels
..................................... 6-58
Windshield and Wiper Blades
................... 6-55
Climate Control. Automatic Electronic Dual
........... 3-4
Clock. Setting the
............................... 3-12
Clutch. Hydraulic
............................... 6-20
Comfort Controls
................................ 3-1
Comfort Controls. Manual
......................... 3-2
Compact Disc
AdapterKit
.................................. 3-17
Care
....................................... 3-29 .
Changer. TmnkMounted ....................... 3-21
9-2