1998 CHEVROLET CORVETTE fuel cap
[x] Cancel search: fuel capPage 139 of 378
Downloaded from www.Manualslib.com manuals search engine Fuel Gage
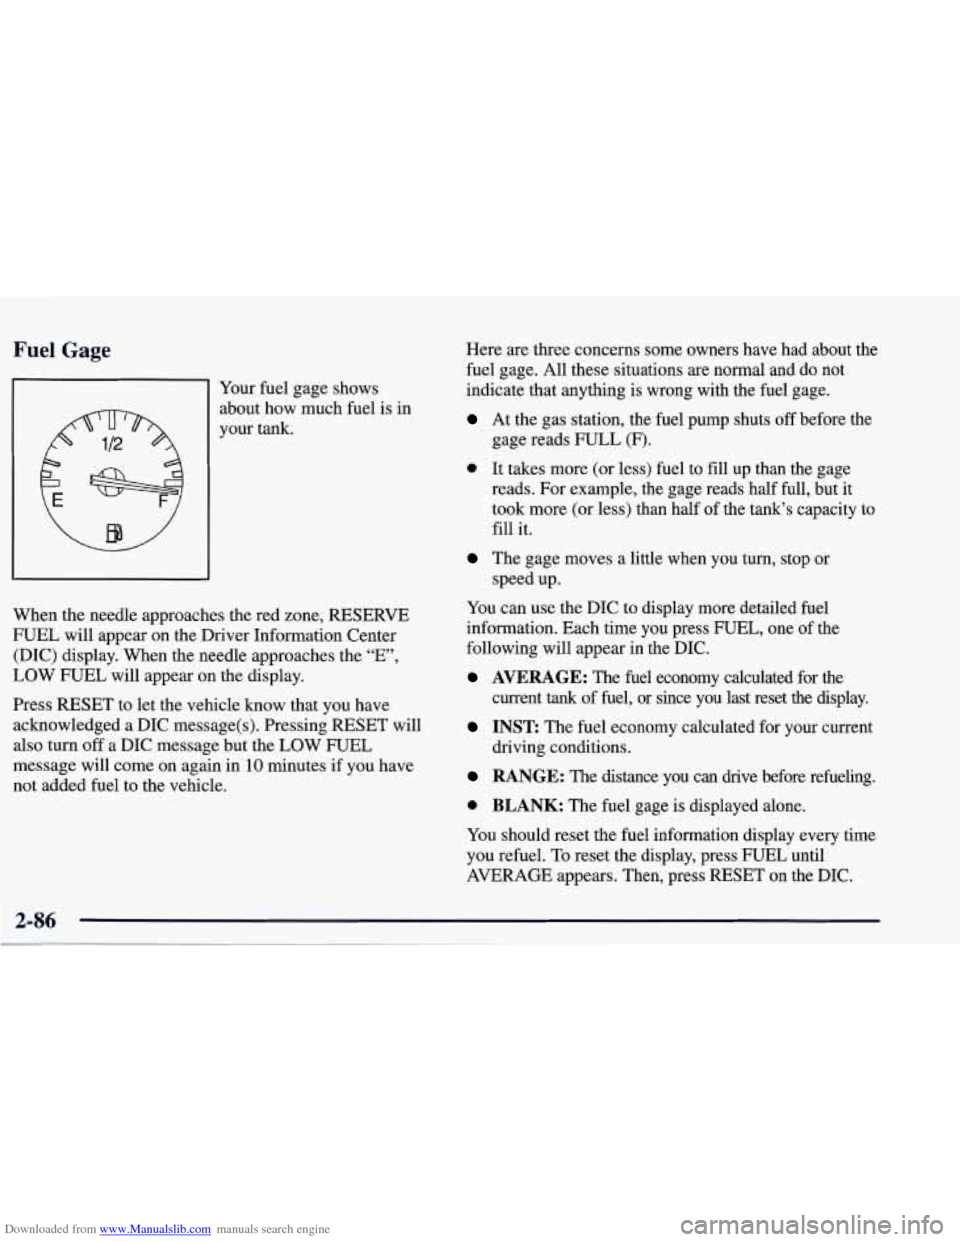
81 Your fuel gage shows
about how-much fuel is in
your tank.
,e red zon When the needle approaches th
e, RESERVE
FUEL will appear
on the Driver Information Center
(DIC) display. When the needle approaches the “E”,
LOW FUEL will appear on the display.
Press RESET to let the vehicle know that you have
acknowledged a DIC message(s). Pressing RESET will
also turn
off a DIC message but the LOW FUEL
message will come on again in’lO minutes if you have
not added fuel to the vehicle. Here are three concerns
some owners have had about the
fuel gage. All these situations are normal and do not
indicate that anything is wrong with the fuel gage.
At the gas station, the fuel pump shuts off before the
gage reads FULL (F).
0 It takes more (or less) fuel to fill up than the gage
reads. For example, the gage reads half full, but it
took more (or less) than half of the tank’s capacity to
fill it.
The gage moves a little when you turn, stop or
speed up.
You can use the DIC to display more detailed fuel
information. Each time you press FUEL, one of the
following will appear
in the DIC.
AVERAGE: The fuel economy calculated for the
current
tank of fuel, or since you last reset the display.
INST The fuel economy calculated for your current
driving conditions.
RANGE: The distance you can drive before refueling.
0 BLANK: The fuel gage is displayed alone.
You should reset the fuel information display every time
you refuel.
To reset the display, press FUEL until
AVERAGE appears. Then, press RESET on the DIC.
2-86
Page 169 of 378

Downloaded from www.Manualslib.com manuals search engine Air Conditioning Heating
On
very hot days, your vehicle will cool down more
quickly and economically if you open the windows long
enough to let hot inside
air escape. Then keep your
windows closed in order to allow the air conditioning to
work best. Maximum cooling will occur when the
RECIRCULATE setting is operating, airflow direction is
in the upper mode, and the temperature control knob (on
a manual climate control system) is turned all the way to
the blue area. These settings will be selected by the
Automatic Electronic Dual Climate Control System if
operating in AUTO when maximum cooling is required.
When the air conditioning is on, you may sometimes
notice slight changes in your vehicle’s engine
performance and power. This is normal. The system is
designed to .help fuel economy while maintaining the
desired cooling level.
The
air conditioning removes moisture from the air, so you
may notice water dripping fi-om under your vehicle when
it is idling or after it has been turned
off. This is normal. The
heater works best
if you keep your windows closed.
Maximum heating will occur when airflow direction is
in the lower mode and the temperature control knob (on
a manual climate control system) is all the way
in the
red area. These settings will be selected by the
Automatic Electronic Dual Climate Control System if
operating in AUTO when maximum heating is required.
The BI-LEVEL setting is designed for use on sunny days
when the
air is only moderately warm or cool. On days
like these, the sun may adequately warm your upper body,
but your lower body may not
be warm enough. The
BI-LEVEL setting will direct cooler airflow to
your upper
body and warmer
air to the floor area.
If you have the optional engine coolant heater and use it
during cold weather
0°F (- 18 “C) or lower, your heating
system will provide heat more quickly because the
coolant is already warmed. See “Engine Coolant Heater”
in the Index.
3-10
Page 220 of 378
Downloaded from www.Manualslib.com manuals search engine Loading Your Vehicle
TIRE-LOADING INFORMATION
VEHICLE CAP. WT.
FRT. CTR. RR. TOTAL LBS.
MAX. LOADING & GVWR SAME AS VEHICLE
CAPACITY WEIGHT
XXX COLD TIRE
TIRE
SIZE SPEED PRESSURE
RTG PSI/KPa
FRT.
RR.
SPA.
IF TIRES ARE HOT, ADD 4PSIi28KPa
SEE OWNER‘S MANUAL FOR ADDITIONAL
INFORMATiON
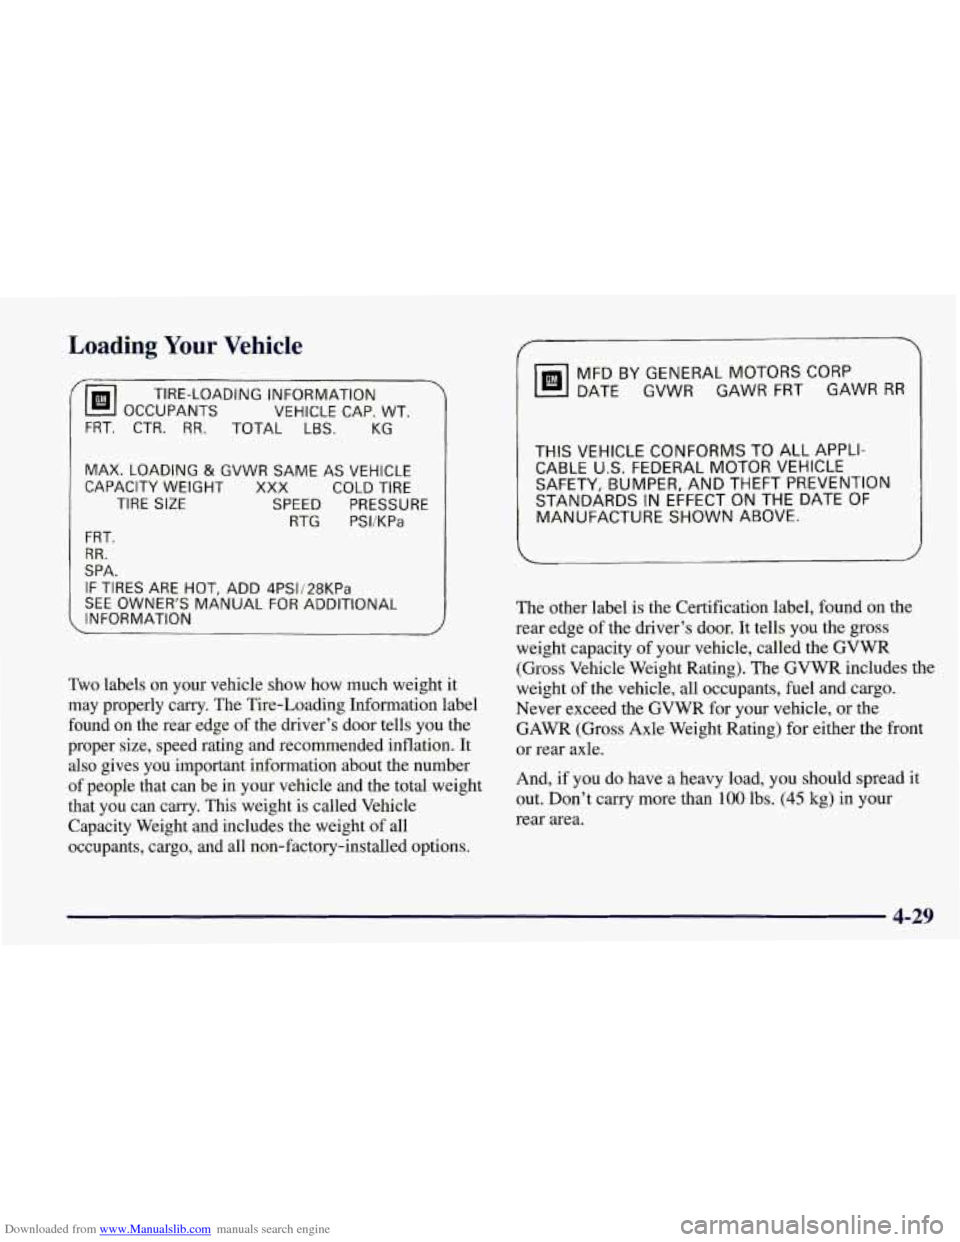
Two labels on your vehicle show how much weight it
may properly carry. The Tire-Loading Information label
found on the rear edge of the driver’s door tells you the
proper size, speed rating and recommended inflation. It
also gives you important information about the number
of people that can be in your vehicle and the total weight
that you can carry. This weight is called Vehicle
Capacity Weight and includes the weight
of all
occupants, cargo, and all non-factory-installed options.
MFD BY GENERAL MOTORS CORP
DATE GVWR GAWR FRT GAWR
RR
THIS VEHICLE CONFORMS TO ALL APPLI-
CABLE U.S. FEDERAL MOTOR VEHICLE
SAFETY, BUMPER, AND THEFT PREVENTION
STANDARDS IN EFFECT ON THE DATE
OF
MANUFACTURE SHOWN ABOVE.
I
The other label is the Certification label, found on the
rear edge of the driver’s door. It tells you the gross
weight capacity of your vehicle, called the GVWR
(Gross Vehicle Weight Rating). The GVWR includes the
weight of the vehicle, all occupants, fuel and cargo.
Never exceed the GVWR for your vehicle, or the
GAWR (Gross Axle Weight Rating) for either the front
or rear axle.
And, if you do have a heavy load,
you should spread it
out. Don’t carry more than
100 lbs. (45 kg) in your
rear area.
4-29
Page 246 of 378
Downloaded from www.Manualslib.com manuals search engine Section 6 Service and Appearance Care
Here you will find information about the care of your vehicle. This section begins with service and fuel information,
and then it shows how to check important fluid and lubricant levels. There is also technical information about your
vehicle, and a part devoted to its appearance care.
6-2
6-3
6-8
6- 12
6- 16
6-18
6- 19
6-20
6-2
1
6-22
6-26
6-26
6-27
6-29
6-32
6-33
6-37
6-40
Service
Fuel
Filling a Portable Fuel Container
Engine Oil
Air Cleaner
Automatic Transmission Fluid
Manual Transmission Fluid
Hydraulic Clutch
Rear Axle
Engine Coolant Surge Tank Pressure Cap
Power Steering Fluid
Windshield Washer Fluid
Brakes
Battery
Bulb Replacement
Windshield Wiper Blade Replacement
Tires 6-52
6-52
6-54
6-54
6-55
6-55
6-56
6-57
6-58
6-58
6-59
6-59
6-61
6-62
6-62
6-62
6-69
6-70 Appearance Care Cleaning the Inside of Your Vehicle
Care of Safety Belts
Cleaning Glass Surfaces
Weatherstrips Cleaning a Removable Roof Panel
Cleaning the Outside of Your Vehicle
Cleaning Your Convertible Top
Cleaning Aluminum Wheels
Cleaning Tires
Finish Damage
Underbody Maintenance
Appearance Care Materials Chart
Vehicle Identification Number (VIN)
Service Parts Identification Label
Electrical System
Replacement Bulbs
Capacities and Specifications
6-1
Page 250 of 378
Downloaded from www.Manualslib.com manuals search engine You can also write us at the following address for
advice. Just tell
us where you’re going and give your
Vehicle Identification Number (VIN).
General Motors Overseas Distribution Corporation
1908 Colonel Sam Drive
Oshawa, Ontario
L1H 8P7
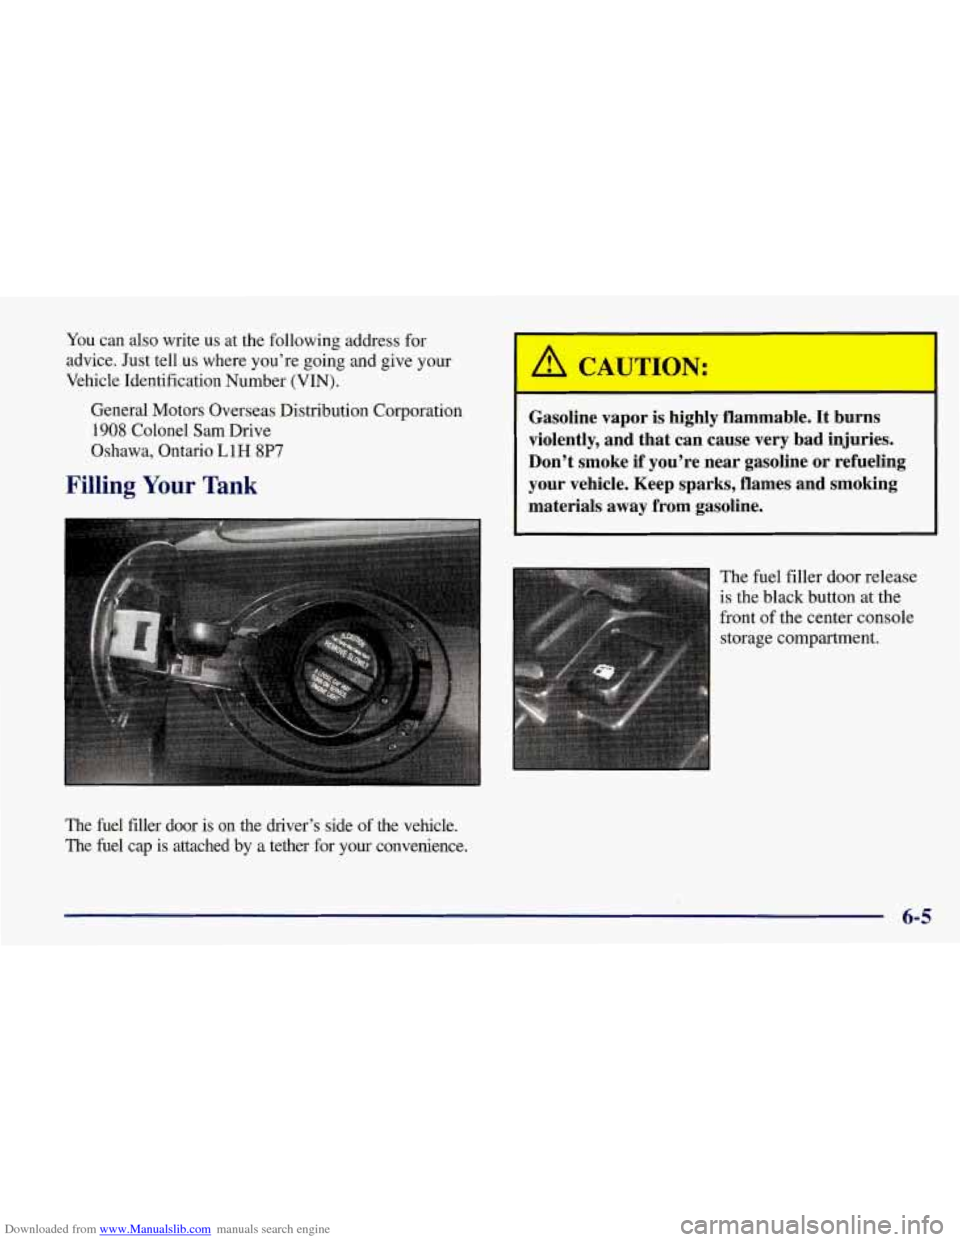
Filling Your Tank
The fuel filler door is on the driver’s side of the vehicl\
e. The fuel cap is attached by
a tether for your convenience.
rn A CAUTION:
I
Gasoline vapor is highly flammable. It burns
violently, and that can cause very bad injuries.
Don’t smoke if you’re near gasoline or refueling
your vehicle. Keep sparks, flames and smoking
materials away from gasoline.
The fuel filler door release
is the black button at the
front of the center console
storage compartment.
I
6-5
Page 251 of 378
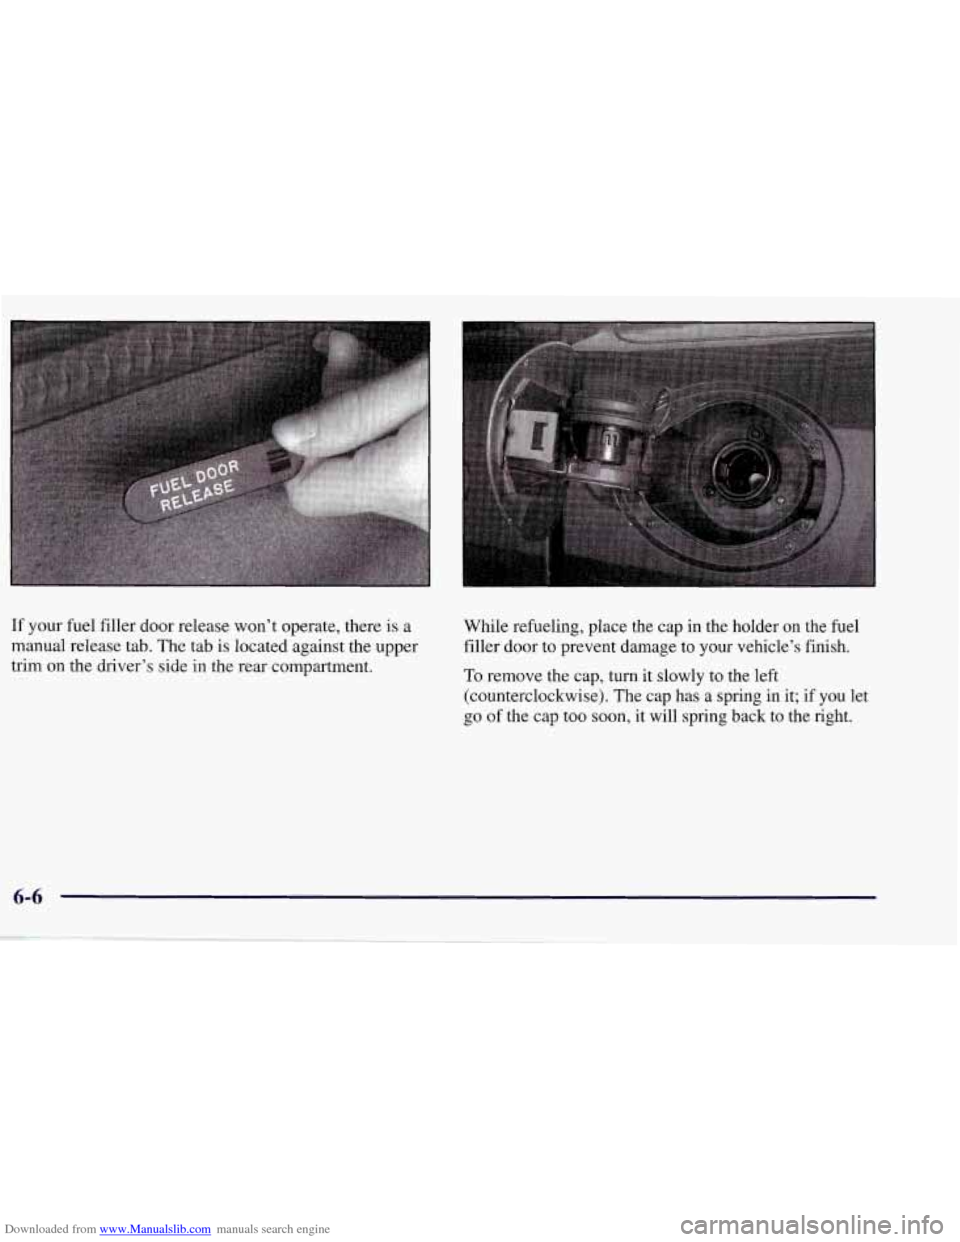
Downloaded from www.Manualslib.com manuals search engine If your fuel filler door release won’t operate, there is a
manual release tab. The tab is located against the upper
trim on the driver’s side in the rear compartment. While
refueling, place the cap in the holder on the fuel
filler door to prevent damage to your vehicle’s finish.
To remove the cap, turn it slowly to the left
(counterclockwise). The cap has a spring in it; if you let
go of the cap too soon, it will spring back to the right.
6-6
Page 252 of 378
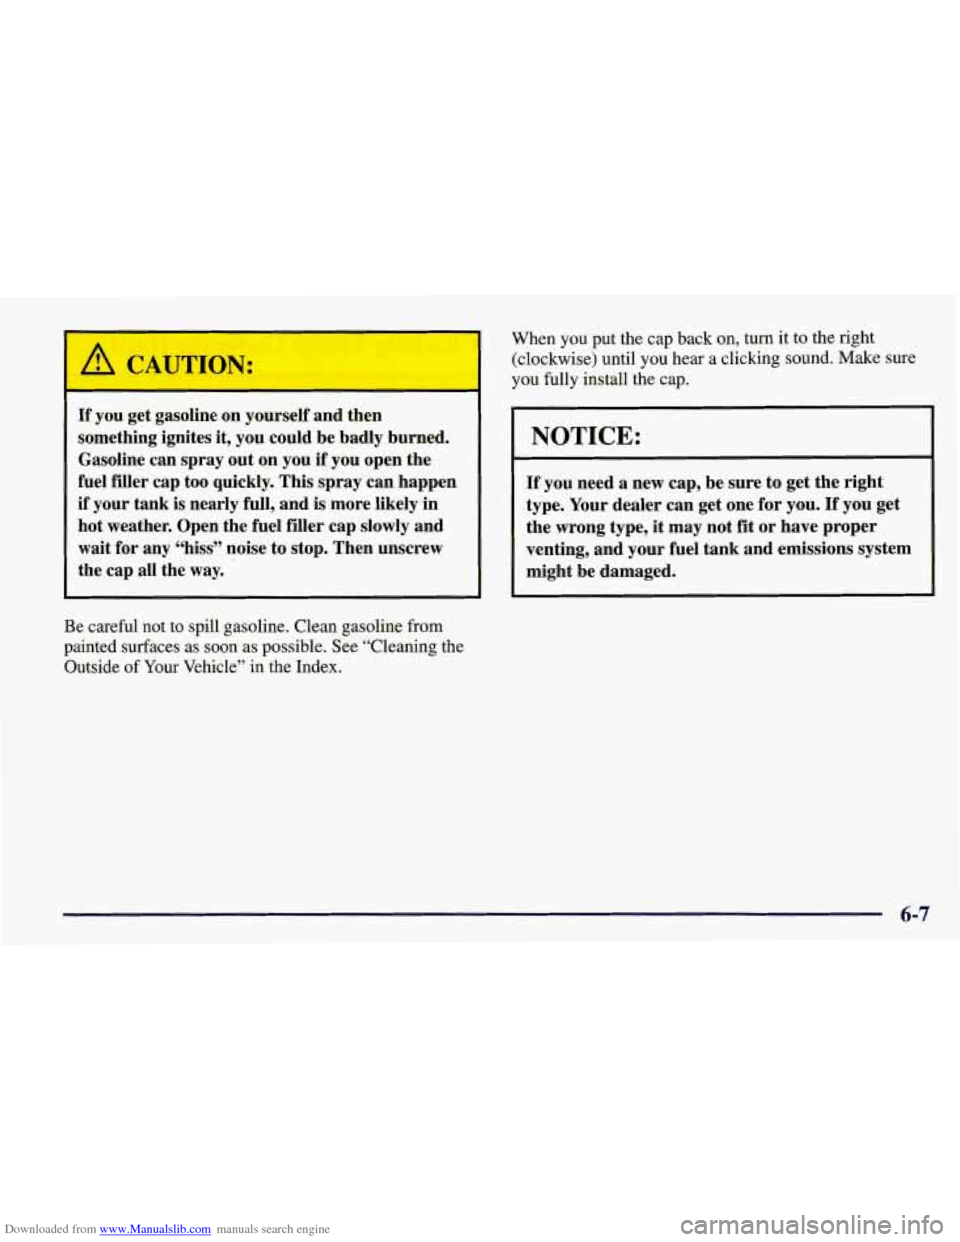
Downloaded from www.Manualslib.com manuals search engine When you put the cap back on, turn it to the right
(clockwise) until you hear a clicking sound. Make sure
you fully install the cap.
/9 CAUTION:
If J ,.I get gasoline on yourself and then
something ignites it, you could be badly burned.
Gasoline can spray out on you
if you open the
fuel filler cap too quickly. This spray can happen
if your tank is nearly full, and is more likely in
hot weather. Open the fuel filler cap slowly and
wait for any “hiss” noise to stop. Then unscrew
the cap all the way.
Be careful not to spill gasoline. Clean gasoline from
painted surfaces as soon as possible. See “Cleaning the
Outside of Your Vehicle” in the Index.
I NOTICE:
If you need a new cap, be sure to get the right
type. Your dealer can get one for you.
If you get
the wrong type, it may not fit or have proper
venting, and your fuel tank and emissions system
might be damaged.
6-7
Page 257 of 378
Downloaded from www.Manualslib.com manuals search engine Engine Oil
If the LOW OIL LEVEL message on the Driver
Information Center comes on, it means you need to
check your engine oil level right away. For more
information, see “Driver Information Center” in the
Index. You should check your engine oil level regularly;
this is an added reminder.
It’s
a good idea to check your engine oil level every time
you get fuel. In order to get an accurate reading, the oil
must be warm and the vehicle must be on level ground.
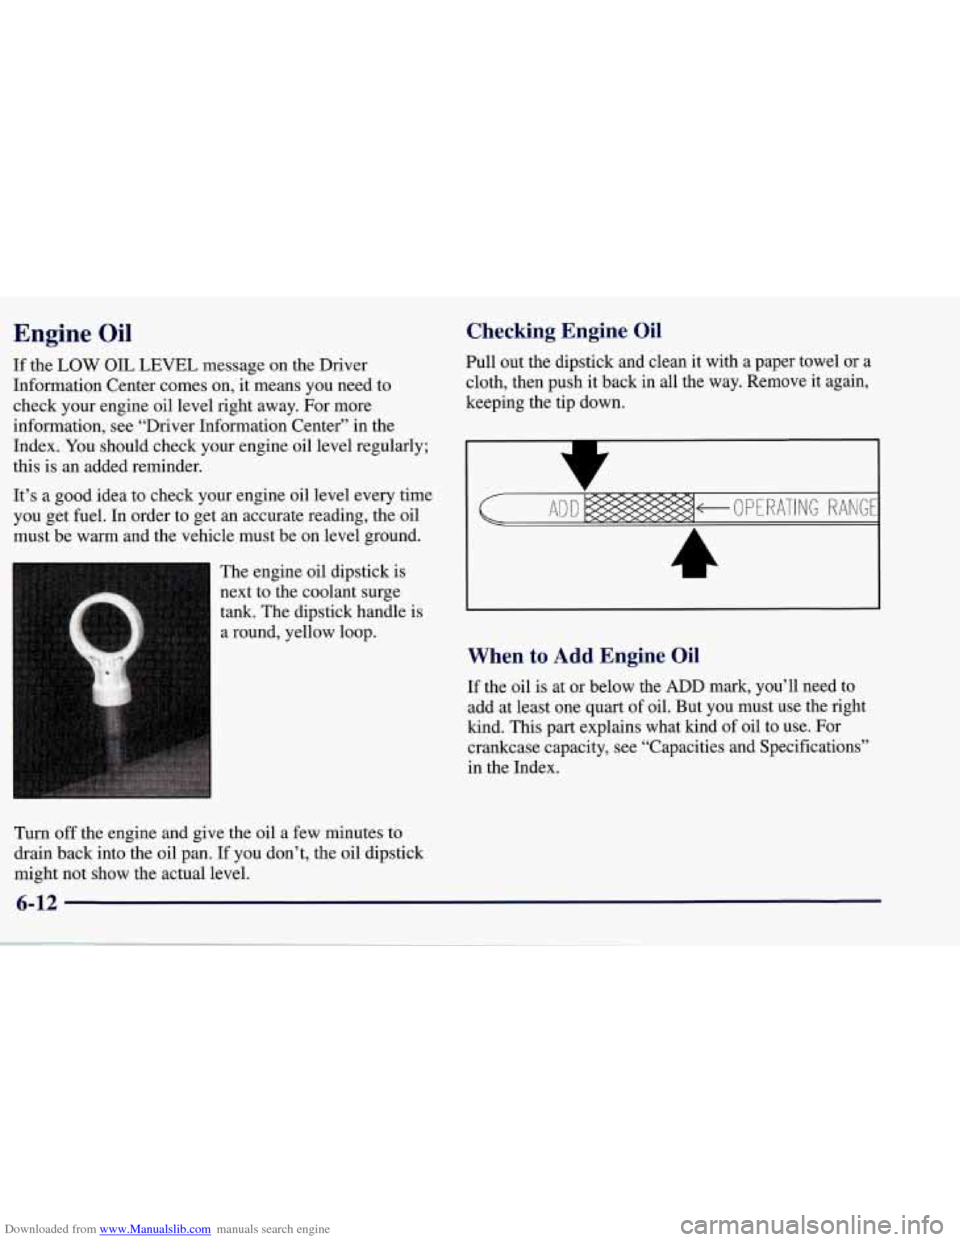
The engine oil dipstick is
next to the coolant surge
tank. The dipstick handle is
a round, yellow loop.
Turn off the engine and give the oil a few minutes to
drain back into the oil pan. If you don’t, the oil dipstick
might not show the actual level.
Checking Engine Oil
Pull out the dipstick and clean it with a paper towel or a
cloth, then push it back in all the way. Remove it again,
keeping the tip down.
When to Add Engine Oil
If the oil is at or below the ADD mark, you’ll need to
add at least one quart of oil. But you must use the right
kind. This part explains what kind of oil to use. For
crankcase capacity, see “Capacities and Specifications”
in the Index.
6-12