1998 CADILLAC SEVILLE display
[x] Cancel search: displayPage 66 of 378
Downloaded from www.Manualslib.com manuals search engine Power Door Locks
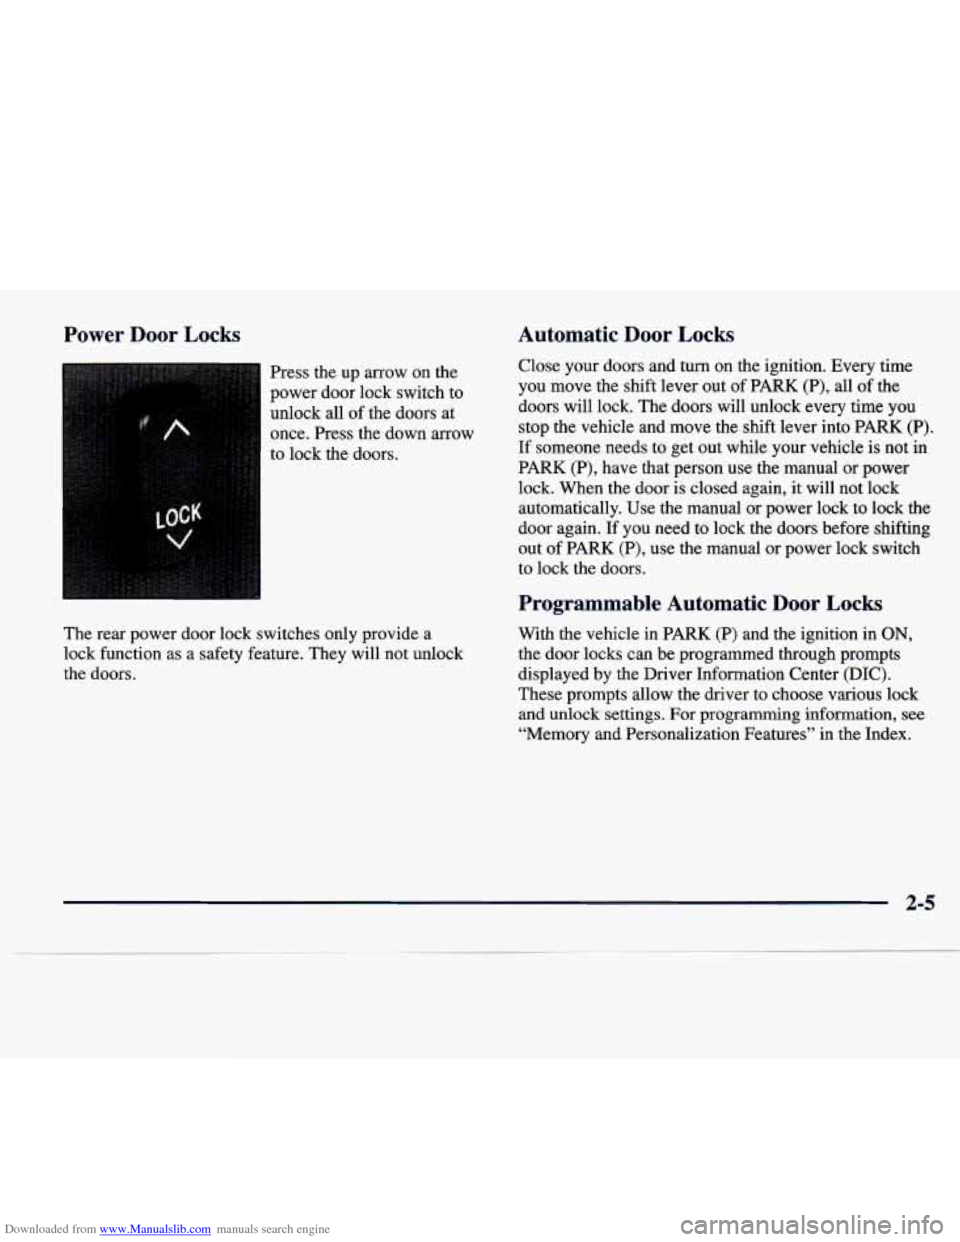
Press the up arrow on the
power door lock switch to
unlock all of the doors at
once. Press the down arrow
to lock the doors.
The rear power door lock switches only provide a
lock function as
a safety feature. They will not unlock
the doors.
Automatic Door Locks
Close your doors and turn on the ignition. Every time
you move the shift lever out of PARK (P), all of the
doors will lock. The doors will unlock
every time you
stop the vehicle and move the shift lever into PARK (P).
If someone needs to get out while your vehicle is not in
PARK
(P), have that person use the manual or power
lock. When the door is closed again, it will not lock automatically. Use the manual or power lock
to lock the
door again.
If you need to lock the doors before shifting
out of PARK (P), use the manual or power lock switch
to lock the doors.
Programmable Automatic Door Locks
With the vehicle in PARK (P) and the ignition in ON,
the door locks can be programmed through prompts
displayed by the Driver Information Center
(DIC).
These prompts allow the driver to choose various lock
and unlock settings. For programming information, see
“Memory and Personalization Features” in the Index.
2-5
Page 78 of 378
Downloaded from www.Manualslib.com manuals search engine If when trying to start the vehicle, the engine does not
start and the STARTING DISABLED REMOVE KEY
message is displayed in the Driver Information Center,
your key should be checked for damage.
Turn the
ignition
off and try again.
If the engine still does not start, and the key appears to
be undamaged, try another ignition key. At this time, you may also want to check the fuse (see “Fuses and
Circuit Breakers’’ in the Index). If the engine still does
not start with the other key, your vehicle needs service.
If your vehicle does start, the first key may be faulty.
See your dealer or a locksmith who can service the
PASS-Key
I11 to have a new key made.
If you are ever driving and the SERVICE
THEFT
SYSTEM message is displayed in the Driver
Information Center or the
SECURITY light comes on
and stays on, you will be able to restart your engine if
you
turn it off. Your vehicle is not protected by the
PASS-Key@
111 system at this time. Your PASS-Key@
I11 system is not working properly and must be serviced
by your dealer.
If you lose or damage a PASS-Key I11 key, see your
dealer or a locksmith who can service PASS-Key
111 to
have a new key made.
New Vehicle 66Break-In”
NOTICE:
Your vehicle doesn’t need an elaborate
“break-in.” But it will perform better in the long
run
if you follow these guidelines:
Don’t drive at any one speed -- fast or
slow
-- for the first 500 miles (805 km).
Don’t make full-throttle starts.
200 miles (322 km) or so. During this time
your new brake linings aren’t yet broken
in. Hard stops with new linings can mean
premature wear and earlier replacement.
Follow this breaking-in guideline every
time you get new brake linings.
See “Towing a Trailer” in the Index
for
more information.
0 Avoid making hard stops for the first
Don’t tow a trailer during break-in.
Page 94 of 378
Downloaded from www.Manualslib.com manuals search engine Turn SignaVMultifunction Lever
’hrn and Lane Change Signals
To signal a turn, move the lever on the left side of the
steering wheel all the
way up or down. The lever returns
automatically when the turn is complete.
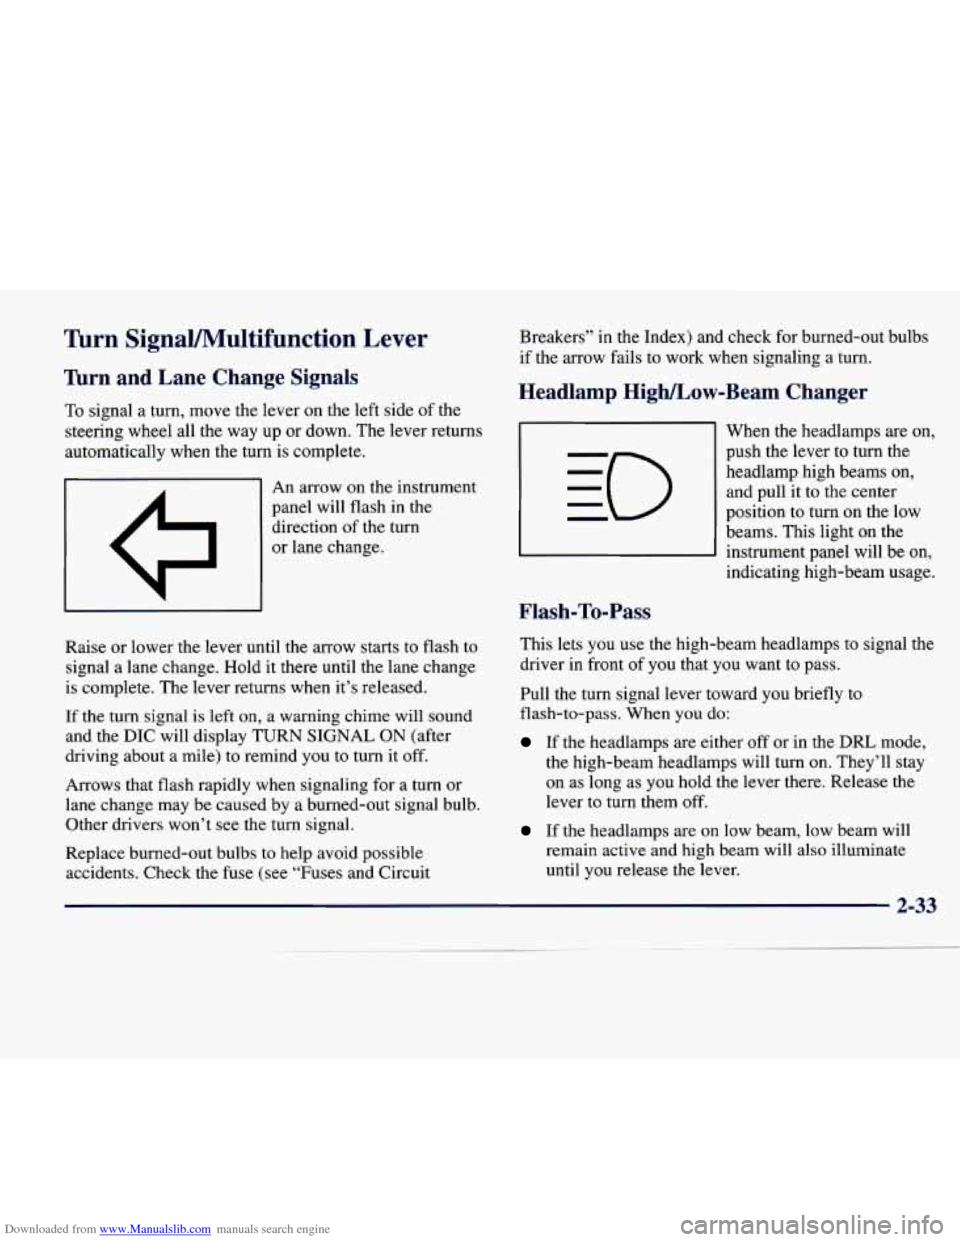
I A I An arrow on the instrument
panel will flash in the
direction of the turn
or lane change.
Raise or lower the lever until the arrow starts to flash to
signal a lane change. Hold it there until the lane change
is complete. The lever returns when it’s released.
If the turn signal is left
on, a warning chime will sound
and the
DIC will display TURN SIGNAL ON (after
driving about a mile) to remind you to turn it off.
Arrows that flash rapidly when signaling for
a turn or
lane change may be caused by a burned-out signal bulb. Other drivers won’t see the turn signal.
Replace burned-out bulbs
to help avoid possible
accidents. Check the fuse (see “Fuses and Circuit Breakers”
in the Index) and check
for burned-out bulbs
if the arrow fails to work when signaling
a turn.
Headlamp High/Low-Beam Changer
Flash-To-Pass
When the headlamps are on,
push the lever to turn the headlamp high beams on, and pull it to the center
position
to turn on the low
beams. This light on the
instrument panel will be on,
indicating high-beam usage.
This lets
you use the high-beam headlamps to signal the
driver in front
of you that you want to pass.
Pull the turn signal lever toward you briefly to
flash-to-pass. When
you do:
If the headlamps are either off or in the DRL mode,
the high-beam headlamps will turn
on. They’ll stay
on as long as you hold the lever there. Release the
lever to turn them off.
If the headlamps are on low beam, low beam will
remain active and high beam will also illuminate
until you release the lever.
Page 97 of 378
Downloaded from www.Manualslib.com manuals search engine Windshield Washer Cruise Contr-1
In freezing weather, don’t use your washer until
the windshield is warmed. Otherwise the washer
fluid can
form ice on the windshield, blocking
your vision.
The windshield washer has both a “demand” mode and a “programmed” mode, depending on the amount
of
windshield washer fluid you need.
For programmed mode, press and release the button on
the tip
of the lever. The washer will provide a measured
amount
of fluid to the windshield and the wiper will
either stop or return
to your original wiping speed. For
demand mode, press and hold the button until you have
enough fluid, and the wipers will either stop or return to
your original wiping speed.
CHECK
WASHER FLUID will be displayed on the DIC
when the washer fluid reaches a low level.
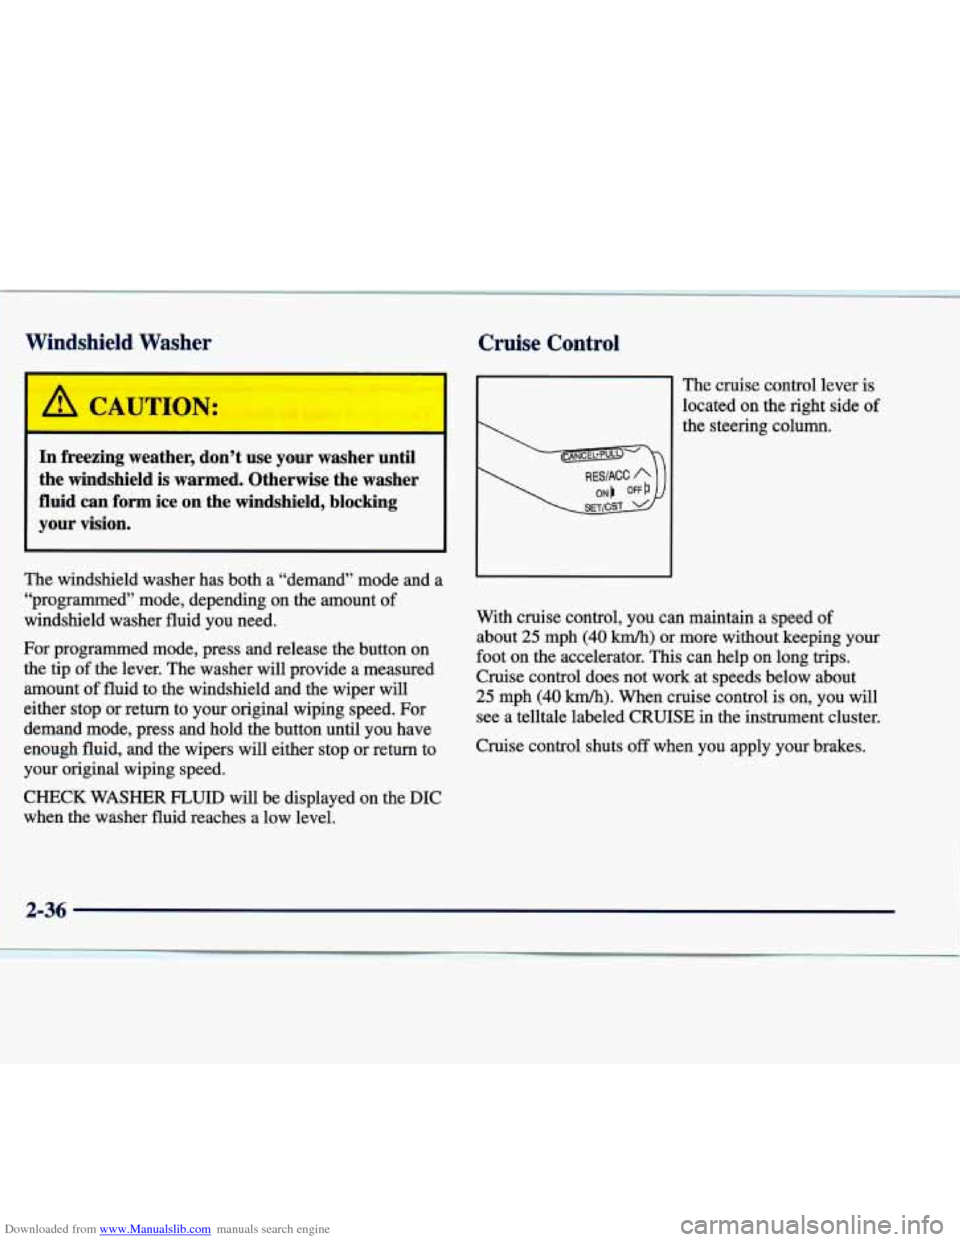
The cruise control lever is
located
on the right side of
the steering column.
With cruise control, you can maintain a speed
of
about 25 mph (40 km/h) or more without keeping your
foot on the accelerator. This can help on long trips.
Cruise control does not work at speeds below about
25 mph (40 km/h). When cruise control is on, you will
see
a telltale labeled CRUISE in the instrument cluster.
Cruise control shuts
off when you apply your brakes.
2-36
Page 101 of 378
Downloaded from www.Manualslib.com manuals search engine Exterior Lamps
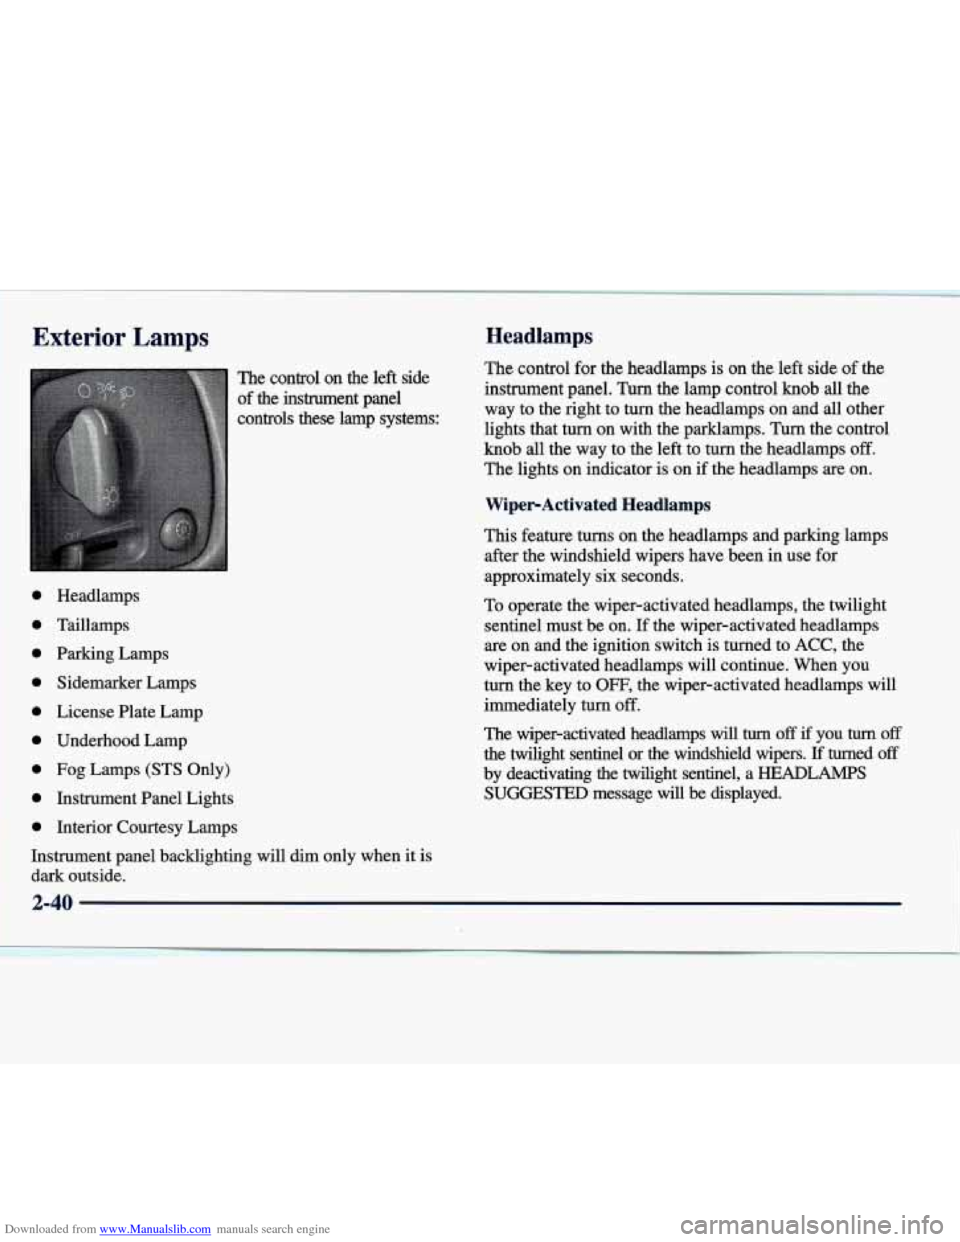
The control on the left side
of the instrument panel
controls these lamp systems:
0
0
0
0
0
0
0
0
0
Headlamps
Taillamps
Parking Lamps
Sidemarker Lamps
License Plate Lamp
Underhood Lamp
Fog Lamps
(STS Only)
Instrument Panel Lights
Interior Courtesy Lamps
Instrument panel backlighting will dim only when it is
dark outside.
~~ ~~ ~
~~ ~ ~~
~ ~~~~
Headlamps
The control for the headlamps is on the left side of the
instrument panel.
Turn the lamp control knob all the
way to the right to turn the headlamps
on and all other
lights that turn on with the parklamps. Turn the control
knob all the way to the left to turn the headlamps
off.
The lights on indicator is on if the headlamps are on.
WiperActivated Headlamps
This feature turns on the headlamps and parking lamps
after the windshield wipers have been in use for
approximately six seconds.
To operate the wiper-activated headlamps, the twilight
sentinel must be on. If the wiper-activated headlamps
are on and the ignition switch is turned to
ACC, the
wiper-activated headlamps will continue. When you
turn the key to OFF, the wiper-activated headlamps will
immediately turn
off.
The wiper-activated headlamps will turn off if you turn off
the twilight sentinel or the windshield wipers. I€ turned off
by deactivating the twilight sentinel, a HEADLAMPS
SUGGESTED message will be displayed.
2-40
Page 102 of 378
Downloaded from www.Manualslib.com manuals search engine Parklamps
Turn the lamp control once to the right to turn on the
parklamps, taillamps, markerlamps, license lamp and
underhood lamp. The lights
on indicator will be on if the
parklarnp switch
is on. Turn to the left to turn these
lights off.
Lamps On Reminder
You will hear a warning chime if you open the driver’s
door while leaving the lamps on and the manual
headlamp or parklamp control is activated. An exception
to this is when you’re using twilight sentinel, or if the
ignition is
on.
Daytime Running Lamps
Daytime Running Lamps (DRL) can make it easier for
others to see the front of your vehicle during the day.
DRL can
be helpful in many different driving
conditions, but they can be especially helpful in the
short periods after dawn and before sunset.
The DRL system will make the high-beam headlamps
come on at reduced brightness when:
the ignition is on,
When DRL are on, only your high-beam headlamps (at
reduced brightness) will be on.
No other exterior lamps
such as the parking lamps, taillamps, etc. will be on
when the DRL are being used. Your instrument panel
won’t be lit up either.
When the twilight sentinel switch is
on and it’s dark
enough outside, the high-beam headlamps (at reduced
intensity) will turn off and normal low-beam headlamp
operation will occur. When the twilight sentinel switch
is on and it’s bright enough outside, the regular lamps
will go off, and the high-beam headlamps at reduced
brightness will take over.
If it’s dark outside and the twilight sentinel control is
off, a HEADLAMPS SUGGESTED message will
display on the DIC. This message informs the driver that
turning on the exterior lamps is recommended even
though the DRL are still illuminated. It has become dark
enough outside to require the headlamps and/or other
exterior lamps. Turning on the twilight sentinel or the
headlamp switch will deactivate the
DRL and remove
the HEADLAMPS SUGGESTED message.
If the
parking lamps or the fog lamps were turned on instead,
the DRL will still deactivate and the HEADLAMPS
SUGGESTED message will continue to be displayed.
0 the headlamp switch is off and
0 the transaxle is not in PARK (P).
2-41
Page 104 of 378
Downloaded from www.Manualslib.com manuals search engine If you move the control all the way to the right (MAX),
the lamps will remain on for approximately three
minutes after the ignition has been turned to
OFF or
ACC. If you move the control so it is just on, the lamps
will go
off quickly when you turn the ignition out of
ON. You can adjust the delay time from only a few
seconds to three minutes.
If it’s dark enough outside and the twilight sentinel
control is
off, a HEADLAMPS SUGGESTED message
will display on the
DIC. This message informs the
driver that turning on the exterior lamps
is
recommended (it’s become dark enough outside to
require the headlamps and/or other exterior lamps).
Turning on the twilight sentinel,
the headlamp switch or
the fog lamp switch will remove the
HEADLAMPS
SUGGESTED
message.
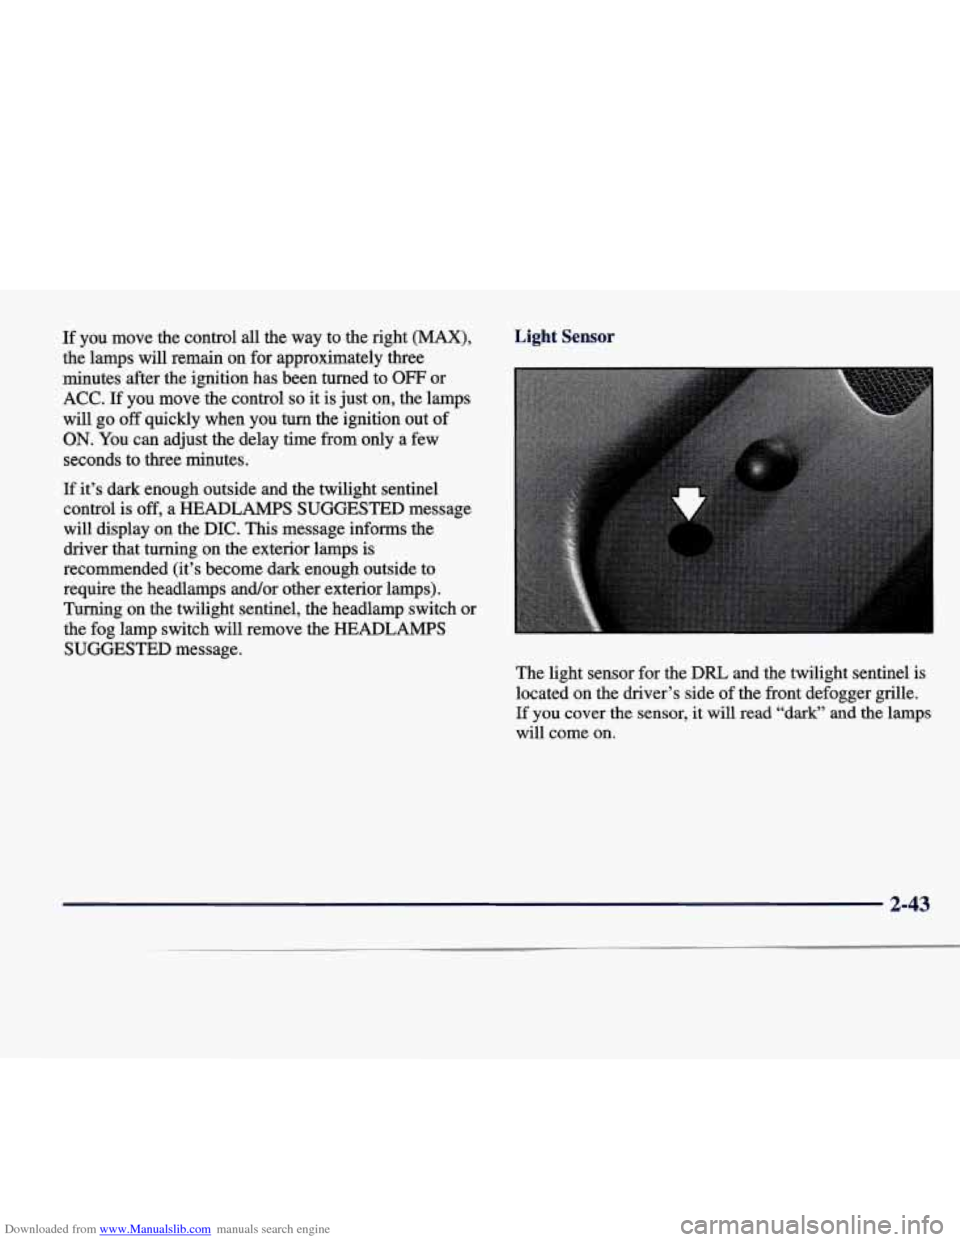
Light Sensor
The light sensor for the DRL and the twilight sentinel is
located on the driver’s side of the front defogger
grille.
If you cover the sensor, it will read “dark” and the lamps
will come on.
2-43
Page 108 of 378
Downloaded from www.Manualslib.com manuals search engine At night, when the glare is too high, the mirror will
gradually darken to reduce glare (this change may take a
few seconds). The mirror will return to its clear daytime
state when the glare is reduced.
Mirror Operation
To turn on the automatic dimming feature, press AUTO.
To turn off automatic dimming, press OFF. The
indicator light will be illuminated when this feature
is active.
Time Delay
The automatic mirror has a time delay feature which
prevents unnecessary switching from the night back to
the day position. This delay prevents rapid changing of
the mirror as you drive under lights and through traffic.
Cleaning the Photocells
Use a cotton swab and glass cleaner to clean the
photocells when necessary.
Electrochromic Daymight Rearview Mirror with Compass
(If Equipped)
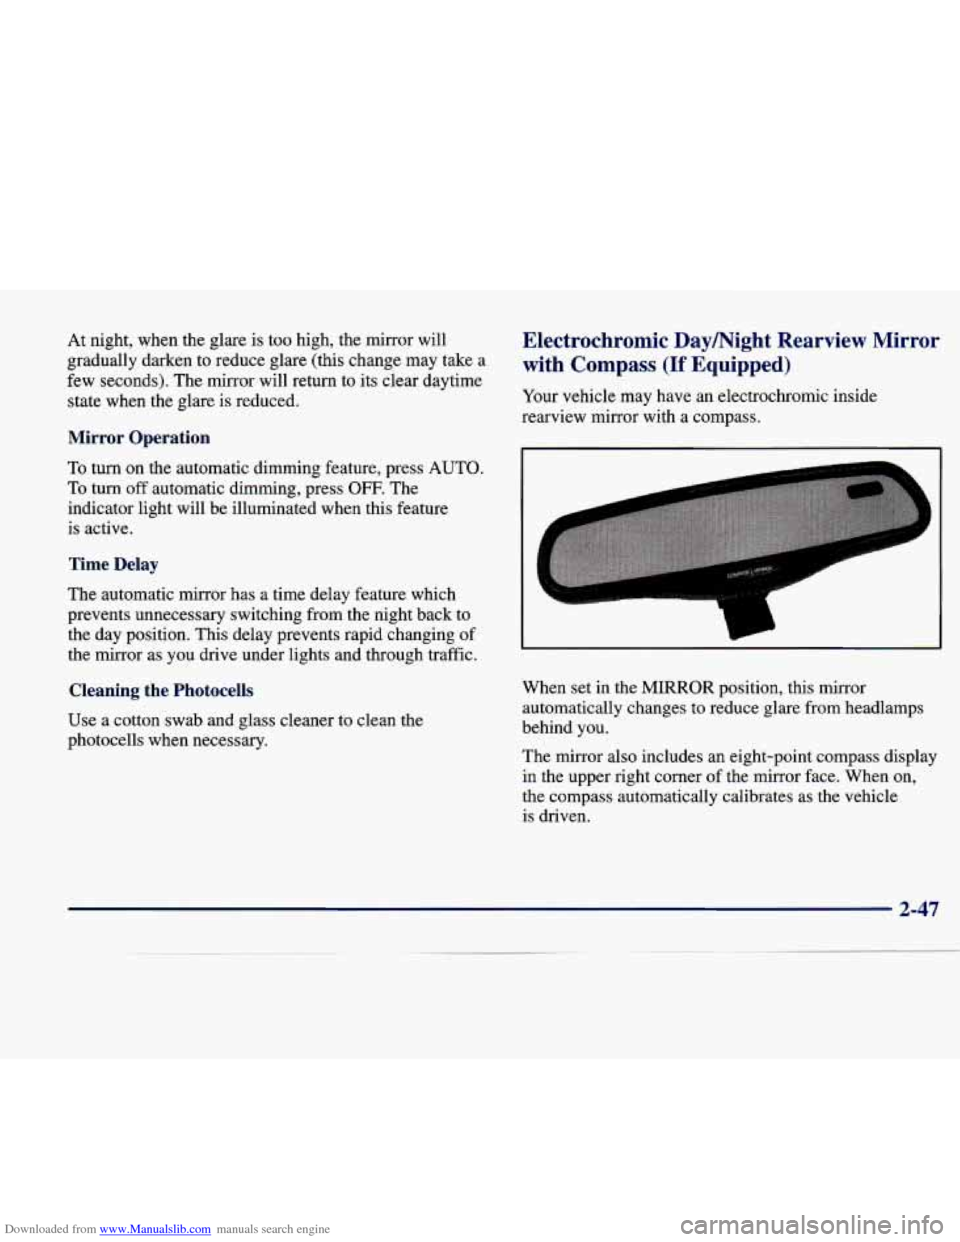
Your vehicle may have an electrochromic inside
rearview mirror with
a compass.
L
1
When set in the MIRROR position, this mirror
automatically changes to reduce glare from headlamps
behind you.
The mirror also includes an eight-point
Cti~pa"ss display
in the upper right corner of the mirror face. When on,
the compass automatically calibrates as the vehicle
is driven.