Page 1926 of 3342
B2M0643
11) When compulsory valve operation check mode is
exited or check completed, the monitor indicates the
completion of compulsory valve operation check on the
display, and automatically returns to the initial mode
(FUNCTION MODE: F00).
G3M0151
G: FINISHING DIAGNOSIS OPERATION
1. SUBARU SELECT MONITOR
1) Turn Subaru select monitor switch and ignition switch to
OFF.
2) Disconnect Subaru select monitor from its data link con-
nector.
3) Disconnect test mode connector at the lower portion of
instrument panel (on the driver’s side), to the side of the
center console box.
75
2-7ON-BOARD DIAGNOSTICS II SYSTEM
3. Diagnosis System
Page 2098 of 3342

10AS1CHECK DTC P0106, P0107, P0108, P0443,
P1102, P1122 OR P1422 ON DISPLAY.
: Does the Subaru select monitor or OBD-II
general scan tool indicate DTC P0106,
P0107, P0108, P0443, P1102, P1122 or
P1422?
: Inspect the relevant DTC P0106, P0107, P0108,
P0443, P1102, P1122 or P1422 using“10. Diag-
nostics Chart with Trouble Code”.
[T10A0].>
NOTE:
In this case, it is not necessary to inspect DTC P0441.
: Go to step10AS2.
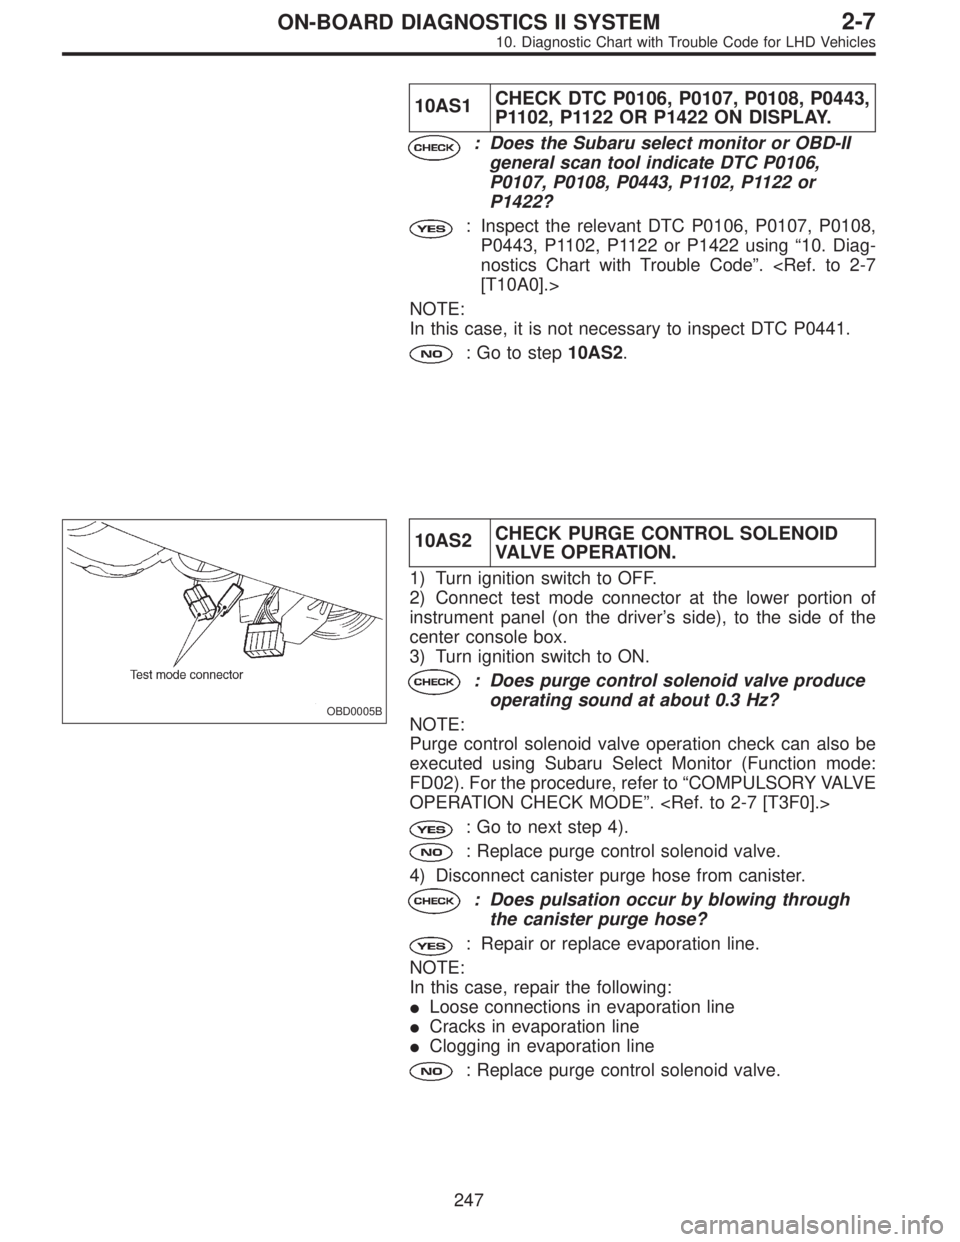
OBD0005B
10AS2CHECK PURGE CONTROL SOLENOID
VALVE OPERATION.
1) Turn ignition switch to OFF.
2) Connect test mode connector at the lower portion of
instrument panel (on the driver’s side), to the side of the
center console box.
3) Turn ignition switch to ON.
: Does purge control solenoid valve produce
operating sound at about 0.3 Hz?
NOTE:
Purge control solenoid valve operation check can also be
executed using Subaru Select Monitor (Function mode:
FD02). For the procedure, refer to“COMPULSORY VALVE
OPERATION CHECK MODE”.
: Go to next step 4).
: Replace purge control solenoid valve.
4) Disconnect canister purge hose from canister.
: Does pulsation occur by blowing through
the canister purge hose?
: Repair or replace evaporation line.
NOTE:
In this case, repair the following:
�Loose connections in evaporation line
�Cracks in evaporation line
�Clogging in evaporation line
: Replace purge control solenoid valve.
247
2-7ON-BOARD DIAGNOSTICS II SYSTEM
10. Diagnostic Chart with Trouble Code for LHD Vehicles
Page 2247 of 3342

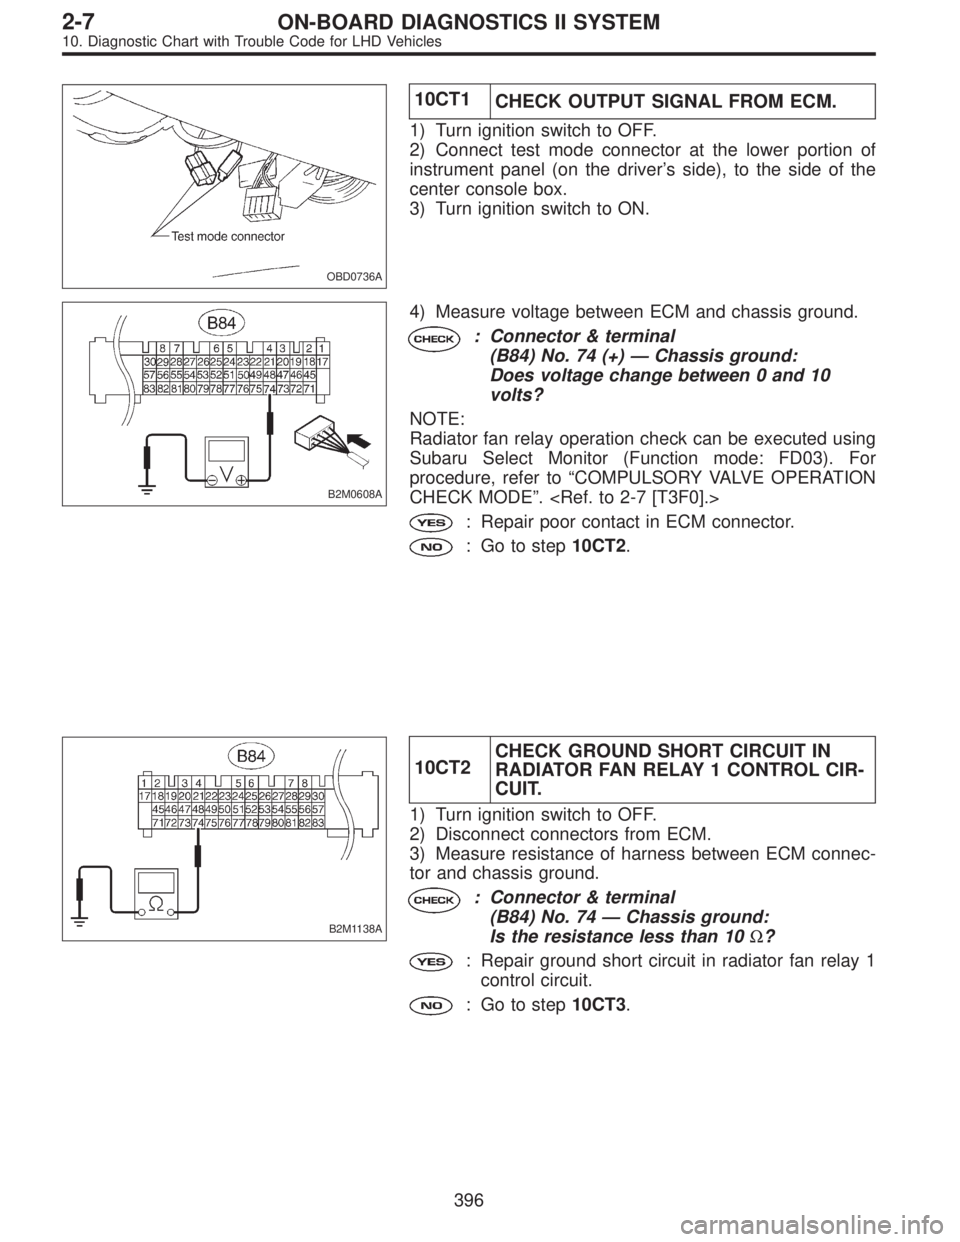
OBD0736A
10CT1
CHECK OUTPUT SIGNAL FROM ECM.
1) Turn ignition switch to OFF.
2) Connect test mode connector at the lower portion of
instrument panel (on the driver’s side), to the side of the
center console box.
3) Turn ignition switch to ON.
B2M0608A
4) Measure voltage between ECM and chassis ground.
: Connector & terminal
(B84) No. 74 (+)—Chassis ground:
Does voltage change between 0 and 10
volts?
NOTE:
Radiator fan relay operation check can be executed using
Subaru Select Monitor (Function mode: FD03). For
procedure, refer to“COMPULSORY VALVE OPERATION
CHECK MODE”.
: Repair poor contact in ECM connector.
: Go to step10CT2.
B2M1138A
10CT2CHECK GROUND SHORT CIRCUIT IN
RADIATOR FAN RELAY 1 CONTROL CIR-
CUIT.
1) Turn ignition switch to OFF.
2) Disconnect connectors from ECM.
3) Measure resistance of harness between ECM connec-
tor and chassis ground.
: Connector & terminal
(B84) No. 74—Chassis ground:
Is the resistance less than 10Ω?
: Repair ground short circuit in radiator fan relay 1
control circuit.
: Go to step10CT3.
396
2-7ON-BOARD DIAGNOSTICS II SYSTEM
10. Diagnostic Chart with Trouble Code for LHD Vehicles
Page 2257 of 3342

OBD0736A
10CW1
CHECK OUTPUT SIGNAL FROM ECM.
1) Turn ignition switch to OFF.
2) Connect test mode connector at the lower portion of
instrument panel (on the driver’s side), to the side of the
center console box.
3) Turn ignition switch to ON.
B2M0608A
4) Measure voltage between ECM and chassis ground.
: Connector & terminal
(B84) No. 74 (+)—Chassis ground:
Does voltage change between 0 and 10
volts?
NOTE:
Radiator fan relay operation check can be executed using
Subaru Select Monitor (Function mode: FD03). For
procedure, refer to“COMPULSORY VALVE OPERATION
CHECK MODE”.
: Go to step10CW2.
: Even if MIL lights up, the circuit has returned to a
normal condition at this time. In this case, repair
poor contact in ECM connector.
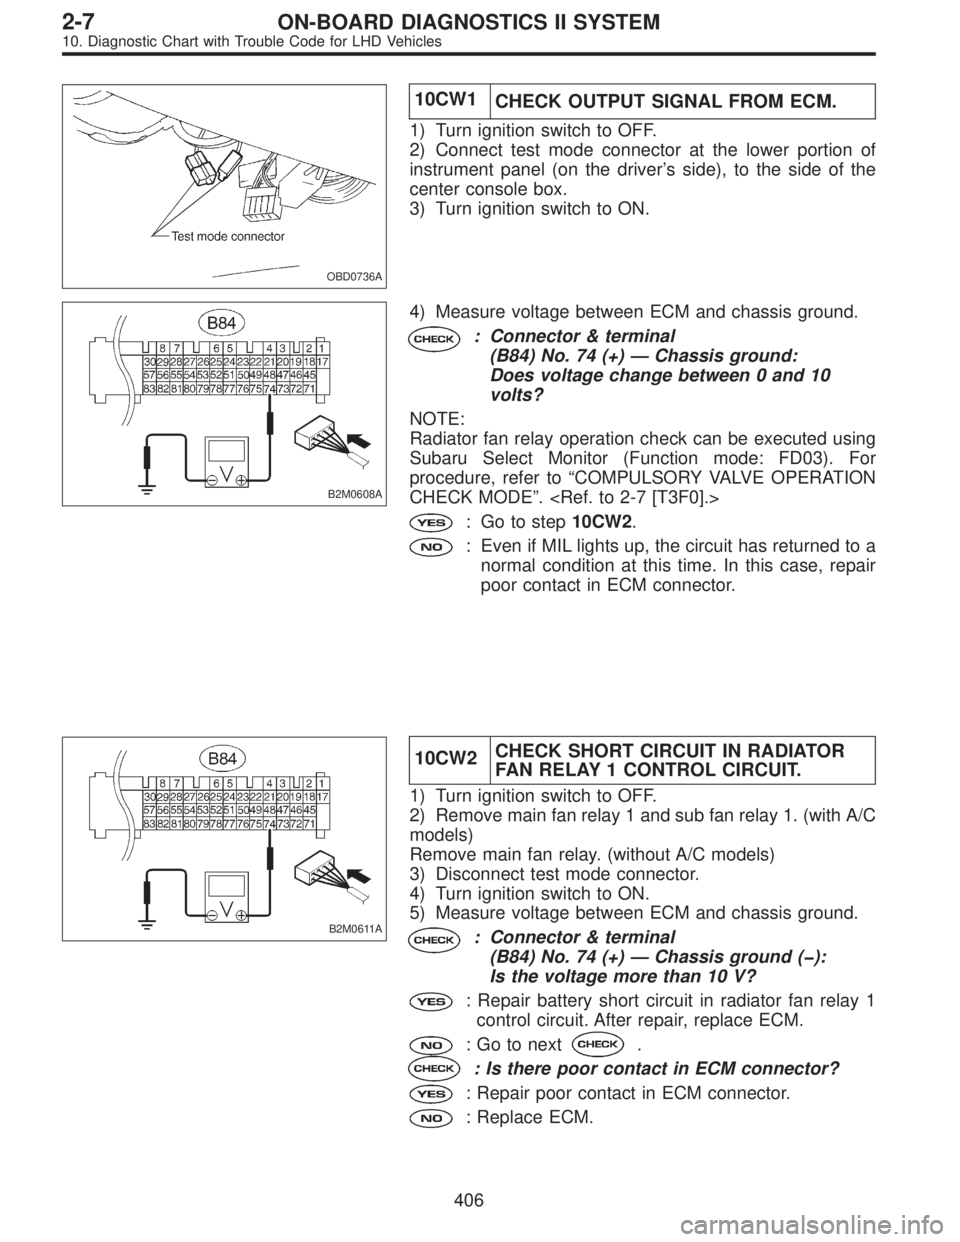
B2M0611A
10CW2CHECK SHORT CIRCUIT IN RADIATOR
FAN RELAY 1 CONTROL CIRCUIT.
1) Turn ignition switch to OFF.
2) Remove main fan relay 1 and sub fan relay 1. (with A/C
models)
Remove main fan relay. (without A/C models)
3) Disconnect test mode connector.
4) Turn ignition switch to ON.
5) Measure voltage between ECM and chassis ground.
: Connector & terminal
(B84) No. 74 (+)—Chassis ground (�):
Is the voltage more than 10 V?
: Repair battery short circuit in radiator fan relay 1
control circuit. After repair, replace ECM.
: Go to next.
: Is there poor contact in ECM connector?
: Repair poor contact in ECM connector.
: Replace ECM.
406
2-7ON-BOARD DIAGNOSTICS II SYSTEM
10. Diagnostic Chart with Trouble Code for LHD Vehicles