Page 1774 of 2053
SSANGYONG MY2002
9I-6 WATERLEAKS
KAA9I080
6. Using a sharp knife, trim off the uneven edges of
the adhesive material around the leak 75 to 100
mm (3 to 4 inches) on both sides of the leak.
KAA9I070
ON-VEHICLE SERVICE
WATERLEAK REPAIR
Some waterleaks around the glass can be repaired
without removing the glass.
Important: This type of repair may be used only for
urethane-installed glass.
1. Remove the reveal molding in the area of the leak.
It may be necessary to remove the garnish molding
or the trim strip lace in order to locate the leak.
2. While spraying water over the leak area, carefully
push the glass outward in order to determine the
size of the leak.
3. Mark the location of the leak.
4. Use water to clean any dirt from the area. Dry the
area with an air hose.
5. Using a sharp knife, trim off the uneven edges of
the adhesive caulking material around the leak for
a distance of 75 to 100 mm (3 to 4 inches) on both
sides of the leak.
MAINTENANCE AND REPAIR
Page 1776 of 2053
SECTION 9J
WINDNOISE
TABLE OF CONTENTS
Diagnosis..............................................................9J-2
Windnoise Diagnosis ...........................................9J-2Maintenance and Repair.....................................9J-3
On-Vehicle Service.................................................9J-3
Windnoise Repair................................................9J-3
Page 1778 of 2053
WINDNOISE 9J-3
SSANGYONG MY2002
MAINTENANCE AND REPAIR
ON-VEHICLE SERVICE
WINDNOISE REPAIR
Windnoise leak repairs are very similar to waterleak
repairs. Refer to Section 9I, Waterleaks. The actual
procedure depends on the type of seal being repaired.
Leaks around the door opening weatherstrips do not
al-ways indicate a faulty weatherstrip. A door or window
adjustment may resolve the condition. Refer to Section
9P, Doors or Section 9L, Glass and Mirrors.
Page 1779 of 2053
SECTION 9K
SQUEAKS AND RATTLES
TABLE OF CONTENTS
Diagnosis..............................................................9K-2
Squeak and Rattle Diagnosis...............................9K-2Maintenance and Repair.....................................9K-4
On-Vehicle Service.................................................9K-4
Squeak and Rattle Repair....................................9K-4
Page 1782 of 2053
SSANGYONG MY2002
9K-4 SQUEAKS AND RATTLES
MAINTENANCE AND REPAIR
ON-VEHICLE SERVICE
SQUEAK AND RATTLE REPAIR
Squeaks and rattles are caused by the unwanted move-
ment between parts of a vehicle. There are three means
to prevent squeaks or rattles.
Attach the parts securely so that there is no relative
motion during the operation of the vehicle.
Separate the parts so that there is no contact during
operation.
Insulate the parts so that no squeaks or rattles occur
with the movement of the parts. Low uniform friction
surfaces can be used to eliminate “stick-slip”
motion.
Page 1783 of 2053

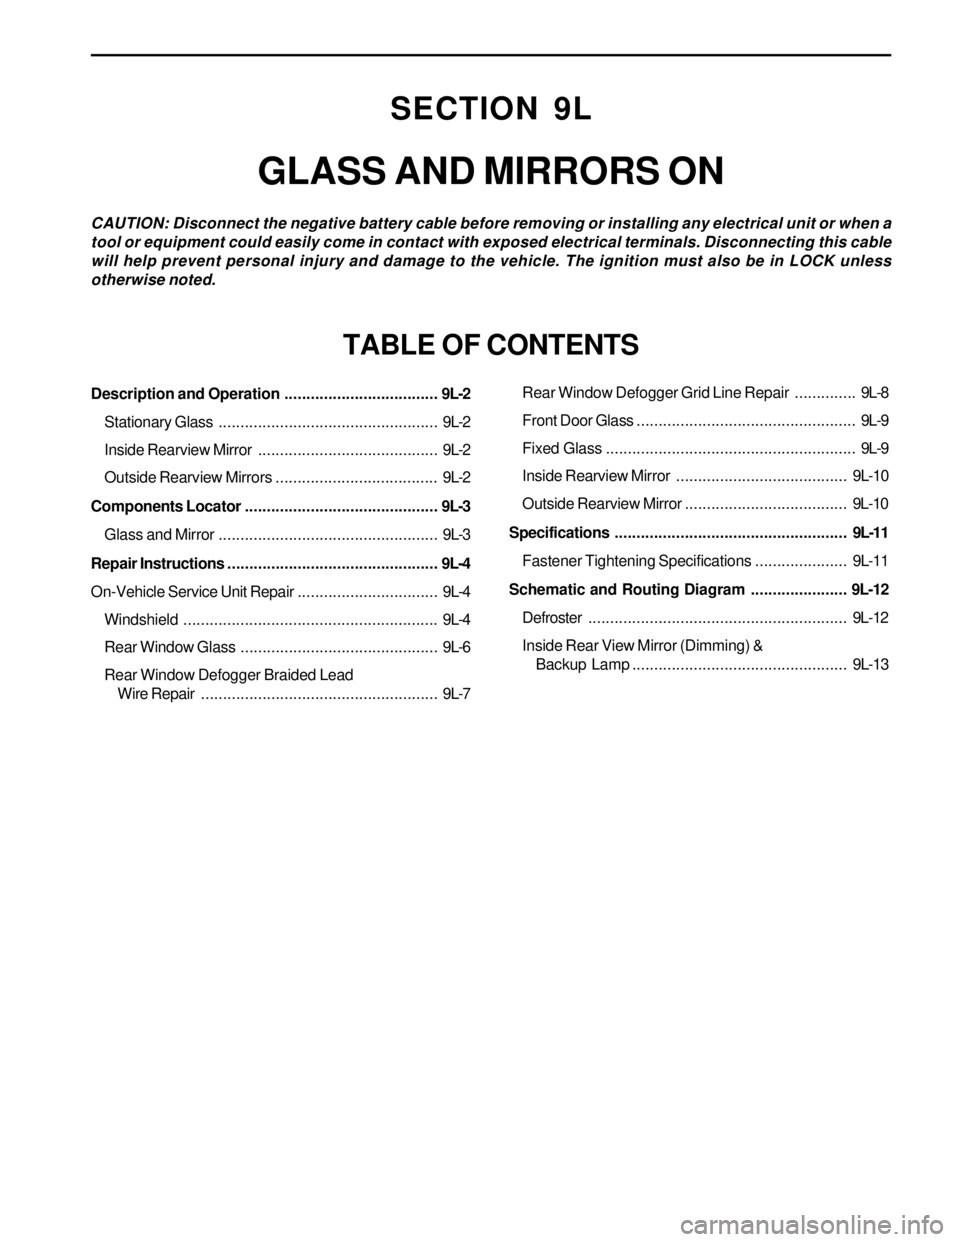
SECTION 9L
GLASS AND MIRRORS ON
CAUTION: Disconnect the negative battery cable before removing or installing any electrical unit or when a
tool or equipment could easily come in contact with exposed electrical terminals. Disconnecting this cable
will help prevent personal injury and damage to the vehicle. The ignition must also be in LOCK unless
otherwise noted.
TABLE OF CONTENTS
Description and Operation...................................9L-2
Stationary Glass..................................................9L-2
Inside Rearview Mirror.........................................9L-2
Outside Rearview Mirrors.....................................9L-2
Components Locator............................................9L-3
Glass and Mirror..................................................9L-3
Repair Instructions................................................9L-4
On-Vehicle Service Unit Repair................................9L-4
Windshield..........................................................9L-4
Rear Window Glass.............................................9L-6
Rear Window Defogger Braided Lead
Wire Repair......................................................9L-7Rear Window Defogger Grid Line Repair..............9L-8
Front Door Glass..................................................9L-9
Fixed Glass.........................................................9L-9
Inside Rearview Mirror ....................................... 9L-10
Outside Rearview Mirror..................................... 9L-10
Specifications.....................................................9L-11
Fastener Tightening Specifications..................... 9L-11
Schematic and Routing Diagram......................9L-12
Defroster........................................................... 9L-12
Inside Rear View Mirror (Dimming) &
Backup Lamp................................................. 9L-13
Page 1786 of 2053
SSANGYONG MY2002
9L-4 GLASS AND MIRRORS
KAA9L030
4. Using the glass sealant remover J-24402, cut the
adhesive around the windshield.
KAA9L020
ON-VEHICLE SERVICE
UNIT REPAIR
WINDSHIELD
Tools Required
J-24402Glass Sealant Remover
Removal Procedure
1. Remove the cowl vent grille. Refer to Section 9R,
Body Front End.
2. Remove the inside rearview mirror. Refer to “Rear
view Mirror” in this section.
3. Remove the weatherstrip around the windshield.
REPAIR INSTRUCTIONS
Page 1796 of 2053

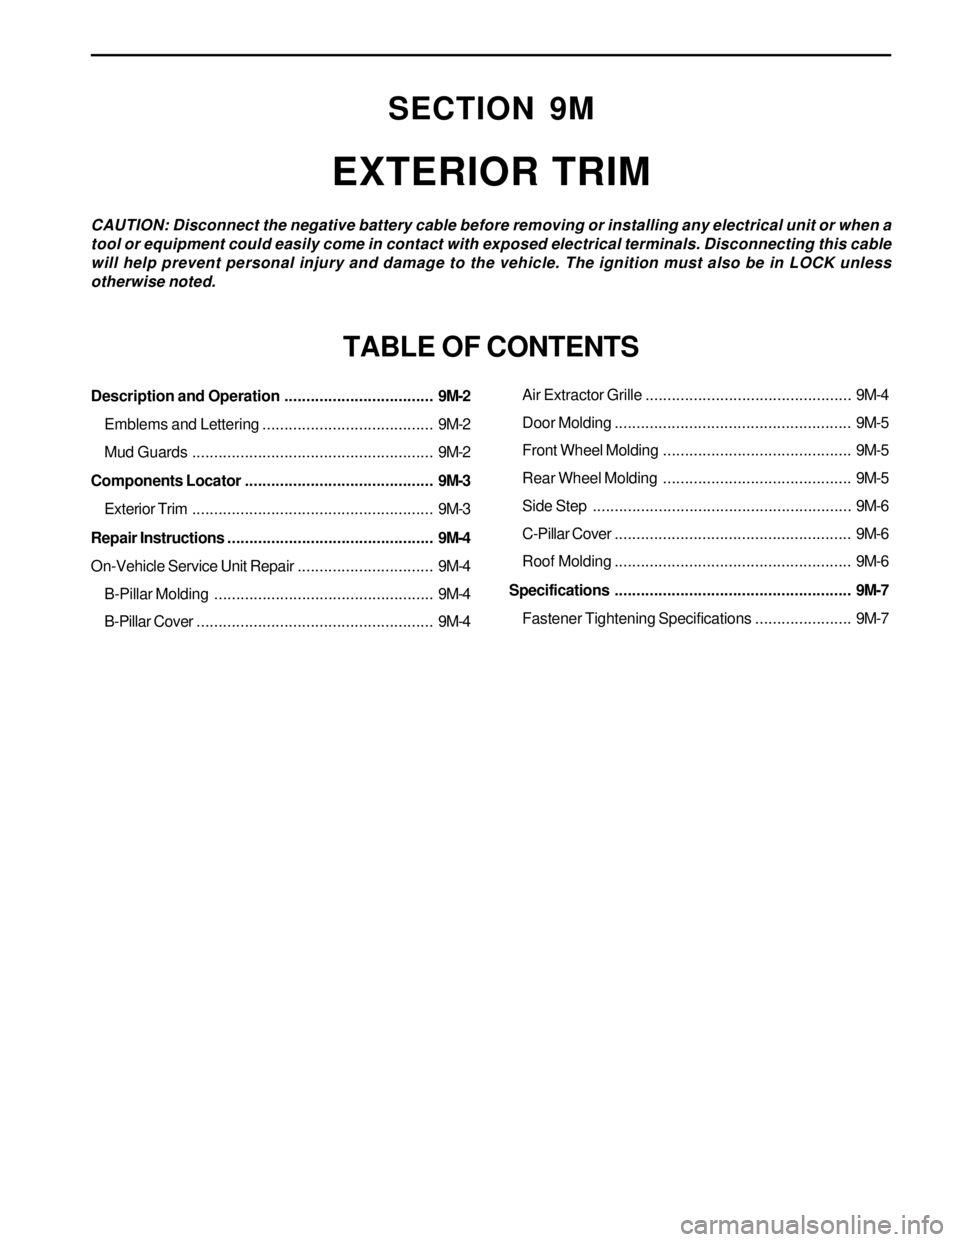
Description and Operation..................................9M-2
Emblems and Lettering.......................................9M-2
Mud Guards.......................................................9M-2
Components Locator ...........................................9M-3
Exterior Trim.......................................................9M-3
Repair Instructions...............................................9M-4
On-Vehicle Service Unit Repair...............................9M-4
B-Pillar Molding..................................................9M-4
B-Pillar Cover......................................................9M-4
SECTION 9M
EXTERIOR TRIM
CAUTION: Disconnect the negative battery cable before removing or installing any electrical unit or when a
tool or equipment could easily come in contact with exposed electrical terminals. Disconnecting this cable
will help prevent personal injury and damage to the vehicle. The ignition must also be in LOCK unless
otherwise noted.
TABLE OF CONTENTS
Air Extractor Grille...............................................9M-4
Door Molding......................................................9M-5
Front Wheel Molding...........................................9M-5
Rear Wheel Molding...........................................9M-5
Side Step...........................................................9M-6
C-Pillar Cover......................................................9M-6
Roof Molding......................................................9M-6
Specifications......................................................9M-7
Fastener Tightening Specifications......................9M-7