Page 71 of 247
SLIDING THREE-PASSENGER
SEAT
Reclining
To recline the three-passenger seat, lift up
on the lever and lean back until you reach
the desired angle. To bring the seatback
forward, pull the lever up and lean your
body forward.
Some three-passenger seats do not have
the recline feature.
WARNING
cDo not recline the seatback while the
vehicle is moving.
cDo not ride in a moving vehicle when
the seatback is reclined. This can be
dangerous. The shoulder belt will
not be against your body. In an acci-
dent you could be thrown into it and
receive neck or other serious inju-
ries. You could also slide under the
lap belt and receive serious internal
injuries.cFor most effective protection when
the vehicle is in motion, the seat
should be upright. Always sit well
back in the seat and adjust the seat
belt properly. See ``Precautions on
Seat Belt Usage'' later in this
chapter.
cAfter adjustment, gently rock in the
seat to be sure both sides are se-
curely locked.
APD0852
2-38
ZX
Page 72 of 247
Sliding the three-passenger seat
Before sliding the seat, fasten the center
belt tongue to the center buckle and remove
the appropriate floor mats.1. Lift the seat cushion release lever.
2. Lift the seat cushion up into the locked
position.
3. Lift the slide release lever and grasp the
bar under the seat in the center.
4. Slide the seat until locked at a passenger
seating position or a storage position.
After the seat starts moving, release the
slide lever. The seat latches at the next
latching position. Continue to lift and
release the slide lever until the desired
position is obtained.
To lower the cushion, the seat must be
APD0853
APD0162
2-39
ZX
Page 73 of 247
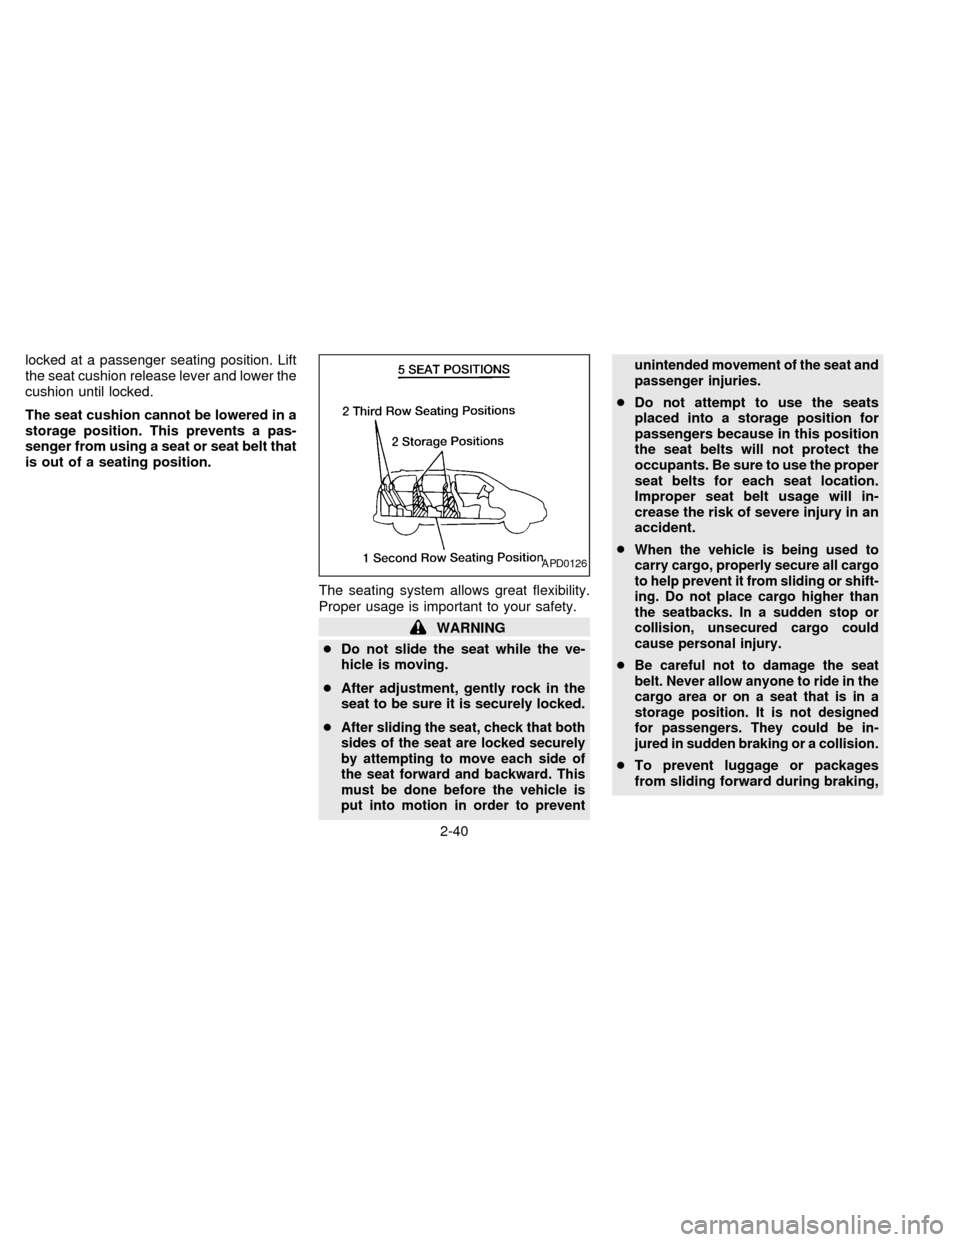
locked at a passenger seating position. Lift
the seat cushion release lever and lower the
cushion until locked.
The seat cushion cannot be lowered in a
storage position. This prevents a pas-
senger from using a seat or seat belt that
is out of a seating position.
The seating system allows great flexibility.
Proper usage is important to your safety.
WARNING
cDo not slide the seat while the ve-
hicle is moving.
cAfter adjustment, gently rock in the
seat to be sure it is securely locked.
c
After sliding the seat, check that both
sides of the seat are locked securely
by attempting to move each side of
the seat forward and backward. This
must be done before the vehicle is
put into motion in order to preventunintended movement of the seat and
passenger injuries.
cDo not attempt to use the seats
placed into a storage position for
passengers because in this position
the seat belts will not protect the
occupants. Be sure to use the proper
seat belts for each seat location.
Improper seat belt usage will in-
crease the risk of severe injury in an
accident.
c
When the vehicle is being used to
carry cargo, properly secure all cargo
to help prevent it from sliding or shift-
ing. Do not place cargo higher than
the seatbacks. In a sudden stop or
collision, unsecured cargo could
cause personal injury.
cBe careful not to damage the seat
belt. Never allow anyone to ride in the
cargo area or on a seat that is in a
storage position. It is not designed
for passengers. They could be in-
jured in sudden braking or a collision.
cTo prevent luggage or packages
from sliding forward during braking,
APD0126
2-40
ZX
Page 81 of 247
If any of the following conditions occur, the
supplemental air bag needs servicing and
should be taken to your nearest authorized
NISSAN dealer:
1. The supplemental air bag light does not
come on and remain on for 7 seconds
and then go off as described above.
2. The supplemental air bag light flashes
intermittently or remains on.
3. The supplemental air bag light does not
come on at all.
Under these conditions, the Supplemental
Restraint System Air Bag may not operate
properly. It must be checked and repaired.
Take your vehicle to the nearest authorized
NISSAN dealer.
WARNING
If the supplemental air bag warning
light is on, it could mean that the air
bag will not operate in an accident.
Repair and replacement procedure
The supplemental air bag system is de-
signed to inflate on a one-time-only basis.
As a reminder, unless it is damaged, thesupplemental air bag light remains illumi-
nated after inflation has occurred. Repair
and replacement of the supplemental air
bag system should be done only by an
authorized NISSAN dealer.
To ensure long-term functioning, the
system must be inspected 10 years after
the date of manufacture as noted on the
certification label located on the driver
side front pillar.
When maintenance work is required on the
vehicle, the supplemental air bag system
and related parts should be pointed out to
the person conducting the maintenance.
The ignition key should always be in the
LOCK position when working under the
hood or inside the vehicle.
WARNING
cOnce the supplemental air bag in-
flates, the supplemental air bag
module will not function again and
should be replaced by an authorized
NISSAN dealer. The supplemental air
bag module cannot be repaired.cThe supplemental air bag system
should be inspected by an autho-
rized NISSAN dealer if there is any
damage to the front end portion of
the vehicle.
cIf you need to dispose of a supple-
mental air bag or scrap the vehicle,
contact an authorized NISSAN
dealer. Correct supplemental air bag
disposal procedures are set forth in
the appropriate NISSAN Service
Manual. Incorrect disposal proce-
dures could cause personal injury.
2-48
ZX
Page 85 of 247
lap belt and receive serious internal
injuries.
cFor most effective protection when
the vehicle is in motion, the seat
should be upright. Always sit well
back in the seat and adjust the seat
belt properly.
Fastening the belts
1. Adjust the seat.
2. Slowly pull the seat belt out of the retrac-
tor and insert the tongue into the buckle
until it snaps.
The retractor is designed to lock during
a sudden stop or on impact. A slow
pulling motion permits the belt to move,
and allows you some freedom of move-
ment in the seat.
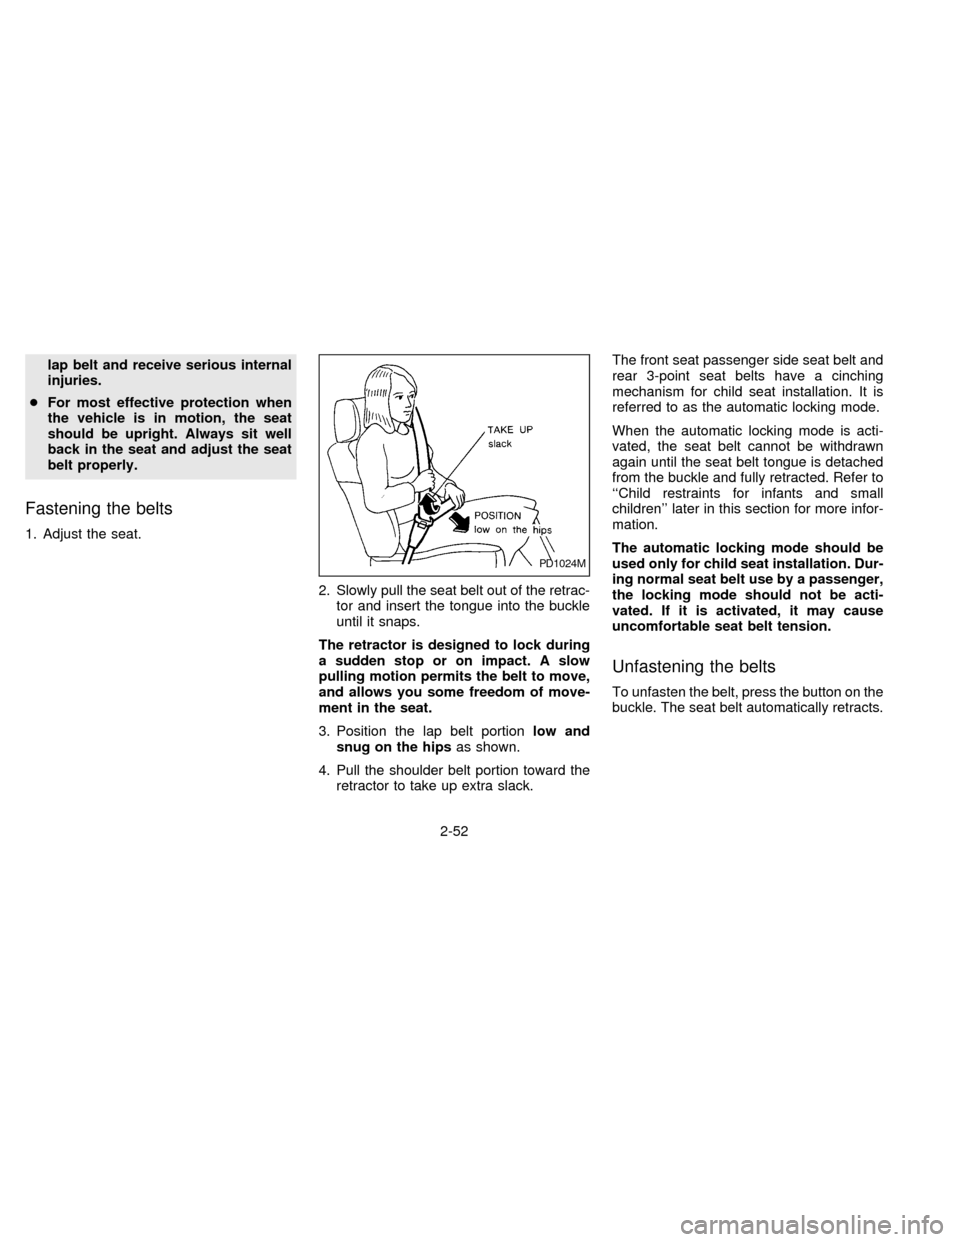
3. Position the lap belt portionlow and
snug on the hipsas shown.
4. Pull the shoulder belt portion toward the
retractor to take up extra slack.The front seat passenger side seat belt and
rear 3-point seat belts have a cinching
mechanism for child seat installation. It is
referred to as the automatic locking mode.
When the automatic locking mode is acti-
vated, the seat belt cannot be withdrawn
again until the seat belt tongue is detached
from the buckle and fully retracted. Refer to
``Child restraints for infants and small
children'' later in this section for more infor-
mation.
The automatic locking mode should be
used only for child seat installation. Dur-
ing normal seat belt use by a passenger,
the locking mode should not be acti-
vated. If it is activated, it may cause
uncomfortable seat belt tension.
Unfastening the belts
To unfasten the belt, press the button on the
buckle. The seat belt automatically retracts.
PD1024M
2-52
ZX
Page 87 of 247
receive neck or other serious inju-
ries. You could also slide under the
lap belt and receive serious internal
injuries.
cFor most effective protection when
the vehicle is in motion, the seat
should be upright. Always sit well
back in the seat and adjust the seat
belt properly.
Fastening the belts
1. Adjust the seat.
2. Slowly pull the seat belt out of the retrac-
tor and insert the tongue into the buckle
until it snaps.
The retractor is designed to lock during
a sudden stop or on impact. A slow
pulling motion permits the belt to move,
and allows you some freedom of move-
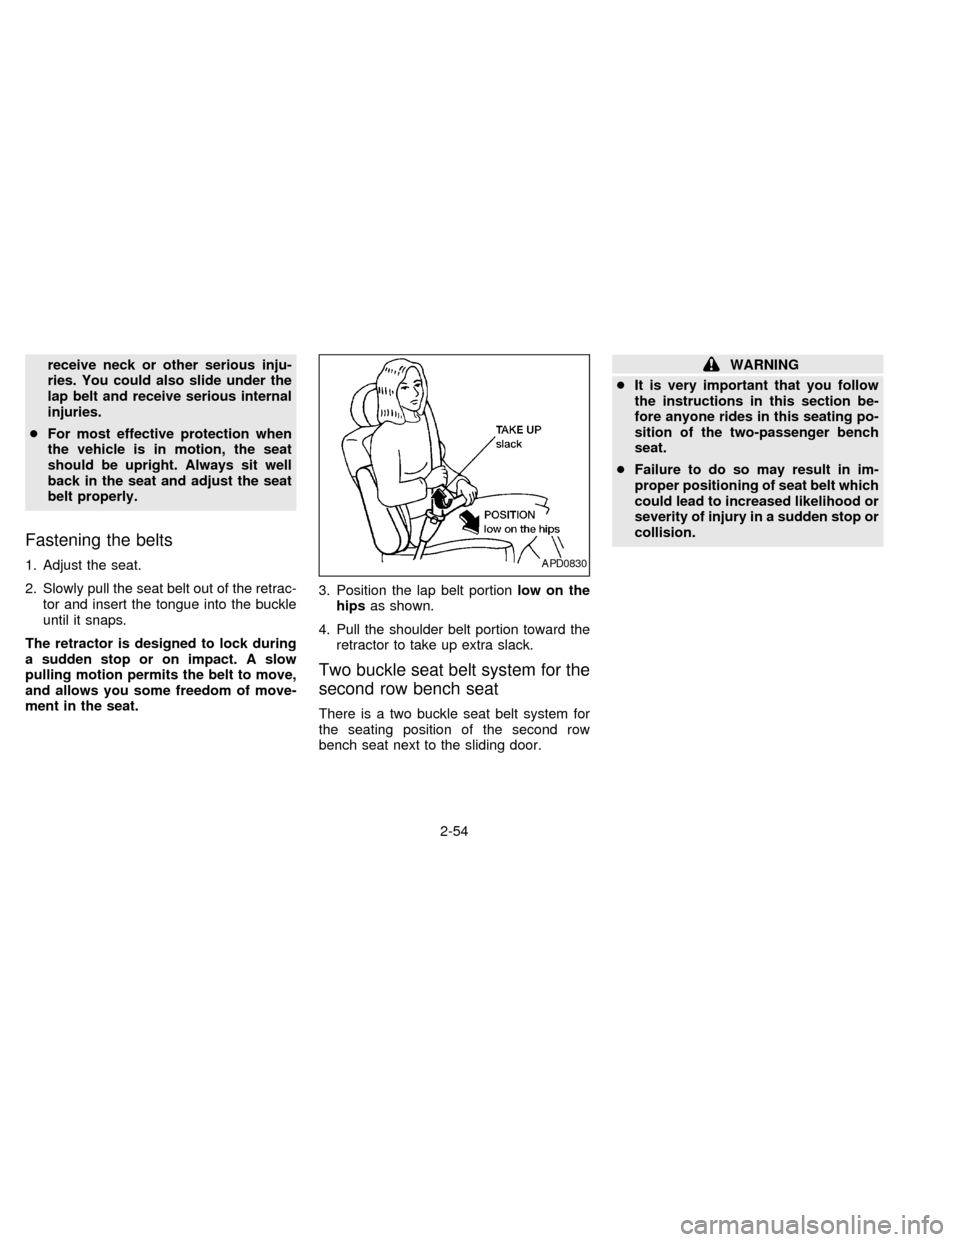
ment in the seat.3. Position the lap belt portionlow on the
hipsas shown.
4. Pull the shoulder belt portion toward the
retractor to take up extra slack.
Two buckle seat belt system for the
second row bench seat
There is a two buckle seat belt system for
the seating position of the second row
bench seat next to the sliding door.
WARNING
cIt is very important that you follow
the instructions in this section be-
fore anyone rides in this seating po-
sition of the two-passenger bench
seat.
cFailure to do so may result in im-
proper positioning of seat belt which
could lead to increased likelihood or
severity of injury in a sudden stop or
collision.
APD0830
2-54
ZX
Page 90 of 247
Checking seat belt operation
(3-point type with retractor)
The second and third row seat belt retrac-
tors are designed to lock belt movement:
1) when the belt is pulled quickly from the
retractor, and
2) when the vehicle slows down rapidly.
To increase your confidence in the belts,
check their operation. Grasp the shoulder
belt and pull quickly forward. The retractor
should lock and restrict further belt move-
ment.
If the retractor does not lock during this
check or if you have any questions about
belt operation, see your NISSAN dealer.
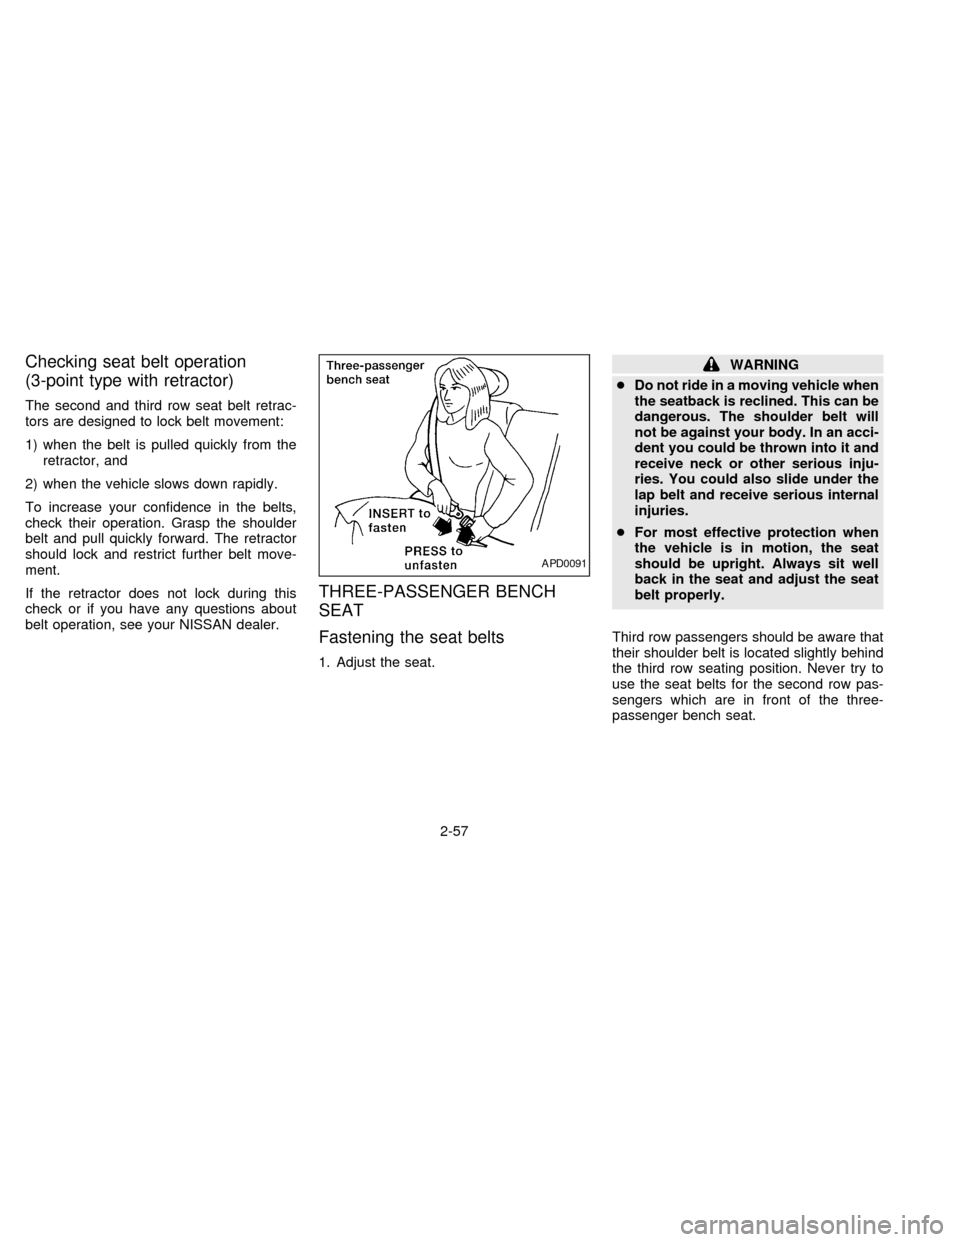
THREE-PASSENGER BENCH
SEAT
Fastening the seat belts
1. Adjust the seat.
WARNING
cDo not ride in a moving vehicle when
the seatback is reclined. This can be
dangerous. The shoulder belt will
not be against your body. In an acci-
dent you could be thrown into it and
receive neck or other serious inju-
ries. You could also slide under the
lap belt and receive serious internal
injuries.
cFor most effective protection when
the vehicle is in motion, the seat
should be upright. Always sit well
back in the seat and adjust the seat
belt properly.
Third row passengers should be aware that
their shoulder belt is located slightly behind
the third row seating position. Never try to
use the seat belts for the second row pas-
sengers which are in front of the three-
passenger bench seat.
APD0091
2-57
ZX
Page 91 of 247
WARNING
Use of the second row 3-point seat
belts by third row passengers could
increase injury in a sudden stop or an
accident.
2. Slowly pull the seat belt out of the retrac-
tor and insert the tongue into the buckle
until it snaps.
The retractor is designed to lock during
a sudden stop or on impact. A slow
pulling motion permits the belt to move,
and allows you some freedom of move-
ment in the seat.3. Position the lap belt portionlow on the
hips as shown.
4. Pull the shoulder belt portion toward the
retractor to take up extra slack.
2-POINT TYPE WITHOUT
RETRACTOR (Center of three-
passenger bench seat)
Fastening the belts
1. Insert the tongue into the buckle until it
snaps.
APD0131APD0094
2-58
ZX