Page 1816 of 4133
![MERCEDES-BENZ ML430 1997 Complete Repair Manual E-call control module/
CTEL [TEL] interface
and replace with the
white insert of the
exchange D2B wiring
harnessvoice control system (SBS) is
installed, the white D2B insert
should be removed f MERCEDES-BENZ ML430 1997 Complete Repair Manual E-call control module/
CTEL [TEL] interface
and replace with the
white insert of the
exchange D2B wiring
harnessvoice control system (SBS) is
installed, the white D2B insert
should be removed f](/manual-img/4/57307/w960_57307-1815.png)
E-call control module/
CTEL [TEL] interface
and replace with the
white insert of the
exchange D2B wiring
harnessvoice control system (SBS) is
installed, the white D2B insert
should be removed from the
voice control system control
module and not from the E-call
control module/CTEL [TEL]
interface.
Pay attention to the correct
installation position of the insert
in the D2B plug. Cut off the
fiber optical cable removed at
the adhesive tape.
5Route exchange D2B
wiring harness (1)
under the floor
covering to the
transmission tunnel
6Route exchange D2B
wiring harness (1) at
the top of the
transmission tunnel to
the center part of the
instrument panel Route fiber optical cable
under the air duct. Guide it past
all components on the left side.
7Route exchange D2B
wiring harness (1)
behind the instrument
panel to the radio
installation opening
8Remove red insert of
the D2B wiring harness
from the D2B plug on
the radio and replace
with the red insert of
the exchange D2B
wiring harness Risk of breakage! Do not
kink or stretch fiber optic cable
Pay attention to the correct
installation position of the insert
in the D2 B-plug. Cut off the
fiber optical cable removed at
the adhesive tape.AR82.70-P-0004-01A
9Fasten exchange D2B
wiring harness (1) to
the existing D2B
wiring harness of the
radio
10.1Install CTEL [TEL]
interface (A34/4) with
bracket Only with complete portable
CTEL-preinstallation on dome,
code 852 or with MB portable
CTEL, code 854.
*BA91.10-P-1001-01B
*BA91.40-P-1001-01D
2001 Mercedes-Benz ML320
1998-2005 ACCESSORIES & BODY, CAB Electrical System - Body - 163 Chassis
me
Saturday, October 02, 2010 3:30:10 PMPage 321 © 2006 Mitchell Repair Information Company, LLC.
Page 1821 of 4133

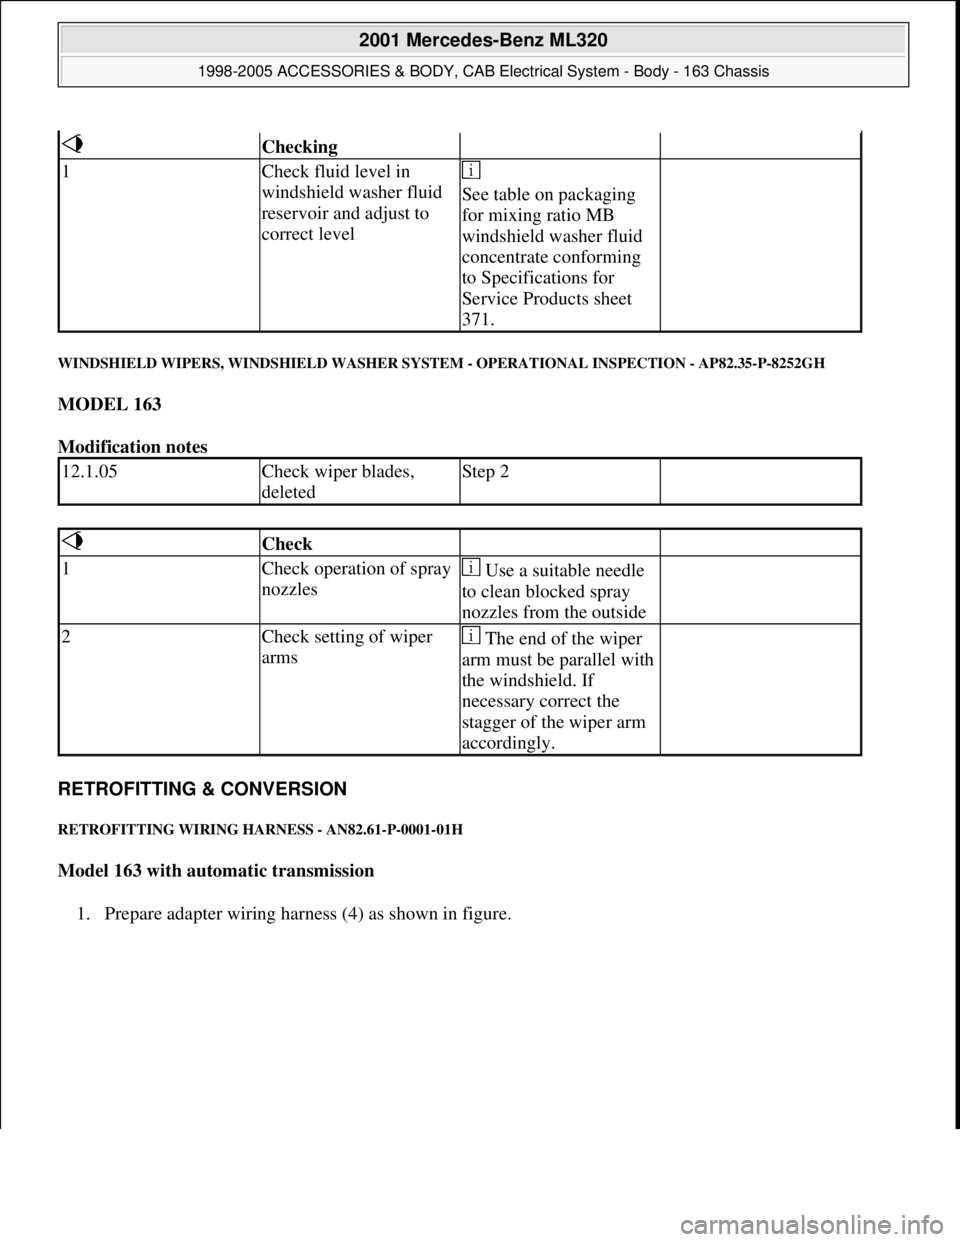
WINDSHIELD WIPERS, WINDSHIELD WASHER SYSTEM - OPERATIONAL INSPECTION - AP82.35-P-8252GH
MODEL 163
Modification notes
RETROFITTING & CONVERSION
RETROFITTING WIRING HARNESS - AN82.61-P-0001-01H
Model 163 with automatic transmission
1. Prepare adapter wirin
g harness (4) as shown in figure.
Checking
1Check fluid level in
windshield washer fluid
reservoir and adjust to
correct level
See table on packaging
for mixing ratio MB
windshield washer fluid
concentrate conforming
to Specifications for
Service Products sheet
371.
12.1.05Check wiper blades,
deletedStep 2
Check
1Check operation of spray
nozzles Use a suitable needle
to clean blocked spray
nozzles from the outside
2Check setting of wiper
arms The end of the wiper
arm must be parallel with
the windshield. If
necessary correct the
stagger of the wiper arm
accordingly.
2001 Mercedes-Benz ML320
1998-2005 ACCESSORIES & BODY, CAB Electrical System - Body - 163 Chassis
me
Saturday, October 02, 2010 3:30:10 PMPage 326 © 2006 Mitchell Repair Information Company, LLC.
Page 1822 of 4133
Fig. 226: Identifying Retrofitting Wiring Harness - Prepare Adapter Wiring Harness
2. Route wiring harness (4) along existing leads in vehicle as shown in figure.
Fig. 227: Identifying Retrofitting Wiring Harness
- Route Wiring Harness Along Existing Leads In
Vehicle
2001 Mercedes-Benz ML320
1998-2005 ACCESSORIES & BODY, CAB Electrical System - Body - 163 Chassis
me
Saturday, October 02, 2010 3:30:10 PMPage 327 © 2006 Mitchell Repair Information Company, LLC.
Page 1823 of 4133
3. Connect adapter wiring harness (4) to standard wiring harness and radio and navigation operating unit
(A2/29) with radio mating connector (7).
Fig. 228: Identifying Adapter Wiring Harness, Radio And Navigation Operating Unit And Radio
Mating Connector
4. Connect black 10-pin connector (C) to radio and navigation operating unit (A2/29).
5. Connect GPS antenna lead (41) as shown in figure.
Fig. 229: Identifying 10
-Pin Connector, Radio And Navigation Operating Unit, GPS Antenna Lead
And Green Back-Up Lamp Signal Lead
6. Route tie-out to CAN bus adapter (5) from adapter wiring harness (5) to center tunnel at rear.
2001 Mercedes-Benz ML320
1998-2005 ACCESSORIES & BODY, CAB Electrical System - Body - 163 Chassis
me
Saturday, October 02, 2010 3:30:10 PMPage 328 © 2006 Mitchell Repair Information Company, LLC.
Page 1824 of 4133
Fig. 230: Identifying CAN Bus Adapter And Adapter Wiring Harness
7. Position CAN bus adapter mount on st rut of center console and mark hole pattern (arrows) as shown in
figure.
8. Drill 6.2 mm dia. mounting holes.
Fig. 231: Locating Hole Pattern
9. Fasten CAN bus adapter (5) with self-tappi ng screws from CAN bus adapter parts kit.
Fig. 232: Identifying CAN Bus Adapter
10. Install white (ws) and blue (bl) fuse on transfer case control module (N78) from CAN bus wiring harness
(9) as shown in figure.
2001 Mercedes-Benz ML320
1998-2005 ACCESSORIES & BODY, CAB Electr ical System - Body - 163 Chassis
me
Saturday, October 02, 2010 3:30:10 PMPage 329 © 2006 Mitchell Repair Information Company, LLC.
Page 1825 of 4133

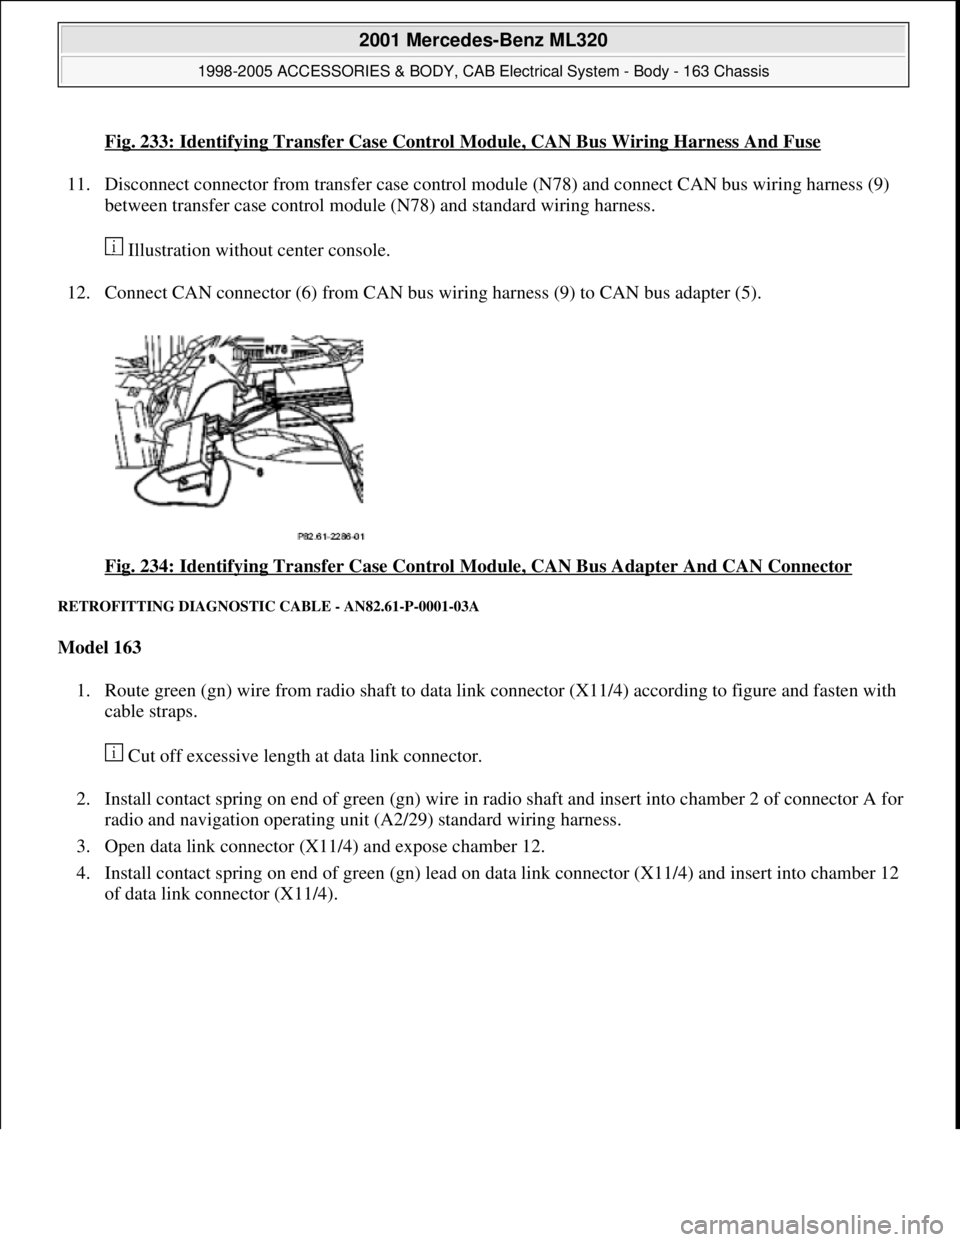
Fig. 233: Identifying Transfer Case Control Module, CAN Bus Wiring Harness And Fuse
11. Disconnect connector from transfer case control module (N78) and connect CAN bus wiring harness (9)
between transfer case control module (N78) and standard wiring harness.
Illustration without center console.
12. Connect CAN connector (6) from CAN bus wiring harness (9) to CAN bus adapter (5).
Fig. 234: Identifying Transfer Case Control Module, CAN Bus Adapter And CAN Connector
RETROFITTING DIAGNOSTIC CABLE - AN82.61-P-0001-03A
Model 163
1. Route green (gn) wire from radio shaft to data link connector (X11/4) according to figure and fasten with
cable straps.
Cut off excessive length at data link connector.
2. Install contact spring on end of green (gn) wire in radio shaft and insert into chamber 2 of connector A for
radio and navigation operating unit (A2/29) standard wiring harness.
3. Open data link connector (X11/4) and expose chamber 12.
4. Install contact spring on end of green (gn) lead on data link connector (X11/4) and insert into chamber 12
of data link connector (X11/4).
2001 Mercedes-Benz ML320
1998-2005 ACCESSORIES & BODY, CAB Electrical System - Body - 163 Chassis
me
Saturday, October 02, 2010 3:30:10 PMPage 330 © 2006 Mitchell Repair Information Company, LLC.
Page 1828 of 4133

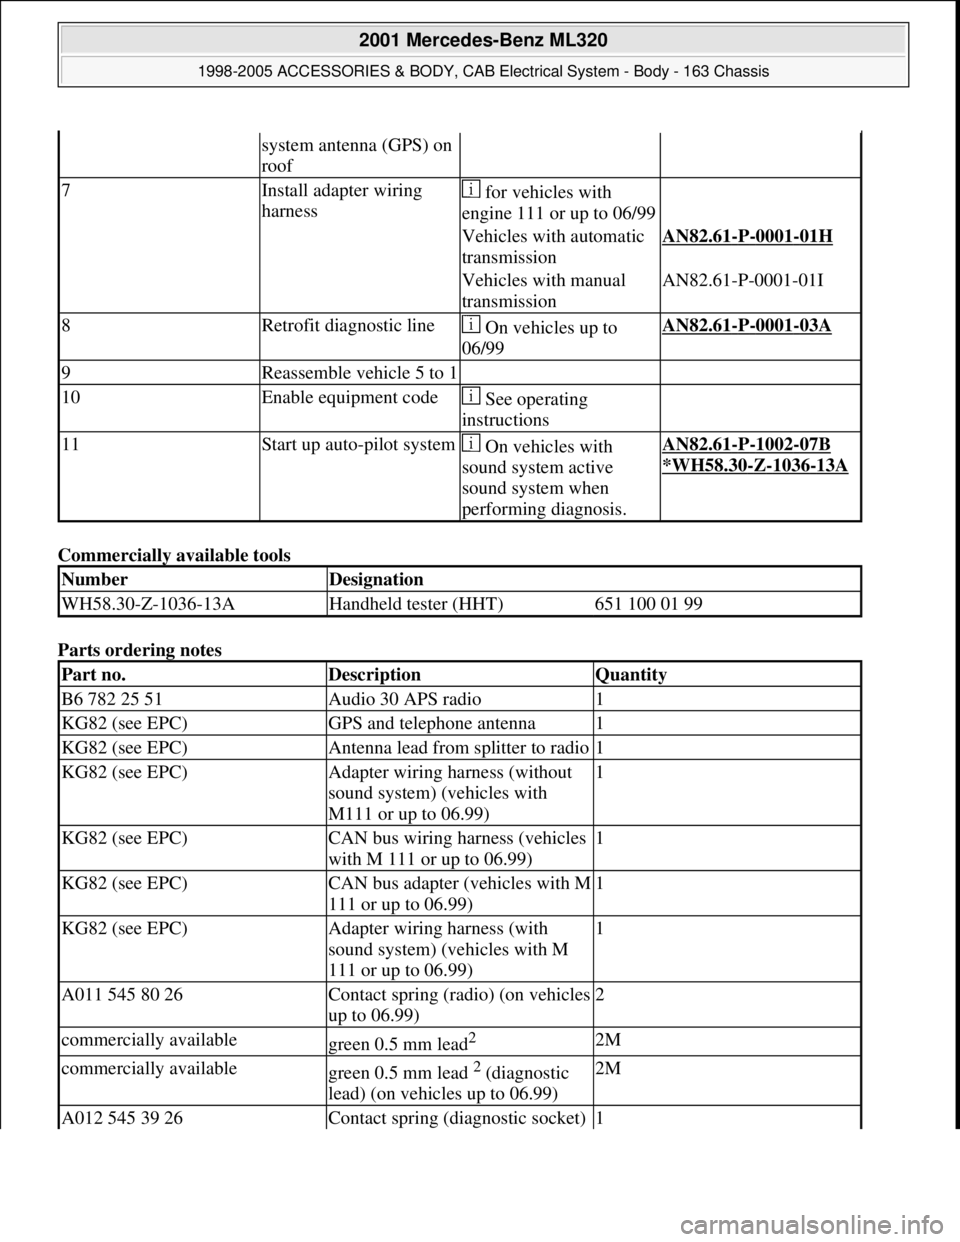
Commercially available tools
Parts ordering notes
system antenna (GPS) on
roof
7Install adapter wiring
harness for vehicles with
engine 111 or up to 06/99
Vehicles with automatic
transmissionAN82.61-P-0001-01H
Vehicles with manual
transmissionAN82.61-P-0001-01I
8Retrofit diagnostic line On vehicles up to
06/99AN82.61-P-0001-03A
9Reassemble vehicle 5 to 1
10Enable equipment code See operating
instructions
11Start up auto-pilot system On vehicles with
sound system active
sound system when
performing diagnosis.AN82.61-P-1002-07B
*WH58.30
-Z-1036-13A
NumberDesignation
WH58.30-Z-1036-13AHandheld tester (HHT)651 100 01 99
Part no.DescriptionQuantity
B6 782 25 51Audio 30 APS radio1
KG82 (see EPC)GPS and telephone antenna1
KG82 (see EPC)Antenna lead from splitter to radio1
KG82 (see EPC)Adapter wiring harness (without
sound system) (vehicles with
M111 or up to 06.99)1
KG82 (see EPC)CAN bus wiring harness (vehicles
with M 111 or up to 06.99)1
KG82 (see EPC)CAN bus adapter (vehicles with M
111 or up to 06.99)1
KG82 (see EPC)Adapter wiring harness (with
sound system) (vehicles with M
111 or up to 06.99)1
A011 545 80 26Contact spring (radio) (on vehicles
up to 06.99)2
commercially availablegreen 0.5 mm lead2 2M
commercially availablegreen 0.5 mm lead 2 (diagnostic
lead) (on vehicles up to 06.99)2M
A012 545 39 26Contact spring (diagnostic socket) 1
2001 Mercedes-Benz ML320
1998-2005 ACCESSORIES & BODY, CAB Electrical System - Body - 163 Chassis
me
Saturday, October 02, 2010 3:30:10 PMPage 333 © 2006 Mitchell Repair Information Company, LLC.
Page 1833 of 4133
Fig. 239: Identifying Antenna Diplexer, Antenna Line And GPS Antenna Lead
RETROFIT FIBER OPTIC CABLE WIRING HARNESS - AN82.70-P-0002-01GH
Connection diagram of fiber optic cable
1. Prepare fiber optic cable wiring harness (30) as shown in figure.
The vehicle is preinstalled with a fiber optic cable for the CD player with changer. This fiber optic
cable is tied back in the radio slot and is not required in this case.
Fig. 240: Identifying Connection Diagram Of Fiber Optic Cable
2. Connect fiber optic cable wiring harness (30) to the CTEL interface (A34/4).
3. After installing CTEL interface (A34/4) in the center console, route fiber optic cable wiring harness (30)
into the radio slot.
4. Connect wiring harness when installing radio (A2) or COMAND (A40/3).
2001 Mercedes-Benz ML320
1998-2005 ACCESSORIES & BODY, CAB Electrical System - Body - 163 Chassis
me
Saturday, October 02, 2010 3:30:11 PMPage 338 © 2006 Mitchell Repair Information Company, LLC.