1997 CHEVROLET CORVETTE tow
[x] Cancel search: towPage 155 of 356
Downloaded from www.Manualslib.com manuals search engine Manual Settings
With the Dual Zone Electronic Climate Control, there
are several manual settings you can use to control the
system and override the AUTO operation. You can
program the fan speed, air delivery mode,
air intake
mode and control the air conditioning operation using
these settings. The system will still determine the
temperature output level based on the driver-set
temperature and the passenger temperature offset.
8? FAN SPEED: Press the button with the fan switch
symbol on it to manually lock in the current fan speed
and to stop the automatic fan speed control. Pressing the
arrows will delete AUTO from the digital display. The
fan graphics with the fan speed bars will be shown. To
increase the fan speed
so that more air flows into the
vehicle, press the UP arrow on the fan switch.
To
decrease the fan speed and airflow, press the DOWN
arrow. The AUTO button must be pressed to return to
the automatic fan control.
MODE: Press the MODE button to manually lock in
the current air delivery setting and to stop the automatic
mode control. Pressing the
MODE button will delete
AUTO from the digital display and the mode graphics
will be shown.
To change the setting, press the MODE
button again. The AUTO button must be pressed to
return to the automatic mode selection.
/J UPPER: This setting directs most of the air
through the instrument panel outlets and a very small
amount to the lower outlets.
!# BI-LEVEL: This setting directs air into your
vehicle in two ways. Cooler air is directed toward your
upper body through the instrument panel outlets, while
warmer air
is directed through the lower outlets.
+’ LOWER: This setting directs most of the air to
the floor area and some of it toward the windshield and
side window vents.
+@ DEFOG: This setting divides the air between
the windshield and lower outlets and a small amount
toward the side window vents. This is useful when fog
appears on the windshield or side glass due to rain or
snowy conditions.
+e
+.
e
we
Page 156 of 356
Downloaded from www.Manualslib.com manuals search engine Mode Buttons
These buttons control climate control ON/OFF, air
intake, front defrost, rear defrost and the air
conditioning operation.
FRONT Press the FRONT defrost button to
quickly remove fog or frost from the windshield. This
setting directs most of the airflow to the windshield and
a small amount toward
the lower and side window
outlets. The light on the button will come on and the
digital display will show the defrost mode symbol and
fan speed when the front defrost mode is being used.
Pressing FRONT defrost again will return the system to
the last operating mode.
If the system is in FRONT defrost when you shut the
engine
off, it will restart in FRONT defrost unless the
engine is off for longer than 40 minutes. If the engine is
off longer than 40 minutes, the system will restart in the
operating mode you had set prior to FRONT defrost.
OFF: Press the OFF button to turn off the climate
control system. This is the only setting that fully shuts
off the fan. The digital display will show only the
outside temperature. You can still adjust the driver-set
temperature, the passenger temperature offset and the air
intake mode while in
OFF.
a NC: This button turns the air conditioning
compressor on or
off, except in the FRONT defrost mode.
The light on the A/C button will come on when
the
compressor is operating in either the automatic or manual
mode. The
air conditioning may also be forced off at high
engine speeds. The light on the A/C button will flash if
pressed when
air conditioning operation is not allowed.
The air conditioning cools and dehumidifies
air coming
into the vehicle. It also operates in defrost to help
remove moisture from the vehicle. The air conditioning
does not operate at temperatures below approximately
35°F to 40°F (2°C to 4°C). If the system is operating in
the AUTO mode, turning the air conditioning off will
delete AUTO from the digital display and show current
mode and fan settings. The AUTO button must be
pressed to return to the automatic mode operation.
from the outside. The light on
this air intake button
will come on to show when it is operating. When in
the
AUTO mode, the system automatically selects FRESH
AIR instead of RECIRCULATE, as required, to control
the temperature
in the vehicle. By pressing FRESH AIR,
the system will lock into the fresh air mode . Any
adjustment to the air intake must then be made manually.
FRESH AIR should be used when trying to defrost or
defog windows to help reduce moisture inside the vehicle.
FRESH AIR: Press this button to provide fkesh air
Page 180 of 356
Downloaded from www.Manualslib.com manuals search engine e
Section 4 Your Driving and the Road
Here you’ll find information about driving on different kinds of roads and in varying weather conditions. We’ve also
included
many other useful tips on driving.
4-2 4-2
4-6
4-6
4-1 1
4-13
4-13
4-15
4-16 Defensive Driving
Drunken Driving
Control
of a Vehicle
Braking
Steering
Off-Road Recovery
Passing
Loss
of Control
Driving at Night 4-
18
4-2 1
4-22
4-23
4-24
4-24
4-26
4-30
4-3 1 Driving
in Rain and on Wet Roads
City Driving
Freeway Driving
Before Leaving on a Long
Trip
Highway Hypnosis
Hill and Mountain Roads
Winter Driving
Loading Your Vehicle
Towing
A Trailer
Page 210 of 356
Downloaded from www.Manualslib.com manuals search engine ' A CA"T1ON:
-
Do not load your vehicle any heavier than the
GVWR, or either the maximum front or rear
GAWR. If you do, parts on your vehicle can
break, or
it can change the way your vehicle
handles. These could cause you to lose control.
Also, overloading can shorten the life of
your vehicle.
NOTICE:
Your warranty does not cover parts or
components that fail because of overloading.
~~ ~ ~ ~ ~~ ~ ~~~ ~ ~~ ~
If you put things inside your vehicle -- like suitcases,
tools, packages or anything else
-- they will go as fast as
the vehicle goes.
If you have to stop or turn quickly, or
if there is a crash, they'll keep going.
__ --_I ,
Things you put inside your vehicle can strike
and injure people in a sudden stop or turn,
or in
a crash.
0 Put things in the rear area of your vehicle.
Try to spread the weight evenly.
0 Never stack heavier things, like suitcases,
inside the vehicle
so that some of them are
above the tops
of the seats.
0 Don't leave an unsecured child restraint in
your vehicle.
0 When you carry something inside the
vehicle, secure
it whenever you can.
Towing A Trailer
Your Corvette is neither designed nor intended to tow
a trailer.
4-31
Page 212 of 356
Downloaded from www.Manualslib.com manuals search engine e Section 5 Problems on the Road
Here you’ll find what to do about some problems that can occur on the road.
5-2
5-3
5-8
5-13
Hazard Warning Flashers
Jump Starting
Towing Your Vehicle
Engine Overheating
5- 16 Cooling System
5-22 If a Tire Goes Flat
5-22 If You’re Stuck: In Sand, Mud, Ice or Snow
5-1
Page 219 of 356
Downloaded from www.Manualslib.com manuals search engine Towing Your Vehicle
Try to have a GM dealer or a professional towing
service tow your vehicle. They can provide the right
equipment and know how to tow your vehicle
without damage.
If your vehicle has been changed or modified since
it
was factory new by adding aftermarket items like fog
lamps, aero skirting, or special tires and wheels, these
instructions and illustrations may not be correct.
Before you
do anything, turn on the hazard
warning flashers. When
you call, tell the towing service:
0 That your vehicle cannot be towed with
sling-type equipment.
That your vehicle has rear-wheel drive.
The make, model and year of your vehicle.
0 Whether you can still move the shift lever.
0 If there was an accident, what was damaged.
0 If the vehicle is to be towed from the rear with a
wheel-lift truck, a front dolly will be required.
When the towing service arrives, let the tow operator
know that this manual contains detailed towing
instructions and illustrations.
The operator may want to
see them.
Page 220 of 356
Downloaded from www.Manualslib.com manuals search engine I
’
A CAUTION:
I
To help avoid injury to you or others:
Never let passengers ride in a vehicle that is
Never tow faster than safe or posted speeds.
Never tow with damaged parts not fully
Never get under your vehicle after it has
Always secure the vehicle on each side with
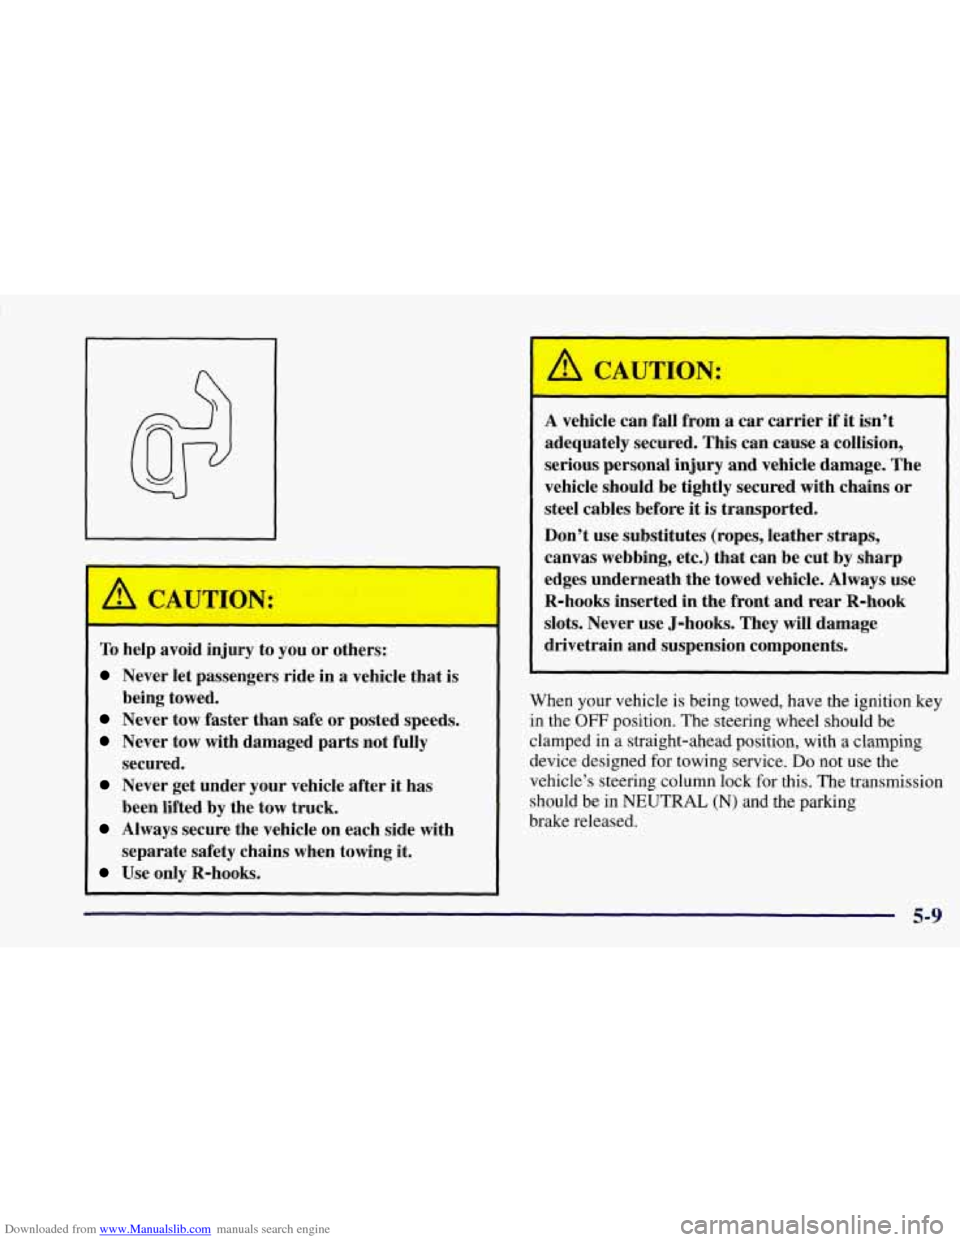
Use only R-hooks. being towed.
secured.
been lifted by the tow truck.
separate safety chains when towing it.
A vehicle can fall from a car carrier if it isn’t
adequately secured. This can cause
a collision,
serious personal injury and vehicle damage. The
vehicle should be tightly secured with chains or
steel cables before it is transported.
Don’t use substitutes (ropes, leather straps,
canvas webbing, etc.) that can be cut by sharp
edges underneath the towed vehicle. Always use
R-hooks inserted
in the front and rear R-hook
slots. Never use J-hooks. They will damage
drivetrain and suspension components.
When your vehicle is being towed, have the ignition key
in the
OFF position. The steering wheel should be
clamped in
a straight-ahead position, with a clamping
device designed for towing service.
Do not use the
vehicle’s steering column lock for this. The transmission
should be in
NEUTRAL (N) and the parking
brake released.
5-9
Page 221 of 356
Downloaded from www.Manualslib.com manuals search engine Front Towing
Tow Limits -- 35 mph (55 kd), 50 miles (80 km)
NOTICE:
Do not tow with sling type equipment or bumper,
fog lamps and
air dam damage will occur. Use
wheel-lift or car-carrier equipment. Additional
ramping may be required for car-carrier
equipment. Use safety chains and wheel straps.
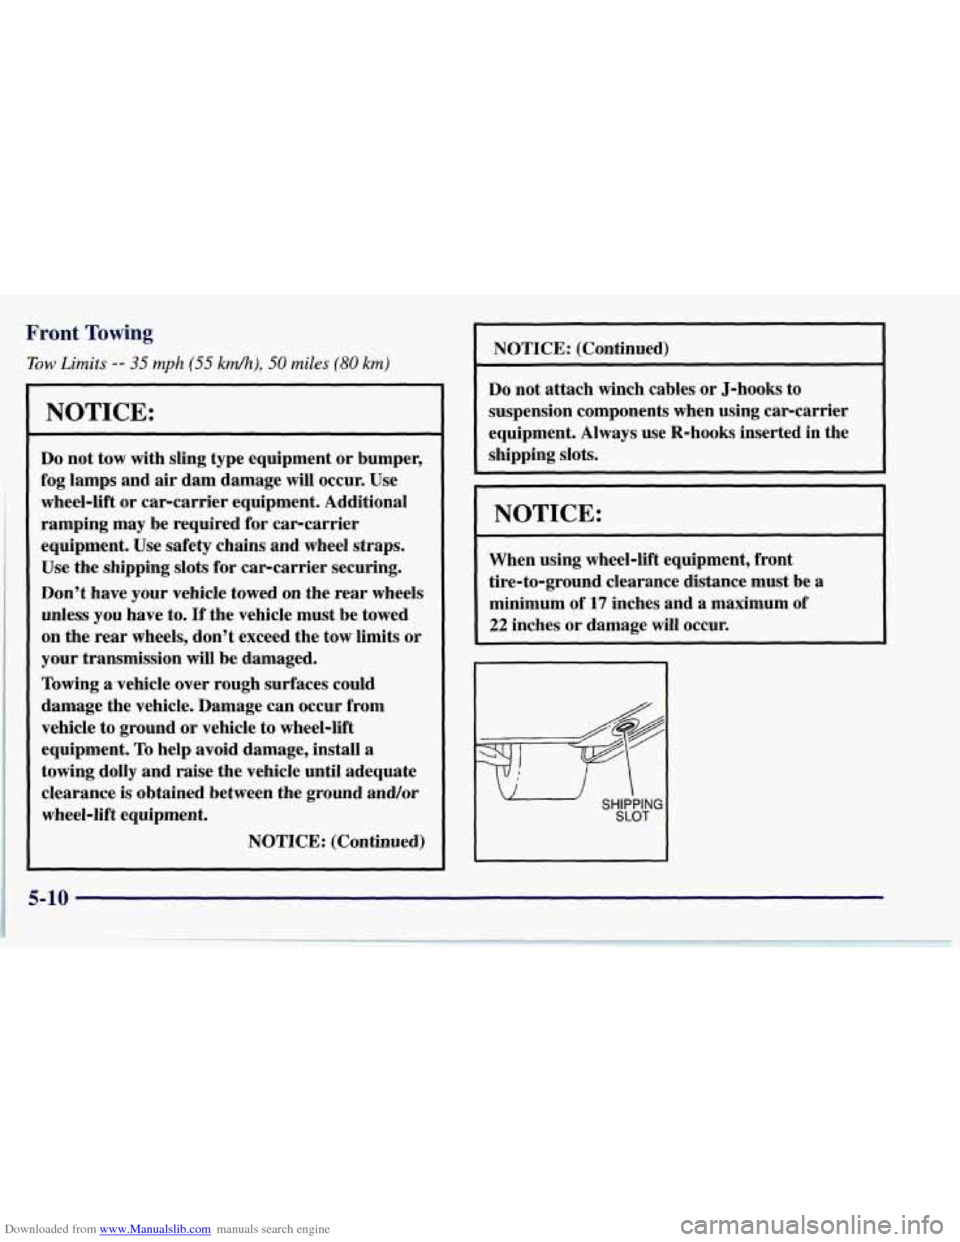
Use the shipping slots for car-carrier securing.
Don’t have your vehicle towed on the rear wheels
unless you have to. If the vehicle must be towed
on the rear wheels, don’t exceed the tow limits or
your transmission will be damaged.
Towing
a vehicle over rough surfaces could
damage the vehicle. Damage can occur from
vehicle to ground or vehicle to wheel-lift
equipment.
To help avoid damage, install a
towing dolly and raise the vehicle until adequate
clearance
is obtained between the ground and/or
wheel-lift equipment.
NOTICE: (Continued)
NOTICE: (Continued)
Do not attach winch cables or J-hooks to
suspension components when using car-carrier
equipment. Always use R-hooks inserted in the
shipping
slots.
NOTICE:
When using wheel-lift equipment, front
tire-to-ground clearance distance must be
a
minimum of 17 inches and a maximum of
22 inches or damage will occur.
SLOT
5-10