Page 94 of 356
Downloaded from www.Manualslib.com manuals search engine Headlamp HigWLow Beam Changer
To change the headlamps
from low beam to high or
high to low, push the turn
signal lever all the way
forward. When the high
beams are on, this light on
the instrument panel also
will be on. To change the
headlamps from high to
low, pull the lever rearward.
Flash-To-Pass
Momentarily pull the turn signal lever toward you.
The high-beam indicator will flash to indicate to the
other driver that you intend to pass. If the low-beam
headlamps are off and you have the optional fog lamps
on, the fog lamps will flash.
Windshield Wipers
You can control the windshield wipers by moving the
lever with the wiper symbol on it. This lever
is located
on the right side of your steering column.
For a single wiping cycle, push the lever down to MIST.
Hold it there until the wipers start, then let go. The
wipers will stop after one cycle. If you want more
cycles, hold the lever on MIST longer.
2-45
Page 110 of 356
Downloaded from www.Manualslib.com manuals search engine I NOTICE:
~~~
To avoid damage to the roof panel, paint and
weatherstripping do not drop or rest it on
its edges.
Place the roof panel in the egg-shaped stowage receivers after removing it from the vehicle.
2. Open the rear liftgate and remove any items that may
interfere with proper storage of the roof panel. Also
install the two egg-shaped stowage receivers into the
floor
of the rear storage compartment. Secure both
receivers into their proper positions by turning them
to the left.
2-61
Page 111 of 356
Downloaded from www.Manualslib.com manuals search engine 3. Lower the windows and open the doors.
There are two latches on the front
of the roof panel
near each door
(A), and one rear latch (B).
4. To unlock the front of the roof panel, pull down each
of the front handles. Grasp the handles with your
fingers and pull each toward
you. Complete a 180"
rotation toward the center of the vehicle. Then push
up on each
of the handles.
2-62
Page 113 of 356
Downloaded from www.Manualslib.com manuals search engine Storing the Roof Panel
I L!!! CAUTION:
If the roof panel is not stored properly, it could be
thrown about the vehicle in a crash or sudden
maneuver. People in the vehicle could be injured.
Whenever you store the roof panel in the vehicle,
always be sure that
it is stored securely in the
rear area using the storage pins.
NOTICE:
To avoid damage to the roof panel, paint and
weatherstripping, do not drop or rest it on its
edges. Place the roof panel in the egg-shaped
stowage receivers after removing it from
the vehicle.
1. Turn the roof panel so that the rear edge of the
panel is facing the storage area. The locating pins
(at the rear
of the panel) should point toward the
egg-shaped stowage receivers on the floor of the
center compartment.
2. Push the panel forward until the pins bottom out in
the receivers.
2-64
Page 116 of 356
Downloaded from www.Manualslib.com manuals search engine 5. Position the rear edge of the roof panel to the
weatherstrip on the back of the roof opening
(A).
Then align the pins at the rear of the roof panel
weatherstrip with the receiving cup in the body
weatherstrip
(B). Gently lower the front edge of
the roof panel to the front of the body opening
(C).
6. Rotate the front handles toward the side doors to
the closed position.
7. Hook the rear latch by pushing the lever up to the
locked position.
8. Grasp and tug the roof panel up and down and
side-to-side to make sure the roof panel is
securely installed.
2-67
Page 123 of 356

Downloaded from www.Manualslib.com manuals search engine If the light comes on while you are driving, and you
have a LOW BRAKE FLUID message showing on the
DIC, pull off the road and stop carefully. You may
notice that the pedal is harder to push. Or, the pedal may
go closer to the floor. It may take longer to stop. If the
light
is still on, have the vehicle towed for service. (See
“Towing Your Vehicle” in the Index.)
A C WTION:
Your brake system may not be working properly
if the brake warning light is on. Driving with the
brake warning light
on can lead to an accident.
If the light is still on after you’ve pulled off the
road and stopped carefully, have the vehicle
towed for service.
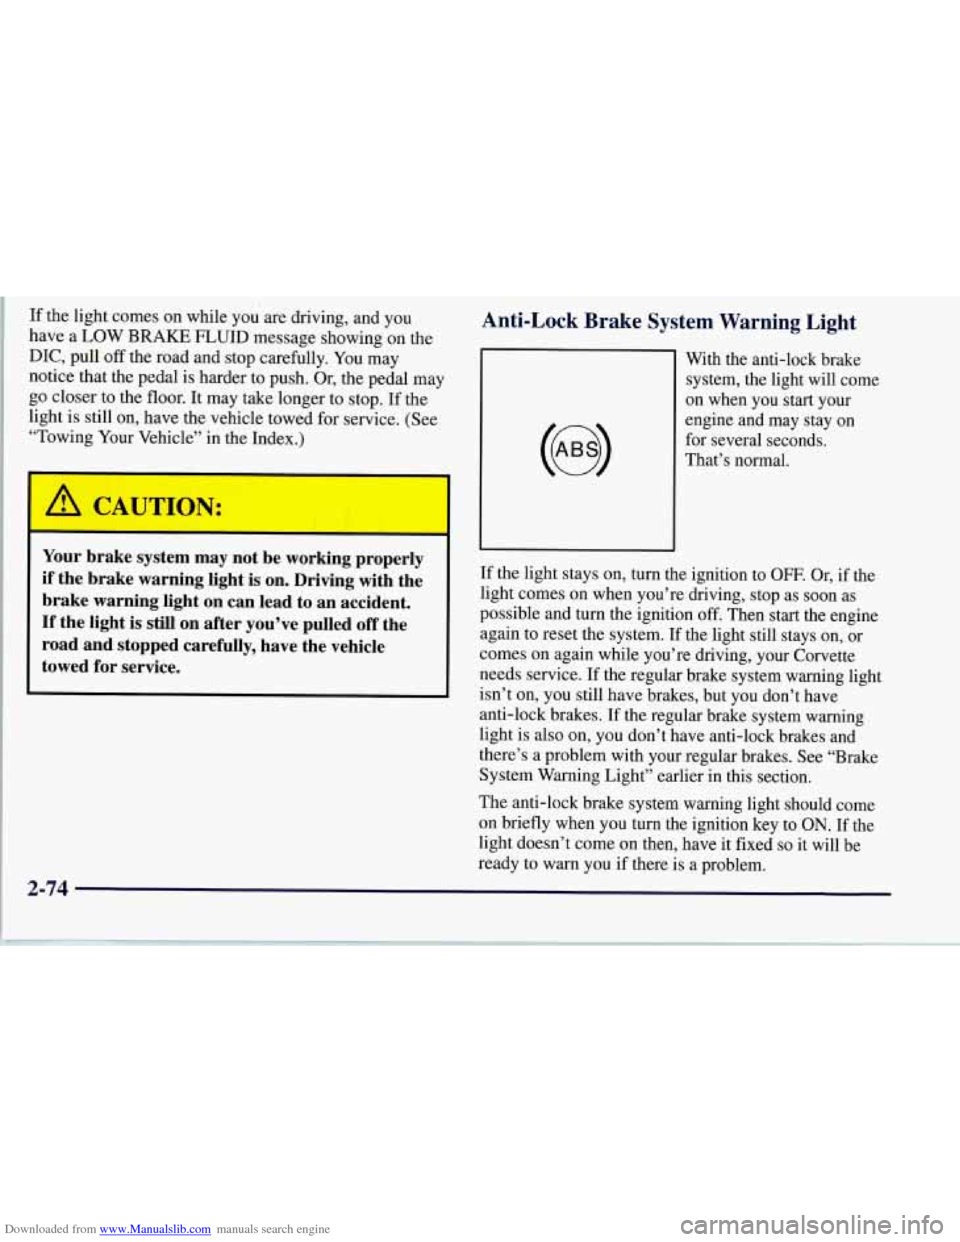
Anti-Lock Brake System Warning Light
With the anti-lock brake
system, the light will come
on when you start your
engine and may stay on
for several seconds.
That’s normal.
If the light stays on, turn the ignition to
OFF. Or, if the
light comes on when you’re driving, stop as soon as
possible and turn the ignition off. Then start the engine
again to reset the system.
If the light still stays on, or
comes on again while you’re driving, your Corvette
needs service.
If the regular brake system warning light
isn’t on, you still have brakes, but you don’t have
anti-lock brakes. If the regular brake system warning
light is also on, you don’t have anti-lock brakes and
there’s a problem with your regular brakes. See “Brake
System Warning Light” earlier in this section.
The anti-lock brake system warning light should come
on briefly when you turn the ignition key to
ON. If the
light doesn’t come on then, have it fixed
so it will be
ready to warn you if there is a problem.
2-74
Page 140 of 356

Downloaded from www.Manualslib.com manuals search engine ABS ACTIVE (Anti-Lock Brake System Active):
When your anti-lock system is adjusting brake pressure
to help avoid a braking skid, the ABS ACTIVE message
will be displayed.
Slippery road conditions may exist
if this message is
displayed,
so adjust your driving accordingly. The
message will stay on for a few seconds after the system
stops adjusting brake pressure.
SERVICE ABS (Anti-Lock Brake System): If the
SERVICE ABS message is displayed when you are
driving, stop as soon as possible and turn the ignition
off. Then start the engine again to reset the system. If
the message stays on, or comes back on again while you
are driving, your vehicle is in need of service.
If the
regular brake system warning light isn’t on, you still
have brakes, but don’t have anti-lock brakes. If the
regular brake system light is also on, you don’t have
anti-lock brakes and there is a problem with your
brakes. See “Brake System Warning Light” earlier in
this section.
SERVICE COLUMN LOCK: The system that
controls the locking and unlocking of the steering
column may
not work properly. Have the vehicle
towed to a dealer for service.
LOW OIL PRESSURE: You will hear four chimes
and the CHECK GAGES telltale will come
on when
this message is displayed. To acknowledge the warning,
press the RESET button. After you press the RESET
button, a message will be displayed and you will hear a
chime every minute until the vehicle
is serviced. If you
do not press RESET, the message will remain on the
digital display until the vehicle
is serviced.
Low oil pressure may be the result of a combination
of low oil level and abrupt changes in the vehicle’s
direction. When this warning
is displayed, you should
not operate
the engine at high RPM or make fast abrupt
moves. When convenient, you should check the oil
level. See “Engine Oil” in the Index.
LOW OIL LEVEL: Press RESET to acknowledge that
you have read the message and to remove it from the
display. The message will reappear every
10 minutes
until this condition changes.
You will hear two chimes when this message is
displayed.
If this message appears after starting your
engine, your engine oil level may be too low. You may
need to add oil. See “Engine Overheating” in the Index.
2-91
Page 150 of 356

Downloaded from www.Manualslib.com manuals search engine Temperature Knob
The center knob controls the temperature of the air
coming through the system. Turn it to the left (toward
the blue area) for cooler air. Turn it to the right (toward
the red area) for warmer air.
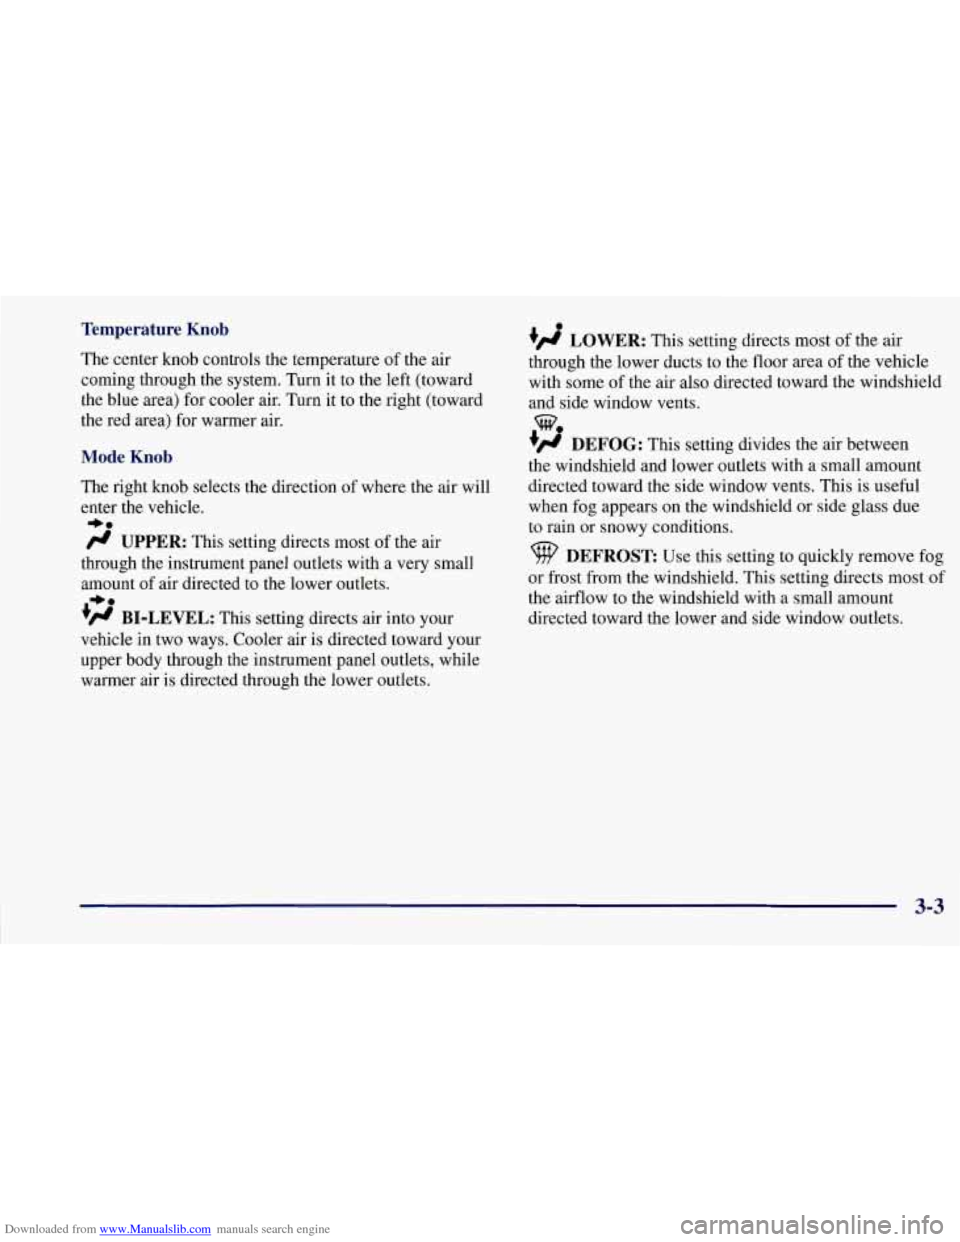
Mode Knob
The right knob selects the direction of where the air will
enter the vehicle.
+*
/J UPPER: This setting directs most of the air
through the instrument panel outlets with a very small
amount of air directed to the lower outlets.
+’ BI-LEVEL: This setting directs air into your
vehicle in two ways. Cooler air is directed toward your
upper body through the instrument panel outlets, while
warmer air is directed through the lower outlets.
+e a
+’ LOWER: This
.setting directs most of the air
through the lower ducts to the floor area of the vehicle
with some of the air also directed toward the windshield
and side window vents.
+fl DEFOG: This setting divides the air between
the windshield and lower outlets with a small amount
directed toward the side window vents. This is useful
when fog appears on the windshield or side glass due
to rain or snowy conditions.
we
DEFROST: Use this setting to quickly remove fog
or frost from the windshield. This setting directs most of
the airflow to the windshield with a small mount
directed toward the lower and side window outlets.
3-3