Page 88 of 356
Downloaded from www.Manualslib.com manuals search engine This knob is on the center console. Turn it to select the
suspension characteristic
of your choice.
TOUR: Use for normal city and highway driving.
Provides
a smooth, soft ride.
SPORT Use where road conditions or personal
preference demand more control. Provides more “feel,”
or response to the road conditions.
PERF: Use for performance driving. Provides a tight,
firm ride and precise response to road conditions.
You can select a setting at any time. Based on road
conditions, steering wheel angle and your vehicle speed,
the system automatically adjusts to provide the best ride
and handling. Select a new setting whenever driving
conditions change.
There are three Driver Information Center messages that
are displayed when
a malfunction occurs with the
Selective Real Time Damping system. Refer to “DIC
Warnings and Messages’’ in the Index.
2-39
Page 89 of 356
Downloaded from www.Manualslib.com manuals search engine Windows
Power Windows
With power windows, switches on the door control each
window when the ignition is
on or when RAP is present.
(See “Retained Accessory Power” in the Index.)
Express-Down Window
Both the driver’s and passenger’s window switches
have an express-down feature. Press AUTO for about
one second, and the window will lower completely. To
stop express-down, press the switch again.
You can also open this window any amount by pressing
and releasing the switch.
Horn
To sound the horn, press either horn symbol on your
steering wheel.
2-40
Page 90 of 356
Downloaded from www.Manualslib.com manuals search engine Tilt Wheel
A tilt wheel allows you to adjust the steering wheel.
You can also raise it to the highest level to give your
legs more room when you exit and enter the vehicle.
To tilt the wheel, hold the steering wheel and pull the
lever toward you. Move the steering wheel to a
comfortable level, then release the lever to lock the
wheel into place.
Turn SignaVMultifunction Lever
The multifunction lever on the left side of the steering
column includes:
0 Turn Signal and Lane Change Control
0 Headlamp HighLow-Beam Changer
0 Cruise Control
0 Headlamps Switch
0 Flash-to-Pass
2-41
Page 94 of 356
Downloaded from www.Manualslib.com manuals search engine Headlamp HigWLow Beam Changer
To change the headlamps
from low beam to high or
high to low, push the turn
signal lever all the way
forward. When the high
beams are on, this light on
the instrument panel also
will be on. To change the
headlamps from high to
low, pull the lever rearward.
Flash-To-Pass
Momentarily pull the turn signal lever toward you.
The high-beam indicator will flash to indicate to the
other driver that you intend to pass. If the low-beam
headlamps are off and you have the optional fog lamps
on, the fog lamps will flash.
Windshield Wipers
You can control the windshield wipers by moving the
lever with the wiper symbol on it. This lever
is located
on the right side of your steering column.
For a single wiping cycle, push the lever down to MIST.
Hold it there until the wipers start, then let go. The
wipers will stop after one cycle. If you want more
cycles, hold the lever on MIST longer.
2-45
Page 95 of 356

Downloaded from www.Manualslib.com manuals search engine You can set the wiper speed for a long or short delay
between wipes. This can be very useful in light rain or
snow. Push the lever up to INT (intermittent), then turn
the band, located on the lever, to adjust the delay time.
Rotate the band up for
a shorter delay, down for a longer
delay. The wiper speed can only be adjusted when the
lever is
in the INT position, not in HI or LO.
For steady wiping at low speed, move the lever up to
the
LO position. For steady high-speed wiping, move
the lever up further, to HI. To stop the wipers, move the
lever down to
OFF.
Be sure to clear ice and snow from the wiper blades
before using them.
If they’re frozen to the windshield,
carefully loosen or thaw them.
If your blades do become
damaged, get new blades or blade inserts.
Heavy snow or ice can overload your wipers.
A circuit
breaker will stop them until the motor cools. Clear
away snow or ice
to prevent an overload.
Windshield Washer
The lever on the right side of your steering column also
controls your windshield washer. At the end of the lever
there is a push button.
To spray washer fluid on the
windshield, push the button and hold it. The washer
will spray until you release the button. The wipers will
continue to clear the window for about six seconds after
the button is released and then stop or return to your
preset speed.
A CAUTION:
In freezing weather, don’t use your washer until
the windshield is warmed. Otherwise the washer
fluid can form ice on the windshield, blocking
your vision.
If the fluid in the windshield washer fluid reservoir is
low, the message
LOW WASHER FLUID will appear
on the Driver Information Center display. It will take
60 seconds after the bottle is refilled for this message
to turn
off. For information on the correct washer fluid
mixture to use, see “Windshield Washer Fluid” and
“Recommended Fluids and Lubricants’’ in the Index.
2-46
Page 100 of 356

Downloaded from www.Manualslib.com manuals search engine When the DRL are on, only your front turn signal lamps
will be on. The taillamps, sidemarker and other lamps
will not be on.
When you turn on your headlamps, your front turn
signal lamps (DRL) will go out. The other lamps that
come on with your headlamps will also come on.
On vehicles built for Canada, when it’s dark enough
outside, your front turn signal lamps will automatically
go out and your headlamps will come
on. The other
lamps that come on with your headlamps will also come
on. When it’s bright enough outside, the headlamps
will go off, and your front turn signal lamps (DRL)
will come ,on.
Also on Canadian vehicles, there is a light sensor in the
defroster grille, at the base of the windshield and the
instrument panel. This sensor makes the DRL work
automatically, so be sure it isn’t covered.
As with any vehicle, you should turn on the regular
headlamp system when you need it.
Fog Lamps (Option)
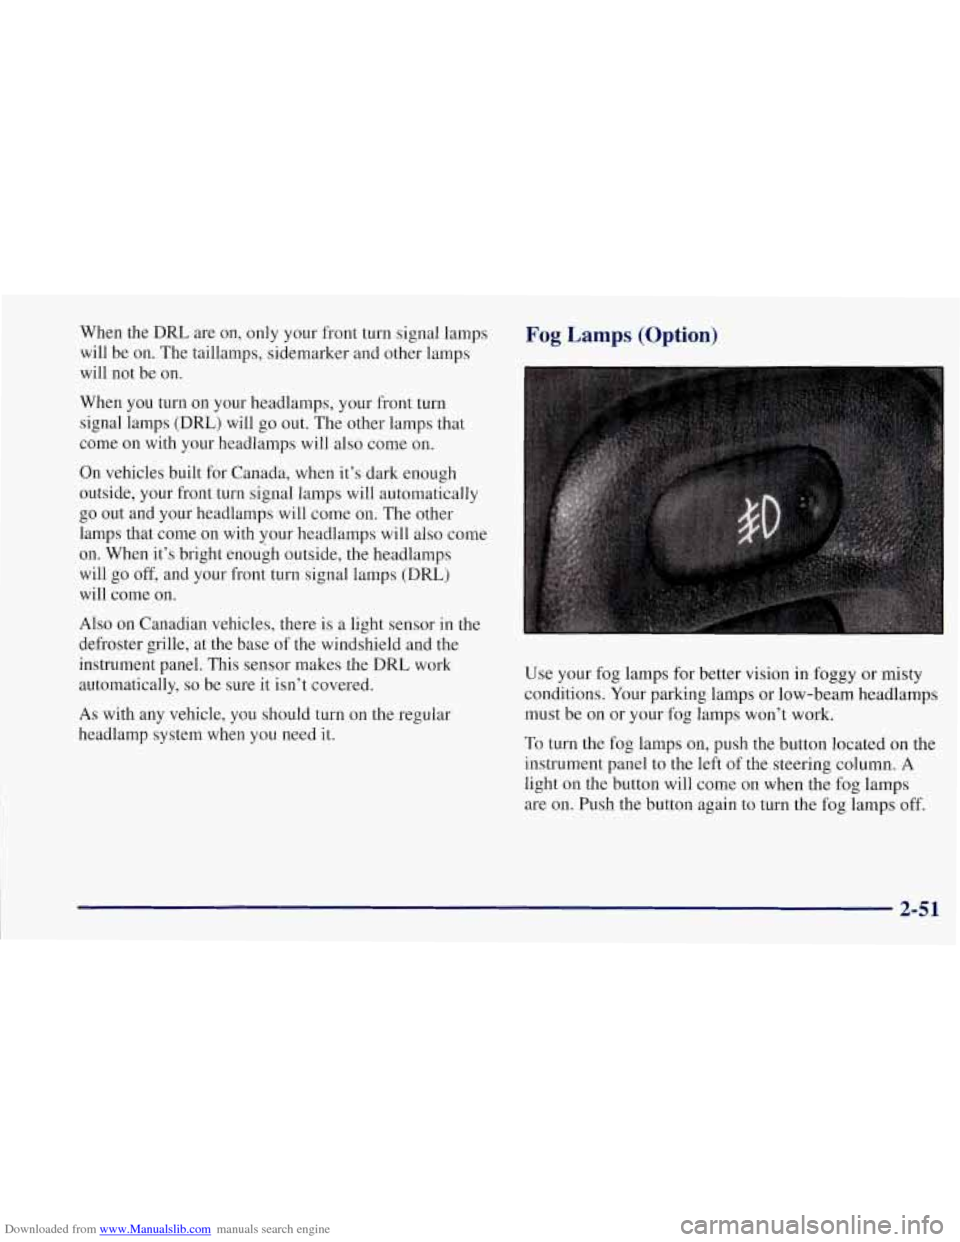
Use your fog lamps for better vision in foggy or misty
conditions. Your parking lamps or low-beam headlamps
must be on or your fog lamps won’t work.
To turn the fog lamps on, push the button located on the
instrument panel to the left of the steering column.
A
light on the button will come on when the fog lamps
are on. Push the button again to turn the fog lamps off.
2-51
Page 130 of 356

Downloaded from www.Manualslib.com manuals search engine Driver Information Center (DIC)
The Driver Information Center (DIC) will display
information about how your vehicle is functioning, as
well as warning messages if a system problem is
detected. The DIC display area is located in the
instrument cluster below the speedometer and
tachometer, directly above the steering column.
The following buttons are on the DIC control panel
which is located to the right of the cluster:
1 FUEL: Press this button to display fuel information
such as fuel economy and range.
2 GAGES: Use this button to display gage information
like oil pressure and temperature, coolant temperature,
transmission fluid temperature, battery voltage and
fronurear tire pressures.
3 TRIP: Use this button to display your total and trip
miles, the elapsed time function, your average speed and
the oil life.
4 OPTIONS: This button allows you to choose personal
options available with your vehicle such as security,
door locks, easy entry seats and language.
5 EM: Use this button to change the display between
English and metric units.
RESET: This button, used along with the other buttons,
will reset system functions and turn off or acknowledge
messages on the DIC.
At the top
of the DIC control buttons is a light sensor.
Be sure not to block the sensor or your lighting
functions may be disrupted.
2-81
Page 139 of 356

Downloaded from www.Manualslib.com manuals search engine Languages
You can select which language the DIC will display its
messages in. Press the OPTIONS button until the word
LANGUAGES appears on the display, then use the
RESET button to page through the following choices:
LANGUAGE ENGLISH
0 LANGUAGE FRENCH
0 LANGUAGE GERMAN
0 LANGUAGE SPANISH
Blank Page
At the end of the OPTIONS menu there is a blank page.
When the blank page is displayed, you can access the
following items:
FOB TRAINING: This option allows you to match
the RFA transmitter(s) to your vehicle. You can access
this option by pressing and holding RESET for two
seconds while you
are on the blank page at the end of
the OPTIONS menu. The message
FOB TRAINING
will be displayed. See “Matching Transmitter(s) To
Your Vehicle” in the Index.
TIRE TRAINING: The Tire Pressure Monitor (TPM)
operates with battery powered sensors that are located
inside the valve stems on each tire. Each sensor has a
unique ID code so the vehicle knows the tire location
of the sensor. When the vehicle reaches a speed of
greater than
15 mph (24 km/h), the sensors begin to send
the tire pressure readings to a receiver inside the vehicle.
These readings are displayed when using the GAGES
button on the DIC. If you are unable to display your tire
pressures while the vehicle speed is greater than
15 mph
(24 km/h). You may need to have your sensor ID codes
learned by the vehicle. See your dealer.
DIC Warnings and Messages
The following messages and warnings may appear in
theDIC display. The DIC display area is located in the
instrument cluster below the speedometer and tachometer,
directly above the steering column. You may receive more
than one message at a time. Messages will appear one
behind the other. To acknowledge a message and remove
it
from the display, press RESET. You may scroll through
the messages that may have been sent at the same time.
The message center is continuously updated with the
vehicle performance status.
2-90