Page 64 of 356

Downloaded from www.Manualslib.com manuals search engine It ca-- 3e dangerous to drive with the hatch open
because carbon monoxide
(CO) gas can come into
your vehicle. You can’t see or smell
CO. It can
cause unconsciousness and even death.
If you must drive with the hatch open or if
electrical wiring or other cable connections
must pass through the seal between the body
and the hatch:
0 Make sure all windows are shut.
Turn the fan on your heating or cooling
system to its highest speed with the setting
on BI-LEVEL or VENT. That will force
outside air into your vehicle. See “Comfort
Controls” in the Index.
instrument panel, open them all the way.
0 If you have air outlets on or under the
See “Engine Exhaust” in the Index.
NOTICE:
If you put things in the hatch area, be sure they
won’t break the glass when you close it.
Never slam the hatch down. You could break the
glass or damage the defogger grid.
When you close the hatch, make sure you pull
down from the center, not the sides.
If you pull
the hatch down from the side too often, the
weatherstrip can be damaged.
Theft
Vehicle theft is big business, especially in some cities.
Although your Corvette has a number of theft-deterrent
features, we know that nothing
we put on it can make
it impossible to steal. However, there are ways you
can help.
2-15
Page 69 of 356
Downloaded from www.Manualslib.com manuals search engine Ignition Switch
With the key in the ignition switch, you can turn the
switch to four positions.
OFF: The only position from which you can remove
the key. Removing the key locks your steering wheel,
ignition and automatic transmission.
If you have an automatic transmission, the ignition
switch can’t be turned to
OFF unless the shift lever is
in PARK
(P).
ACC: The position in which you can operate your
electrical power accessories. With the key in this
position, the automatic transmission and steering
column will unlock.
ON: The position to which the switch returns after
you start the engine and release the switch. The switch
stays
in the ON position when the engine is running.
But even when the engine is not running, you can use
ON to operate your electrical power accessories and to
display some instrument panel messages and telltales.
2-20
Page 94 of 356
Downloaded from www.Manualslib.com manuals search engine Headlamp HigWLow Beam Changer
To change the headlamps
from low beam to high or
high to low, push the turn
signal lever all the way
forward. When the high
beams are on, this light on
the instrument panel also
will be on. To change the
headlamps from high to
low, pull the lever rearward.
Flash-To-Pass
Momentarily pull the turn signal lever toward you.
The high-beam indicator will flash to indicate to the
other driver that you intend to pass. If the low-beam
headlamps are off and you have the optional fog lamps
on, the fog lamps will flash.
Windshield Wipers
You can control the windshield wipers by moving the
lever with the wiper symbol on it. This lever
is located
on the right side of your steering column.
For a single wiping cycle, push the lever down to MIST.
Hold it there until the wipers start, then let go. The
wipers will stop after one cycle. If you want more
cycles, hold the lever on MIST longer.
2-45
Page 100 of 356

Downloaded from www.Manualslib.com manuals search engine When the DRL are on, only your front turn signal lamps
will be on. The taillamps, sidemarker and other lamps
will not be on.
When you turn on your headlamps, your front turn
signal lamps (DRL) will go out. The other lamps that
come on with your headlamps will also come on.
On vehicles built for Canada, when it’s dark enough
outside, your front turn signal lamps will automatically
go out and your headlamps will come
on. The other
lamps that come on with your headlamps will also come
on. When it’s bright enough outside, the headlamps
will go off, and your front turn signal lamps (DRL)
will come ,on.
Also on Canadian vehicles, there is a light sensor in the
defroster grille, at the base of the windshield and the
instrument panel. This sensor makes the DRL work
automatically, so be sure it isn’t covered.
As with any vehicle, you should turn on the regular
headlamp system when you need it.
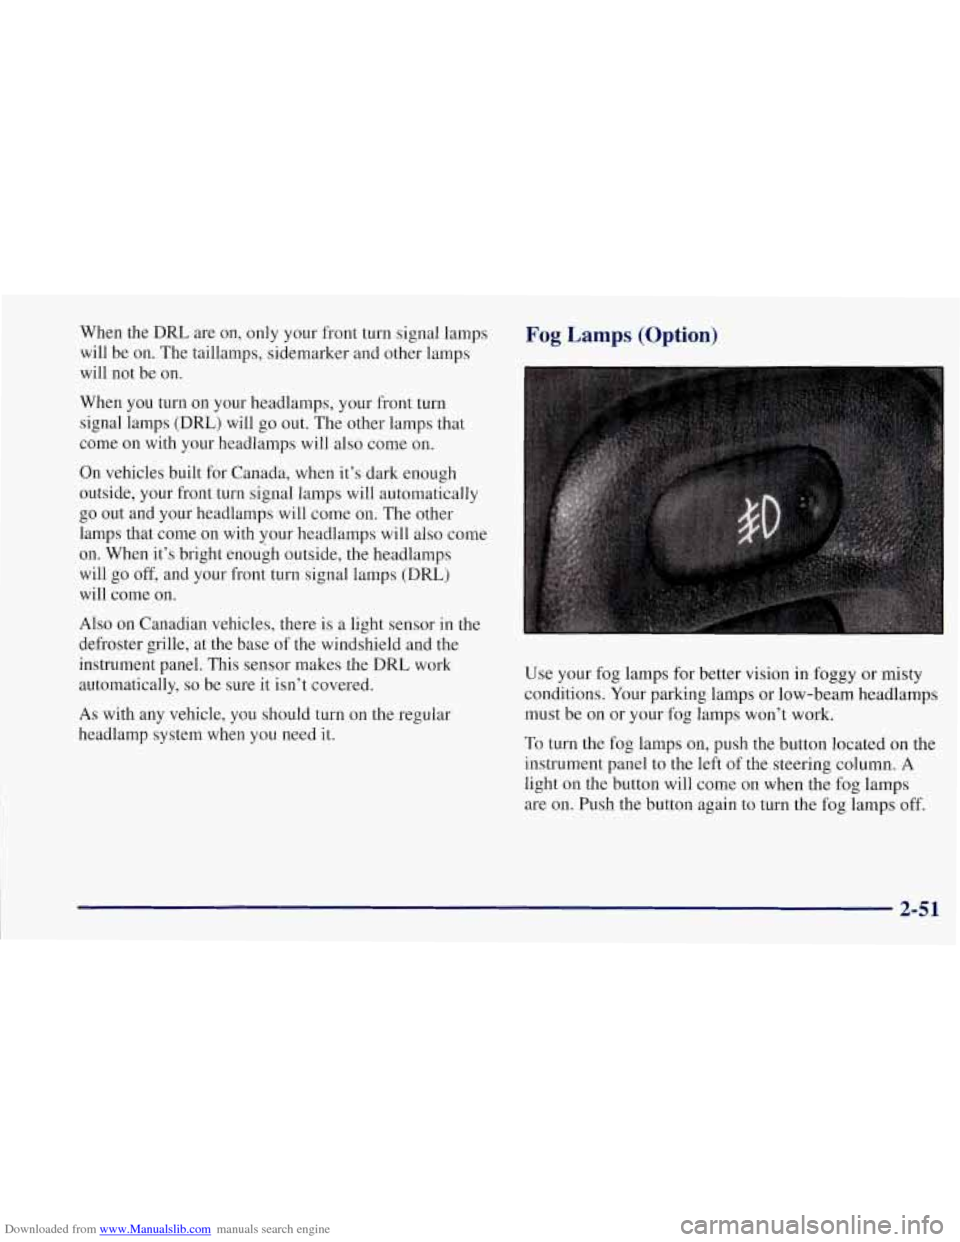
Fog Lamps (Option)
Use your fog lamps for better vision in foggy or misty
conditions. Your parking lamps or low-beam headlamps
must be on or your fog lamps won’t work.
To turn the fog lamps on, push the button located on the
instrument panel to the left of the steering column.
A
light on the button will come on when the fog lamps
are on. Push the button again to turn the fog lamps off.
2-51
Page 101 of 356

Downloaded from www.Manualslib.com manuals search engine Interior Lamps
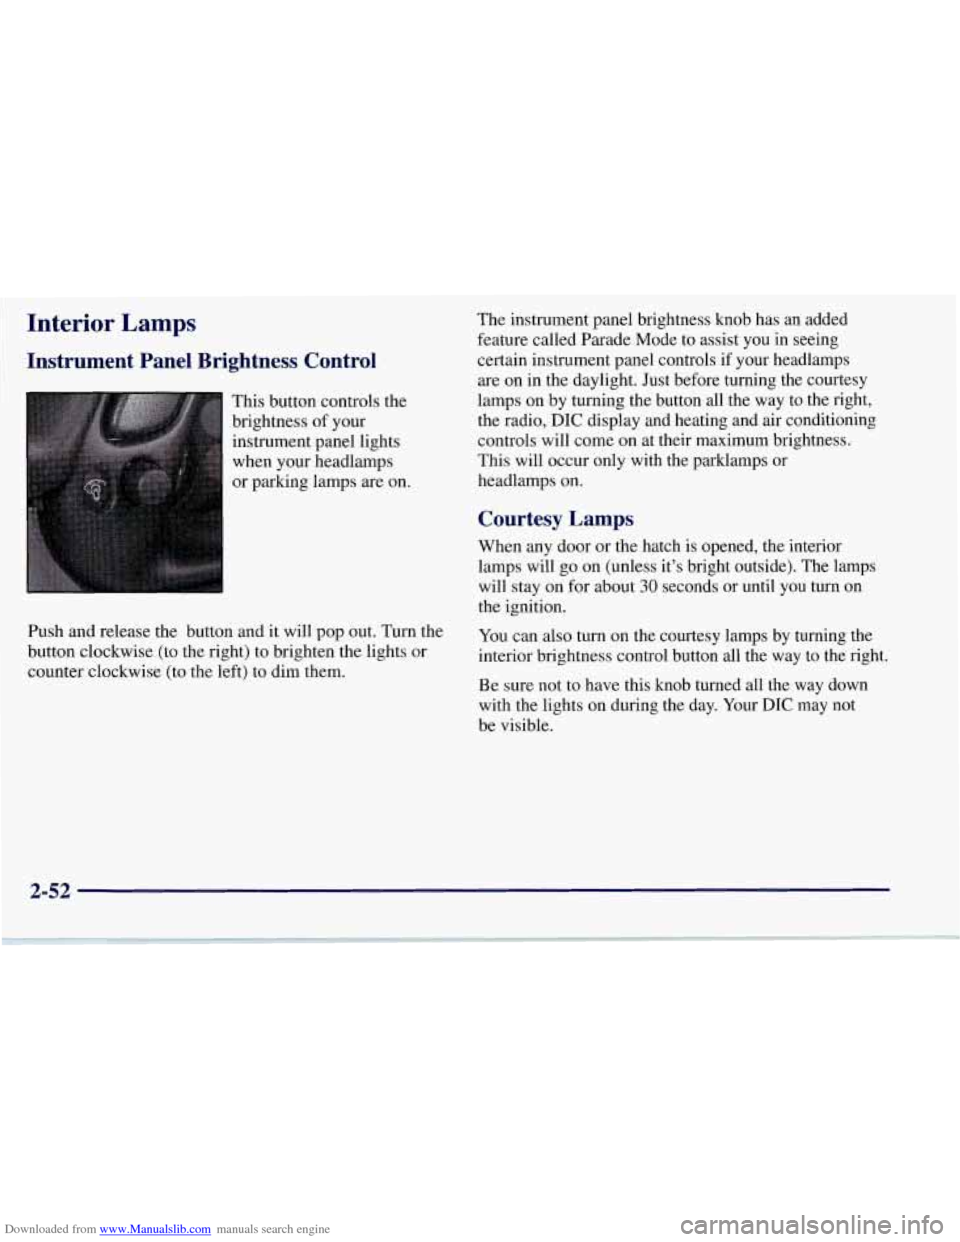
Instrument Panel Brightness Control
This button controls the
brightness of your
instrument panel lights
when your headlamps
or parking lamps are on.
Push and release the button and it will pop out. Turn the
button clockwise (to the right) to brighten the lights or
counter clockwise (to the left) to dim them. The
instrument panel brightness knob has an added
feature called Parade Mode to assist you in seeing
certain instrument panel controls if your headlamps
are on in the daylight. Just before turning the courtesy
lamps on by turning the button all the way to the right,
the radio,
DIC display and heating and air conditioning
controls will come on at their maximum brightness..
This will occur only with the parklamps or
headlamps on.
Courtesy Lamps
When any door or the hatch is opened, the interior
lamps will go on (unless it’s bright outside). The lamps
will stay on for about
30 seconds or until you turn on
the ignition.
You can also turn on the courtesy lamps by turning the
interior brightness control button all the way to the right.
Be sure not to have this knob turned all the way down
with the lights on during the day. Your
DIC may not
be visible.
2-52
Page 103 of 356

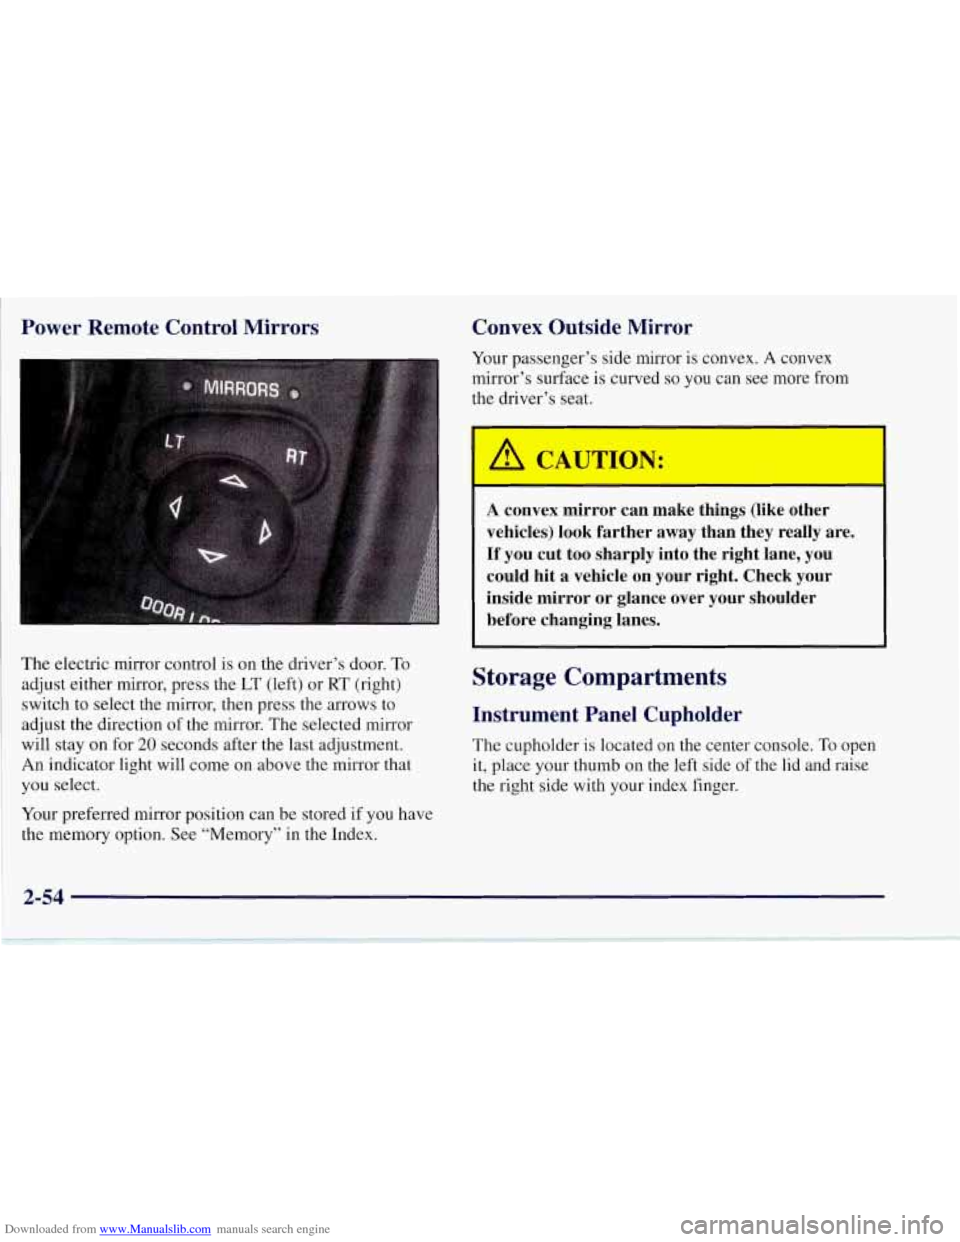
Downloaded from www.Manualslib.com manuals search engine Power Remote Control Mirrors
The electric mirror control is on the driver’s door. To
adjust either mirror, press the LT (left) or RT (right)
switch to select the mirror, then press the arrows to
adjust the direction of the mirror. The selected mirror
will stay
on for 20 seconds after the last adjustment.
An indicator light will come on above the mirror that
you select.
Your preferred mirror position can be stored if you have
the memory option. See “Memory” in the Index.
Convex Outside Mirror
Your passenger’s side mirror is convex. A convex
mirror’s surface is curved
so you can see more from
the driver’s seat.
A CAUTION:
I
A convex mirror can make things (like other
vehicles) look farther away than they really are. If you cut too sharply into the right lane, you
could hit a vehicle on your right. Check your
inside mirror or glance over your shoulder before changing lanes.
Storage Compartments
Instrument Panel Cupholder
The cupholder is located on the center console. To open
it, place your thumb
on the left side of the lid and raise
the right side with your index finger.
Page 106 of 356

Downloaded from www.Manualslib.com manuals search engine NOTICE:
If your Corvette has a compact disc player, it is
stored in the center rear storage compartment.
To help avoid damage to the compact disc player,
do not store items such as liquids or sharp objects
that could puncture or cut the compact disc
player or wiring.
Convenience Net (Option)
Your vehicle may have a convenience net. You will see
it on the back wall of the rear area
of the vehicle.
Put small loads, like grocery bags, in the net. It can help
keep them from falling over during sharp turns or quick
starts and stops. The net is not for larger, heavier loads.
You can unhook the net and place it in one
of the rear
storage pockets when
you are not using it. A vinyl
storage bag has also been provided.
Ashtray and Cigarette Lighter
The ashtray is located on the instrument panel, next to
the lighter.
To use the ashtray, lift up on the bottom of
the door.
NOTICE:
Don’t put papers and other things that burn
into your ashtray.
If you do, cigarettes or other
smoking materials could set them on fire,
causing damage.
I NOTICE: I
Loose objects (such as paper clips) can lodge
behind and beneath the ashtray lid and prevent
movement
of the lid. Avoid putting small loose
objects near the ashtray.
2-57
Page 118 of 356
Downloaded from www.Manualslib.com manuals search engine A. Turn SignalNultifunction Lever
B. Driver Information Center (DIC)
C. Instrument Panel Cluster
D. Windshield WiperNVasher Lever
E. DIC Buttons
F. Hazard Warning Flasher Button
G. Center Air Vent
H. Audio System
I. Comfort Controls
J. Fog Lamp Button (Option)
K. Remote Hatch Release Button
L. Ignition Switch
M. Shift Lever (Automatic Shown)
N. Traction Control System (TCS) Switch
0. Selective Real Time Damping (Option)
P. Instrument Panel Cupholder
Q. Ashtray & Cigarette Lighter
R. Remote Fuel Door Release Button
S. Parking Brake
T. Glove Box
U. Instrument Panel Fuse Block
V. Power Accessory Outlet
2-69