1997 CHEVROLET CORVETTE instrument panel
[x] Cancel search: instrument panelPage 119 of 356
Downloaded from www.Manualslib.com manuals search engine Instrument Panel Cluster
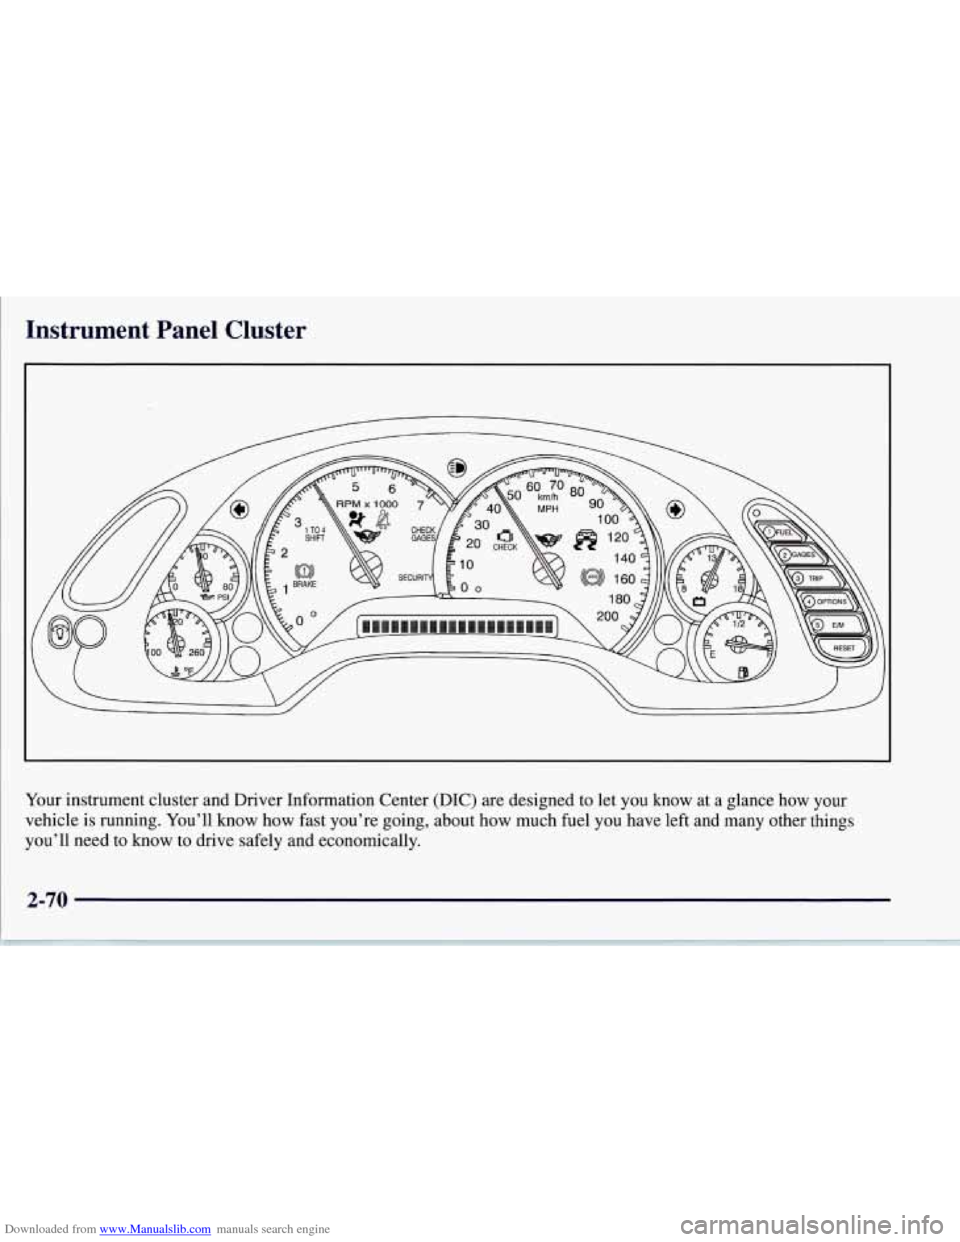
Your instrument cluster and Driver Information Center (DIC) are designed to let you know at a glance how your
vehicle is running. You’ll know how fast you’re going, about how much fuel you have left and many other things
you’ll need to know to drive safely and economically.
Page 121 of 356
Downloaded from www.Manualslib.com manuals search engine I Safety Belt Reminder Light
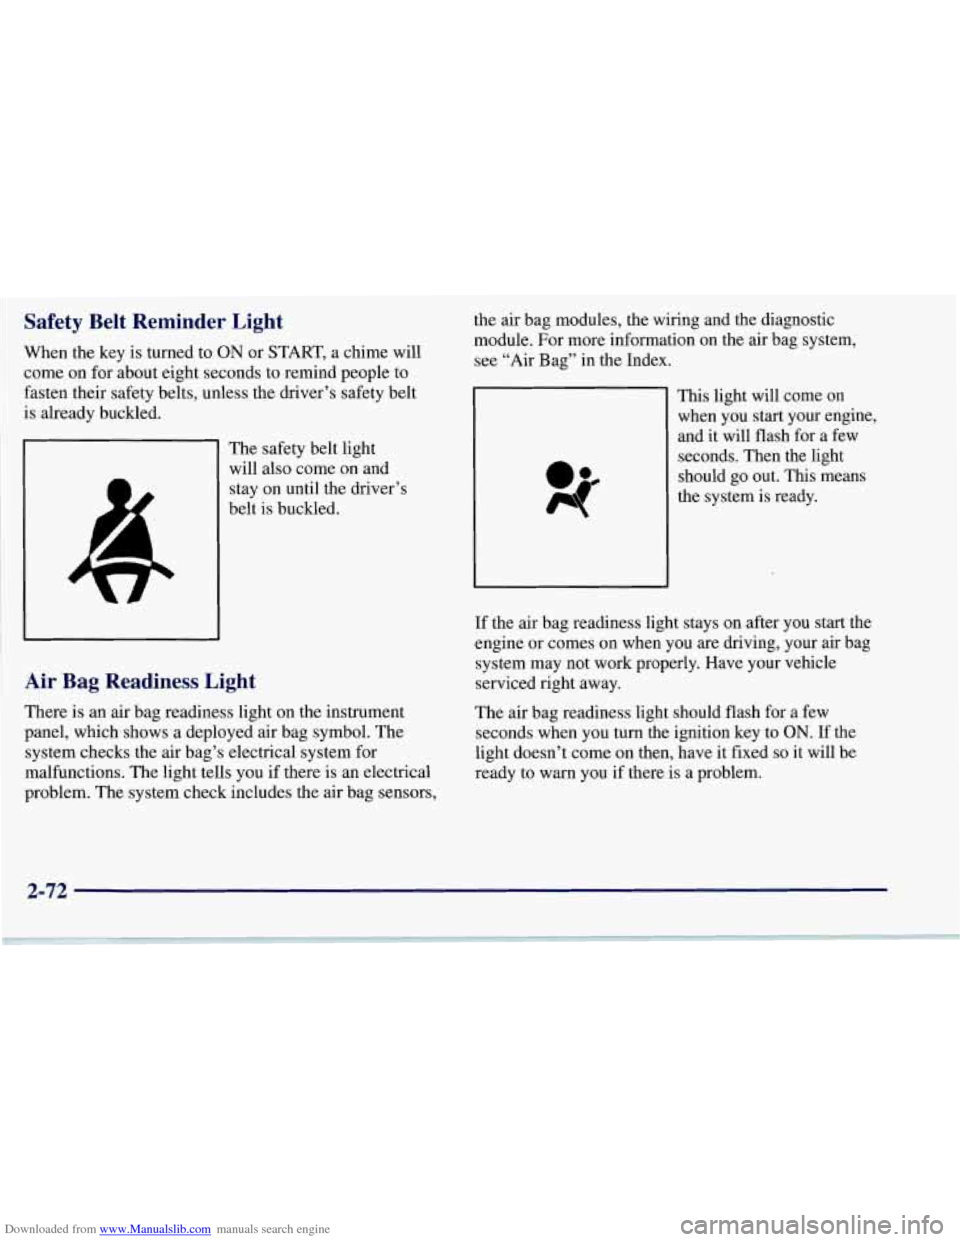
When the key is turned to ON or START, a chime will
come on for about eight seconds to remind people to
fasten their safety belts, unless the driver’s safety belt
is already buckled.
The safety belt light
will also come
on and
stay on until the driver’s
belt is buckled.
Air Bag Readiness Light
There is an air bag readiness light on the instrument
panel, which shows a deployed air bag symbol. The
system checks the air bag’s electrical system for
malfunctions. The light tells you if there
is an electrical
problem. The system check includes the air bag sensors, the
air bag modules, the wiring and the diagnostic
module. For more information
on the air bag system,
see “Air Bag” in the Index.
This light will come on
when you start your engine,
and it will flash for a few
seconds. Then the light should
go out. This means
the system is ready.
If the air bag readiness light stays on after you
start the
engine or comes on when you are driving, your air bag
system may not work properly. Have your vehicle
serviced right away.
The air bag readiness light should flash for a few
seconds when you turn the ignition key to
ON. If the
light doesn’t come on then, have it fixed
so it will be
ready to warn you if there
is a problem.
2-72
Page 122 of 356
Downloaded from www.Manualslib.com manuals search engine Voltmeter
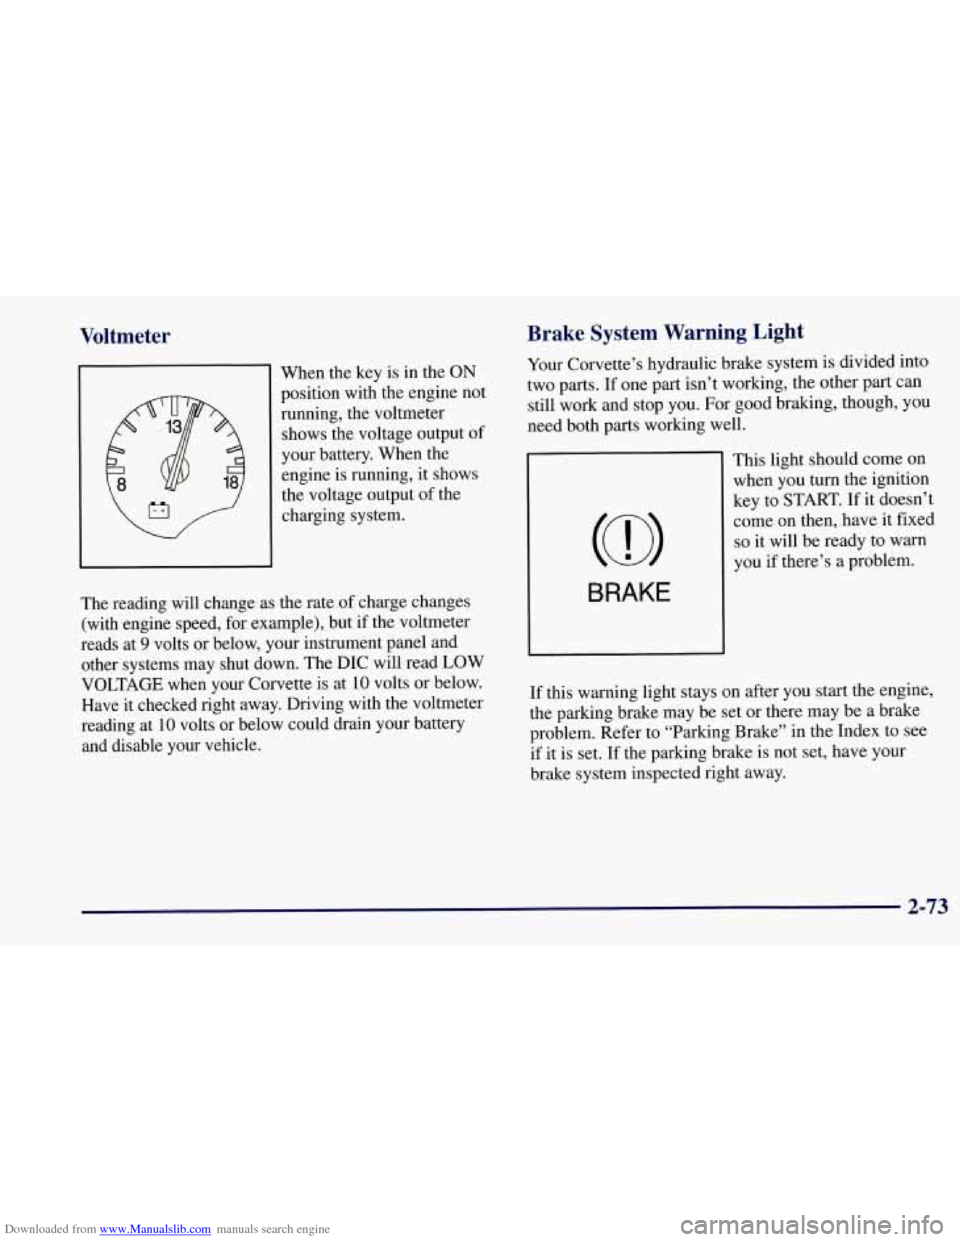
When the key is in the ON
position with the engine not
running, the voltmeter
shows the voltage output of
your battery. When the engine is running, it shows
the voltage output of the
charging system.
the rate of charge changes
J
The reading will change as
(with engine speed, for example), but if the voltmeter
reads at
9 volts or below, your instrument panel and
other systems may shut down. The DIC will read LOW
VOLTAGE when your Corvette is at
10 volts or below.
Have it checked right away. Driving with the voltmeter
reading at
10 volts or below could drain your battery
and disable your vehicle.
Brake System Warning Light
Your Corvette’s hydraulic brake system is divided into
two parts. If one part isn’t working, the other part can
still work and stop you. For good braking, though, you
need both parts working well.
BRAKE
This light should come on when you turn the ignition
key to START.
If it doesn’t
come on then, have it fixed
so it will be ready to warn
you
if there’s a problem.
If this warning light stays on after you start the engine,
the parking brake may be set or there may be a brake
problem. Refer to “Parking Brake” in the Index to see
if it is set.
If the parking brake is not set, have your
brake system inspected right away.
2-73
Page 130 of 356

Downloaded from www.Manualslib.com manuals search engine Driver Information Center (DIC)
The Driver Information Center (DIC) will display
information about how your vehicle is functioning, as
well as warning messages if a system problem is
detected. The DIC display area is located in the
instrument cluster below the speedometer and
tachometer, directly above the steering column.
The following buttons are on the DIC control panel
which is located to the right of the cluster:
1 FUEL: Press this button to display fuel information
such as fuel economy and range.
2 GAGES: Use this button to display gage information
like oil pressure and temperature, coolant temperature,
transmission fluid temperature, battery voltage and
fronurear tire pressures.
3 TRIP: Use this button to display your total and trip
miles, the elapsed time function, your average speed and
the oil life.
4 OPTIONS: This button allows you to choose personal
options available with your vehicle such as security,
door locks, easy entry seats and language.
5 EM: Use this button to change the display between
English and metric units.
RESET: This button, used along with the other buttons,
will reset system functions and turn off or acknowledge
messages on the DIC.
At the top
of the DIC control buttons is a light sensor.
Be sure not to block the sensor or your lighting
functions may be disrupted.
2-81
Page 143 of 356
Downloaded from www.Manualslib.com manuals search engine LOW COOLANT You will hear two chimes when this
message is displayed. To acknowledge the warning press
RESET. After you press RESET, a message will
reappear and you will hear a chime every
10 minutes
until this condition changes.
This message indicates that the coolant in the system is
low. You may need to add coolant.
See “Engine
Overheating” in the Index.
COOLANT OVER TEMP: You will hear four chimes
and the CHECK GAGES telltale will come on when this
message is displayed. To acknowledge the warning,
press the RESET button. After you press the RESET
button, a message will be displayed and you will hear a
chime every minute until this condition changes. If you
do not press RESET, the message will remain on the
digital display until the condition changes.
If the engine coolant exceeds 255
“F (124”C), this
message is displayed. If you have been operating your
vehicle under normal driving conditions, you should
pull off from the road, stop your vehicle and turn off the
engine as soon as possible. You can monitor the coolant
temperature with the GAGES button on the DIC or the
engine coolant gage on the instrument panel cluster.
See
“Engine Overheating” in the Index.
HIGH OIL TEMPERATURE REDUCE ENGINE
RPM:
You will hear four chimes and the CHECK
GAGES telltale will come on when this message is
displayed. To acknowledge the warning, press the
RESET button. After you press the RESET button, a
message will be displayed and you will hear a chime
every minute until this condition changes. If you do not
press RESET, the message will remain on the digital
display until the condition changes.
If the engine oil temperature exceeds 320°F (160” C),
this message is displayed. You should check the engine
coolant temperature and engine oil level. If your engine
is too hot, see “Engine Overheating” in the Index. Your
vehicle may need service,
so see your dealer. You can
monitor the oil temperature with the GAGES button on
the DIC.
HIGH TRANS TEMP: You will hear four chimes and
the CHECK GAGES telltale will come on when
this message is displayed. To acknowledge this
warning, press the RESET button. After you press the
RESET button, the message will be displayed every
10 minutes until the condition changes. If you do not
press RESET, the message remains on the display until
the condition changes.
2-94
Page 150 of 356
Downloaded from www.Manualslib.com manuals search engine Temperature Knob
The center knob controls the temperature of the air
coming through the system. Turn it to the left (toward
the blue area) for cooler air. Turn it to the right (toward
the red area) for warmer air.
Mode Knob
The right knob selects the direction of where the air will
enter the vehicle.
+*
/J UPPER: This setting directs most of the air
through the instrument panel outlets with a very small
amount of air directed to the lower outlets.
+’ BI-LEVEL: This setting directs air into your
vehicle in two ways. Cooler air is directed toward your
upper body through the instrument panel outlets, while
warmer air is directed through the lower outlets.
+e a
+’ LOWER: This
.setting directs most of the air
through the lower ducts to the floor area of the vehicle
with some of the air also directed toward the windshield
and side window vents.
+fl DEFOG: This setting divides the air between
the windshield and lower outlets with a small amount
directed toward the side window vents. This is useful
when fog appears on the windshield or side glass due
to rain or snowy conditions.
we
DEFROST: Use this setting to quickly remove fog
or frost from the windshield. This setting directs most of
the airflow to the windshield with a small mount
directed toward the lower and side window outlets.
3-3
Page 154 of 356
Downloaded from www.Manualslib.com manuals search engine A Typical Cold Weather Example:
Your vehicle has been parked outside ~ver~~ight in
cold weather (below 32 OF/ 0" C) and you have set
the driver temperature at 73 OF (23
"C) and have selected
the AUTO mode. The system will automatically adjust
the temperature output to maximum heating. The fan
will start at a low speed. This
is to avoid blowing cold
air into the vehicle. The length of the delay depends
on the amount of time since the engine was last started,
the outside temperature and the engine coolant
temperature. As the coolant warms up, the fan speed
will gradually increase. Air will flow to the floor with
some air to the windshield to prevent fogging under
most normal conditions.
As the interior
of the vehicle warms up to your comfort
set temperature, the fan speed will decrease and the
temperature output may become cooler. If the interior
temperature continues to warm up due to heating from
the sun or outside temperature increases, the system
may switch to other air delivery modes (typically
DEFOG or BI-LEVEL).
A vpical Hot Weather Example:
Your vehicle has Seen parked outside all day in hot
weather (above
70 OF/ 2 1 O C) and you have set the
driver temperature at
73 "F (23 O C) and have selected
the AUTO mode. The system will automatically adjust
the temperature output to maximum cooling. The blower
will start at a low speed momentarily to push the hot
air to the floor of the vehicle and then
go to a higher
blower speed with cold airflow out of the instrument
panel outlets. A small amount of airflow will continue
through the lower ducts to cool the floor area.
The air intake may start in the recirculated mode for
maximum cooling performance. As the interior of the
vehicle cools down to your comfort set temperature,
the fan speed will decrease and the temperature output
may become warmer. The air intake may shift from
recirculation to fresh air mode.
If the interior continues
to cool due to a decrease in the amount
of heat the
vehicle is absorbing from the sun or a decrease in the
outside temperature, the system could switch to other air
delivery modes (typically BI-LEVEL or DEFOG).
3-7
Page 155 of 356
Downloaded from www.Manualslib.com manuals search engine Manual Settings
With the Dual Zone Electronic Climate Control, there
are several manual settings you can use to control the
system and override the AUTO operation. You can
program the fan speed, air delivery mode,
air intake
mode and control the air conditioning operation using
these settings. The system will still determine the
temperature output level based on the driver-set
temperature and the passenger temperature offset.
8? FAN SPEED: Press the button with the fan switch
symbol on it to manually lock in the current fan speed
and to stop the automatic fan speed control. Pressing the
arrows will delete AUTO from the digital display. The
fan graphics with the fan speed bars will be shown. To
increase the fan speed
so that more air flows into the
vehicle, press the UP arrow on the fan switch.
To
decrease the fan speed and airflow, press the DOWN
arrow. The AUTO button must be pressed to return to
the automatic fan control.
MODE: Press the MODE button to manually lock in
the current air delivery setting and to stop the automatic
mode control. Pressing the
MODE button will delete
AUTO from the digital display and the mode graphics
will be shown.
To change the setting, press the MODE
button again. The AUTO button must be pressed to
return to the automatic mode selection.
/J UPPER: This setting directs most of the air
through the instrument panel outlets and a very small
amount to the lower outlets.
!# BI-LEVEL: This setting directs air into your
vehicle in two ways. Cooler air is directed toward your
upper body through the instrument panel outlets, while
warmer air
is directed through the lower outlets.
+’ LOWER: This setting directs most of the air to
the floor area and some of it toward the windshield and
side window vents.
+@ DEFOG: This setting divides the air between
the windshield and lower outlets and a small amount
toward the side window vents. This is useful when fog
appears on the windshield or side glass due to rain or
snowy conditions.
+e
+.
e
we