P21775
H
P21097
SST
CO0766
Clearance
Lock
Plate
O-Ring
- COOLINGRADIATOR
CO-21
1996 TERCEL (RM440U)
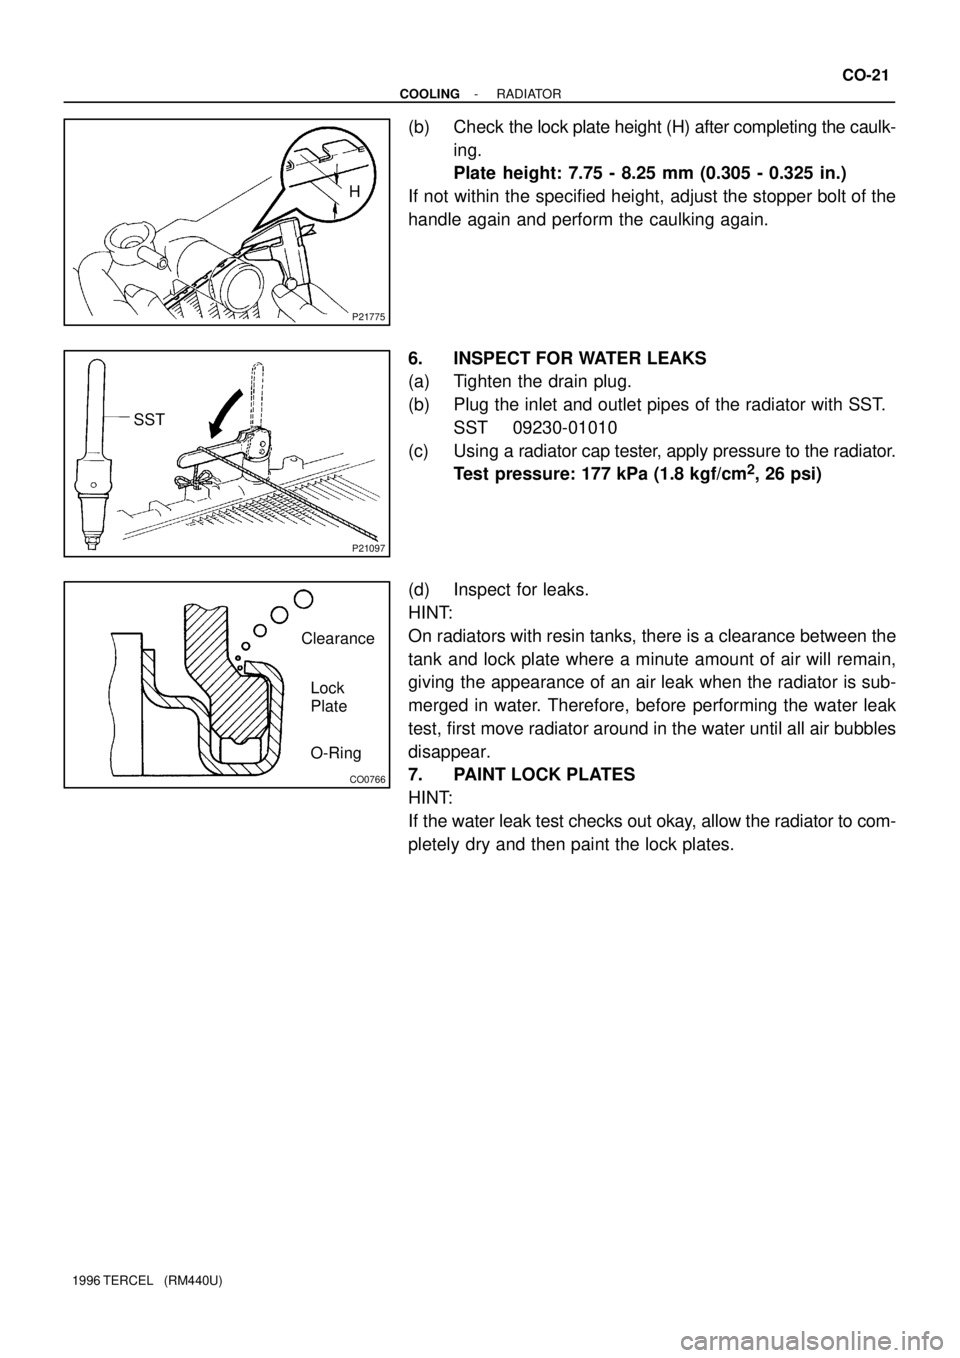
(b) Check the lock plate height (H) after completing the caulk-
ing.
Plate height: 7.75 - 8.25 mm (0.305 - 0.325 in.)
If not within the specified height, adjust the stopper bolt of the
handle again and perform the caulking again.
6. INSPECT FOR WATER LEAKS
(a) Tighten the drain plug.
(b) Plug the inlet and outlet pipes of the radiator with SST.
SST 09230-01010
(c) Using a radiator cap tester, apply pressure to the radiator.
Test pressure: 177 kPa (1.8 kgf/cm
2, 26 psi)
(d) Inspect for leaks.
HINT:
On radiators with resin tanks, there is a clearance between the
tank and lock plate where a minute amount of air will remain,
giving the appearance of an air leak when the radiator is sub-
merged in water. Therefore, before performing the water leak
test, first move radiator around in the water until all air bubbles
disappear.
7. PAINT LOCK PLATES
HINT:
If the water leak test checks out okay, allow the radiator to com-
pletely dry and then paint the lock plates.
AC1CY-04
N12238
N12241
AC-50
- AIR CONDITIONINGCONDENSER
1996 TERCEL (RM440U)
REMOVAL
1. DISCHARGE REFRIGERANT FROM REFRIGERATION
SYSTEM
Charge system with refrigerant and inspect for leakage of refrig-
erant.
HINT:
At the time of installation, evacuate air from refrigeration sys-
tem.
Specified amount: 600 ± 50 g (21.16 ± 1.76 oz.)
2. REMOVE RECEIVER (See page AC-47)
3. DISCONNECT LIQUID TUBE AND DISCHARGE TUBE
Torque: 5.4 N´m (55 kgf´cm, 48 in.´lbf)
NOTICE:
Cap the open fittings immediately to keep moisture or dirt
out of the system.
HINT:
Lubricate 2 new O-rings with compressor oil and install them
to the tubes.
4. REMOVE CONDENSER
(a) Remove the 2 radiator upper mountings.
(b) Remove the 2 bolts from condenser upper mountings.
(c) Push the radiator toward the engine.
(d) Push the condenser toward radiator and pull it upward.
HINT:
If condenser was replaced, add compressor oil to compressor.
Add 40 cc (1.4 fl.oz.)
Compressor oil: ND-OIL 9 or equivalent