Page 152 of 320

when appropriate, stay in direct phone contact
with you until emergency help arrives notify pre-designated family contacts or friends
of the emergency situation, if requested, or if no
response is received from the vehicle.
NOTE: If You are certain of your location, a direct
phone call to 911 or other emergency services may
provide a faster response.
Activation and Deactivation
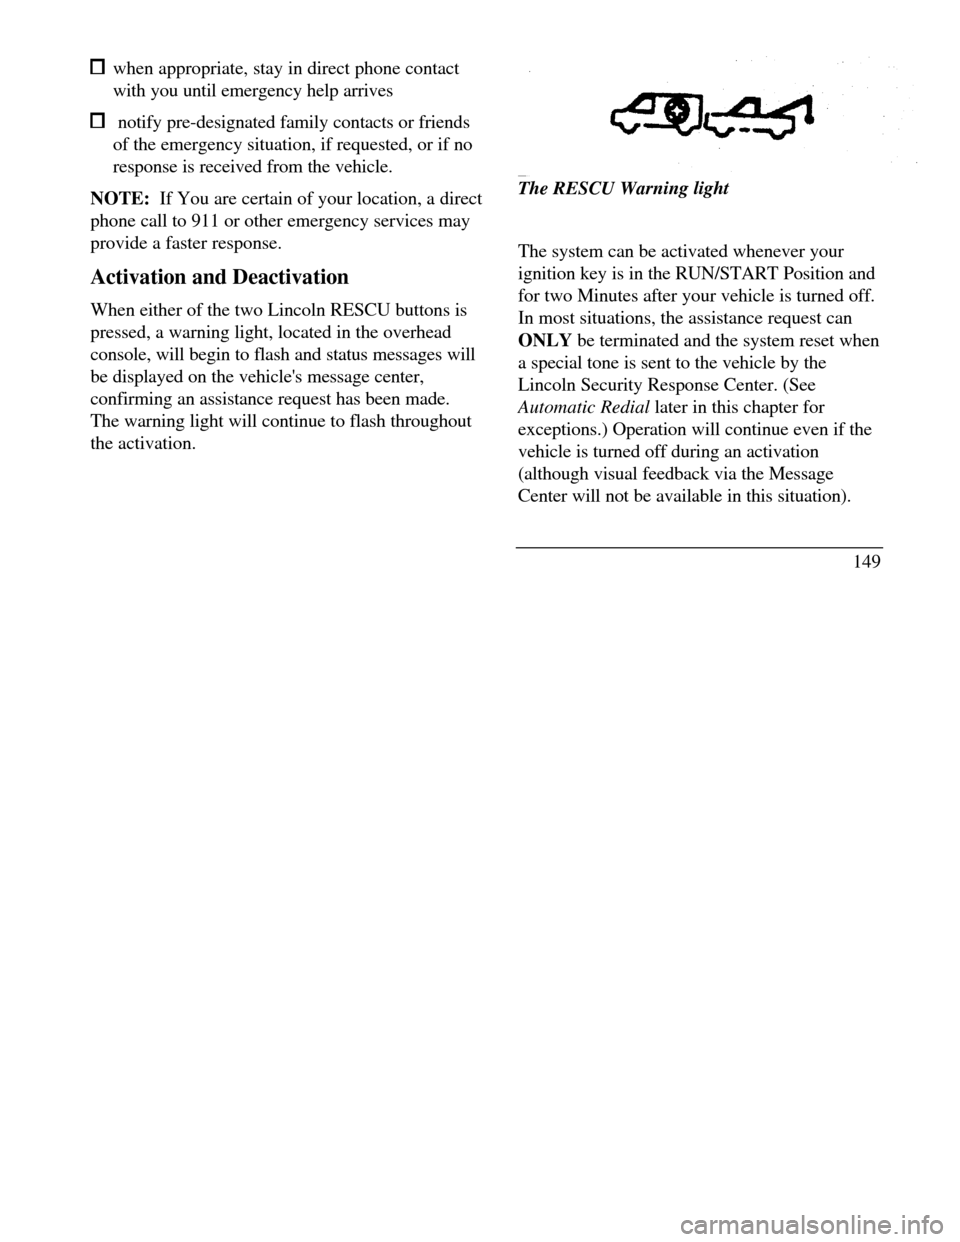
When either of the two Lincoln RESCU buttons is
pressed, a warning light, located in the overhead
console, will begin to flash and status messages will
be displayed on the vehicle's message center,
confirming an assistance request has been made.
The warning light will continue to flash throughout
the activation.The RESCU Warning light
The system can be activated whenever your
ignition key is in the RUN/START Position and
for two Minutes after your vehicle is turned off.
In most situations, the assistance request can
ONLY be terminated and the system reset when
a special tone is sent to the vehicle by the
Lincoln Security Response Center. (See
Automatic Redial later in this chapter for
exceptions.) Operation will continue even if the
vehicle is turned off during an activation
(although visual feedback via the Message
Center will not be available in this situation).
149
Page 165 of 320

Manual tuning adjusts your radio to any
allowable broadcast frequency, whether or not a
station is present on that frequency. (See All
About Radio Frequencies in this section.) Using the "SEEK" function
Press the right *) side of the 'SEEK" button to
select the next listenable station up the
frequency band. Press the left (.4) side of the
button to select the next listenable station
down the frequency band. By holding the
button down, listenable stations can be passed
over to reach the desired station. Using the 'SCAN" function
Pressing the "SCAN" button will begin the
scan mode up the frequency band, stopping on
each listenable station for approximately five
seconds.
To stop the scan mode on the presently
sampled station, press the "SCAN" button again.
162 Setting the station MEMORY PRESET buttons
Your radio is equipped with 6 station
memory buttons. These buttons can be used
to select up to 6 preset AM stations and 12
FM stations (6 in FMI and 6 in FM2)
1Select a band, then select a frequency.
2.Press one of the memory buttons and hold
until the sound returns and the lamp above
the memory button lights up. That
memory button is now set.
3.Follow the above steps for each memory
preset button.
NOTE:Custom memory presets
can be recalled using the keyless entry
system. See Memory Profile System in
the Features chapter.
Page 168 of 320

3. 3. "JAZZ" - Jazz club with clearly reflected
sounds.
4. “'STADIUM" - Outdoor stadium with a
capacity of about 30,000.
5. “NEWS" - “Voice-only" type of sound with a
limited audio band.
To deactivate the DSP feature, press the
"(DSP)" button again.
Delayed Accessory Feature
If the ignition is turned off while the radio is on,
the radio will continue to play for up to ten
minutes or until a door is opened.
Speaker Locations
Your Ford JBL sound system is equipped with a
total of ten speakers: two speakers in each of the
four doors and two subwoofers located in the
rear package tray.Your Antenna
Antennas for both AM and FM reception are
hidden in the back glass of your vehicle. There
is an internal antenna module that will switch
between AM and FM, when bands are changed,
for maximum reception performance.
NOTE: Do not attempt to adapt any other type
of antenna system to your audio system.
Using the Controls of Your Cassette
TapePlayer
NOTE: Radio power must be on to use the
cassette tape player.
How to insert a tape
Your cassette tape player is equipped with
power loading. Once you insert a tape and push
slightly (with the open edge to the right), the
loading mechanism draws the tape the rest of the
way in and play will begin after a momentary
tape tightening process. Display indicates
"TAPE" while tape is playing.
165
Page 169 of 320

If the player is in the tape mode but not in Play,
pressing the 'TAPE" button will activate play. If
the "TAPE" button is pressed with no tape
inserted, the display will flash "NO TAPE".
How to locate a desired track on the tape
There are six ways to quickly locate a desired
selection on the tape. You can use the fast
forward, rewind, Blank Skip, "SEEK", "SCAN"
or "SIDE 1-2" functions. Following are brief
descriptions of each: Fast forwarding the tape
To fast forward the tape, press the "FF'
button. The radio will play while the tape is in
fast forward. The light above the "FF" button
will blink while in the fast forward mode.
Press "FF" again or press the "TAPE" button
to stop fast forwarding. At the end of the
tape, the direction automatically reverses and
plays the other side of the tape.
166 Rewinding the tape
To rewind the tape, press the "REW' button.
The radio will automatically begin playing
while the tape is rewinding. The light above
the "REW" button will blink while in the
rewind mode. Press "REW" again or press
the 'TAPE" button to stop rewinding. Using the "SEEK" function with your cassette
tape player
While in the tape mode, push the right ()
side of the "SEEK' button to seek forward to
the next selection on the tape. Push the left
() side to restart a currently playing tape
selection. Using the 'Blank Skip" function with your
cassette tape player
Press the "Blank Skip" button to activate
the blank skip mode. After approximately
20 seconds of blank program, the tape will
seek forward to the next program.
Page 170 of 320

Using the "SCAN" function with your cassette
tape player
Pushing the "SCAN" button will begin the
forward scan mode on the tape currently
playing, stopping on each tape selection for
approximately eight seconds.
To stop the scan mode on the presently
sampled tape selection, press the "SCAN"
button or the "TAPE" button. How to change the side of the tape being
played
The alternate side of the tape can be selected
by pressing the "SIDE 1-2" button.
How to eject the tape
To stop the tape and eject the cassette, press the
"EJECT" button. The tape will eject only when
in the tape mode. The cassette cannot be ejected
when the radio is playing an “AM” or "FM"station. The system will revert to radio
mode when the cassette is ejected.
How to store the tape
Press the "AWFM" button to stop the
tape player and resume radio play.
Using the DolbyÒ B noise
reduction feature
NOTE: Noise reduction system
manufactured under license from Dolby
Labs Licensing Corporation. "Dolby" and
double-D symbol are trademarks of Dolby
Laboratories Licensing Corporation.
Push the button to activate. When
activated, the light above the button
will be illuminated,
Tape error messages
Your cassette tape player is equipped to
diagnose certain problems you may
experience. Error codes are as follows:
167
Page 171 of 320

TD El - Radio tries to change sides of tape 3
times in a 10 second span. push ,EJECT" and try
another tape. if problem persists, refer problem to
qualified personnel for service.
TD E2 - Tape eject failure. Radio tries to eject
tape and it will not eject. push "EJECT" to elect
tape. if the tape Will not eject, refer problem to
qualified personnel for service.
TD E3 - Loading error. push 'EJECT" to elect
tape. Reload tape. If the same error code
appears in the display, try another tape.
Tips on Caring for the Cassette Player
and Tapes
In order to keep your cassette tape player
performing the Way it was meant to, read and
follow these simple precautions: Using a Ford Cassette Cleaning Cartridge to
clean the tape player head after 10-12 hours of
play will help maintain the best playback
sound and proper tape operation.
168 Only cassettes that are go minutes long or
less ger than go minutes should be used.
Tapes longer than 90 minutes are thinner
and subject to breakage or may jam the tape
player mechanism. Protect cassettes from exposure to direct
sunlight, high humidity and extreme heat or
cold. If they are exposed to extreme
conditions allow them to reach a moderate
temperature before playing. If a tape is. loose inside the cassette; tighten
it by putting, your finger or a pencil into
one of the holes and turning the hub until
the tape is tight. Loose labels on cassette tapes can become
lodged in the mechanism. Remove any
loose label material before inserting a
cassette. Do not leave a tape in the cassette tape
player when not in use. High heat in the
vehicle can cause the cassette to warp.
Page 176 of 320

Operating the Shuffle feature
The shuffle feature on your CD player allows you
to listen to your disc selections in a different
order. When this feature is activated, your CD
player will randomly select and play tracks on the
disc.
Press the "SHUFFLE" button to turn on, press it
again to turn off. When on, the light above the
"SHUFFLE" button will illuminate.
Operating the "SC4N"function
Press the "SCAN" button to enter the scan mode.
The CD player will begin scanning the disc,
stopping on each listenable track for
approximately an eight second sampling. This
continues until you press the "SCAN" button a
second time.Operating the Shuffle and Scan features
simultaneously
Both the shuffle and scan features can be
activated simultaneously. In this mode, the
player will randomly pick a selection and play
the first eight seconds. This process is
continued until either the "SCAN" button or
"SHUFFLE" button is pressed a second time.
How to stop CD play
While in CD Changer mode, press the EJCT,
AM or FMI/FM2 button to stop CD play and
resume radio play. Also, loading a cassette into
the cassette deck will stop CD play and begin
cassette play.
Balance control allows you to adjust the sound
distribution between the right and left speakers.
Push the "AUDIO" button repeatedly until the
display reads "BAL." Push the right (+) side of
the "VOLUME" button to shift the sound to the
right speakers, and push the left (-) side to shift
the sound to the left speakers.
173
Page 177 of 320

How to take care of and clean the CD Changer and
discs
To ensure the continued performance of your CD
Changer carefully read the following precautions: Always handle a disc by the edge. Never
touch the playing surface. Before playing, inspect all discs for any
contamination. If needed, clean discs with an
approved disc cleaner, such as the
DiscwasherÒ Compact Disc Cleaner or the
AllsopÒ 3 Compact Disc Cleaner, by wiping
from the center out to the edges. Do not use
a circular motion to clean. Do not clean discs with solvents such as
benzine, thinner, commercially available
cleaners or antistatic spray intended for analog
records. Do not expose the discs to direct sunlight or
heat sources for an extended period of time.
174 Do not insert more than one disc into
each disc slot of the disc magazine.
Doing so may damage the discs, disc
magazine or the disc changer. Do not insert anything other than discs
into the disc magazine./! WARNINGThe laser beam used in the compact discplayer is harmful to the eyes. Do notattempt to disassemble the case.CD Error Messages
Your system is equipped to diagnose
certain problems you may experience.
The error codes are:
-CD El - Mechanism error.
-CD E2 - Focus error.
-BAD CD - Disc unreadable.