Page 14 of 320

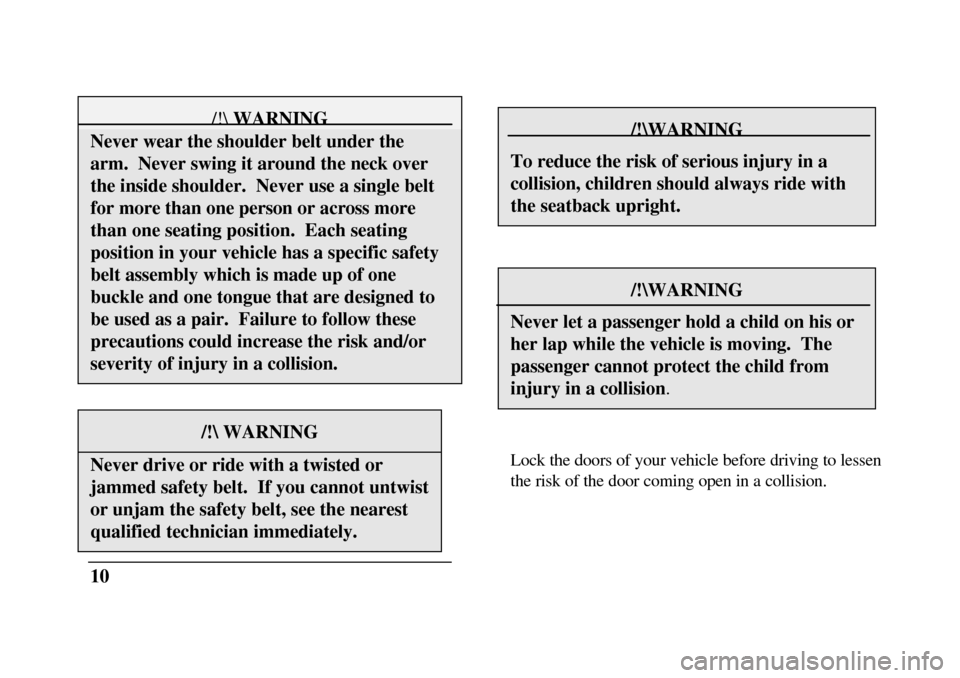
/! WARNINGNever wear the shoulder belt under thearm. Never swing it around the neck overthe inside shoulder. Never use a single beltfor more than one person or across morethan one seating position. Each seatingposition in your vehicle has a specific safetybelt assembly which is made up of onebuckle and one tongue that are designed tobe used as a pair. Failure to follow theseprecautions could increase the risk and/orseverity of injury in a collision./! WARNINGNever drive or ride with a twisted orjammed safety belt. If you cannot untwistor unjam the safety belt, see the nearestqualified technician immediately.10/!\WARNINGTo reduce the risk of serious injury in acollision, children should always ride withthe seatback upright./!\WARNINGNever let a passenger hold a child on his orher lap while the vehicle is moving. Thepassenger cannot protect the child frominjury in a collision.Lock the doors of your vehicle before driving to lessen
the risk of the door coming open in a collision.
Page 15 of 320
Combination Lap and Shoulder
Belts
While your vehicle is in motion, the combination lap
and shoulder belt adjusts to your movement.
However, if you brake hard, corner hard or if your
vehicle receives an impact of 5 mph (8 km/h) or
more, the lap and shoulder belt locks and helps
reduce your forward movement.
After you get into your vehicle, close the door and
lock it. Then adjust the seat to the position that
suits you best.Fastening the combination lap and shoulder
belt
NOTE: Be sure to read and understand Important
Safety Belt Information at the beginning of this
chapter.
To adjust the lap part of the belt, pull up on the
shoulder belt until the lap belt fits snugly and as
low as possible around your hips.
While the belt retracts, guide the tongue to its
original position to prevent it from striking you or
the vehicle.
11
Page 44 of 320
Starting Your ContinentalIgnition
Understanding the Positions of the
IgnitionThe positions of the key in the ignitionACCESSORY allows some of your vehicle's
electrical accessories such as the radio and the
windshield wipers to operate while the engine is not
running.
NOTE:Your vehicle is also equipped with an
accessory timer. This allows some of your
accessories to remain on for up to I 0 minutes after
the ignition is turned to the OFF position. The
accessory timer is cancelled if any door is opened, the
dimmer switch is used, or the ignition is turned to the
ON position.
The automatic transaxle gearshift must be in P (Park)
to move the key to the LOCK position.
LOCK locks the steering wheel. It also locks the
gearshift lever.
LOCK is the only position that-allows you to remove
the key. The LOCK feature helps to protect your
vehicle from theft.
41
Page 45 of 320

OFF allows you to shut off the engine and all
accessories without locking the steering wheel, or the
gearshift lever.
ON allows You to test your vehicle's warning lights
(except the brake system warning light) to make sure
they work before you start the engine. The key returns
to the ON position once the engine is started and
remains in this position while the
engine runs.
START cranks the engine. Release the key once the
engine starts so that you do not damage the starter. The
key should return to ON when You release it. The
START position also allows You to test the Brake
Warning Light.
42Removing the Key From the Ignition
1.Put the gearshift in P (Park)-
2.Set the parking brake fully.
3.Turn the ignition key to LOCK.
4.Remove the key.
If the key is stuck in the LOCK position, move the
steering wheel left or right until the key turns freely.
If the driver's door is open while the key is still in the
ignition, a warning chime sounds./! WARNINGAlways set the parking brake fully andmake sure that the gearshift is securelylatched in P (Park).
Page 62 of 320
Air Bag Readiness Light
The air bag system uses a readiness light and
a tone to indicate the condition of the system.
The readiness light is in the instrument
cluster. When you turn the ignition key to the
ON position, this light will light up for six (6)
seconds and then turn off. This indicates that
the system is operating normally. NOTE:
Regularly scheduled maintenance of the air
bag system is not required.AIRBAGIf the light fails to Ruminate, continues to
flash, remains on, or you hear a beeping
sound, have the system serviced at your Ford
or Lincoln-Mercury dealer immediately.Anti-Theft Alarm Light
(If equipped)
This light flashes on and off when the ignition is
turned to the OFF position and any door is
opened. As soon as you lock the doors, the light
glows steadily. Within 30 seconds of closing all
the doors, the light goes out. This indicates that
the alarm system is armed.ANTI-THEFTSee Anti-Theft System in the Features chapter for
more information.
59
Page 68 of 320

Pressing the MENU button once will allow you
to enable or disable the EXPRESS WINDOW
feature. This feature allows one tap down
operation on the driver's window using the
window switch on the driver's door armrest.
Pressing MENU again will allow you to enable
or disable the AUTO DOOR LOCK feature.
This feature automatically locks all doors when
the driver shifts out of PARK, all doors are
closed, the driver's seat is occupied, and the
vehicle is traveling over three mph (5 km/h).
Pressing MENU again will allow you to
enable or disable the HORN CHIRP feature.
When HORN CHIRP is ON the horn will
briefly sound when the Remote Entry Key
Fob LOCK button is pressed. This verifies
the doors have been locked and the ANTI-
THEFT system has been armed (if equipped).
Pressing MENU again will allow you to
enable or disable the SEAT ACCESS feature.
When ON, the driver's seat will move back 2
inches (5 cm) or toend of seat track travel when the vehicle is
turned off and the ignition key is removed.
Upon the driver entering the vehicle and
closing the door, the seat will move
forward to its previous position.
Pressing MENU again will allow you to enable or
disable the REVERSE MIRRORS feature. When
ON, the outside rearview mirrors tilt down when
the gearshift is placed in R (Reverse). This
provides for an improved view of the side of the
vehicle and curb area when backing up. When
you shift out of REVERSE the mirrors return to
their previous positions.
Odometer
The odometer tells you the total number of miles
(kilometers) your vehicle has been driven.
If the odometer displays the word Error, please
contact your dealer for service.
65
Page 88 of 320
Panel dim switch
The switch that controls interior lamps and
instrument panel brightness
To turn on the interior lights, hold the Panel Dim
switch up until the interior lights turn on. To
turn off the interior lights, push the Panel Dim
switch down. The interior lights also come on
when any door is opened or if either front door
outside handle is lifted with the door locked.Turning On the Map Lamps
Your vehicle has a map lamp for the passenger and
one for the driver.TTThe map lamps on vehicles equipped with a
moon roof
85
Page 89 of 320
Map lamp Dome lamp ON/OFF Switches
The map lamps on the inside roof of the car
To turn on the map lamps, push the switches in
front of each lamp.
On vehicles equipped with the moon roof
Option, the map lamps and switches are located
on the inside rearview mirror.
86Rear Courtesy/Reading Lamps
Your vehicle has two rear passenger
courtesy/reading lamps.
The courtesy lamp lights when any door is
opened or when the instrument panel
dimmer switch is turned to the courtesy
lamp position or if either front door outside
handle is lifted with the door locked.
With the ignition key in the ACC or ON
position, the reading lamp can be turned on
by using the rocker switch on the lamp
assembly.