Page 3 of 320
Table of ContentsINTRODUCTORY INFORMATIONSAFETY RESTRAINTS
STARTING YOUR CONTINENTALWARNING LIGHTS AND GAUGESINSTRUMENT PANEL CONTROLS
STEERING COLUMN CONTROLSFEATURESELECTRONIC SOUND SYSTEMS1
9
41
51
69
89
99
159
i
Page 24 of 320

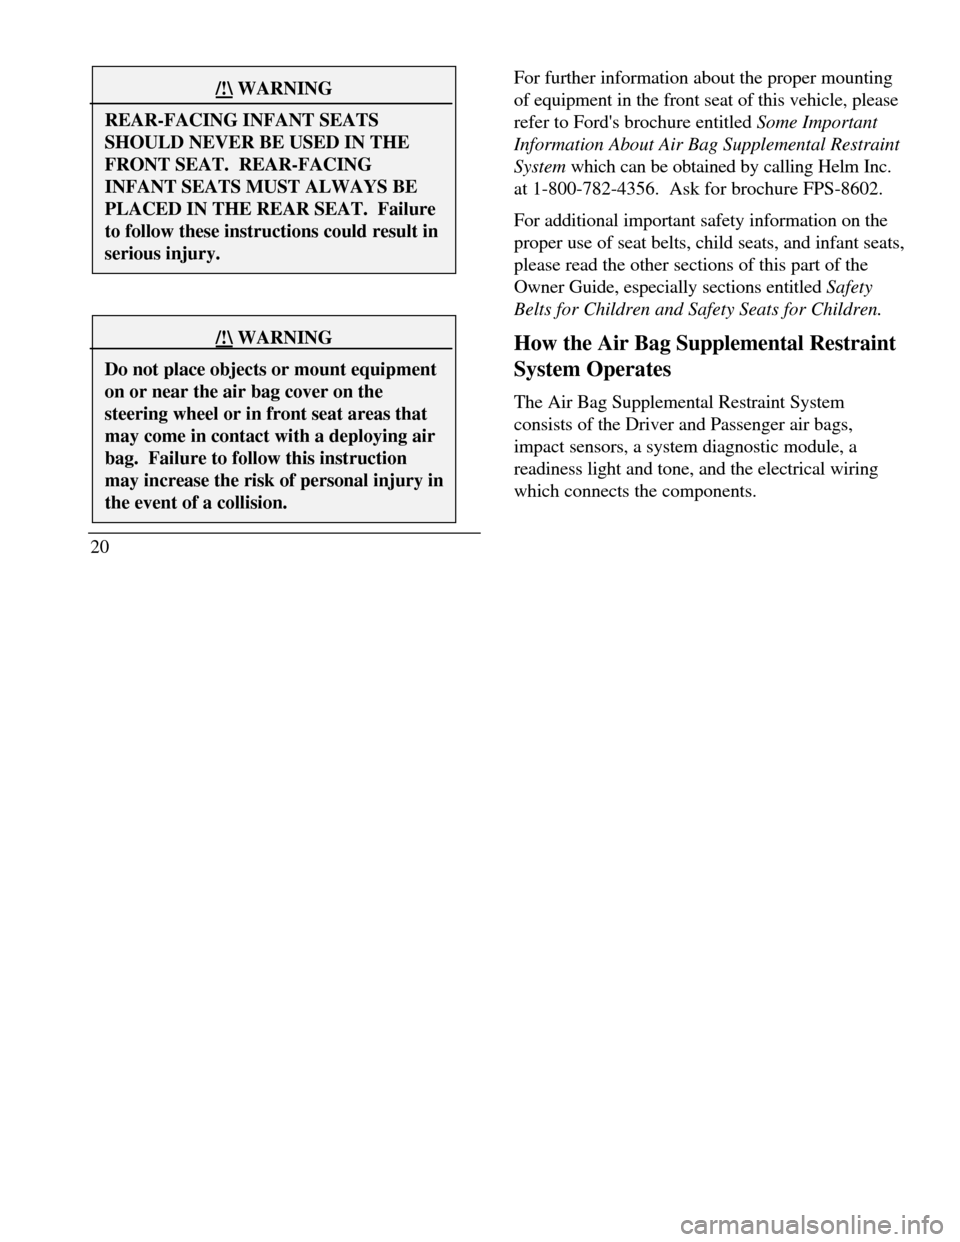
/!\ WARNINGREAR-FACING INFANT SEATSSHOULD NEVER BE USED IN THEFRONT SEAT. REAR-FACINGINFANT SEATS MUST ALWAYS BEPLACED IN THE REAR SEAT. Failureto follow these instructions could result inserious injury./!\ WARNINGDo not place objects or mount equipmenton or near the air bag cover on thesteering wheel or in front seat areas thatmay come in contact with a deploying airbag. Failure to follow this instructionmay increase the risk of personal injury inthe event of a collision.20For further information about the proper mounting
of equipment in the front seat of this vehicle, please
refer to Ford's brochure entitled Some Important
Information About Air Bag Supplemental Restraint
System which can be obtained by calling Helm Inc.
at 1-800-782-4356. Ask for brochure FPS-8602.
For additional important safety information on the
proper use of seat belts, child seats, and infant seats,
please read the other sections of this part of the
Owner Guide, especially sections entitled Safety
Belts for Children and Safety Seats for Children.
How the Air Bag Supplemental Restraint
System Operates
The Air Bag Supplemental Restraint System
consists of the Driver and Passenger air bags,
impact sensors, a system diagnostic module, a
readiness light and tone, and the electrical wiring
which connects the components.
Page 25 of 320
The driver air bag is in the center of the steering
wheel and is indicated by the letters SRS. The right
front passenger seat air bag is in the upper right-
hand section of the instrument panel ledge above
the glove compartment. The letters SRS appear
there. Both air bags are designed to stay out of
sight until they are activated.The location of air bags and warning labels
21
Page 44 of 320
Starting Your ContinentalIgnition
Understanding the Positions of the
IgnitionThe positions of the key in the ignitionACCESSORY allows some of your vehicle's
electrical accessories such as the radio and the
windshield wipers to operate while the engine is not
running.
NOTE:Your vehicle is also equipped with an
accessory timer. This allows some of your
accessories to remain on for up to I 0 minutes after
the ignition is turned to the OFF position. The
accessory timer is cancelled if any door is opened, the
dimmer switch is used, or the ignition is turned to the
ON position.
The automatic transaxle gearshift must be in P (Park)
to move the key to the LOCK position.
LOCK locks the steering wheel. It also locks the
gearshift lever.
LOCK is the only position that-allows you to remove
the key. The LOCK feature helps to protect your
vehicle from theft.
41
Page 45 of 320

OFF allows you to shut off the engine and all
accessories without locking the steering wheel, or the
gearshift lever.
ON allows You to test your vehicle's warning lights
(except the brake system warning light) to make sure
they work before you start the engine. The key returns
to the ON position once the engine is started and
remains in this position while the
engine runs.
START cranks the engine. Release the key once the
engine starts so that you do not damage the starter. The
key should return to ON when You release it. The
START position also allows You to test the Brake
Warning Light.
42Removing the Key From the Ignition
1.Put the gearshift in P (Park)-
2.Set the parking brake fully.
3.Turn the ignition key to LOCK.
4.Remove the key.
If the key is stuck in the LOCK position, move the
steering wheel left or right until the key turns freely.
If the driver's door is open while the key is still in the
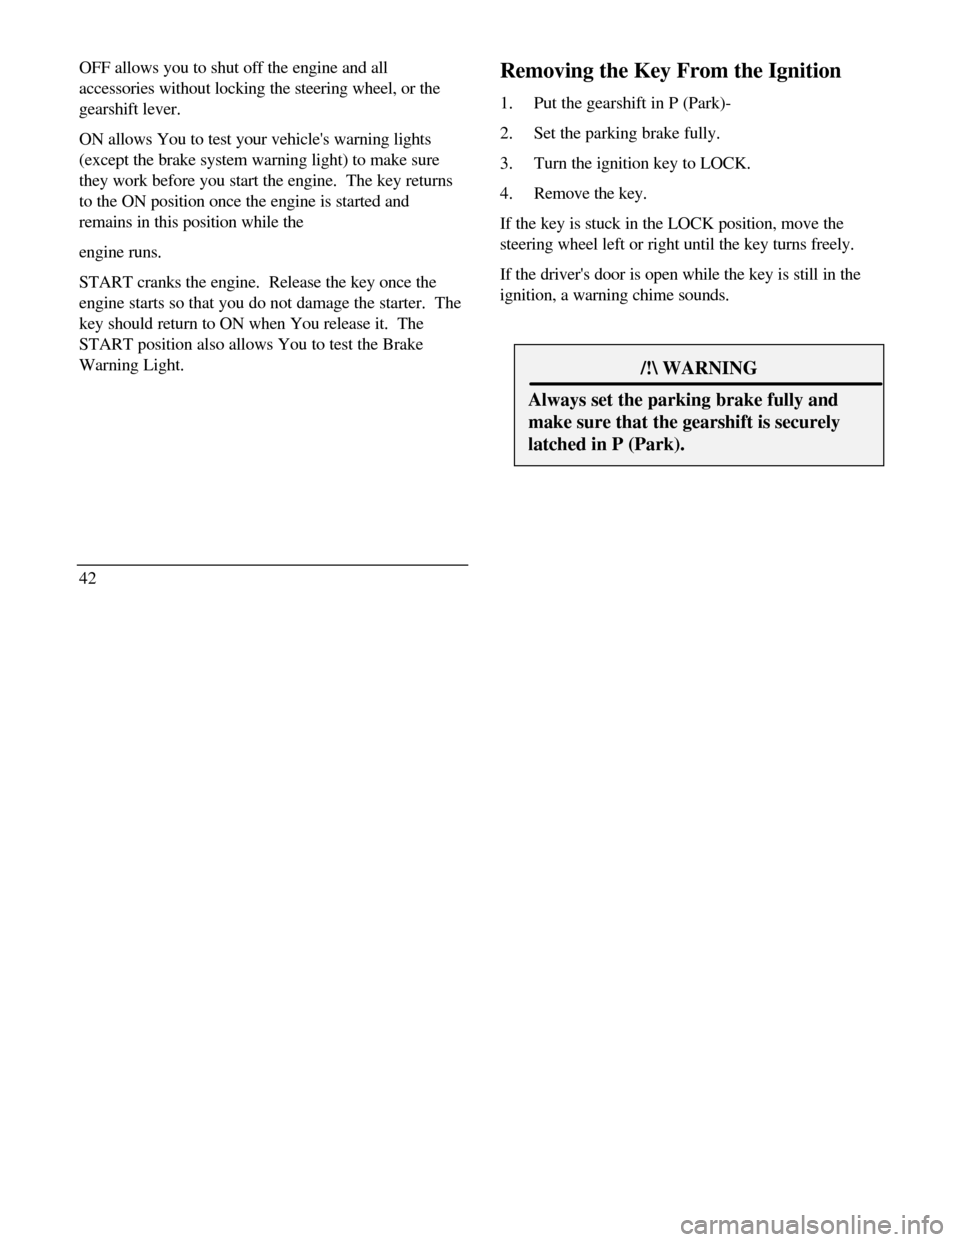
ignition, a warning chime sounds./! WARNINGAlways set the parking brake fully andmake sure that the gearshift is securelylatched in P (Park).
Page 47 of 320

3.Make sure that the gearshift is in P (Park) and the
parking brake is set before you turn the key.
Before you start your vehicle, you should test the
warning lights on the instrument panel to make sure that
they work. Refer to the Warning Lights and Gauges
chapter.
Starting Your Engine
To start your engine:
1.Follow the steps under Preparing to Start Your
Vehicle at the beginning of this section.
2.Turn the ignition key to the ON position.
3. DO NOT depress the accelerator pedal when
starting your engine. DO NOT use the accelerator
while the vehicle is parked.
444. Turn the key to the START position (cranking)
until the engine starts. Allow the key to return to
the ON position after the engine has started.
If you have difficulty in turning the key, rotate the
steering wheel slightly because it may be binding.
For a cold engine: At temperatures 10° °F (-12° °C) and below: If the
engine does not start in fifteen (15) seconds on the
first try, turn the key to OFF, wait approximately
ten (10) seconds so you do not flood the engine,
then try again. At temperatures above 10° °F (-12° °C): If the
engine does not start in five (5) seconds on the
first try, turn the key to OFF, wait approximately
ten (10) seconds so you do not flood the engine,
then try again.
Page 65 of 320

Doors Closed Trunk Closed Trunk Closed Exterior Lamps Distance to Empty Fuel Level TractionControl (if equipped)
System Warnings
System warnings alert you to possible
problems or malfunctions in your vehicle's
operating systems. There are up to 18 warning
messages which can be displayed by the M/C
to show the status of the monitored systems.
The M/C will display the last selected feature if
there are no more warning messages. This
allows you to use the full functionality of the
M/C after you acknowledge the warning by
pressing the RESET button and clearing the
warning message.
62WARNINGACT10NDoor AjarDriver's Door AjarCheck Engine TempCheck Charging SystemLow Fuel LevelWarning returns after 10 minutesLow Engine CoolantLow Oil LevelLow Tire Pressure(if equipped)Headlamp OutBrake Lamp OutCheck Traction Control(if equipped)Check Ride ControlTrunk AjarWarning reappears after key is turnedCheck Steering Assistfrom OFF to ONLow Washer FluidAir Leveling DisabledTail lamp OutFront Turn Lamp Out
Page 67 of 320

If the FUEL LEVEL ERROR message is
displayed this means that there is a problem
with the fuel indication system and you should
contact your dealer for service as soon as
possible.
RESET
A press of the RESET button will allow you to
reset the current feature displayed. Warnings,
Average Fuel Economy, and Trip odometers
are the only features which respond to the
RESET button. Distance to Empty (DTE),
RIDE/STEER and MENU are unaffected by
pressing the RESET switch.
DISPLAY
Pressing this button will cause the message
center display to turn off. Pressing it again will
cause the display to come on again. Warnings
override an off display and must be reset in
order for the display to be off again.
64RIDE/STEER
Pressing this button once will allow you to
adjust your RIDE CONTROL settings, between
NORMAL, PLUSH and FIRM. The settings are
changed by pressing the SELECT button while
RIDE CONTROL is displayed.
Pressing the RIDE/STEER button a second time
will allow you to adjust the STEERING
EFFORT settings between NORMAL, LOW,
and HIGH. The settings are changed by
pressing the SELECT button while STEERING
EFFORT is displayed.
NOTE: The combination of FIRM RIDE
CONTROL and LOW STEERING EFFORT is
undesirable and cannot be selected.
MENU
Pressing this button will allow You to change
various convenience settings throughout the
vehicle. The settings for each feature are
changed by pressing the SELECT button-