1995 PONTIAC BONNEVILLE heating
[x] Cancel search: heatingPage 2 of 338
The 1995 Pontiac Bonneville Owner’s Manual
Seats and Restraint Systems .......................................................... 1-1
Features and Controls ............................................................... 2-1
Comfort Controls and Audio Systems .................................................. 3-1
This section tells you how to use your seats and safety belts\
properly. It also explains the “SRS” system. This section explains how to start and operate your Pontiac.
This section tells you how to adjust the ventilation and comfo\
rt controls and how to operate your audio system.
Here you’ll find helpful information and tips about the road\
and how to drive under different conditions.
This section tells
you what to dorif you have a problem while driving, such as a fl\
at tire or engine
overheating, etc.
Here the
rrmmal tells you how to keep your Pontiac running properly and loolun\
g good.
This section tells you when to perform’vehicle maintenance and wha\
t fluids and lubricants to use.
This section tells you how to contact Pontiac for assistance a\
nd how to get service publications.
It also gives you information on “Reporting Safety Defects’\
’ on page
8-4.
Here’s an alphabetical listing of almost every jsubject in this manual. You can use it to quickly find
something you want to read.
YourDrivingandtheRoad ........................................................... 4-1
ProblemsontheRoad ............................................................... 5-1
Service and Appearance Care ......................................................... ,6-1
Maintenanceschedule ............................................................... 7-1
Customer Assistance Information ..................................................... 8-1
Index ........................................................................\
....... 9-1
1
ProCarManuals.com
Page 96 of 338
Ashtrays
Lift the cover to reveal the front ashtray.
To clean the ashtray, lift it out by pulling on the snuffer.
Lighters
To use a lighter, just push the center in all the way and
let it go. When it is ready the center will pop back by
itself. Pull out the entire unit to use.
On &Is without a console, there’s an ashtray/cup
holder under the instrument panel.
To clean the ashtray,
lift it out by pulling up
on the tabs on either side. It NOTICE:
snaps back into place.
To open the rear ashtrays, lift the cover.
Don’t hold a cigarette lighter in with your hand
while
it is heating. If you do, it won’t be able to
back away from the heating element when
it’s
ready. That can make it overheat, damaging the
lighter and the heating element. NOTICE:
Don’t put papers and other things that burn into
your ashtrays.
If you do, cigarettes or other
smoking materials could set them
on €ire,
causing damage.
2-47
ProCarManuals.com
Page 104 of 338
The traction control system warning light may come on
for the following reasons:
0 If you turn the system off by pressing the button
located on the center console, the warning light will
come on and stay on.
To turn the system back on,
press the button again. The warning light should go
off. (See “Traction Control System” in the Index for
more information.)
If there’s a brake system problem that is specifically
related to traction control, the traction control system
will turn off and the warning light
will come on. If
your brakes begin to overheat, the traction control
system will turn
off and the warning light will come
on until
your brakes cool down.
engine-related problem, the system will turn
off and
the warning light will come on.
If the traction control system is affected by an
If the traction control system warning light comes on
and stays on for an extended period of time when the
system is turned on, your vehicle needs service.
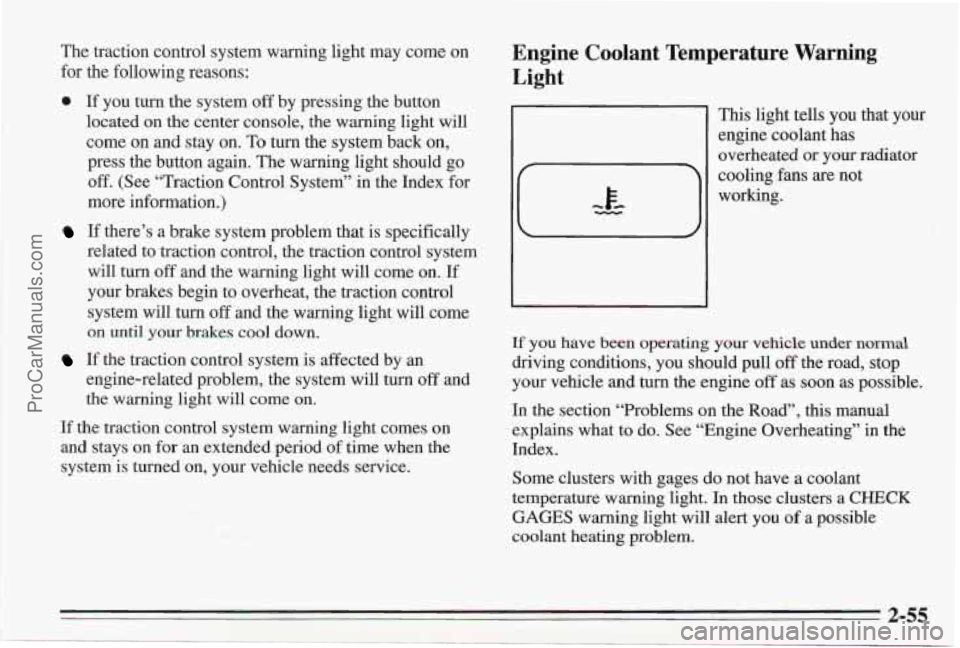
Engine Coolant Temperature Warning
Light
1
This light tells you that your
engine coolant has
overheated
or your radiator 4
cooling fans are not
working.
If you have been operating your vehicle under normal
driving conditions, you should pull off the road, stop
your vehicle and turn the engine
off as soon as possible.
In the section “Problems on the Road”, this manual
explains what to do. See “Engine Overheating” in the
Index.
Some clusters with gages
do not have a coolant
temperature warning light. In those clusters a
CHECK
GAGES warning light will alert you of a possible
coolant heating problem.
2-55
ProCarManuals.com
Page 105 of 338
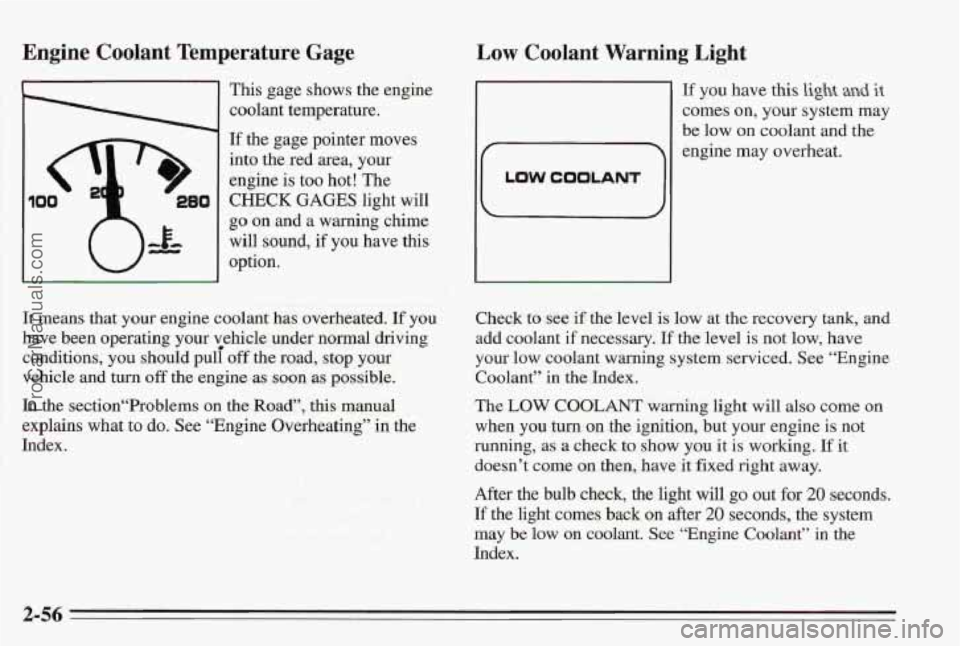
Engine Coolant Temperature Gage
This gage shows the engine
coolant temperature.
If the gage pointer moves
into the red area, your
engine
is too hot! The
CHECK GAGES light will
go on and a warning chime
will sound, if
you have this
option.
It means that your engine coolant has overheated. If you
have been operating your vehicle lander normal driving
conditions, you should puli off the road, stop you
vehicle and turn off the engine as soon as possible.
In the section“Prob1ems on the Road”, this mud
explains what to do. See “Engine Overheating” in the
-. -. . 5 . Index. .~ c.
.L -,
Low Coolant Warning Light
L
LOW COOLANT
If you have this light and it
comes on, your system may
be low on coolant and the
engine
may overheat.
Check to
see if the level is low at the recovery tank, and
add coolant if necessary.
If the level is not low, have
your low coolant warning system serviced. See “Engine
Coolant” in the
Index.
The LOW COOLANT warning light will also come on
when you turn on the ignition, but your engine is not
running, as
a check to show you it is working. If it
doesn’t come
on then, have it fixed right away.
After the
bulb check, the light will go out for 20 seconds.
If the light comes back on after 20 se’conds, the system
may be low on coolant. See “Engine Coolant”
in the
Index.
2-56
ProCarManuals.com
Page 123 of 338
Standard Climate Control
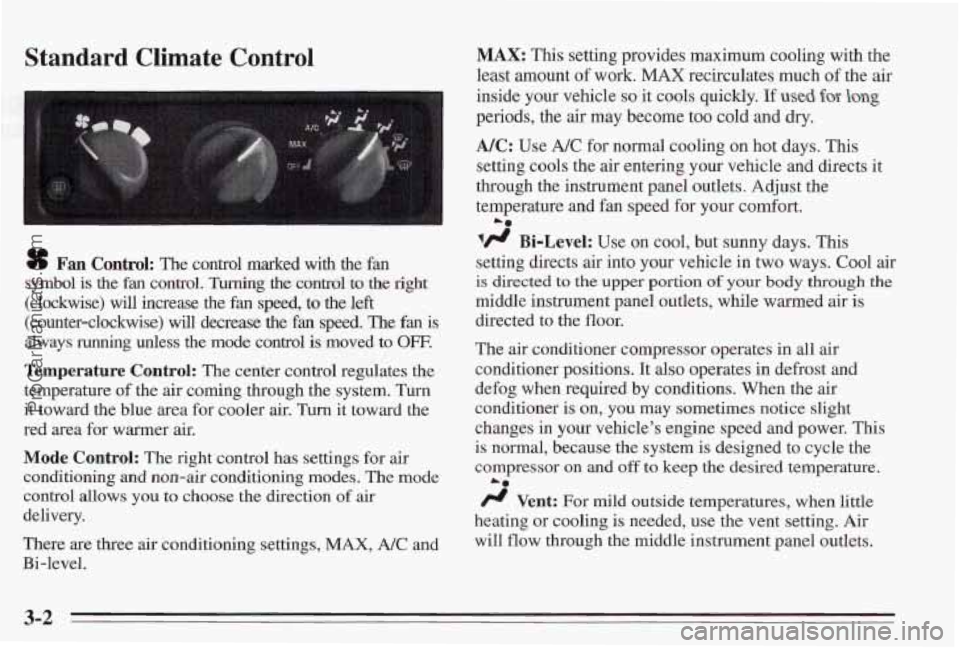
sf Fan Control: The control marked with the fan
symbol is
the fan control. Turning the control to the right
(clockwise) will increase the fan speed, to the left
(counter-clockwise) will decrease the fan speed. The fan is
always running unless the mode control is moved to OFF.
Temperature Control: The center control regulates the
temperature
of the air coming through the system. Turn
it toward the blue area for cooler air.
Turn it toward the
red area for warmer air.
Mode Control: The right control has settings for air
conditioning and non-air conditioning modes.
The mode
control allows
you to choose the direction of air
delivery.
There are three air conditioning settings,
MAX, A/C and
Bi-level.
MAX: This setting provides maximum cooling with the
least amount
of work. MAX recirculates much of the air
inside your vehicle
so it cools quickly. If used for- long
periods, the air may become too cold and dry.
NC: Use A/C for normal cooling on hot days. This
setting cools the air entering your vehicle and directs it
through the instrument panel outlets. Adjust the
temperature
and fan speed for your comfort.
lfl Bi-Level: Use on cool, but sunny days. This
setting directs air into your vehlcle in two ways. Cool air
is directed to the upper portion of your body through the
middle instrument panel outlets, while warmed air is
directed to the floor.
The
air conditioner compressor operates in all air
conditioner positions. It also operates in defrost and
defog when required by conditions. When the
air
conditioner is on, you may sometimes notice slight
changes
in your vehicle’s engine speed and power. This
is
normal, because the system is designed to cycle the
compressor on
and off to keep the desired temperature.
/J Vent: For mild outside temperatures, when little
heating or cooling is needed, use the vent setting. Air
will
flow through the middle instrument panel outlets.
La
3-2
ProCarManuals.com
Page 124 of 338
Use the air outlets to adjust and direct the air flow.
Adjust the temperature control and fan control as
desired. The air conditioning compressor is not working
when vent is selected.
I# Heat: This setting directs warmed air through the
heater ducts toward the floor. Adjust the fan speed and
the temperature control for your comfort. Some warm
air is diverted to the windshield to minimize fogging.
'fl Defog: This setting directs air to the heater ducts
and toward the windshield. Use defog on cool, humid
days to keep the windshield and side windows clear.
Adjust the fan speed and temperature for your cornfort.
9 Defrost: This setting directs most of the air toward
the windshield. Use defrost when you want to remove
fog or ice from the windshi'eld. Adjust the temperature
control toward
warm and the fan control toward high.
Defrost will work better if heavy snow and ice
are
cleared away from the hood, windshield and the air inlet
area between the hood and windshield.
0
w.
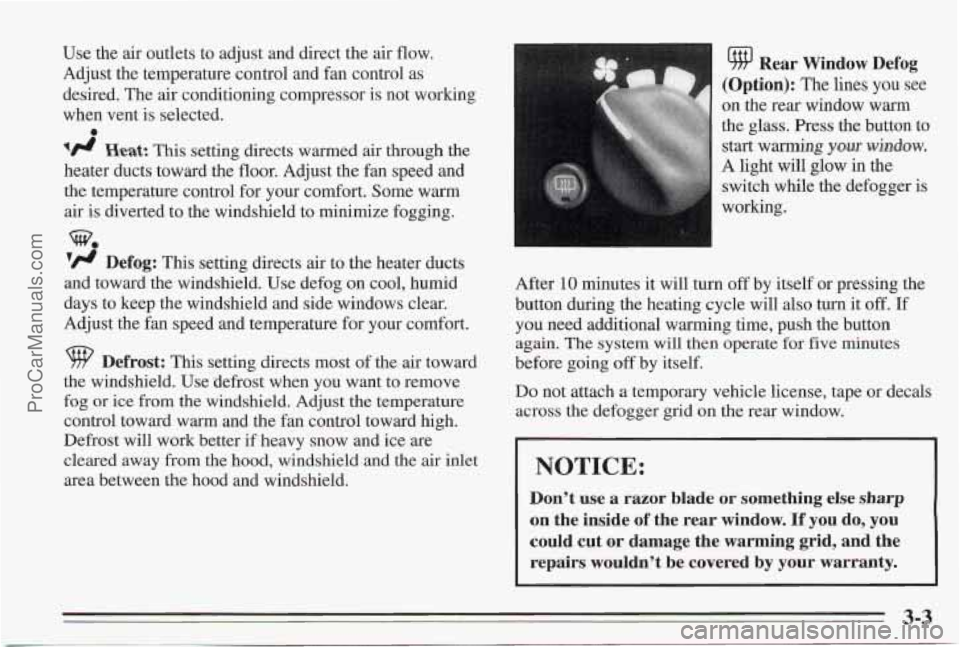
u/HI Rear Window Defog
(Option): The lines you see
on the rear window warm
the glass. Press the button to
A light
will glow in the
switch while the defogger is
working. start
warming ymr wlndow.
After 10 minutes it
will turn off by itself or pressing the
button during the heating cycle will
also turn it off. If
you need additional warming time, push the button
again. The system will then operate for five rninutes
before going off by itself.
Do not attach a temporary vehicle license, tape or decals
across the defogger grid
on the rear window.
NOTICE:
Don't use a razor blade or something else sharp
on the inside of the rear window. If you do, you
could cut or damage the warming grid, and the
repairs wouldn't be covered
by your warranty.
3-3
ProCarManuals.com
Page 125 of 338
Electronic Climate Control (Option)
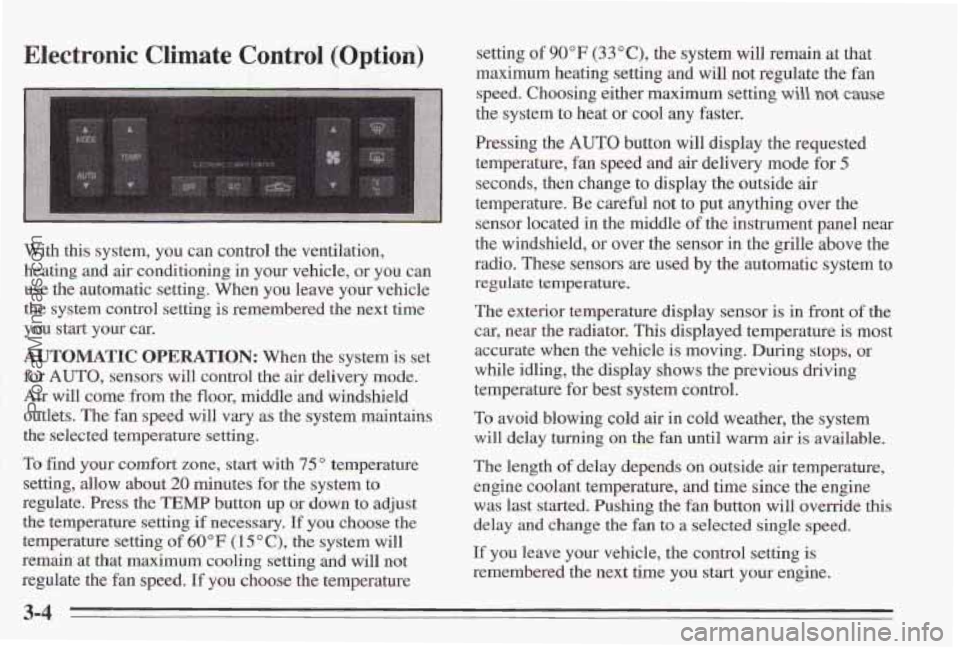
With this system, you can control the ventilation,
heating and
air conditioning in your vehicle, or you can
use the automatic setting. When
you leave your vehicle
the system control setting
is remembered the next time
you start your
car.
AUTOMATIC OPERATION: When the system is set
for
AUTO, sensors will control the air delivery mode.
Air will come from the floor, middle and windshield
outlets. The fan speed will
vary as the system maintains
the selected temperature setting.
To find your comfort
zone, start with 75" temperature
setting, allow about
20 minutes for the system to
regulate. Press the
TEMP button up or down to adjust
the temperature setting
if necessary, If you choose the
temperature
setting of 60°F (1 5 O C), the system will
remain at that maximum cooling setting and will not
regulate the fan speed.
If you choose the temperature setting
of 90°F (33"C), the system
will remain at that
maximum heating setting and will
not regulate the fan
speed. Choosing either maximum setting
will not cause
the system to heat or cool any faster.
Pressing the
AUTO button will display the requested
temperature, fan speed and air delivery mode for
5
seconds, then change to display the outside air
temperature. Be careful not to put anything over the
sensor located in the middle
of the instrument panel near
the windshield, or over the sensor in the
grille above the
radio. These sensors are used by the automatic system to
regulate temperature.
The exterior temperature display sensor is in front of the
car, near the radiator,
This displayed temperature is most
accurate when the vehicle is moving. During stops,
or
while idling, the display shows the previous driving
temperature for best system control.
To avoid blowing cold air in cold weather, the system
will delay turning on the
fan until warm air is available.
The length
of delay depeds on outside air temperature,
engine coolant temperature, and time since the engine
was last started. Pushing the
fan button will override this
delay and change the fan
to a selected single speed.
If you leave your vehicle, the control setting is
remembered the next time you start your engine.
3-4
ProCarManuals.com
Page 127 of 338
After 10 minutes, it will go off by itself, or pressing the Ventilation Tips
button again during the heating cycle will turn it off. If
you need additional warming time, push the button
again. The system will then operate for five minutes
before going
off by itself.
Do not attach a temporary vehicle license, tape or decals
across the defogger grid on the rear window.
Keep the hood and front air inlet free of ice, snow, or
any other obstruction (such as leaves). The heater
and defroster will work better, reducing the chance
of fogging your windows.
Control
in cold weather, select a heater function that
0 When you enter a vehicle with Standad Climate
NOTICE:
Don't use a razor blade or something else sharp
on the inside
of the rear window. If you do, you
could cut
or damage the warming grid, and the
repairs wouldn't be covered by your warranty.
OF /"C: Press this button to read the temperature in
degrees Fahrenheit or Celsius.
., .. .
provides air through the floor ducts, then turn the fan
to
HI for a few moments before driving away. This
will blow moist air from the intake ducts toward the
floor, not the windshield. It reduces the chance of
fogging your windows.
If you have the Electronic
Climate Control, the
AUTO setting does this for you.
0 Keep the air path under the fbnt seats clear of objects.
This helps air to circulate throughout your vehicle.
When the engine idles for a long time, the exterior
temperature sensor may cause
the system to blow air
that is too cool. Once the vehicle is moving again the
system
will try to maintain the set temperature inside
your vehicle.
0 When you start your vehicle and the EXT TEMP
display flashes for some time, the system may need
repair. See your Pontiac dealer.
3-6
ProCarManuals.com