Page 236 of 1701
INTERIORTRIM
Side andFloor Trim
(ilHook
X :Metal clips
Metal
clip~
CAUTION:
Wrap thetipofflat-bladed screwdriver withacloth when removing metalclipsfrom garnishes.
REMOVAL -Body sidetrim
4-door sedan
CD
Remove frontandrear seats. Referto"SEAT" fordetails, BT-35.
@
Remove frontandrear seat belts. Referto"SEAT BELTS" inRS section fordetails.
@)
Remove frontandrear kicking plates.
@
Remove dashsidelower finishers.
@)
Remove frontandrear body sidewelts.
@
Remove frontpillar garnishes.
tD
Remove centerpillarlower garnishes.
@
Remove centerpillarupper garnishes.
@
Remove rearpillar garnishes.
@)
Remove rearparcel shelffinisher.
@
Remove welt.
@
Remove seatback finisher.
SEC. 678-749-769-799
(!]
Metal clip
SBT048
8T-16
Page 238 of 1701
INTERIORTRIM
Side andFloor Trim(ConI' d)
REMOVAL -Body sidetrim
5-door hatchback
• Remove tonneau boardbefore removing bodysidetrim.
CD
Remove frontandrear seats. Referto"SEAT" fordetails, BT-35.
@
Remove frontandrear seat belts. Referto"SEAT BELTS" inRS section fordetails.
@)
Remove frontandrear kicking plates.
@
Remove dashsidelower finishers.
CID
Remove frontandrear body sidewelts.
@)
Remove frontpillar garnishes.
(f)
Remove centerpillarlower garnishes.
@
Remove centerpillarupper garnishes.
@
Remove rearparcel shelfsidefinishers.
@)
Remove rearpillar finishers.
@
Remove rearwheelhouse finishers.
@
Remove luggageroomrearplate.
@
Remove luggageroomrearfinisher.
@
Remove luggageroomsidelower finishers.
SEC. 678-749-769-799
MetalcliPGl
~:Velcro
X :Metal clip
88T050
8T-18
Page 240 of 1701
INTERIORTRIM
Side andFloor Trim(Conl'd)
REMOVAL -Body sidetrim
3-door hatchback
• Remove tonneauboardbefore removing bodysidetrim.
CD
Remove frontandrear seats. Referto"SEAT" fordetails, BT-35.
@
Remove frontandrear seat belts. Referto"SEAT BELTS"
in
RS section fordetails.
@)
Remove kickingplate.
@
Remove dashsidelower finishers.
@
Remove bodysidewelts.
@
Remove frontpillar garnishes.
(j)
Remove rearparcel shelfsidefinishers.
@
Remove rearside finishers.
@
Remove rearpillar garnishes.
@)
Remove luggageroomrearplate.
@
Remove luggageroomrearfinisher.
@
Remove luggageroomrearside lower finishers.
SEC. 678-749-769-799
~:Velcro
X :Metal clips
SBT052
8T-20
Page 244 of 1701
INTERIORTRIM
Roof Trim
REMOVAL -Headlining
4-door sedan
CD
Remove frontandrear seats. Referto"SEAT" fordetails, BT-35.
@
Remove frontandrear seat belts. Referto"SEAT BELTS" inRS section fordetails.
@)
Remove bodysidetrim. Refer to"Side andFloor Trim" fordetails, BT-16.
@
Remove sunroofswitch.(Models equipped withsunroof)
@
Remove sunroofwelt.(Models equipped withsunroof)
@
Remove insidemirror assembly.
([) Remove sunvisors.
@
Remove interiorlampassembly.
@
Remove assistgrips.
@)
Remove clips
@
securing headlining.
@
Remove headlining.
SEC. 264-738-963-964
9
Pawl'
Pawl SBT056
BT-24
Page 245 of 1701
INTERIORTRIM
Roof Trim (Cont'd)
REMOVAL -Headlining
3-door and5-door hatchback
CD
Remove frontandrear seats. Referto"SEAT" fordetails, BT-35.
@
Remove frontandrear seat belts. Referto"SEAT BELTS" inRS section fordetails.
@)
Remove bodysidetrim. Refer to"Side andFloor Trim" fordetails, BT-16.
@
Remove sunroofswitch.(Models equipped withsunroof)
cID
Remove sunroofwelt.(Models equipped withsunroof)
@
Remove insidemirror assembly.
(f)
Remove sunvisors.
@
Remove interiorlampassembly.
@
Remove assistgrips.
@)
Remove clips
@
securing headlining.
(j]
Remove roofrear garnish.
@
Remove headlining.
SEC.
264-738-963-964
Pawl
•
Metal
clip
l!1
Pawlm
m
SBT05?
8T-25
Page 1305 of 1701

OILSEAL REPLACEMENT
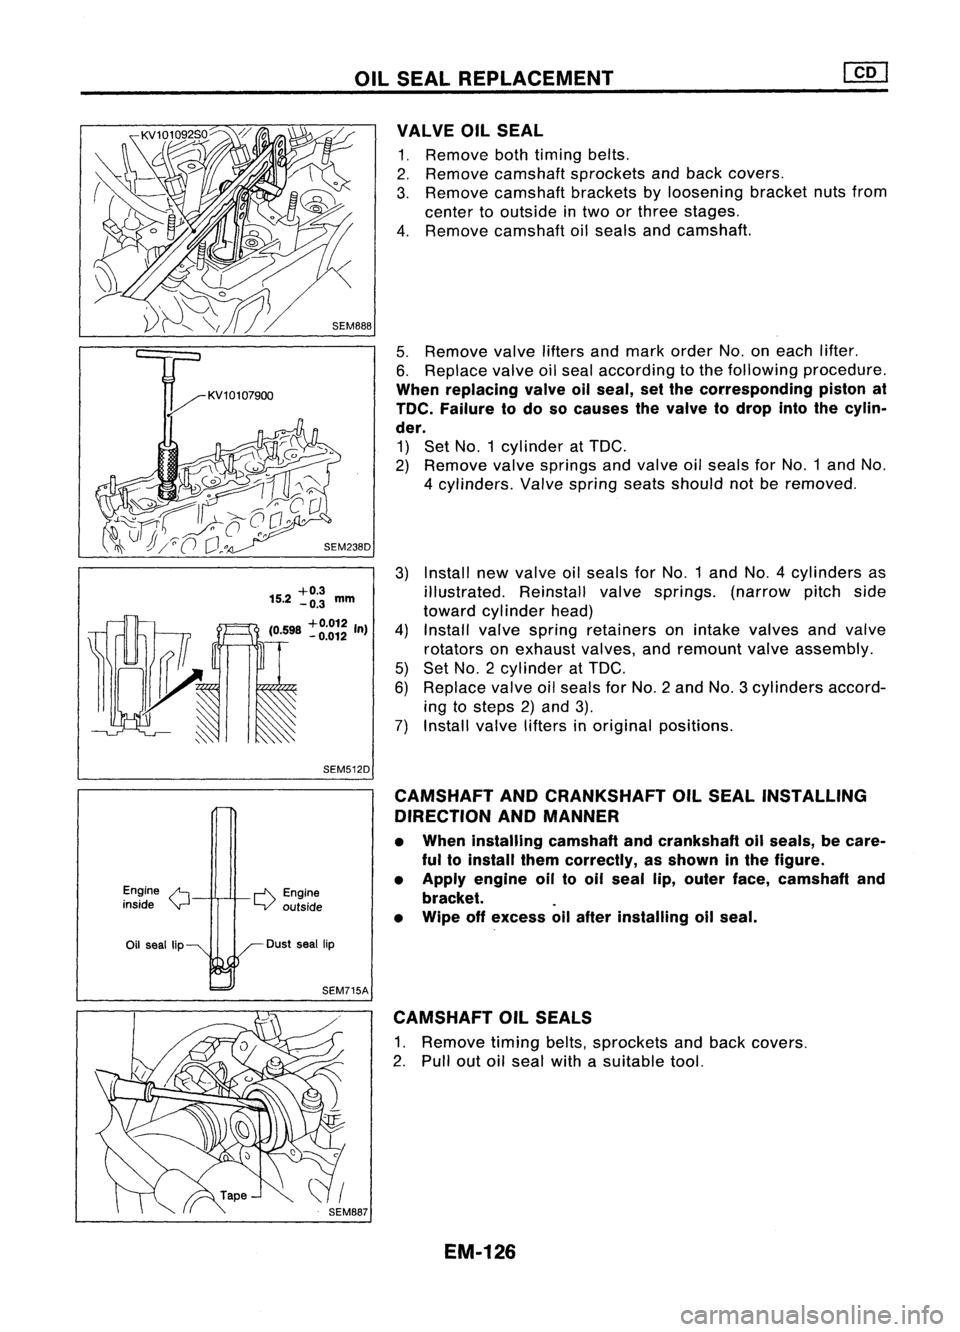
Install newvalve oilseals forNo.1 andNO.4 cylinders as
illustrated. Reinstallvalvesprings. (narrowpitchside
toward cylinder head)
Install valvespring retainers onintake valves andvalve
rotators onexhaust valves,andremount valveassembly.
Set NO.2 cylinder at
TOG.
Replace valveoilseals forNo.2 andNo.3 cylinders accord-
ing tosteps 2)and 3).
Install valvelifters inoriginal positions.
5.
Remove valveliftersandmark order No.oneach lifter.
6. Replace valveoilseal according tothe following procedure.
When replacing valveallseal, setthe corresponding pistonat
TOe. Failure todo socauses thevalve todrop intothecylin-
der.
1) Set NO.1 cylinder at
TOG.
2) Remove valvesprings andvalve oilseals forNO.1 andNo.
4 cylinders. Valvespring seatsshould notberemoved.
VALVE
OilSEAL
1. Remove bothtiming belts.
2. Remove camshaft sprockets andback covers.
3. Remove camshaft bracketsbyloosening bracketnutsfrom
center tooutside intwo orthree stages.
4. Remove camshaft oilseals andcamshaft.
3)
+0.3
15.2 -0.3
mm
(0598
+0.012
In)
4)
. -0.012
5)
6)
~ 7)
SEM512D
Engine
/'t
inside
Y
r-l'\.
Engine
LV outside CAMSHAFT
ANDCRANKSHAFT OilSEAL INSTALLING
DIRECTION ANDMANNER
• When installing camshaftandcrankshaft oilseals, becare-
ful toinstall themcorrectly, asshown inthe figure.
• Apply engine oiltooil seal lip,outer face,camshaft and
bracket. .
• Wipe offexcess allafter installing oilseal.
Oil seal lip Dust
seallip
SEM715A CAMSHAFT OilSEALS
1. Remove timingbelts,sprockets andback covers.
2. Pull outoilseal withasuitable tool.
EM-126
Page 1491 of 1701

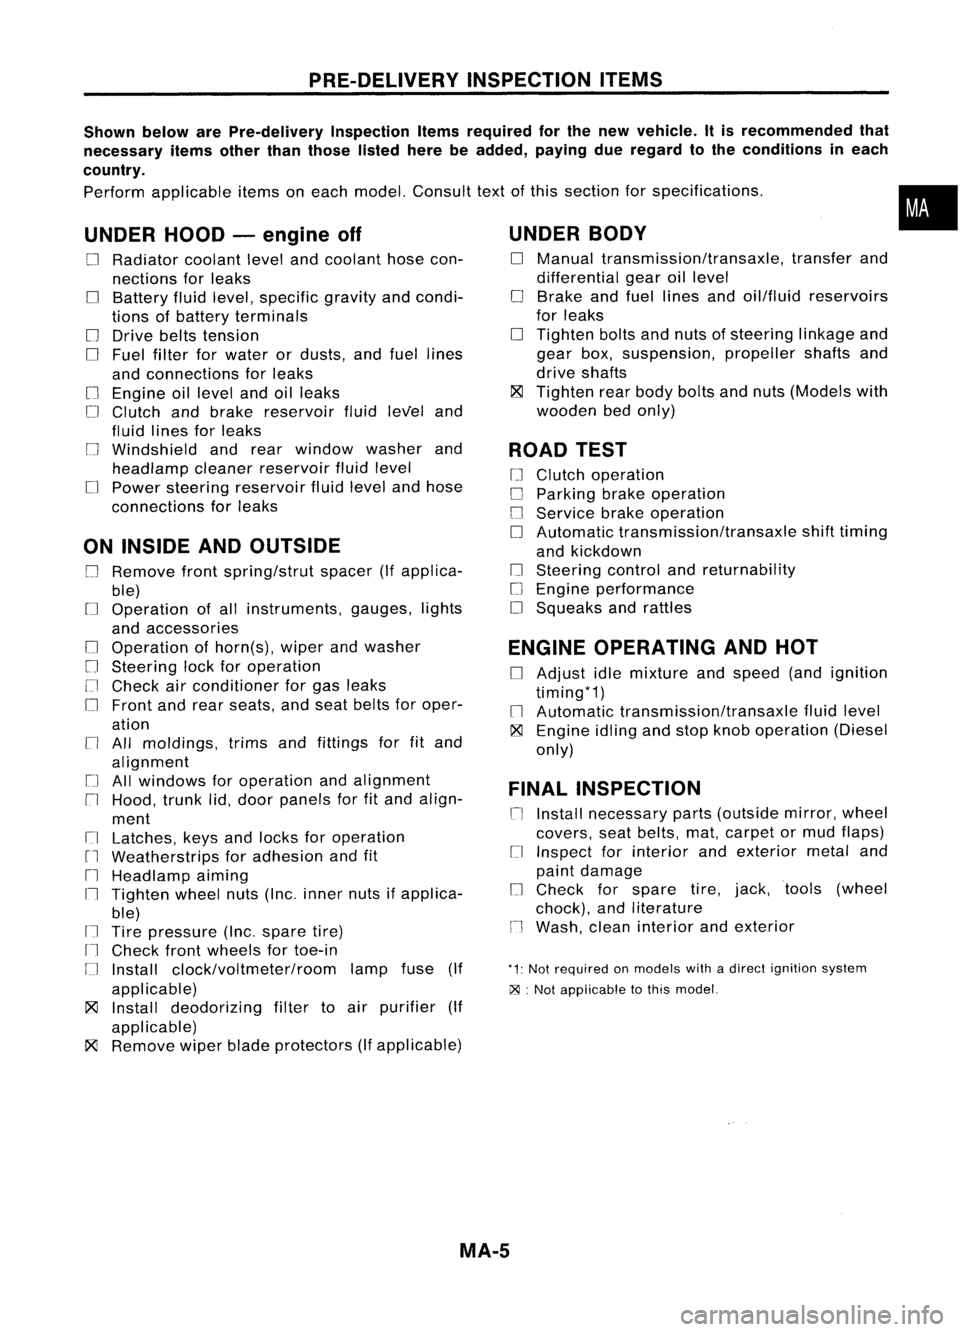
PRE-DELIVERYINSPECTIONITEMS
Shown belowarePre-delivery InspectionItemsrequired forthe new vehicle. Itis recommended that
necessary itemsotherthanthose listedherebeadded, payingdueregard tothe conditions ineach
country.
Perform applicable itemsoneach model. Consult textofthis section forspecifications .
UNDER HOOD-engine off
o
Radiator coolantlevelandcoolant hosecon-
nections forleaks
o
Battery fluidlevel, specific gravityandcondi-
tions ofbattery terminals
o
Drive beltstension
D
Fuel filter forwater ordusts, andfuel lines
and connections forleaks
[] Engine oillevel andoilleaks
D
Clutch andbrake reservoir fluidlevel and
fluid lines forleaks
o
Windshield andrear window washerand
headlamp cleanerreservoir fluidlevel
D
Power steering reservoir fluidlevel andhose
connections forleaks
ON INSIDE ANDOUTSIDE
D
Remove frontspring/strut spacer(Ifapplica-
ble)
D
Operation ofall instruments, gauges,lights
and accessories
o
Operation ofhorn(s), wiperandwasher
[] Steering lockforoperation
[] Check airconditioner forgas leaks
o
Front andrear seats, andseat belts foroper-
ation
n
All moldings, trimsandfittings forfitand
alignment
[J
Allwindows foroperation andalignment
n
Hood, trunklid,door panels forfitand align-
ment
[1
Latches, keysandlocks foroperation
rl
Weatherstrips foradhesion andfit
[l
Headlamp aiming
I~ Tighten wheelnuts(Inc. inner nutsifapplica-
ble)
IJ Tire pressure (Inc.spare tire)
Il
Check frontwheels fortoe-in
IJ Install clock/voltmeter/room lampfuse(If
applicable)
~ Install deodorizing filtertoair purifier (If
applicable)
~ Remove wiperbladeprotectors (Ifapplicable)
UNDER
BODY
o
Manual transmission/transaxle, transferand
differential gearoillevel
D
Brake andfuel lines andoil/fluid reservoirs
for leaks
D
Tighten boltsandnuts ofsteering linkageand
gear box,suspension, propellershaftsand
drive shafts
~ Tighten rearbody boltsandnuts (Models with
wooden bedonly)
ROAD TEST
D
Clutch operation
D
Parking brakeoperation
[J
Service brakeoperation
D
Automatic transmission/transaxle shifttiming
and kickdown
[] Steering controlandreturnability
o
Engine performance
D
Squeaks andrattles
ENGINE OPERATING ANDHOT
D
Adjust idlemixture andspeed (andignition
timing*1)
n
Automatic transmission/transaxle fluidlevel
~ Engine idlingandstop knob operation (Diesel
only)
FINAL INSPECTION
n
Install necessary parts(outside mirror,wheel
covers, seatbelts, mat,carpet ormud flaps)
[1
Inspect forinterior andexterior metaland
paint damage
[] Check forspare tire,jack, tools (wheel
chock), andliterature
n
Wash, cleaninterior andexterior
"1: Not required onmodels withadirect ignition system
~ :Not appiicable tothis model.
•
MA-5
Page 1624 of 1701
SEATBELTS
Front SeatBelt(Cont'd)
3-DOOR HATCHBACK
CAUTION: Before removing seatbeltpre-tensioner assembly,besure tolock safety levertomake seatbeltpre-
tensioner inoperative. Donot unlock safetyleverbefore reinstalling seatbeltpre-tensioner assembly.
CD
Remove frontandrear seats. Referto"SEAT" in8T section fordetails.
@
Remove flooranchor bolts.
@
Remove shoulder cover.
@
Remove shoulder anchorbolt.
@
Remove rearside lower garnish. Referto"INTERIOR TRIM"in8T section fordetails.
@
Remove thebolts securing secondsashguide.
(!)
Remove thebolts securing seatbeltpre-tensioner retractor,thenremove seatbeltandseat belt
pre-tensioner retractor.
SEC. 769-868
[OJ
43•55 (4.4 •5.6, 32.41)
tOJ
43-.55 (4.4•5.6, 32.41)
~~.
55(44 •5~" 32•41) ,
4
to.J
43•55
(4.4 •5.6, 32.41)
@
>~",
~//~«;~
~J. / /--...""
to.J :
N'm (kg-m. ft-Ib)
MRS108A
RS-4