1995 GMC SIERRA turn signal
[x] Cancel search: turn signalPage 13 of 488
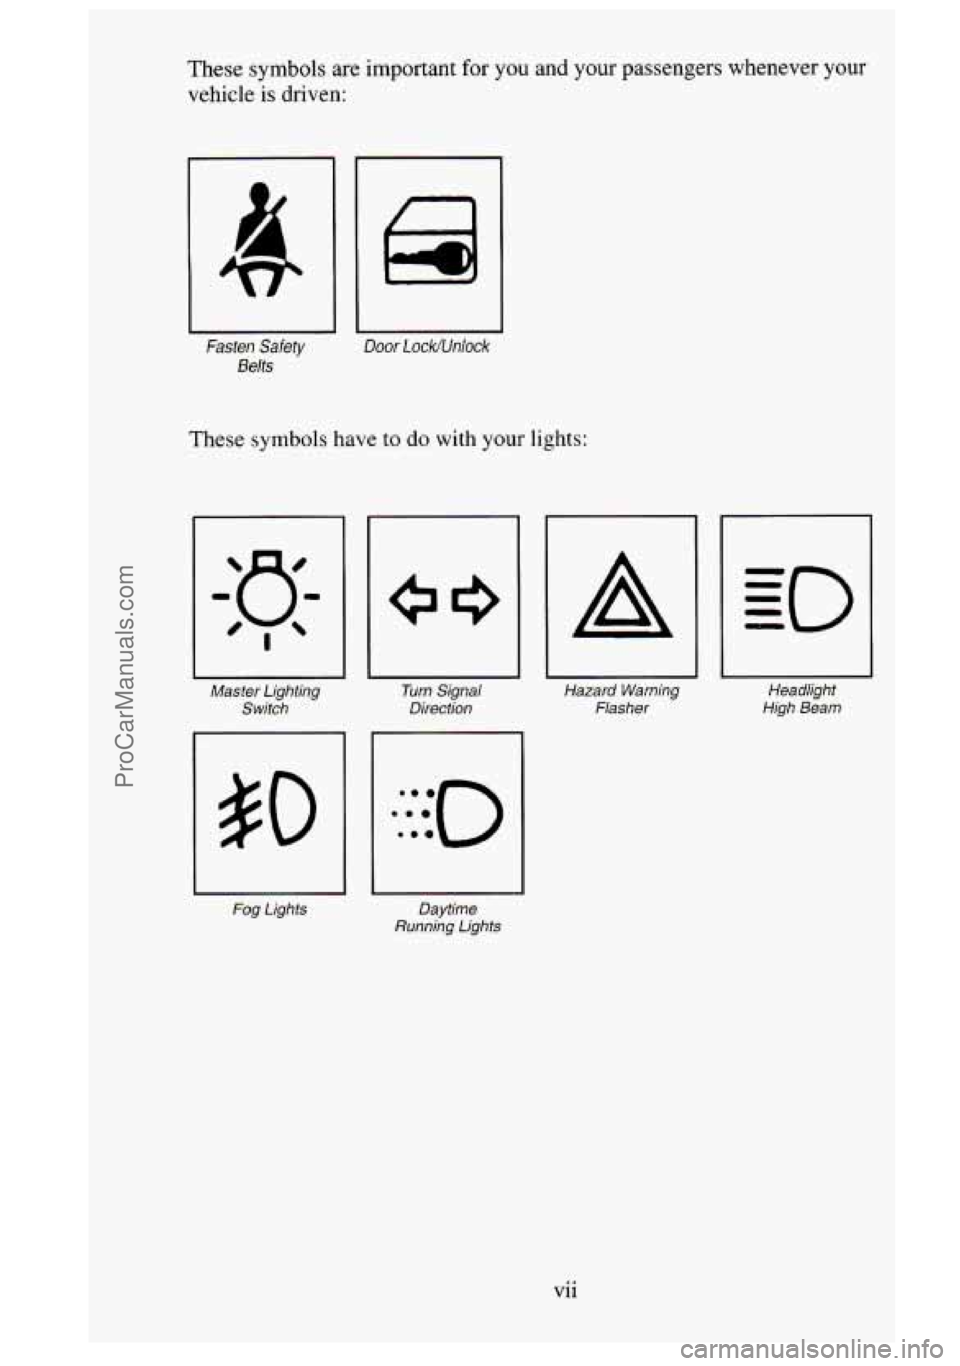
These symbols are important for you and your passengers whenever your
vehicle is driven:
~~ ~
Fasten Safety Door Lock/Unlock
Belts
These symbols have to do with your lights:
Master Lighting
Switch Turn
Signal
Direction
Fog Lights Daytime
Running Lights
A
I
Hazard Warning
Flasher Headlight
High Beam
vii
ProCarManuals.com
Page 69 of 488
Leaving Your Vehicle
It' you are leaving the vehicle. take your keys. open your door and set the
locks from inside. Then get out
and close the door.
Keyless Entry System
If your vehicle has this option. you can lock and unlock your doors from up to
30 feet (9 m) away usins the key chain transmitter supplied with your vehicle.
Your Keyless
Entry System operates on ;I radio frequency subject to Federal
Communications Commission (FCC)
Rules.
This device complies with Part IS of the FCC Rules. Operation is subject to
the following two conditions: ( I ) This device may not cause harmful
interference. and
(2) This device must accept any interterence received,
including interference that may
C~LIS~ undesired operation.
Should interference to
this system occur. try this:
0 Check to determine if battery replacement is necessary. See the
instructions
on battery replacement.
Check the distance. You nay be too far from your vehicle. This product
has
a maximum range.
0 Check the location. Other vehicles or objects may be blocking the signal
0 See your GM dealer or a qualified technician for service.
Changes or modifications to this system by other than an authorized service
facility could void authorization
to use this equipment.
Operation
To unlock the driver's door. press the UNLOCK button. If you press this
button again within five seconds, all the doors will unlock.
Press the
LOCK button to lock all the doors.
The illuminated entry feature activates the interior dome lamps
for 40
seconds or until the ignition switch is turned on.
Matching Transmitter(s) To Your Vehicle
Each key chain transmitter is coded to prevent another transmitter from
unlocking your vehicle.
If a transmitter is lost or stolen. a replacement can
be purchased through your dealer. Remember to bring any remaining
transmitters with you when
you go to your dealer. When the dealer matches
the replacement transmitter
to your vehicle, the remaining transmitters must
also be matched. Once the new transmitte.r is coded, the
lost transmitter will
not unlock your vehicle.
2-7
ProCarManuals.com
Page 101 of 488
You can also raise it to the highest level to give your legs more room when
you enter and exit the vehicle.
To tilt the wheel, hold the
steefifqj whe&l~~I-~uU the lever. Move the
steering wheel to a comfortable level, then release the lever to lock the
wheel in place.
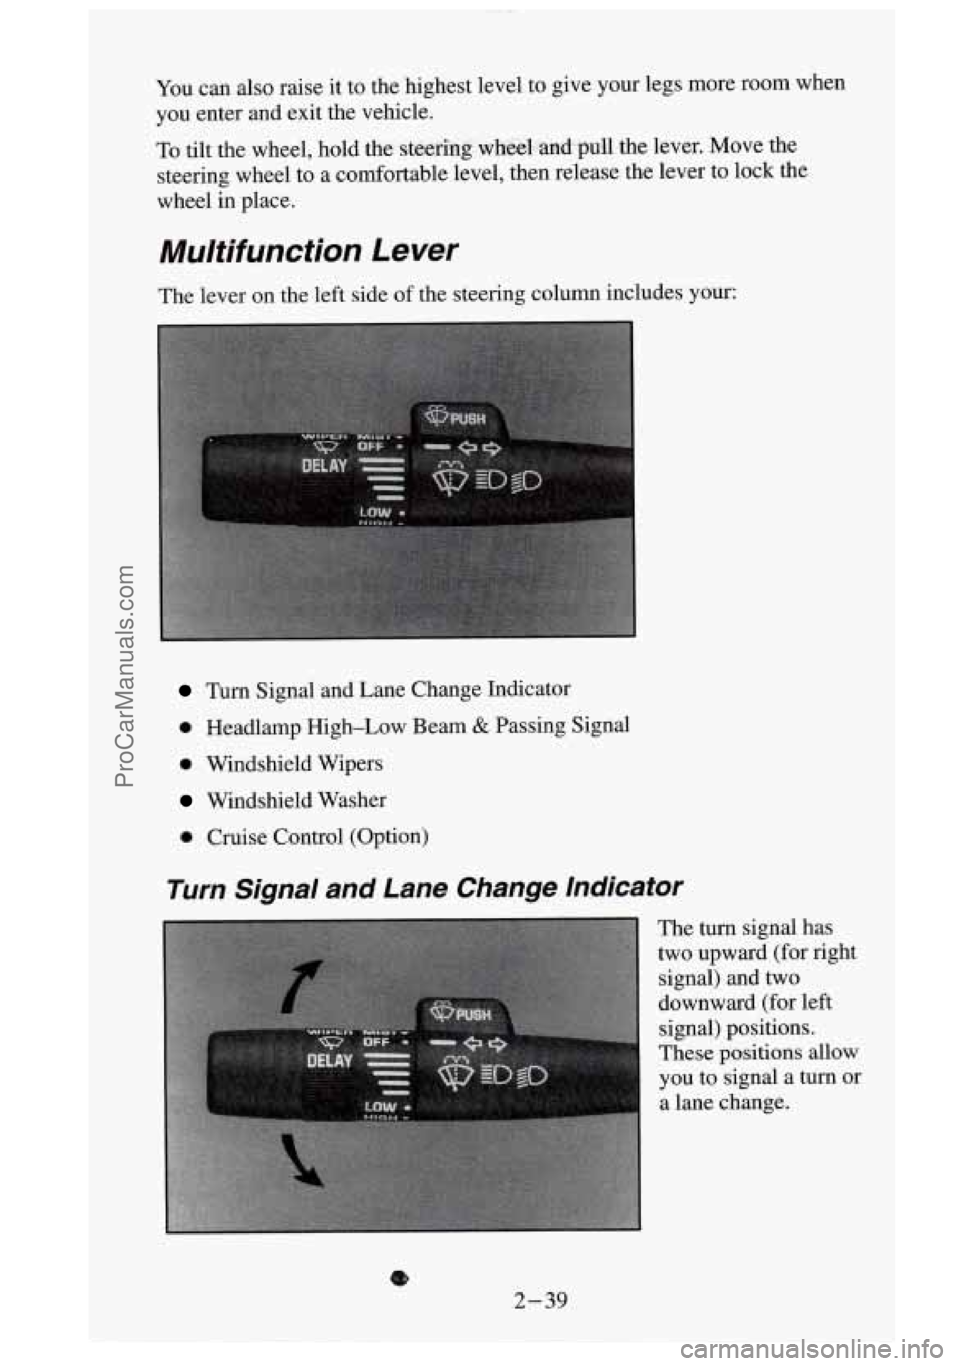
Multifunction Lever
The lever on the left side of the steering column includes your:
Turn Signal and Lane Change Indicator
0 Headlamp High-Low Beam & Passing Signal
0 Windshield Wipers
Windshield Washer
0 Cruise Control (Option)
Turn Signal and Lane Change Indicator
The turn signal has
two upward (for right
signal) and two
downward (for left
signal) positions.
These
positions allow
you to signal a turn or
a lane change.
8
2-39
ProCarManuals.com
Page 102 of 488
To signal a turn, move the lever all the way up or down. When the turn is
finished, the lever will return auto~natically.
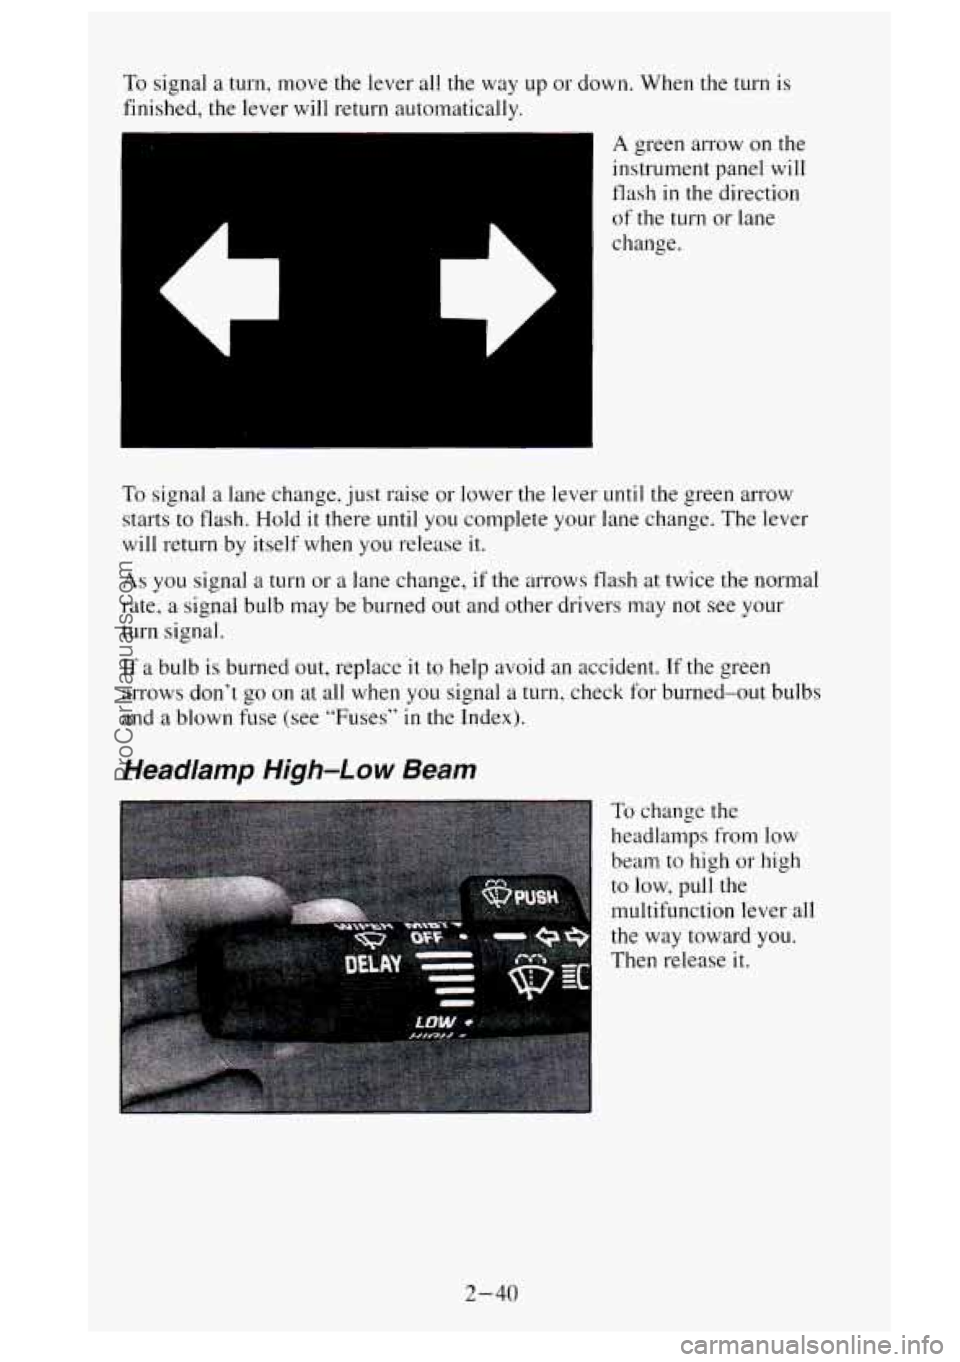
A green arrow on the
instrument panel will
flash in the direction
of the turn or lane
change.
To signal a lane change, just raise or lower the lever until the green arrow
starts to flash. Hold
it there until you complete your lane change. The lever
will return by itself when you release it.
As you signal a turn or a lane change, if the arrows flash at twice the normal
rate,
a signal bulb may be burned out and other drivers may not see your
turn signal.
If a bulb is burned out, replace it to help avoid an accident. If the green
arrows don’t go on at all when
you signal a turn, check for burned-out bulbs
and
a blown fuse (see “Fuses” in the Index).
Headlamp High-Low Beam
To change the
headlamps from low
beam to high or high
to low, pull the
multifunction lever all
the way toward
you.
Then release it.
2-40
ProCarManuals.com
Page 110 of 488
To Erase Speed Memory
When you turn off' the Cruise Control or the ignition. your Cruise Control
set speed memory
is erased.
Headlamps and Vehicle Lighting
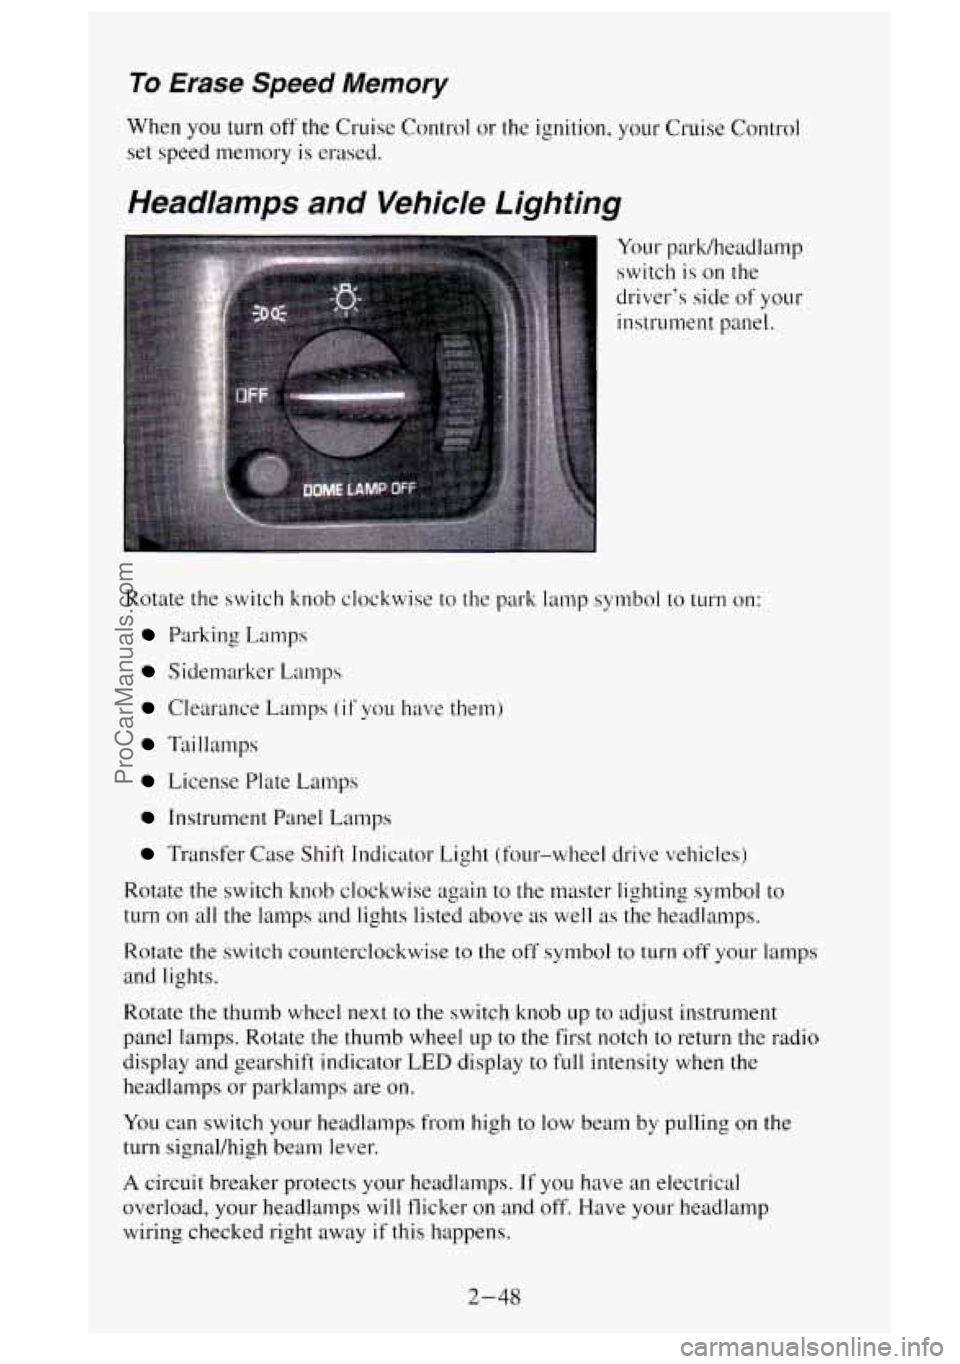
Your park/headlamp
switch is on the
driver's side of your
instrument panel.
Rotate the switch knob clockwise to the park lamp symbol to
turn on:
Parking Lamps
Sidemarker Lamps
Clearance Lamps (if you have them)
Taillamps
License Plate L.amps
Instrument Panel Lamps
Transfer Case Shift Indicator Light (four-wheel drive vehicles)
Rotate the switch knob clockwise again to the master lighting symbol to
turn on all the lamps and lights listed above as well as the headlamps.
Rotate the switch counterclockwise to the off symbol to turn off your lamps
and lights.
Rotate the thumb wheel next to the switch knob up
to adjust instrument
panel lamps. Rotate
the thumb wheel up to the first notch to return the radio
display and gearshift indicator
LED display to full intensity when the
headlamps or parklamps are
on.
You can switch your headlamps from high to low beam by pulling on the
turn signal/high beam lever.
A circuit breaker protects your headlamps. If you have an electrical
overload, your headlamps will flicker on and off. Have your headlamp
wiring checked right away if this happens.
2-48
ProCarManuals.com
Page 141 of 488
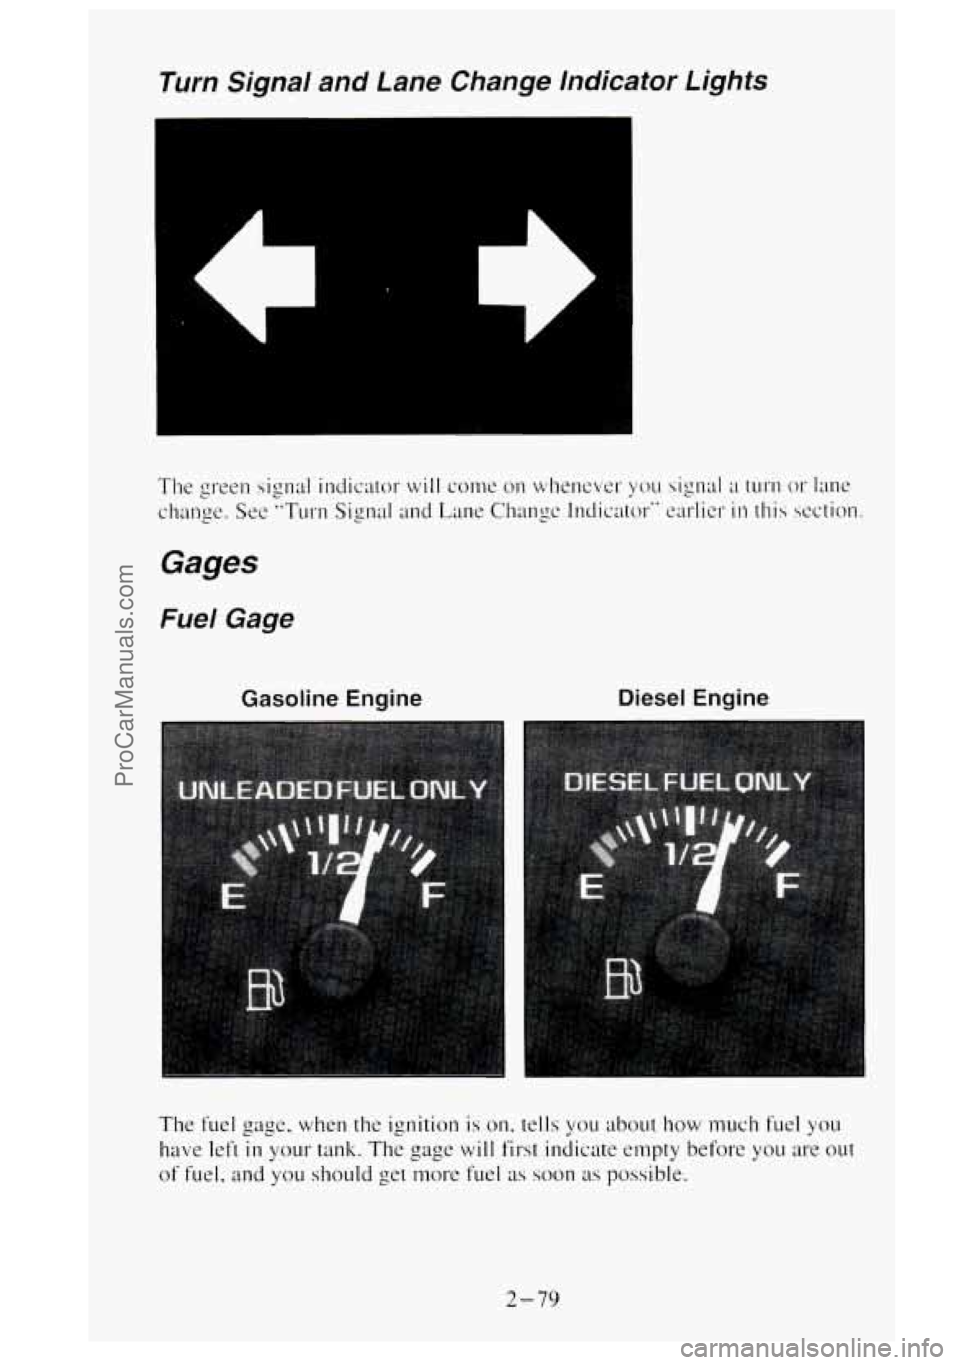
Turn Signal and Lane Change lndicator Lights
Gasoline Engine Diesel Engine
The fuel gage, when the ignition is on. tells you about how much fuel you
have left
in your tank. The gage will first indicate empty before you are out
of fuel. and you should get nmre fuel as soon as possible.
2-79
ProCarManuals.com
Page 169 of 488
PROG (on cassette player) - Press PROG to go from one side of the tape
to the other.
NEXT
(3) - Press NEXT or SEEK (in the direction that the lighted tape
direction arrow points) to search for the next selection. A minimum
three-second blank gap is needed for the player to stop at the beginning of
the selection. NEXT will appear
in the display and the audio is in the mute
mode.
REV
(4) - To rapidly reverse the tape, press REV and the tape will rapidly
reverse to the beginning of
the cassette reel or until you press REV again.
The radio plays the last selected station during REV.
00 (5) - 00 is active at all times with a tape inserted in the remote
cassette.
00 will appear in the display.
FWD (6) - To rapidly advance the tape, press FWD and the tape will
rapidly advance to the end of the cassette reel or until you press FWD again.
The radio plays the last selected station during
FWD.
TAPE - To switch between the player and the radio when a tape is playing,
press the AM/FM button.
To return to the tape player, press CD AUX. The
lighted arrow
will appear next to the tape symbol and show the direction of
play when a tape is active.
EJECT (on cassette player)
- To remove the tape press the EJECT button.
EJECT can be used with either the ignition or radio off. Also, you must
press EJECT before loading
a cassette with the radio off to allow loading.
If a tape is inserted with side
“1” (or “A”) up, then the right arrow means
that that side is being played. Likewise,
a left arrow would indicate that side
b‘2“ (or “B”) had been selected.
00 Dolby” Noise Reduction is manufactured under a lice-nse from Dolby
Laboratories Licensing Corporation. DolbyB and the
00 symbol are
trademarks of Dolby Laboratories Licensing Corporation.
Understanding Radio Reception
FM stereo will give you the best sound. But FM signals will reach only
about
10 to 40 miles (I 6 to 65 km). And, tall buildings or hills can interfere
with FM signals, causing the sound to come and go.
The range for most AM stations is greater than for FM, especially at night.
The longer range, however, can cause stations to interfere with each other.
AM can pick up noise from things like stornx and power lines. Try reducing
the treble
to reduce this noise if you ever get it.
AM Stereo means the Delco‘ system can receive C-QUAM“stereo
broadcasts. Many AM stations around the county use C-QUAM“ to
produce stereo, though some
do not. (C-QUAM& is a registered trademark
of Motorola, Inc.)
If your Delco@ system can get C-QUAMa, your
“STEREO” light will come on when you’re receiving it.
3-23
ProCarManuals.com
Page 184 of 488
Passing
The driver of a vehicle about to pass another on a two-lane highway waits
for just the right moment, accelerates, moves around the vehicle ahead, \
then
goes back into the right lane again.
A simple maneuver?
Not necessarily! Passing another vehicle on a two-lane highway is a
potentially dangerous move, since the passing vehicle occupies t\
he same
lane as oncoming traffic for several seconds.
A miscalculation, an error in
judgment, or a brief surrender to frustration or anger can suddenly put the
passing driver face to face with the worst of all traffic accidents
- the
.head-on collision.
So here are some tips for passing:
0 “Drive ahead.” Look down the road, to the sides, and to \
crossroads for
situations that might affect your passing patterns. If you have any doubt
whatsoever about making a successful pass, wait for a better time.
Watch for traffic signs, pavement markings, and lines. If you can see a
sign up ahead that might indicate a turn or an intersection, delay your
pass.
A broken center line usually indicates it’s all right to pass
(providing the road ahead is clear). Never cross a solid line on your
side of the lane or a double solid line, even if the road seems empty of
approaching traffic.
awaiting
an opportunity. For one thing, following too closely reduces
your area of vision, especially if you’re following a larger vehicle.
Also, you won’t have adequate space if the vehicle ahead suddenly
slows
or stops. Keep back a reasonable distance.
When it looks like a chance to pass is coming up, start to accelerate but
stay in the right lane and don’t get too close. Time your move
so you
will be increasing speed as the time comes to move into the other lane.
If the way is clear to pass, you will have a “running start” that more
than makes up for the distance you would lose by dropping back. And
if something happens to cause you to cancel your pass, you need only
slow down and drop back again and wait for another opportunity.
If other cars are lined up to pass a slow vehicle, wait your turn. But
take care that someone isn’t trying to pass you as you pull out to pass
the slow vehicle. Remember to glance over your shoulder and check
the blind spot.
0 Check your mirrors, glance over your shoulder, and start your left lane
change signal before moving out of the right lane to pass. When you
are far enough ahead of the passed vehicle to see its front in your inside
mirror, activate your right lane change signal and move back into the
right lane. (Remember that if your right outside mirror is convex, the
vehicle you just passed may seem to be farther away from you than it
really is.)
Do not get too close to the vehicle you want to pass while you’re
4- 10
ProCarManuals.com