1995 GMC SIERRA tailgate
[x] Cancel search: tailgatePage 66 of 488
Tailgate
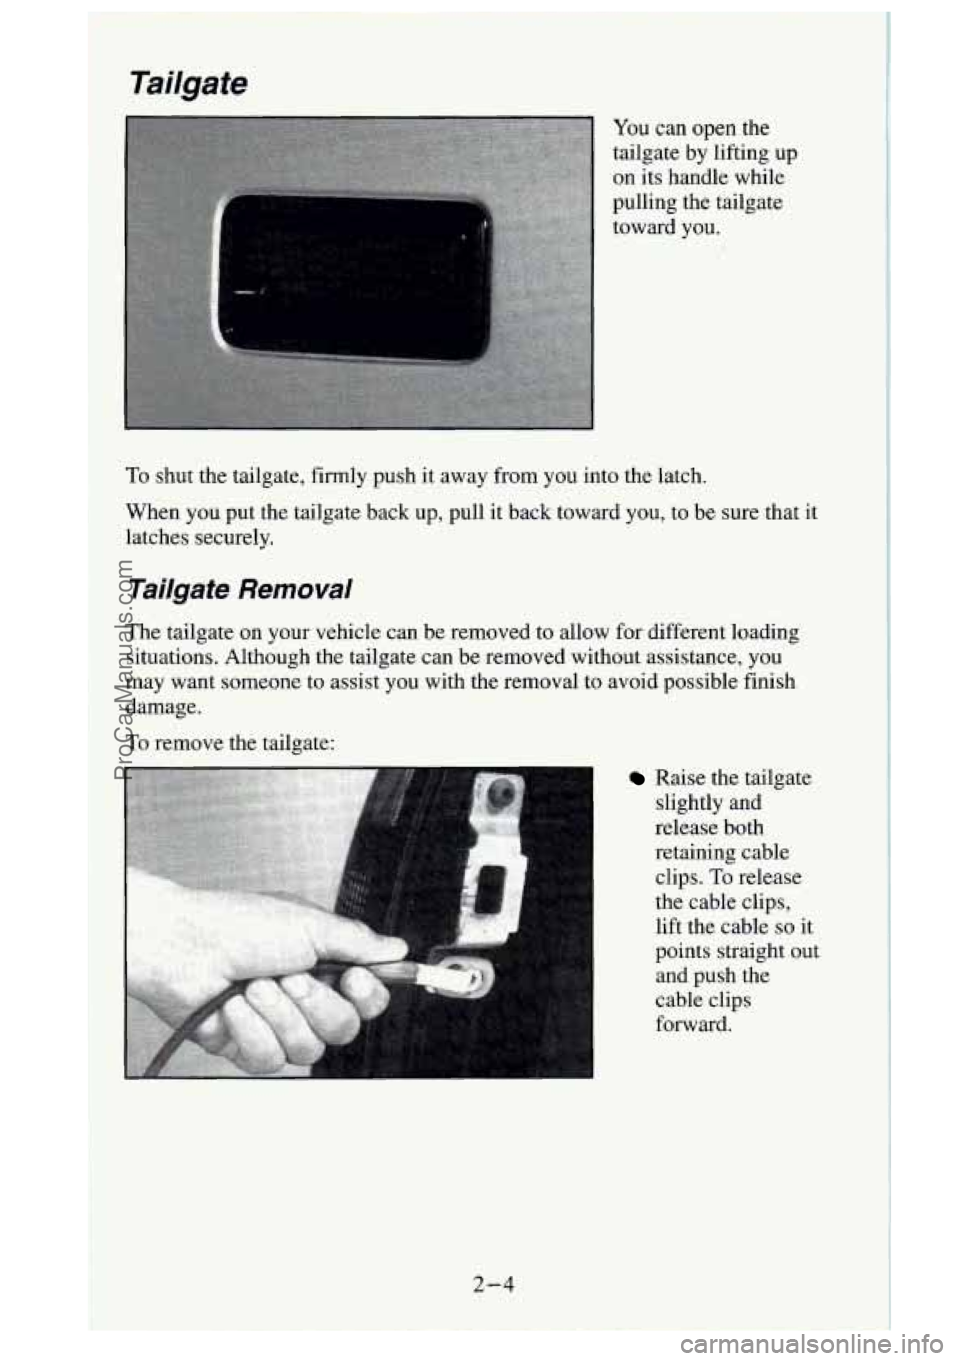
You can open the
tailgate by lifting up
on its handle while
pulling the tailgate
toward you.
To shut the tailgate, firmly push it away from you into the latch.
When you put the tailgate back up, pull it back toward you, to be sure that it
latches securely.
Tailgate Removal
The tailgate on your vehicle can be removed to allow for different loading
situations. Although the tailgate can be removed without assistance, you
may want someone to assist you with the removal to avoid possible finish
damage.
To remove the tailgate:
Raise the tailgate slightly and
release both
retaining cable
clips. To release
the cable clips,
lift the cable so it
points straight out
and push the
cable clips forward.
2-4
7 F
ProCarManuals.com
Page 67 of 488
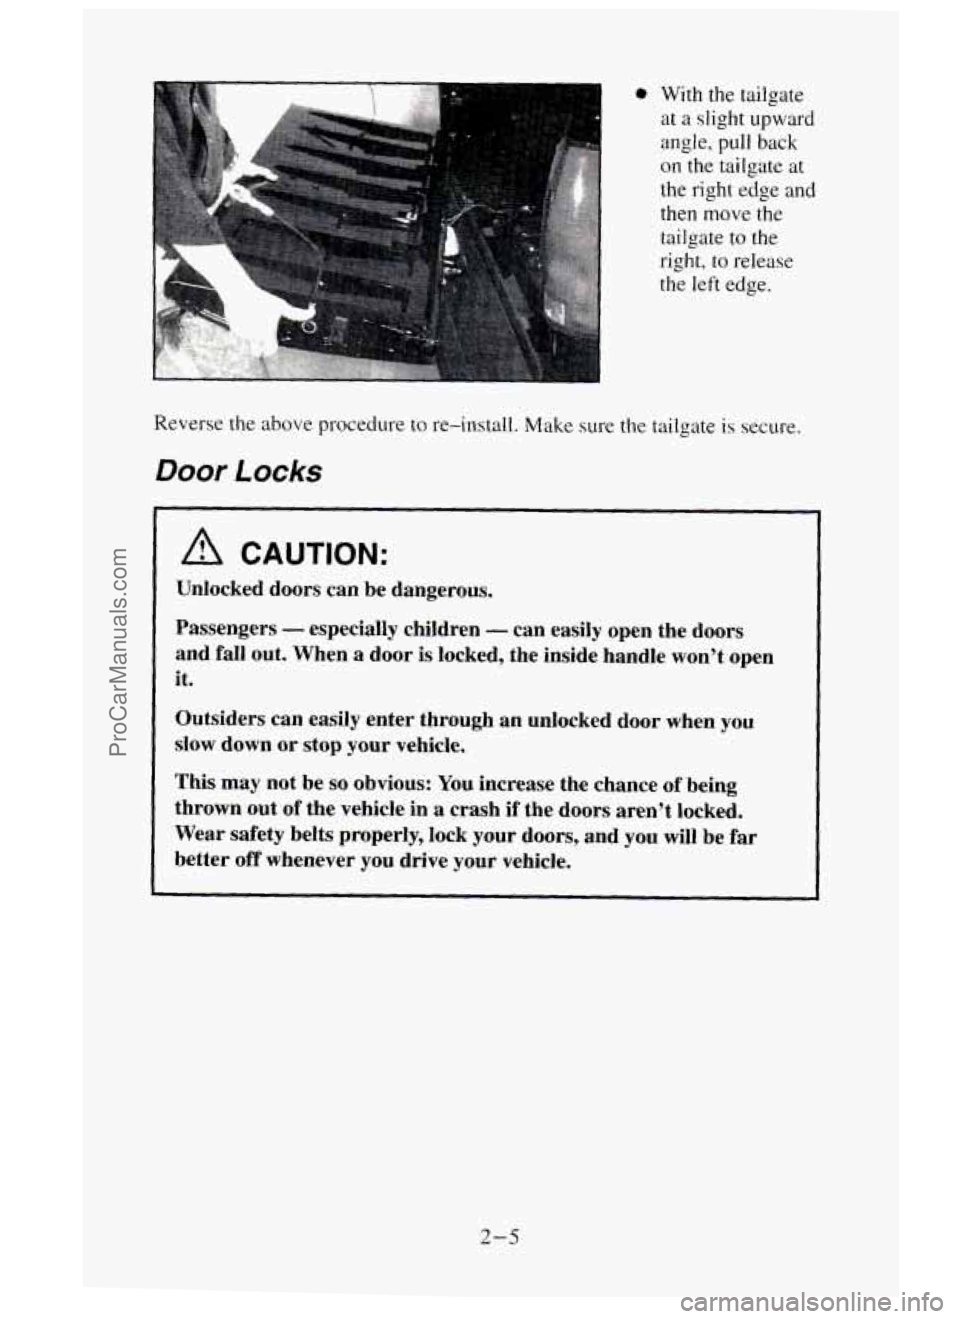
0 With the tailgate
at a slight upward
angle,
pull back
on the tailgate at
the right edge and
then move the
tailgate to the
right,
to release
the left edge.
Reverse
the above procedure to re-install. Make sure the tailgate is secure.
Door Locks
A CAUTION:
Unlocked doors can be dangerous.
Passengers
- especially children - can easily open the doors
and fall out. When a door is locked, the inside handle won’t open
it.
Outsiders can easily enter through an unlocked door when you
slow down or stop your vehicle.
This may not be
so obvious: You increase the chance of being
thrown out
of the vehicle in a crash if the doors aren’t locked.
Wear safety belts properly, lock your doors, and
you will be far
better
off whenever you drive your vehicle.
2-5
ProCarManuals.com
Page 319 of 488
Fender Marker Lamps - Dual Rear Wheel Pickup
Models
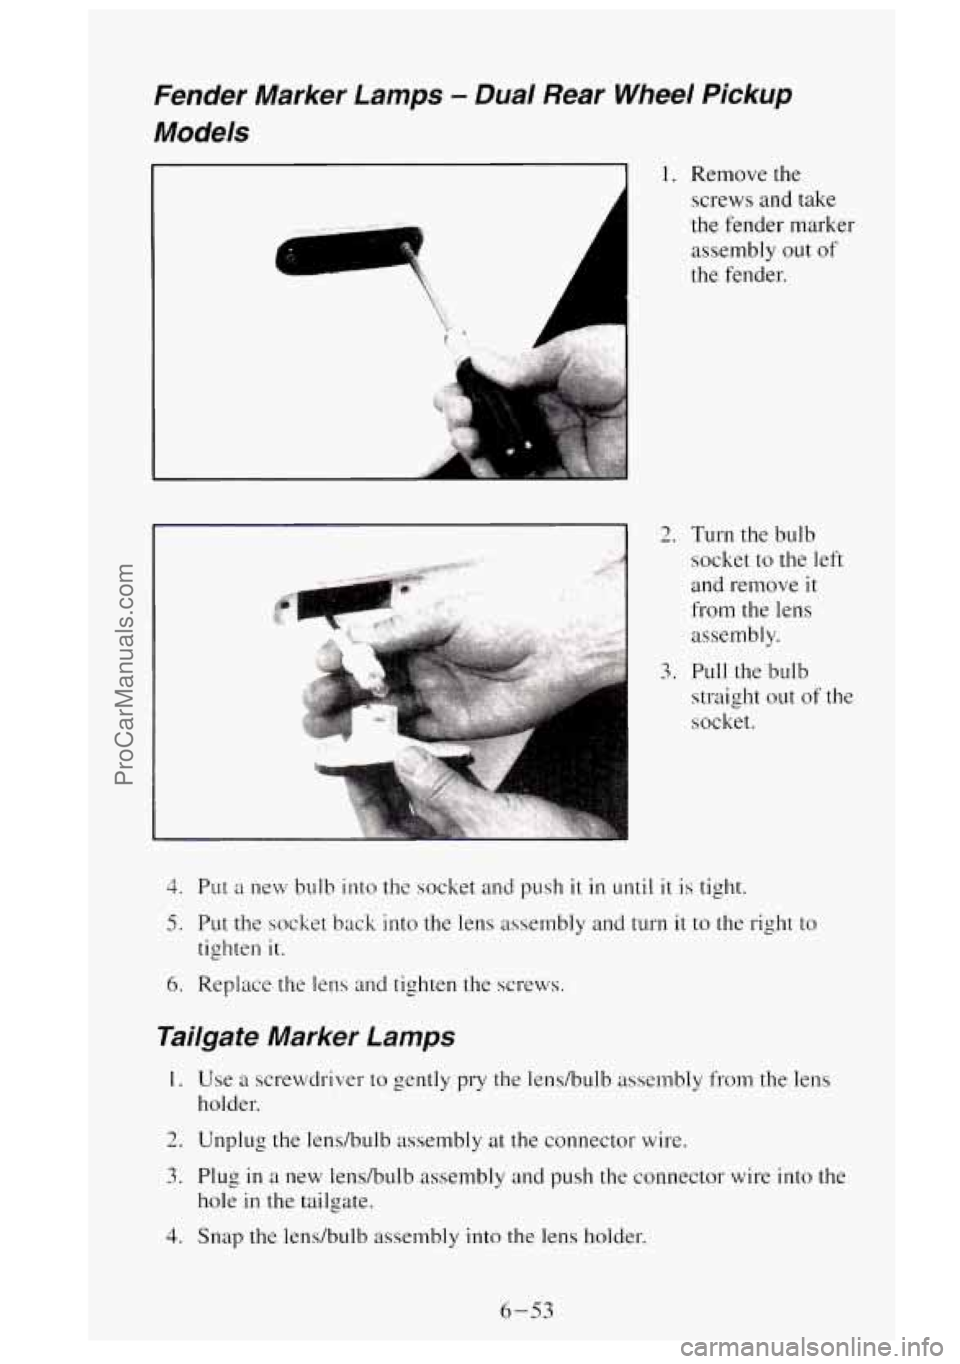
I 1. Remove the
4
screws and take
the fender mark
assembly out of
the fender.
I 2. Turn the bulb er
socket to the left
and remove
it
from the lens
assembly.
3. Pull the bulb
straight out
of the
socket.
3. Put a new bulb into the socket and push it in until it is tight.
5. Put the socket back into the lens assembly and turn it to the right to
tighten it.
6. Replace the lens and tighten the screws.
Tailgate Marker Lamps
I. Use a screwdriver to gently pry the lens/bulb assembly from the lens
holder.
2. Unplug the lens/bulb assembly at the connector wire.
3. Plug in a new lens/bulb assembly and push the connector wire into the
hole in the tailgate.
4. Snap the lens/bulb assembly into the lens holder.
6-53
ProCarManuals.com
Page 321 of 488
Rear Lamps - Pickup Models
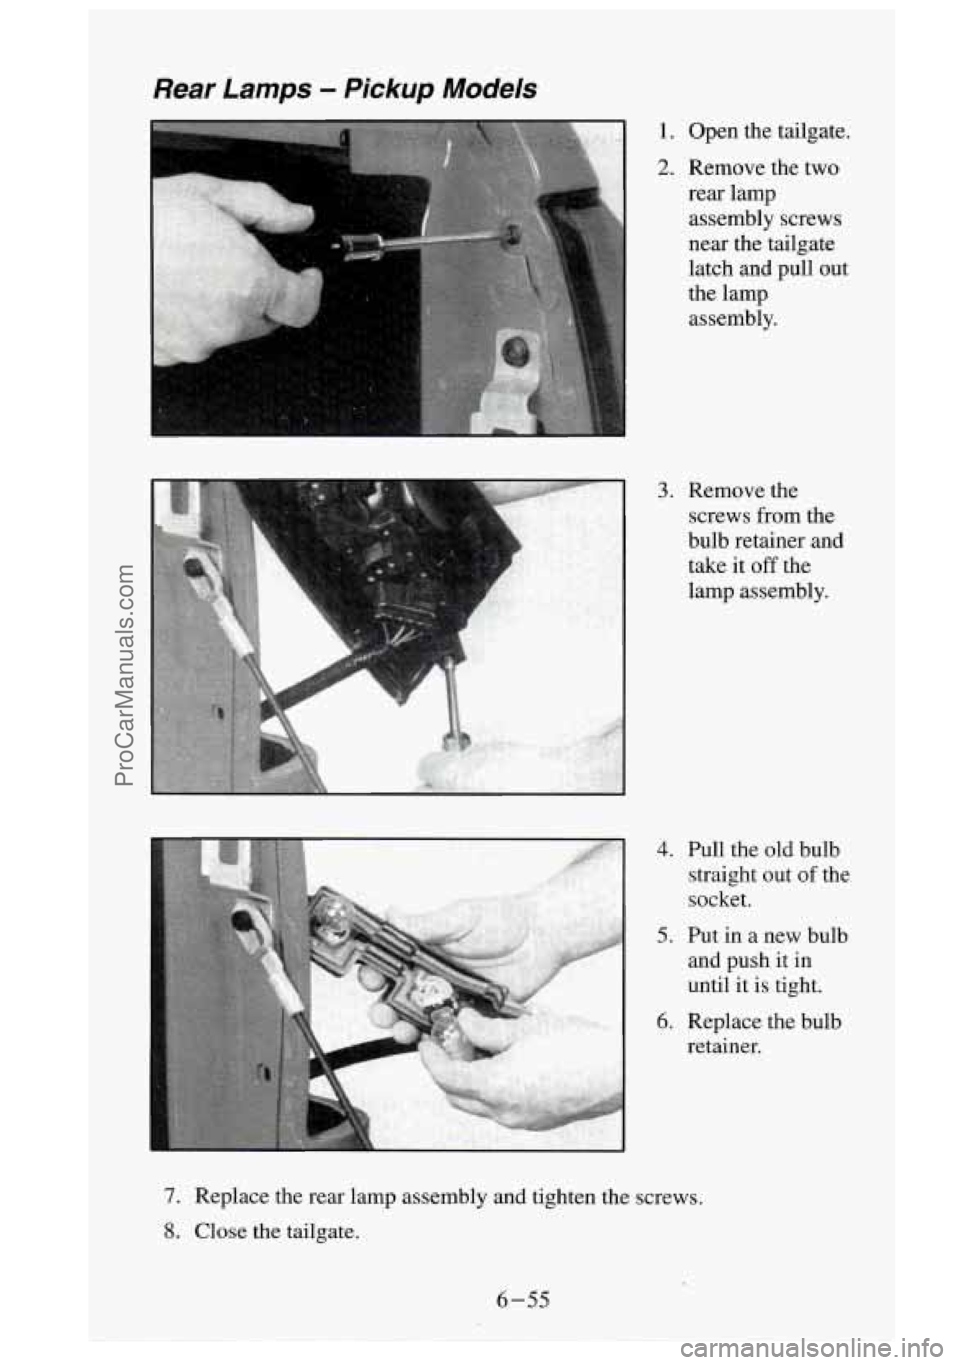
1. Open the tailgate.
2. Remove the two
rear lamp
assembly screws
near the tailgate
latch and pull out
the lamp assembly.
3. Remove the
screws from the
bulb retainer and
take it
off the
lamp assembly.
4. Pull the old bulb
straight out
of the
socket.
5. Put in a new bulb
and push it in
until it is tight.
6. Replace the bulb
retainer.
7. Replace the rear lamp assembly and tighten the screws.
8. Close the tailgate.
6-55
ProCarManuals.com
Page 450 of 488
Cassette Deck
Clean cassette deck. Cleaning should be done every 50 hours of tape play.
See “Audio Systems”
in the Index for further details.
At Least Once a Year
Key Lock Cylinders
Lubricate the key lock cylinders with the lubricant specified in Part D.
Body Lubrication
Lubricate all fuel doors, body hood and body door hinges, tailgate and
tailgate handle pivot points, latches, locks, and folding seat hardware. Part
D tells you what to use. More frequent lubrication may be required when
exposed to
a corrosive environment.
Starter Switch
A CAUTION:
When you are doing this check, the vehicle could move suddenly.
If it does, you or others could be injured. Follow the steps below.
1. Before you start, be sure you have enough room around the vehicle. It
should be parked
on a level surface.
2. Firmly apply both the parking brake (see “Parking Brake” in the Index
if necessary) and the regular brake.
NOTE: Do not use the accelerator pedal, and be ready to turn off the
engine immediately
if it starts.
3. On automatic transmission vehicles, try to start the engine in each gear.
The starter should work only
in PARK (P) or NEUTRAL (N). If the
starter works in any other position, your vehicle needs service.
On manual transmission vehicles, put the shift lever in NEUTRAL
(N),
push the clutch down halfway and try to start the engine. The starter
should work only when the clutch is pushed down
all the way to the
floor. If the starter works when the clutch isn’t pushed all the way
down, your vehicle needs service.
7-94
ProCarManuals.com
Page 456 of 488
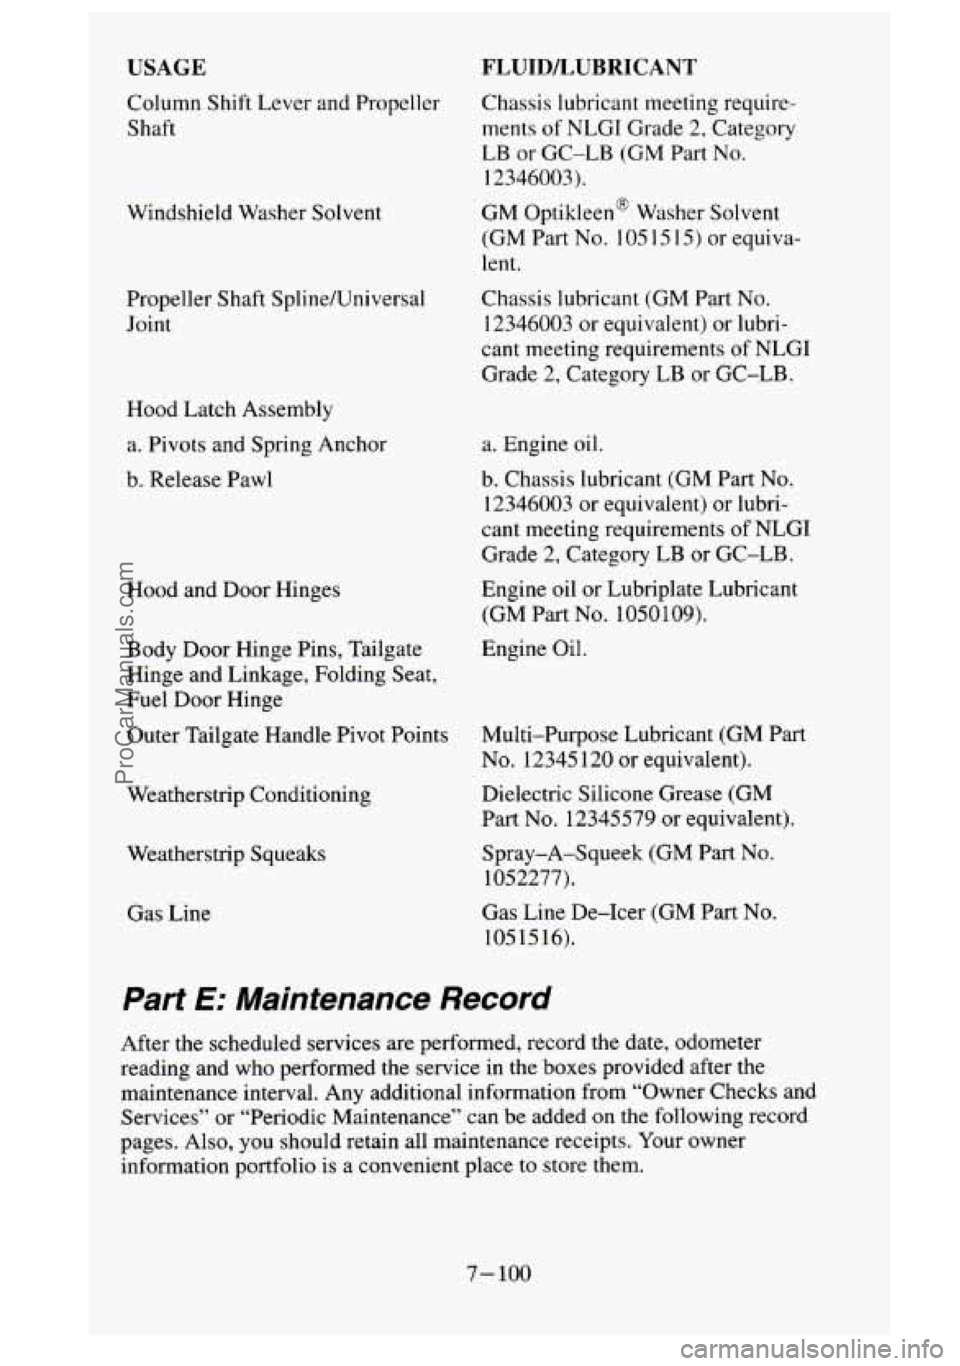
USAGE
Column Shift Lever and Propeller
Shaft
Windshield Washer Solvent
Propeller Shaft Spline/Universal
Joint
Hood Latch Assembly
a. Pivots and Spring Anchor
b. Release Pawl
Hood and Door Hinges
Body Door Hinge Pins, Tailgate
Hinge and Linkage, Folding Seat,
Fuel
Door Hinge
Outer Tailgate Handle Pivot Points
Weatherstrip Conditioning
Weatherstrip Squeaks
Gas Line
FLUIDLUBRICANT
Chassis lubricant meeting require-
ments
of NLGI Grade 2, Category
LB
or GC-LB (GM Part No.
12346003).
GM Optikleen’ Washer Solvent
(GM Part
No. 105 1 5 1 5) or equiva-
lent.
Chassis lubricant (GM Part
No.
12346003 or equivalent) or lubri-
cant meeting requirements
of NLGI
Grade 2, Category LB or GC-LB.
a. Engine oil.
b. Chassis lubricant (GM Part No.
12346003 or equivalent) or lubri-
cant meeting requirements
of NLGI
Grade 2, Category LB or GC-LB.
Engine oil or Lubriplate Lubricant
(GM Part
No. 1050109).
Engine Oil.
Multi-Purpose Lubricant (GM Part
No. 12345 120 or equivalent).
Dielectric Silicone Grease (GM
Part
No. 12345579 or equivalent).
Spray-A-Squeek (GM
Part No.
1 05 2277).
Gas Line De-Icer (GM Part No.
105 15 16).
Part E: Maintenance Record
After the scheduled services are performed, record the date, odometer
reading and who performed the service
in the boxes provided after the
maintenance interval. Any additional information from “Owner Checks and
Services” or “Periodic Maintenance” can be added on the following record
pages. Also, you should retain all maintenance receipts. Your owner
information portfolio
is a convenient place to store them.
7-100
ProCarManuals.com
Page 474 of 488
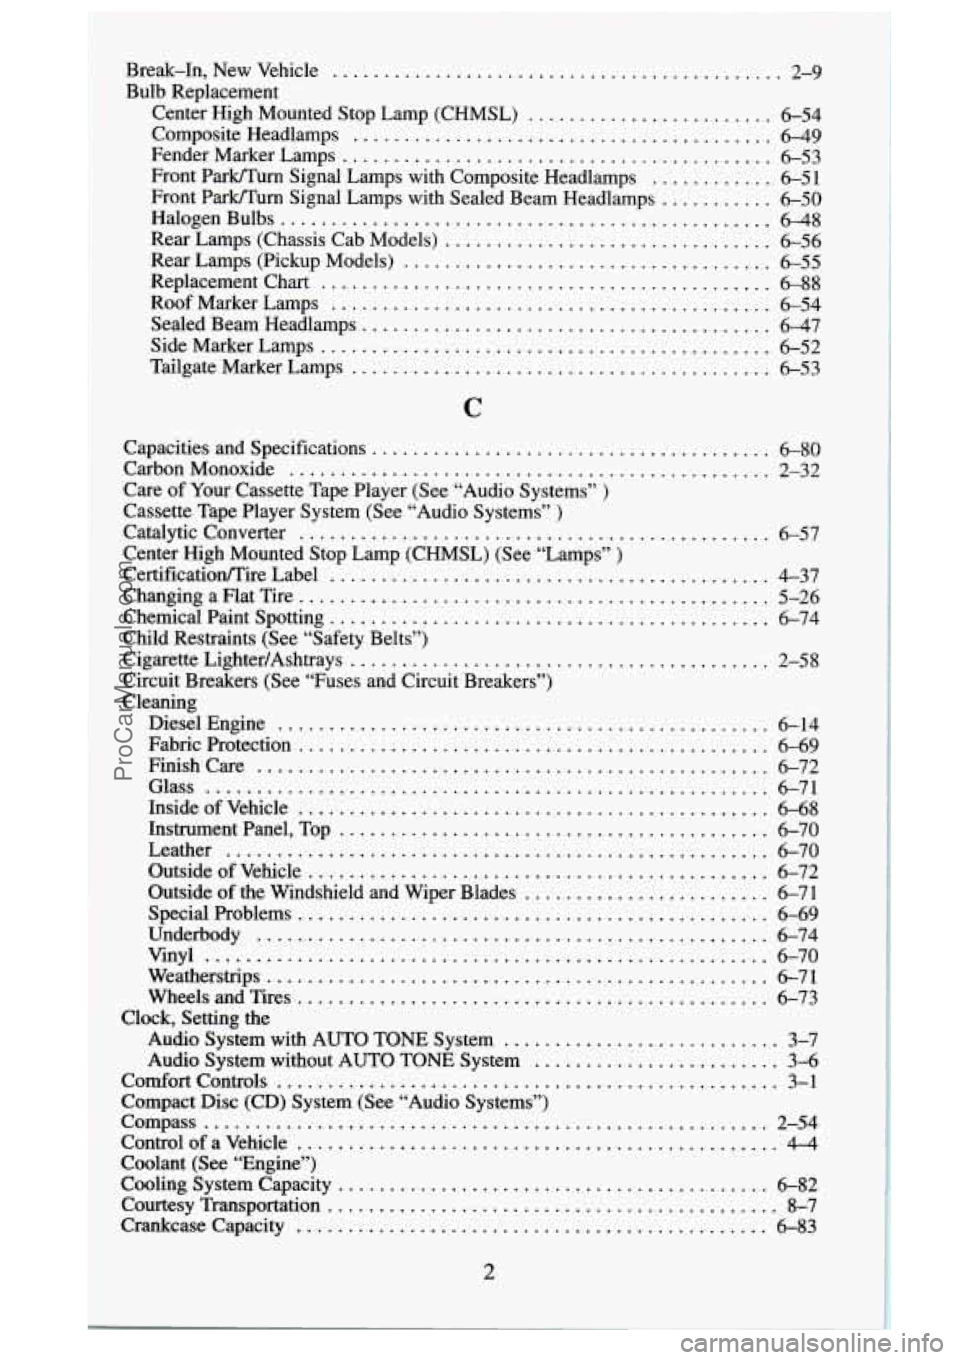
Break.In. New Vehicle ............................................ 2-9
Composite Headlamps ......................................... 6-49
Bulb Replacement Center
High Mounted Stop Lamp (CHMSL) ........................ 6-54
Fender Marker Lamps .......................................... 6-53
Front Park/Turn Signal Lamps with Composite Headlamps ............ 6-51
Front Park/Turn Signal Lamps with Sealed Beam Headlamps ........... 6-50
HalogenBulbs ................................................ 6-48
Rear Lamps (Chassis Cab Models) ................................ 6-56
Rear Lamps (Pickup Models) .................................... 6-55
Replacement Chart ............................................. 6-88
Roof Marker Lamps ........................................... 6-54
Sealed Beam Headlamps ........................................ 6-47
Side Marker Lamps ............................................ 6-52
Tailgate Marker Lamps ......................................... 6-53
C
Capacities and Specifications ....................................... 6-80
CarbonMonoxide ............................................... 2-32
Care of Your Cassette Tape Player (See “Audio Systems” )
Cassette Tape Player System (See “Audio Systems” )
Catalyticconverter .............................................. 6-57
Center High Mounted Stop Lamp (CHMSL) (See “Lamps” )
Certificatioflire Label ........................................... 4-37
Changing a Flat Tire .............................................. 5-26
Chemical Paint Spotting ........................................... 6-74
Cigarette LightedAshtrays ......................................... 2-58
Child Restraints (See “Safety Belts”)
Circuit Breakers (See “Fuses and Circuit Breakers”)
Cleaning DieselEngine
................................................ 6-14
Fabric Protection .............................................. 6-69
Finishcare .................................................. 6-72
Glass ....................................................... 6-71
InsideofVehicle .............................................. 6-68
Leather ..................................................... 6-70
Instrument Panel, Top .......................................... 6-70
Outside of Vehicle ............................................. 6-72
Outside of the Windshield and Wiper Blades ........................ 6-71
Special Problems .............................................. 6-69
Vinyl ....................................................... 6-70
Weatherstrips ................................................. 6-71
Audio System with AUTO TONE System ........................... 3-7
Audio System without AUTO TONE System ........................ 3-6
Underbody .................................................. 6-74
WheelsandTires .............................................. 6-73
Clock, Setting the
ComfortControls
................................................. 3-1
Compact Disc (CD) System (See “Audio Systems”)
Compass
....................................................... 2-54
Control of a Vehicle ............................................... 4-4
Coolant (See “Engine”)
Cooling System Capacity
.......................................... 6-82
Courtesy Transportation ............................................ 8-7
CrankcaseCapacity .............................................. 6-83
2
ProCarManuals.com