1995 CHEVROLET TAHOE ECO mode
[x] Cancel search: ECO modePage 76 of 486
Downloaded from www.Manualslib.com manuals search engine Operation
To unlock the driver’s door, press the UNLOCK button. If you press this
button again within
five seconds, all the doors will unlock. Press the rear
door
UNLOCK button to unlock the rear door only.
Press the
LOCK button to lock all the doors.
The illuminated entry feature activates
the interior dome lamps for
40 seconds or until the ignition switch is turned on.
Matching Transmitterfs) To Your Vehicle
Each key chain transmitter is coded to prevent another transmitter from
unlocking your vehicle.
If a transmitter is lost or stolen, a replacement can
be purchased through your dealer. Remember to bring any remaining
transmitters with you when
you go to your dealer. When the dealer matches
the replacement transmitter
to your vehicle, the remaining transmitters must
also be matched. Once the new transmitter
is coded, the lost transmitter will
not unlock your vehicle.
You can match a transmitter to as many different vehicles as you own,
provided they are equipped with
exactly the same 17ZOdd system. (General
Motors offers several different models
of these systems on their vehicles.)
Each vehicle can have
only two transmitters matched to it.
See your dealer to match transmitters to another vehicle.
Battery Replacement
Under normal use, the batteries in your key chain transmitter should last
about two years.
You can tell the batteries are weak
if the transmitter won’t work at the
normal range in any location. If you have to get close to your vehicle before
the transmitter works,
it’s probably time to change the batteries.
Use two Duracell@ type
DL2016, or a similar type.
2-9
Page 103 of 486
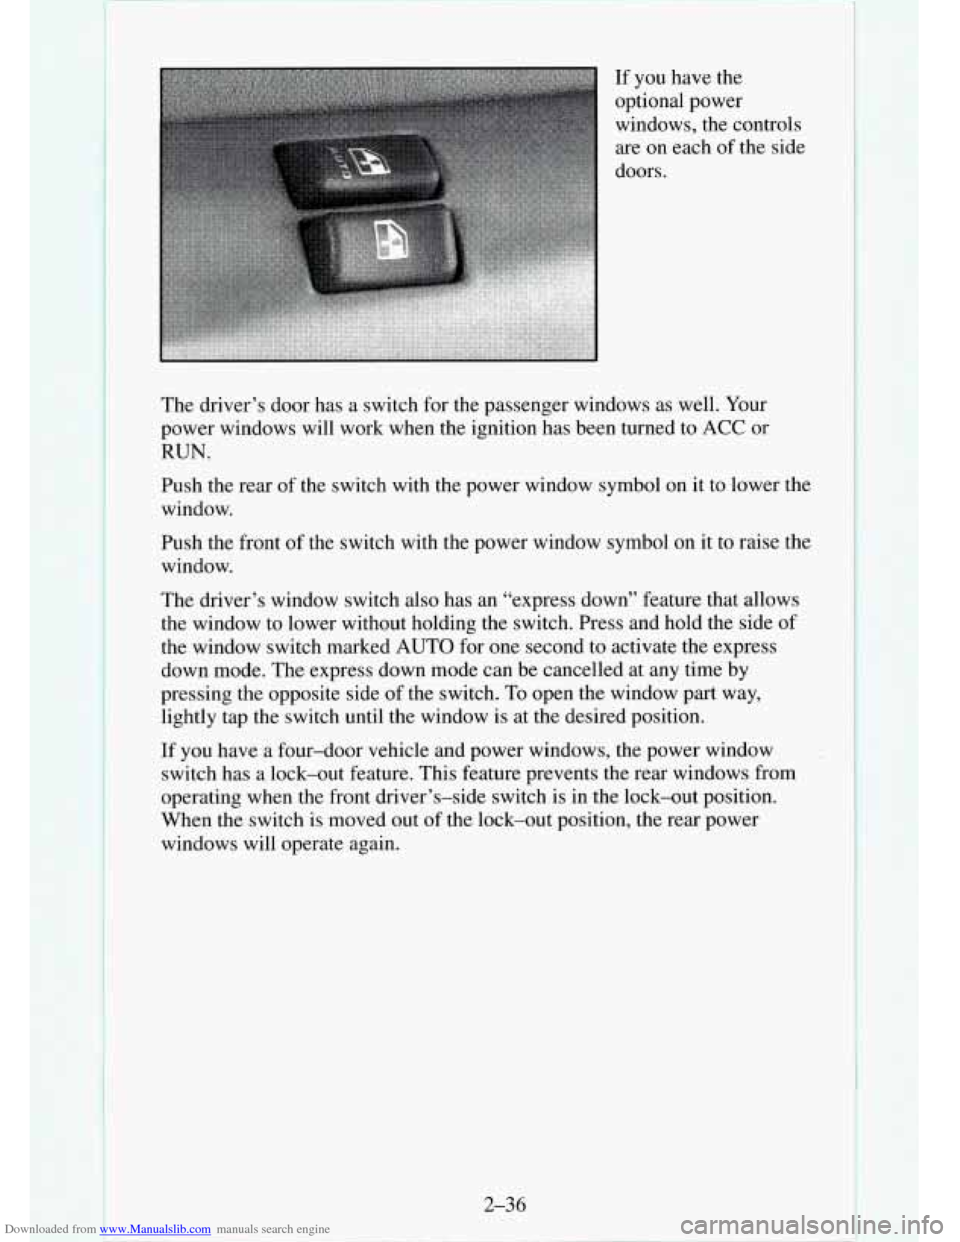
Downloaded from www.Manualslib.com manuals search engine The driver’s door has a switch for the passenger windows as well. Your
power windows will work when the ignition has been turned to
ACC or
RUN.
Push the rear of the switch with the power window symbol on it to lower the
window.
Push the front of the switch with the power window symbol on
it to raise the
window.
The driver’s window switch also has an “express down” feature that allows
the window to lower without holding the switch. Press and hold the side
of
the window switch marked AUTO for one second to activate the express
down mode. The express down mode can be cancelled at any time by
pressing the opposite side
of the switch. To open the window part way,
lightly tap the switch until the window is at the desired position.
If you have a four-door vehicle and power windows, the power window
switch has a lock-out feature. This feature prevents the rear windows from
operating when the front driver’s-side switch
is in the lock-out position.
When the switch is moved
out of the lock-out position, the rear power
windows will operate again.
2-36
I
Page 144 of 486
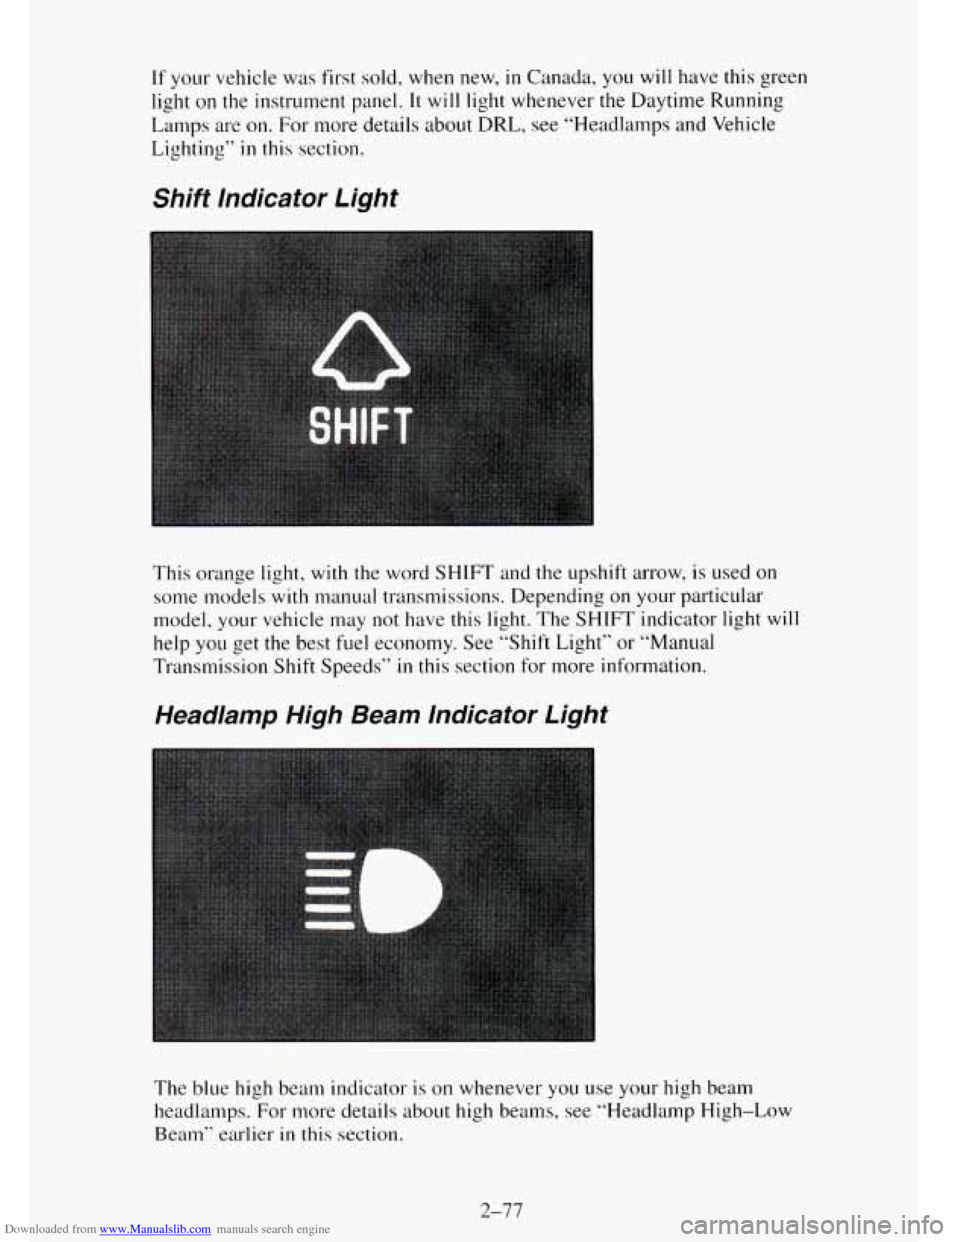
Downloaded from www.Manualslib.com manuals search engine If your vehicle was first sold, when new, in Canada, you will have this green
light on
the instrument panel. It will light whenever the Daytime Running
Lamps
are on. For more details about DRL, see “Headlamps and Vehicle
Lighting’’
in this section.
Shift lndicator Light
This orange light, with the word SHIFT and the upshift arrow, is used on
some models with manual transmissions. Depending on your particular
model, your vehicle may
not have this light. The SHIFT indicator light will
help you get the best fuel economy. See “Shift Light” or “Manual
Transmission Shift Speeds”
in this section for more information.
Headlamp High Beam lndicator Light
The blue high beam indicator is on whenever you use your high beam
headlamps. For more details about high beams, see “Headlamp High-Low
Beam” earlier in this section.
2-77
Page 158 of 486

Downloaded from www.Manualslib.com manuals search engine Before using your vehicle’s air conditioning, open the windows to clear the
vehicle of
hot air.
Using the recirculation function can also help. See “Recirculation Button”
in this section for more information.
The knob on the left side of the heating system control panel controls the
fan speed. The knob has four speed positions. To increase the air flow, move
the knob toward HI.
To decrease the air flow, move it toward LO. To turn
the fan off, move the knob to
OFF. If you have the air conditioner on,
moving the fan knob to OFF also turns off the A/C compressor.
The middle knob
on the control panel lets you select the relative
temperature
of the air flowing into the passenger area of your vehicle. This
knob will allow
you to adjust the relative air temperature independently of
the function knob setting. Move the knob right toward the red area for
warmer air. Move the knob left toward the blue area for cooler air.
With
A/C on, move the knob to MAX for maximum cooling. This setting
puts the system in the recirculation mode and helps to maximize your air
conditioner’s performance and your vehicle’s fuel economy. This setting
also cools the air
the fastest. After the vehicle’s interior reaches a
comfortable temperature, move
the knob clockwise to place the air
conditioning system
in the normal mode.
The right knob on the control panel changes the heatedair conditioning
setting.
VENT
- This setting, with the arrow pointing at the figure’s head, directs
air through the instrument panel vents.
VENT/HEAT
- Use this setting, with the arrows pointing at the figure’s
feet and head, to divide airflow between the heater floor vents and
instrument panel vents.
HEAT
- This setting, with the arrow pointing at the figure’s feet, directs air
through the heater floor vents. This setting
is useful for cold weather.
HEAT/DEFROST
- Use this setting, with the arrow pointing at the figure’s
feet and the defroster symbol near
the figure’s head, to divide airflow
between the heater floor
vents and windshield.
DEFROST
- This setting with the defrost symbol directs air through the
windshield defroster vents. This setting is useful when
you have fog or ice
on the windshield.
The control knob can be placed in any position between two heatedair
conditioning settings to blend the flow of air. The closer the knob
is to a
setting symbol, the more
the air flow will represent that symbol’s air flow
arrows.
RECIRCULATION BUTTON
- This button, between the left and middle
knobs, allows the air inside your vehicle to be recirculated. This setting
helps to maximize your air conditioner’s performance and your vehicle’s
3-3
Page 165 of 486

Downloaded from www.Manualslib.com manuals search engine Setting the Clock (Audio Systems with AUTO TONE
System)
The buttons used to set the clock are located below the AUTO TONE button
in the bottom right corner of your audio system.
To set the clock:
1. Press and hold HR until the correct hour appears on the display.
2. Press and hold MIN until the correct minute appears on the display.
To display the clock with the ignition off, press the recall button. The time
will be displayed for a few seconds.
There is an initial two-second delay before the clock goes into the time-set
mode.
How to Operate Your ETW AM-FM Stereo Audio
System
This part tells you.how your ETR@AM-FM stereo audio system works.
Upper Knob (VOL-RECALL)
- The upper knob has these four functions:
Turn it to switch the system on and off.
Turn it to control the volume.
Press it to display the time when the ignition is off.
Press it to change between the clock and the radio station frequency
displayed when the radio is
on.
BAL (Balance) - The control ring behind the upper knob adjusts the
left/right speaker balance.
3-10
Page 166 of 486
Downloaded from www.Manualslib.com manuals search engine Lower Knob (TUNE-AM-FM) - The lower knob has two functions:
Turn it to tune in radio stations.
Press it to change between the AM and FM bands.
FADE
- The control ring behind the lower knob adjusts the front/rear
speaker balance.
SEEK
- Press the SEEK b button to cause the receiver to seek the next
higher station.
Press the
4 SEEK button to cause the receiver to seek the next lower
station.
SCAN
- Press the SCAN button to momentarily hear each available
station.
SCAN is a two button function and requires that you also press the
SEEK
b or 4 SEEK. “SCAN” appears in the display while you are in the
SCAN mode.
Press and hold
SEEK b, then press 4 SEEK to cause the receiver to scan
to the next higher station.
Press and hold
4 SEEK, then press SEEK to cause the receiver to scan
to the next lower station.
The receiver
will continue to scan until you press the VOL-RECALL knob
or
both SEEK buttons again.
Pushbuttons
- The four pushbuttons let you return to favorite stations. To
set the pushbuttons for up to fourteen favorite stations (7 AM and 7 FM):
1. Tune in the desired station.
2. Press the SET button. “SET” appears in the display.
3. Within 5 seconds, press one of the four pushbuttons to store the station.
Whenever you press that button, the preset station will return.
Repeat these steps
for each pushbutton.
NOTE:
In addition to the four stations set as above, up to three additional stations
may be preset on each band by pressing two adjoining buttons at the same
time. Then do the following:
1. Tune in the desired station.
2. Press the SET button. “SET” appears in the display momentarily.
3. Within 5 seconds, press any two adjoining pushbuttons at the same
time. (The station
will return when the same two buttons are pressed
again.)
TREBLE
- Slide the TREBLE lever up to increase the treble response. If a
station is weak or noisy, slide the TREBLE lever down to reduce the noise.
BASS - Slide the BASS lever up to increase the bass response. Adjust the
BASS lever to give a pleasing sound to your ear.
3-1 1
Page 168 of 486
Downloaded from www.Manualslib.com manuals search engine P. SCAN (Preset Scan) - Press both SEEK buttons to scan each preset
pushbutton station. The receiver will continue to scan and momentarily stop
at each station until you press either SEEK button or the VOL-RECALL
knob. “PSCAN” appears in the display while you are in the
P. SCAN mode.
Pushbuttons
- The four pushbuttons let you return to favorite stations. To
set the pushbuttons for up to twenty-one favorite stations
(7 AM, 7 FM 1
and 7 FM2):
1. Tune in the desired station.
2. Press the SET button. “SET” appears
in the display.
3. Within 5 seconds, press one of the four pushbuttons to store the station.
Whenever
you press that button, the preset station will return.
Repeat these steps for each pushbutton.
NOTE:
In addition to the four stations set as above, up to three additional stations
may be preset on each band by pressing two adjoining buttons at the same
time. Then do the following:
1. Tune in the desired station.
2. Press the SET button. “SET” appears in the display momentarily.
3. Within 5 seconds, press any two adjoining pushbuttons at the same
time. (The station will return when the same two buttons are pressed
again.)
TREBLE
- Slide the TREBLE lever up to increase the treble response. If a
station is weak or noisy, slide the TREBLE lever down to reduce the noise.
BASS
- Slide the BASS lever up to increase the bass response. Adjust the
BASS lever to give a pleasing sound to your ear.
To Play A Cassette
Your tape player is built to work best with tapes that are 30 to 45 minutes
long on each side. Tapes longer than that are
so thin they may not work well
in this player.
Once the tape is playing, use the controls for volume, balance, fade, treble
and bass just as you do for the radio. A lighted arrow will also appear and
show the direction
of play when a tape is in the player.
FORWARD
- To rapidly advance the tape, press 4 SEEK or SEEK in
the direction that the amber arrow points and the tape will rapidly go
forward until you press the same SEEK button lightly.
REVERSE
- To rapidly reverse the tape, press 4 SEEK or SEEK in
the opposite direction that the amber arrow points and the tape will rapidly
reverse until you press the same
SEEK button lightly.
3-13
Page 170 of 486
Downloaded from www.Manualslib.com manuals search engine RCL (Recall) - Press this button to change between the clock and the radio
station frequency displayed when the radio is on. Also, press this button to
display the time when the ignition is off.
TUNE - Press lightly on the TUNE button to release it from its stored
position. Rotate
the knob clockwise to increase frequency and
counterclockwise to decrease radio frequency. When done, press
the knob
again to return
it to its stored position.
Pushbuttons
- The six pushbuttons let you return to favorite stations. To
set the pushbuttons for up to
18 favorite stations (6 AM, 6 FM1 and 6 FM2):
1. Tune in the desired station.
2. Press AUTO TONE to select the best setting for the type of station
chosen.
3. Press and hold one of the pushbuttons until sound returns
(approximately two seconds). Whenever you press
that button, me
preset station will return.
Repeat these steps for each pushbutton.
SEEK
- Press SEEK to cause the receiver to seek the next higher
station.
Press
4 SEEK to cause the receiver to seek the next lower station.
SCAN
- Press and hold the center of the SEEK button to momentarily hear
each available station. Release the button when SCAN appears
in the
display. The receiver will continue to scan and momentarily stop at each
station
until you press the center of the SEEK button again.
P. SCAN (Preset Scan)
- Press this button to scan each preset pushbutton
station. The receiver will continue to scan and momentarily stop at each
station
until you press either P. SCAN again or one of the six pushbuttons.
The AUTO SCAN setting for
that preset button will also return. The
pushbutton number (PI-P6)
will appear momentarily just before frequency
is displayed.
AUTO TONE
- Press this button to select between five preset equalization
settings and tailor the sound to
the music or voice being heard. Each time
you press the button, the selection
will switch to one of the preset settings of
CLASSIC, NEWS, ROCK, POP, or
JAZZ. The display will show which
mode the receiver is in. To return to the manual mode, press and release
AUTO TONE until
MAN (manual) appears in the display. This will return
the tone adjustment to the TREB and BASS controls. Also, any time a
TREB or BASS control is rotated, tone is automatically set back to MAN
(manual).
3-15