1995 CHEVROLET TAHOE ECO mode
[x] Cancel search: ECO modePage 172 of 486
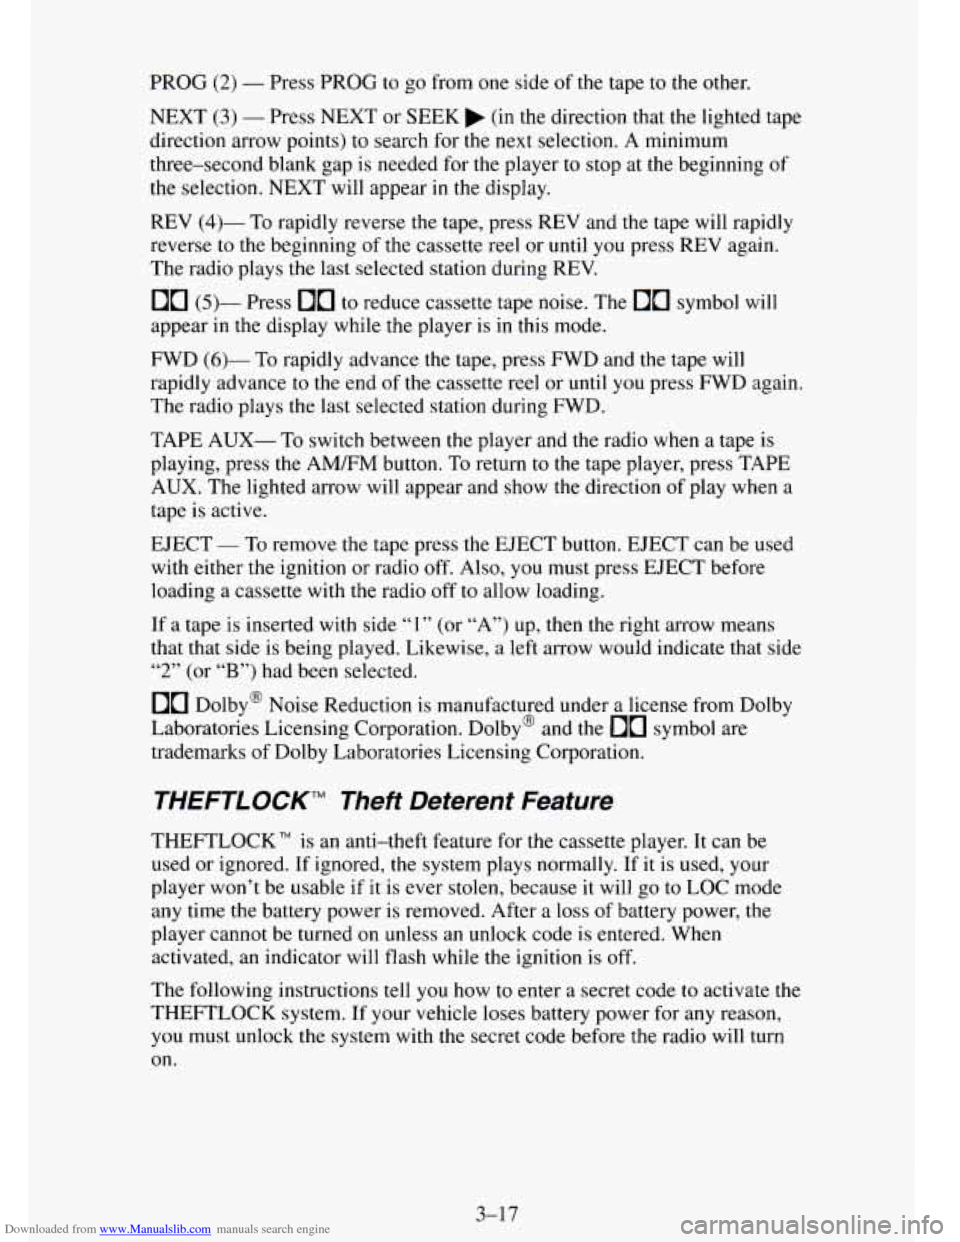
Downloaded from www.Manualslib.com manuals search engine PROG (2) - Press PROG to go from one side of the tape to the other.
NEXT
(3) - Press NEXT or SEEK (in the direction that the lighted tape
direction. arrow points) to search for the next selection.
A minimum
three-second blank gap is needed for the player to stop at the beginning of
the selection.
NEXT will appear in the display.
REV
(4)- To rapidly reverse the tape, press REV and the tape will rapidly
reverse to the beginning of the cassette reel or
until you press REV again.
The radio plays the last selected station during REV.
00 (5)- Press 00 to reduce cassette tape noise. The 00 symbol will
appear
in the display while the player is in this mode.
FWD (6)- To rapidly advance the tape, press FWD and the tape will
rapidly advance to the end of the cassette reel or until you press FWD again.
The radio plays the last selected station during FWD.
TAPE AUX- To switch between the player and the radio
when a tape is
playing, press the AM/FM button. To return to the tape player, press
TAPE
AUX. The lighted arrow will appear and show the direction of play when a
tape is active.
EJECT
- To remove the tape press the EJECT button. EJECT can be used
with either the ignition
or radio off. Also, you must press EJECT before
loading a cassette with the radio off to
allow loading.
If a tape is inserted with side “1” (or “A”) up, then the right arrow means
that that side is being played. Likewise, a left arrow would indicate that side
“2” (or “B”) had been selected.
00 Dolby@ Noise Reduction is manufactured under a license from Dolby
Laboratories Licensing Corporation. Dolby@ and
the 00 symbol are
trademarks
of Dolby Laboratories Licensing Corporation.
THEFTLOCK” Theft Deferent Feature
THEFTLOCK” is an anti-theft feature for the cassette player. It can be
used or ignored.
If ignored, the system plays normally. If it is used, your
player won’t be usable if it is ever stolen, because
it will go to LOC mode
any time the battery power is removed. After
a loss of battery power, the
player cannot be turned on unless
an unlock code is entered. When
activated, an indicator will flash
while the ignition is off.
The following instructions tell you how to enter a secret code to activate the
THEFTLOCK system. If your vehicle loses battery power for any reason,
you must unlock the svstem with the secret code before
the radio will turn
on.
3-17
Page 175 of 486
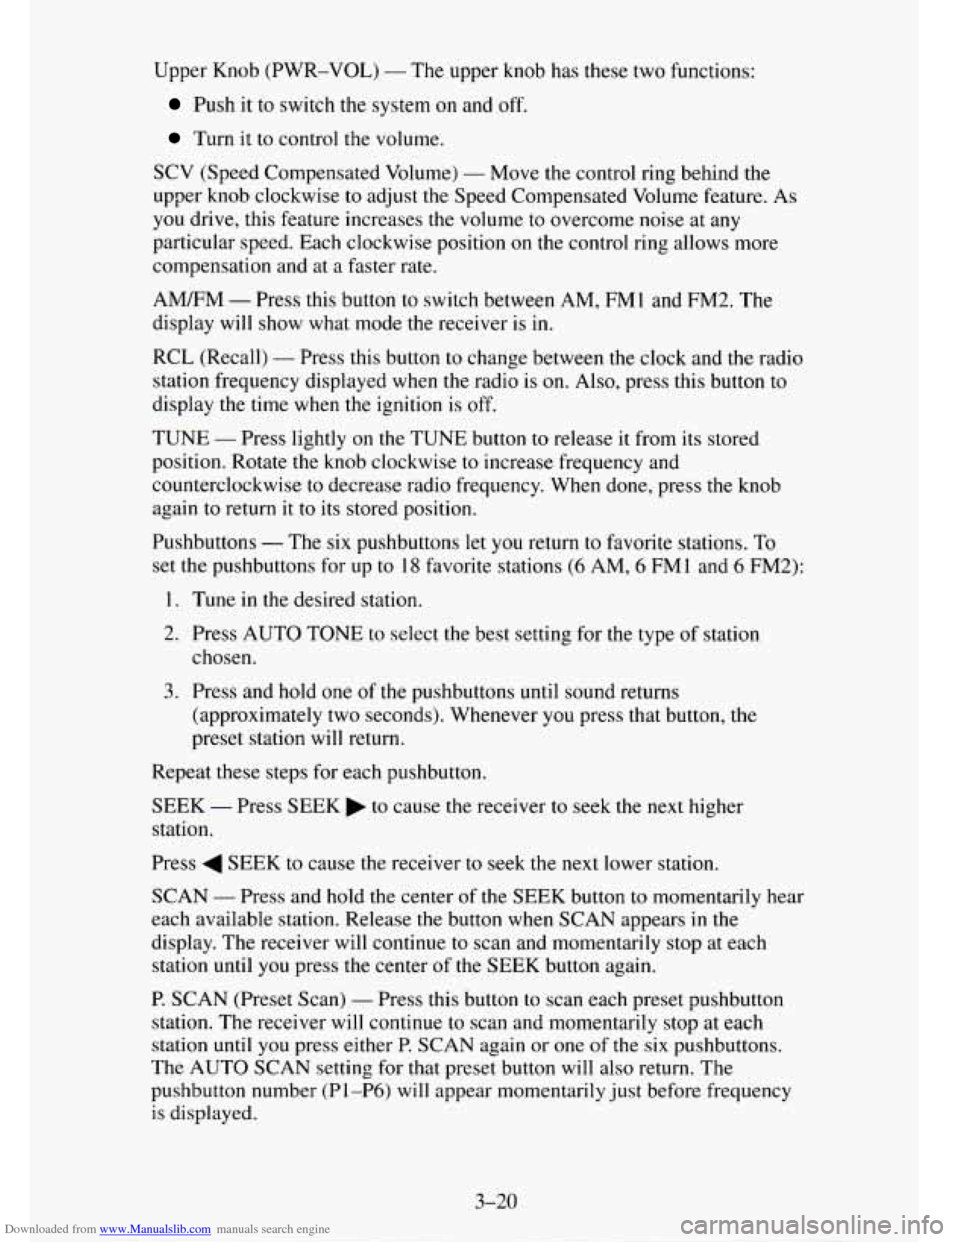
Downloaded from www.Manualslib.com manuals search engine Upper Knob (PWR-VOL) - The upper knob has these two functions:
Push it to switch the system on and off.
Turn it to control the volume.
SCV (Speed Compensated Volume) - Move the control ring behind the
upper knob clockwise
to adjust the Speed Compensated Volume feature. As
you drive, this feature increases the volume to overcome noise at any
particular speed. Each clockwise position
on the control ring allows more
compensation and at
a faster rate.
AM/FM - Press this button to switch between AM, FMl and FM2. The
display will
show what mode the receiver is in.
RCL (Recall) - Press this button to change between the clock and the radio
station frequency displayed when the radio is
on. Also, press this button to
display the time when the ignition is off.
TUNE
- Press lightly on the TUNE button to release it from its stored
position. Rotate the knob clockwise
to increase frequency and
counterclockwise
to decrease radio frequency. When done, press the knob
again to return it to its stored position.
Pushbuttons
- The six pushbuttons let you return to favorite stations. To
set the pushbuttons for up
to 18 favorite stations (6 AM, 6 FM1 and 6 FM2):
1. Tune in the desired station.
2. Press AUTO TONE to select the best setting for the type of station
chosen.
3. Press and hold one of the pushbuttons until sound returns
(approximately two seconds). Whenever
you press that button, the
preset station will return.
Repeat these steps for each pushbutton.
SEEK - Press SEEK to cause the receiver to seek the next higher
station.
Press
4 SEEK to cause the receiver to seek the next lower station.
SCAN - Press and hold the center of the SEEK button to momentarily hear
each available station. Release the button when SCAN appears in the
display. The receiver will
continue to scan and momentarily stop at each
station until you press the center of the
SEEK button again.
P. SCAN (Preset Scan) - Press this button to scan each preset pushbutton
station. The receiver will continue to scan and momentarily stop at each
station until you press either P.
SCAN again or one of the six pushbuttons.
The AUTO
SCAN setting for that preset button will also return. The
pushbutton number (Pl-P6) will appear momentarily just before frequency
is displayed.
3-20
Page 176 of 486
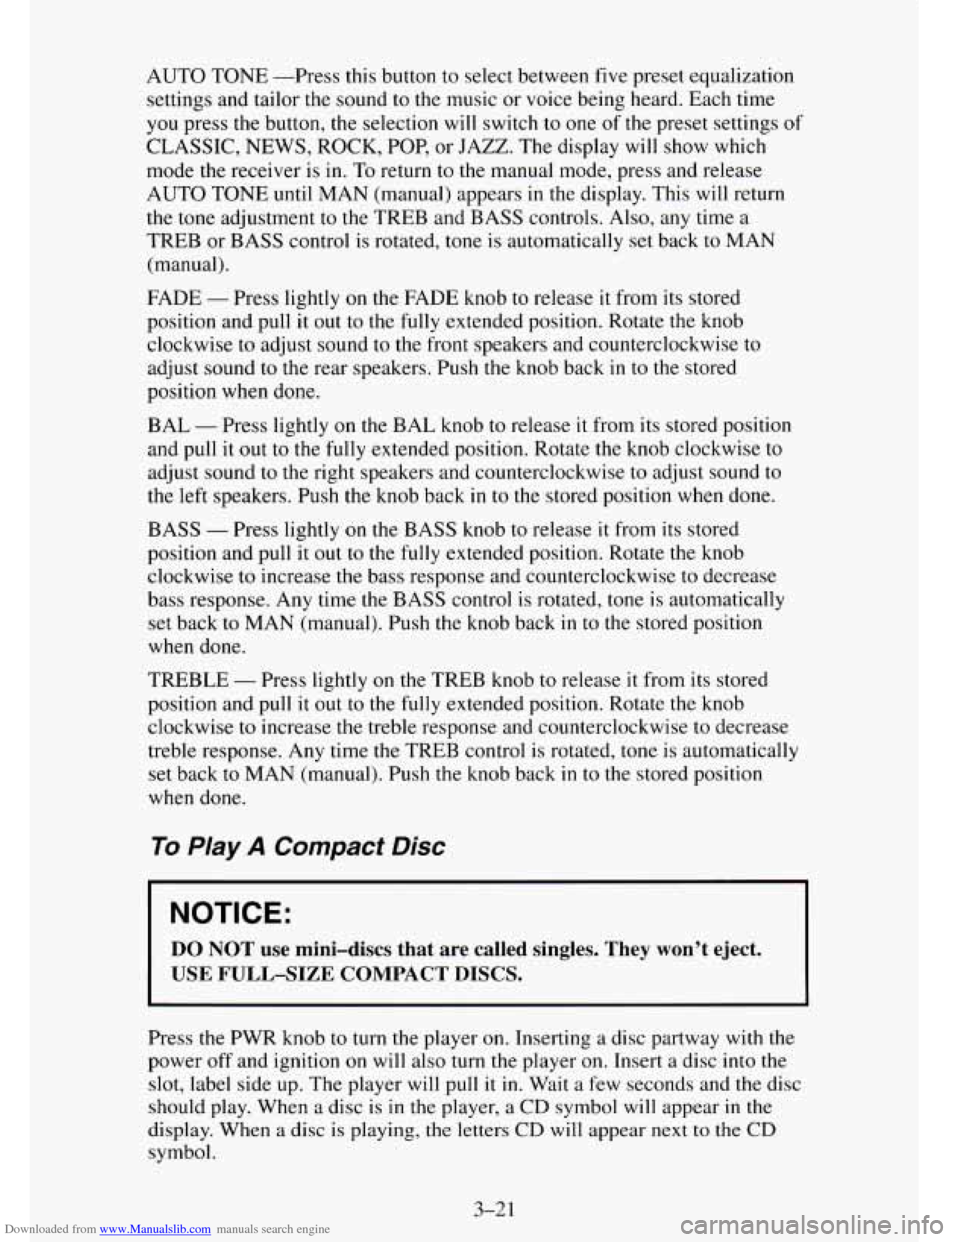
Downloaded from www.Manualslib.com manuals search engine AUTO TONE -Press this button to select between five preset equalization
settings and tailor the sound to the music or voice being heard. Each time
you press the button, the selection will switch to one of the preset settings of
CLASSIC, NEWS, ROCK, POP, or JAZZ. The display will show which
mode the receiver is in.
To return to the manual mode, press and release
AUTO TONE until
MAN (manual) appears in the display. This will return
the tone adjustment to the
TREB and BASS controls. Also, any time a
TREB or BASS control is rotated, tone
is automatically set back to MAN
(manual).
FADE
- Press lightly on the FADE knob to release it from its stored
position and pull it out
to the fully extended position. Rotate the knob
clockwise to adjust sound to the front speakers and counterclockwise to
adjust sound to the rear speakers. Push the knob back
in to the stored
position when done.
BAL
- Press lightly on the BAL knob to release it from its stored position
and pull
it out to the fully extended position. Rotate the knob clockwise to
adjust sound to the right speakers and counterclockwise to adjust sound to
the left speakers. Push the knob back in
to the stored position when done.
BASS
- Press lightly on the BASS knob to release it from its stored
position and pull it out to the
fully extended position. Rotate the knob
clockwise to increase the bass response and counterclockwise to decrease
bass response. Any time the BASS control is rotated, tone is automatically
set back to MAN (manual). Push the knob back
in to the stored position
when done.
TREBLE
- Press lightly on the TREB knob to release it from its stored
position and pull it out to the fully extended position. Rotate the knob
clockwise to increase the treble response and counterclockwise to decrease
treble response. Any time the TREB control is rotated, tone is automatically
set back to MAN (manual). Push the knob back
in to the stored position
when
done.
To Play A Compact Disc
NOTICE:
DO NOT use mini-discs that are called singles. They won’t eject.
USE FULL-SIZE COMPACT DISCS.
Press the PWR knob to turn the player on. Inserting a disc partway with the
power
off and ignition on will also turn the player on. Insert a disc into the
slot, label side up. The player will pull
it in. Wait a few seconds and the disc
should play. When a disc is
in the player, a CD symbol will appear in the
display. When a disc is playing, the letters CD will appear next to the CD
symbol.
3-21
Page 177 of 486
Downloaded from www.Manualslib.com manuals search engine If the disc player is very hot, or if you’re driving on a very rough road, a
disc may come
out or just not play. If you see the word Err on the display,
the disc player is too hot
to play the disc. Press RECALL to make the word
Err go off the display.
When things get back to normal, the disc should play again. If the disc
comes back out, check whether:
The disc is upside down.
It is dirty, scratched, or wet.
Too much moisture is in the air. (If there IS, wait about one hour and try
again.)
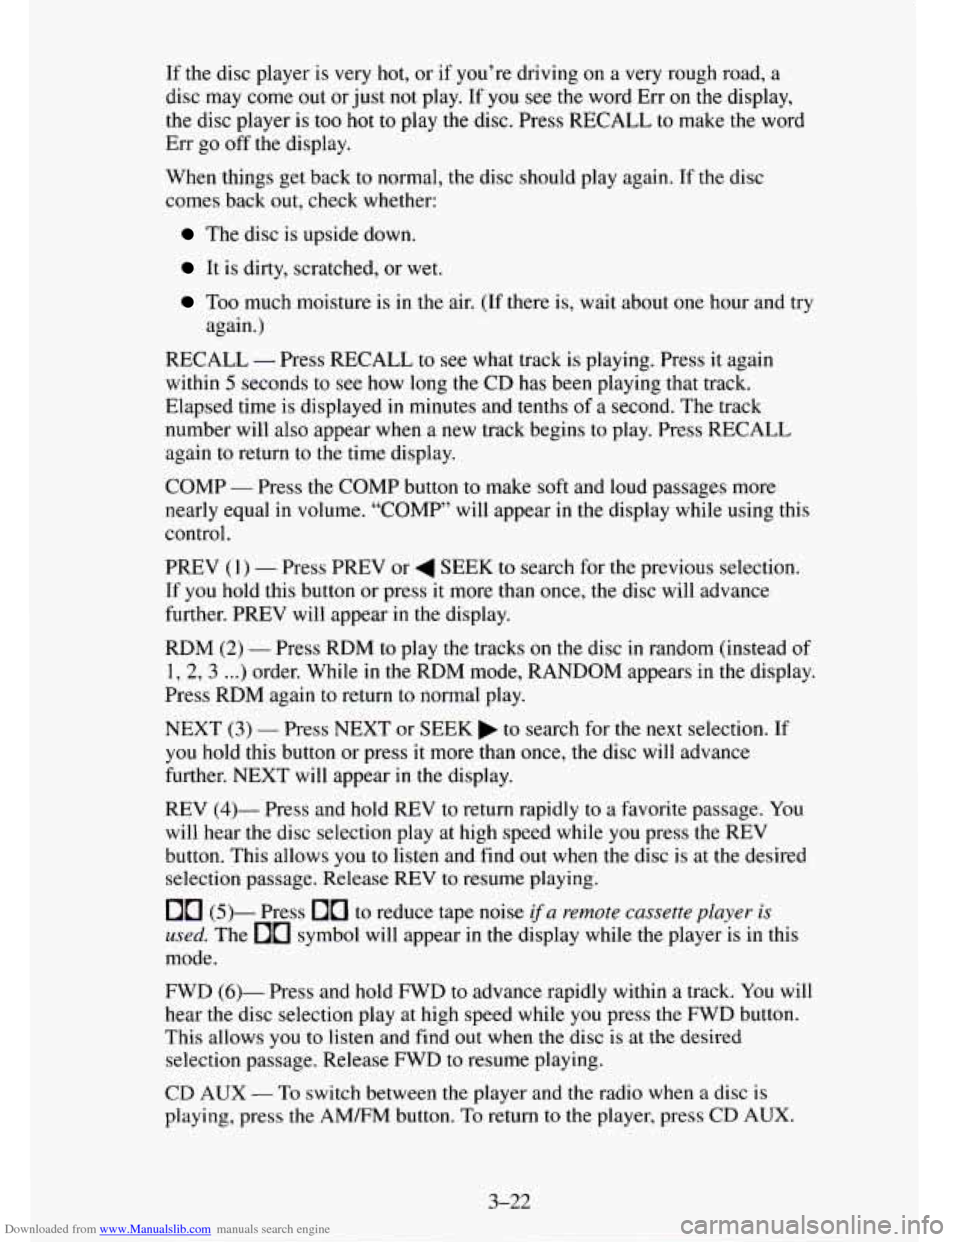
RECALL
- Press RECALL to see what track is playing. Press it again
within
5 seconds to see how long the CD has been playing that track.
Elapsed time is displayed
in minutes and tenths of a second. The track
number will
also appear when a new track begins to play. Press RECALL
again to return to the time display.
COMP
- Press the COMP button to make soft and loud passages more
nearly equal in volume. “COMP’ will appear
in the display while using this
control.
PREV
(1) - Press PREV or 4 SEEK to search for the previous selection,
If you hold this button or press
it more than once, the disc will advance
further. PREV will appear
in the display.
RDM
(2) - Press RDM to play the tracks on the disc in random (instead of
1,2,
3 ...) order. While in the RDM mode, RANDOM appears in the display.
Press RDM again to return to normal play.
NEXT (3) - Press NEXT or SEEK to search for the next selection. If
you hold this button or press it more than once, the disc will advance
further. NEXT will appear
in the display.
REV
(4)- Press and hold REV to return rapidly to a favorite passage. You
will hear the disc selection play at high speed while you press the REV
button. This allows you to listen and find out when the disc is at the desired
selection passage. Release REV to resume playing.
00 (5)- Press 00 to reduce tape noise fa remote cassette player is
used. The 00 symbol will appear in the display while the player is in this
mode.
FWD
(6)- Press and hold FWD to advance rapidly within a track. You will
hear the disc selection play at high speed while you press the FWD button.
This allows
you to listen and find out when the disc is at the desired
selection passage. Release FWD
to resume playing.
CD
AUX - To switch between the player and the radio when a disc is
playing, press the AMFM button. To return to the player, press CD AUX.
3-22
Page 178 of 486
Downloaded from www.Manualslib.com manuals search engine When a disc is playing, the letters CD and the CD symbol will appear in the
display.
EJECT
- Press EJECT to eject the disc from the player and play the radio.
When the same or a new disc is inserted,
the disc will start playing on track
1.
00 Dolby’ Noise Reduction is manufactured under a license from Dolby
Laboratories Licensing Corporation. Dolby@ and the
00 symbol are
trademarks of Dolby Laboratories Licensing Corporation.
THEFTLOCK Theft Deterent Feature
THEFTLOCK is an anti-theft feature for the compact disc player. It can be
used
or ignored. If ignored, the system plays normally. If it is used, your
player won’t be usable if it is ever stolen, because it will
go to LOC mode
any time the battery power is removed. After a loss of battery power, the
player cannot be turned on unless an unlock code is entered.
The following instructions tell you how to enter a secret code into
the
system. If your vehicle loses battery power for any reason, you must unlock
the system with the secret code before the radio will turn on.
To Lock The System:
1.
2.
3.
4.
5.
6.
7.
8.
9. Write
down any number from
000 to 999 and keep it in a safe place.
Turn the ignition to ACC or RUN.
Turn the radio
off.
Press the 1 and 4 buttons together. Hold them down until “- - -” shows
on the display.
You are now ready to enter your secret code. Don’t wait more than 15
seconds between any of the following steps. If you do, the radio
automatically returns to time display and you must start the procedure
over
at step 4.
Press MIN and “000” will appear on the display.
Press the MIN
button again to make the last two digits agree with your
code.
Press
HR to make the first one or two digits agree with your code.
Press
AM/FM after you have confirmed that the code matches the one
you wrote down.
rEP appears in the display, indicating that you need to
repeat steps
5 through 7.
Press AM/FM and this time the display will show SEC.
With the ignition off, the THEFTLOCK indicator
will flash.
3-23
Page 180 of 486
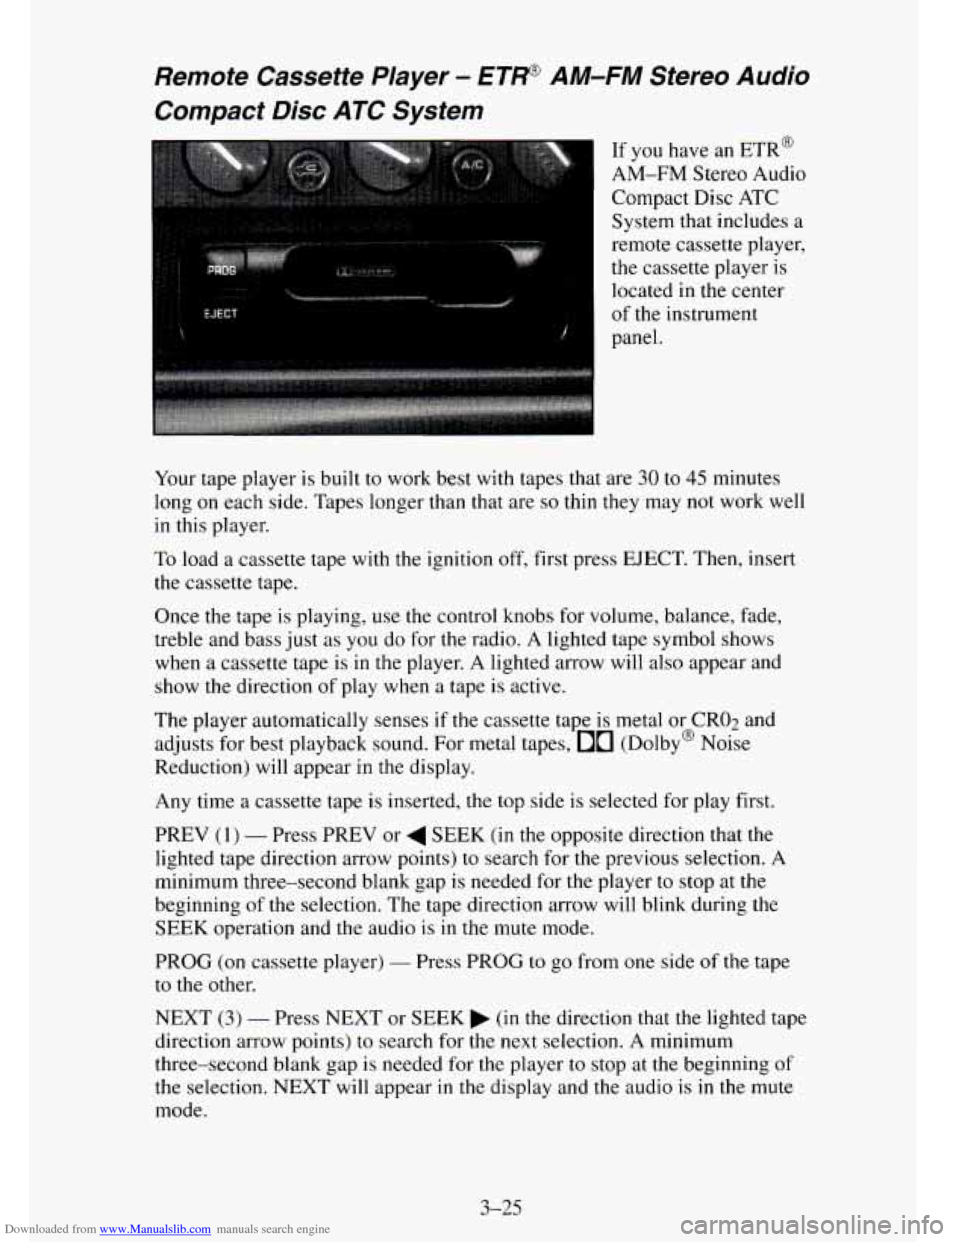
Downloaded from www.Manualslib.com manuals search engine Remote Cassette Player - €?W AM-FM Stereo Audio
Compact Disc ATC System
..
EJECT
i
1
If you have an ETR@
AM-FM Stereo Audio
Compact Disc ATC
System that includes a
remote cassette player,
the cassette player is
located in the center
panel.
, of the instrument
Your tape player is built
to work best with tapes that are 30 to 45 minutes
long
on each side. Tapes longer than that are so thin they may not work well
in this player.
To load a cassette tape with the ignition off, first press EJECT. Then, insert
the cassette tape.
Once
the tape is playing, use the control knobs for volume, balance, fade,
treble and bass just as you do for the radio. A lighted tape symbol shows
when a cassette tape is in the player. A lighted arrow will also appear and
show
the direction of play when a tape is active.
The player automatically senses
if the cassette tape is metal or CRO2 and
adjusts for best playback sound. For metal tapes,
00 (Dolby@ Noise
Reduction) will appear in the display.
Any time a cassette tape is inserted, the top side is selected for play first.
PREV
(1) - Press PREV or 4 SEEK (in the opposite direction that the
lighted tape direction arrow points) to search for the previous selection.
A
minimum three-second blank gap is needed for the player to stop at the
beginning
of the selection. The tape direction arrow will blink during the
SEEK operation and
the audio is in the mute mode.
PROG
(on cassette player) - Press PROG to go from one side of the tape
to the other.
NEXT
(3) - Press NEXT or SEEK (in the direction that the lighted tape
direction arrow points) to search for the next selection. A minimum
three-second blank gap is needed for the player
to stop at the beginning of
the selection. NEXT will appear in the display and the audio is in the mute
mode.
3-25
-
Page 225 of 486
Downloaded from www.Manualslib.com manuals search engine After you’ve loaded your trailer, weigh the trailer and then the tongue,
separately, to see
if the weights are proper. If they aren’t, you may be able to
get them right simply by moving some items around in the trailer.
Total Weight on Your Vehicle’s Tires
Be sure your vehicle’s tires are inflated to the limit for cold tires. You’ll find
these numbers on the Certification label at the rear edge of the driver’s door
or see “Tire Loading”
in the Index. Then be sure you don’t go over the
GVW limit for your vehicle, including the weight of the trailer tongue.
Hitches
It’s important to have the correct hitch equipment. Crosswinds, large trucks
going by, and rough roads are a few reasons why
you’ll need the right hitch.
Here are some rules to follow:
If you use a step bumper hitch, and your trailer tongue has a V-shaped
foot, your bumper could be damaged in sharp turns. Check the distance
from the front edge
of the foot to the middle of the hitch ball socket. If
the distance is less than 12 inches, take the foot off the trailer tongue.
0 If you’ll be pulling a trailer with a utility model that, when loaded, will
weigh more then
3,000 pounds (2 250 kg) be sure to use a properly
mounted, weight-distributing hitch and sway control of the proper size.
This equipment is very important for proper vehicle loading and good
handling when you’re driving.
If you’ll be pulling
a trailer with a Suburban that, when loaded, will
weigh more than
4,000 pounds (1 8 14 kg) be sure to use a properly
mounted, weight-distributing hitch and sway control
of the proper size.
This equipment is very important for proper vehicle loading and good
handling when you’re driving.
Will you have to make any holes in the body of your vehicle when you
install
a trailer hitch? If you do, then be sure to seal the holes later
when you remove the
hitch. If you don’t seal them, deadly carbon
monoxide
(CO) from your exhaust can get into your vehicle (see
“Carbon Monoxide’’ in the Index). Dirt and water can, too.
Safety Chains
You should always attach chains between your vehicle and your trailer.
Cross the safety chains under the tongue of the trailer
so that the tongue will
not drop to the road if it becomes separated from the hitch. Instructions
about safety chains may be provided by the hitch manufacturer or by the
trailer manufacturer. Follow the manufacturer’s recommendation for
attaching safety chains and do
not attach them to the bumper. Always leave
just enough slack
so you can turn with your rig. And, never allow safety
chains to drag on the ground.
4-42
Page 355 of 486

Downloaded from www.Manualslib.com manuals search engine Crankcase Capacity
ENGINE
5.7L
6.5L
6.5L
7.4L
VIN
K
S
F
N
QUANTITY WITH
FILTER?
5 Quarts (4.8 Liters)
7 Quarts (6.5 Liters)
7 Quarts (6.5 Liters)
7 Quarts (6.5 Liters)
After refill, the level
MUST be checked as outlined under “Engine Oil And
Filter Recommendations”
in Section 5.
All quantities are approximate.
?Oil filter should be changed at EVERY oil change.
Fuel Tank Capacity
TYPE
Gasoline/Diesel
Utility Models - Standard
Suburban
- Standard
QUANTITY
30 Gallons ( I 1 3 Liters)
42 Gallons
( I59 Liters)
All quantities are for a completely dry tank and are approximate.
Service Replacement Part and Filter
Recommendations
- Gasoline Engines
Engine
VIN
Oil Filter
Air Cleaner Filter
PCV Valve
Spark Plugs”
Fuel Filter
Radiator Cap
5.7L
K
PF1218T A348C
cv774c
CR43TS
GF48 1
RC36
?Four Wheel Drive Vehicle
- use a PF52 oil filter
*Use AC copper-cored resistor type spark plugs
7.4L
N
PF1218
A348C
cv774c
.CR43TS GF48
1
RC36