1995 CHEVROLET TAHOE buttons
[x] Cancel search: buttonsPage 23 of 486
Downloaded from www.Manualslib.com manuals search engine Rear Folding Seat (2-Door Utility Model)
If your vehicle has a rear seat, the seat can be folded flat for more cargo
space. Before folding, make sure nothing
is under or in front of the seat.
When the seat is folded, it will
lay almost flat on the floor.
i
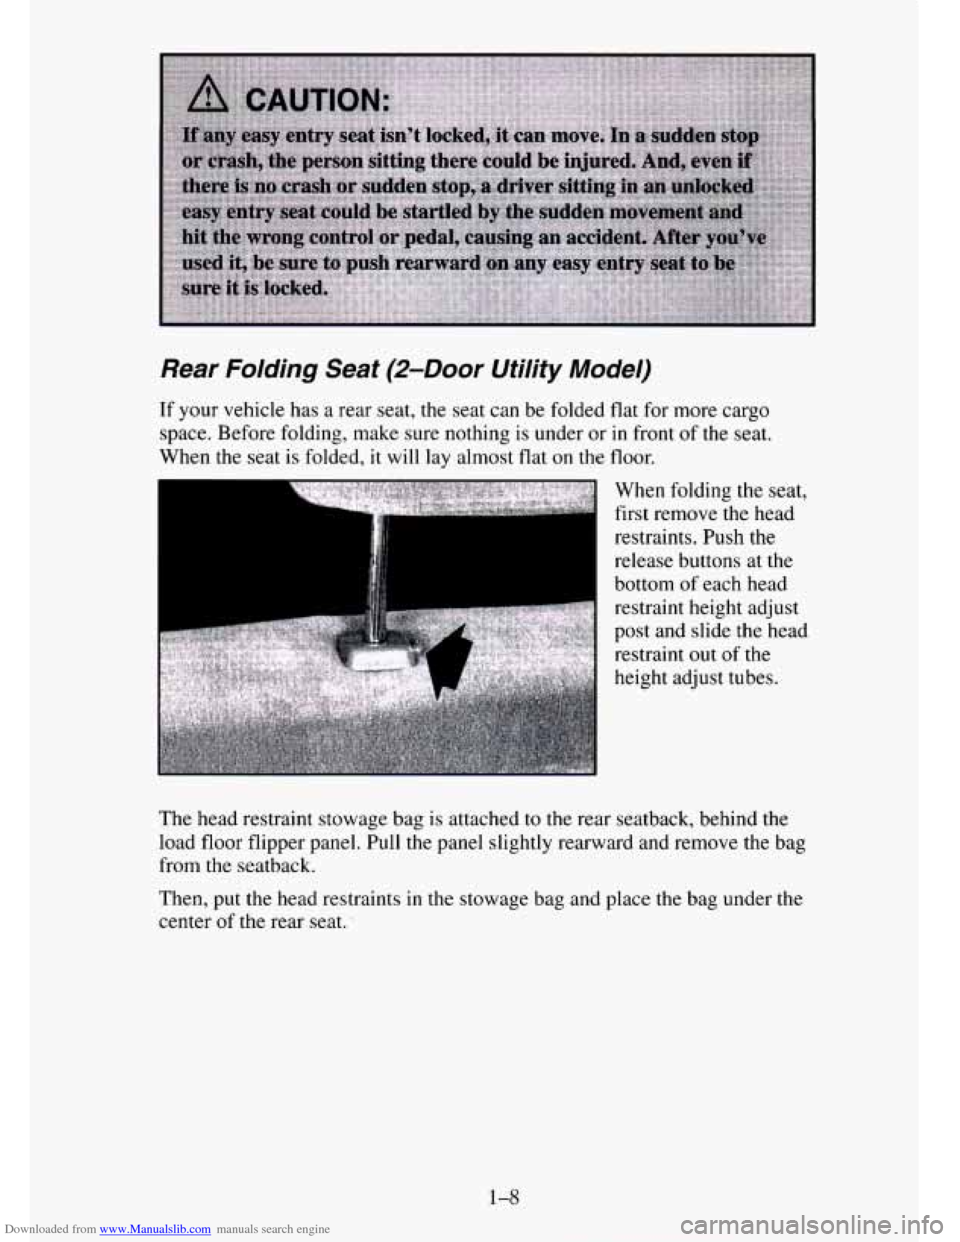
When folding the seat,
first remove the head
restraints.
Push the
release buttons at the
bottom of each head
restraint height adjust
post and slide the head
restraint out
of the
height adjust tubes.
The head restraint stowage bag is attached to the rear seatback, behind the
load
floor flipper panel. Pull the panel slightly rearward and remove the bag
from the seatback.
Then, put the head restraints in
the stowage bag and place the bag under the
center of the rear seat.
1-8
Page 25 of 486
Downloaded from www.Manualslib.com manuals search engine Rear Folding Seat (4-Door Utility Model)
If your vehicle has a 60/40 rear seat, either side may be folded down to give
you more cargo space.
Before folding, place the latch plate portion of the center safety belt in the
center
ann rest. That way, the center safety belt will be out of the way when
the seat is folded and also will easily available for passengers to use when
the seat is returned to the passenger position. Also, make sure that nothing is
under or in front of the seat. When the seat is folded,
it will lay flat on the
floor.
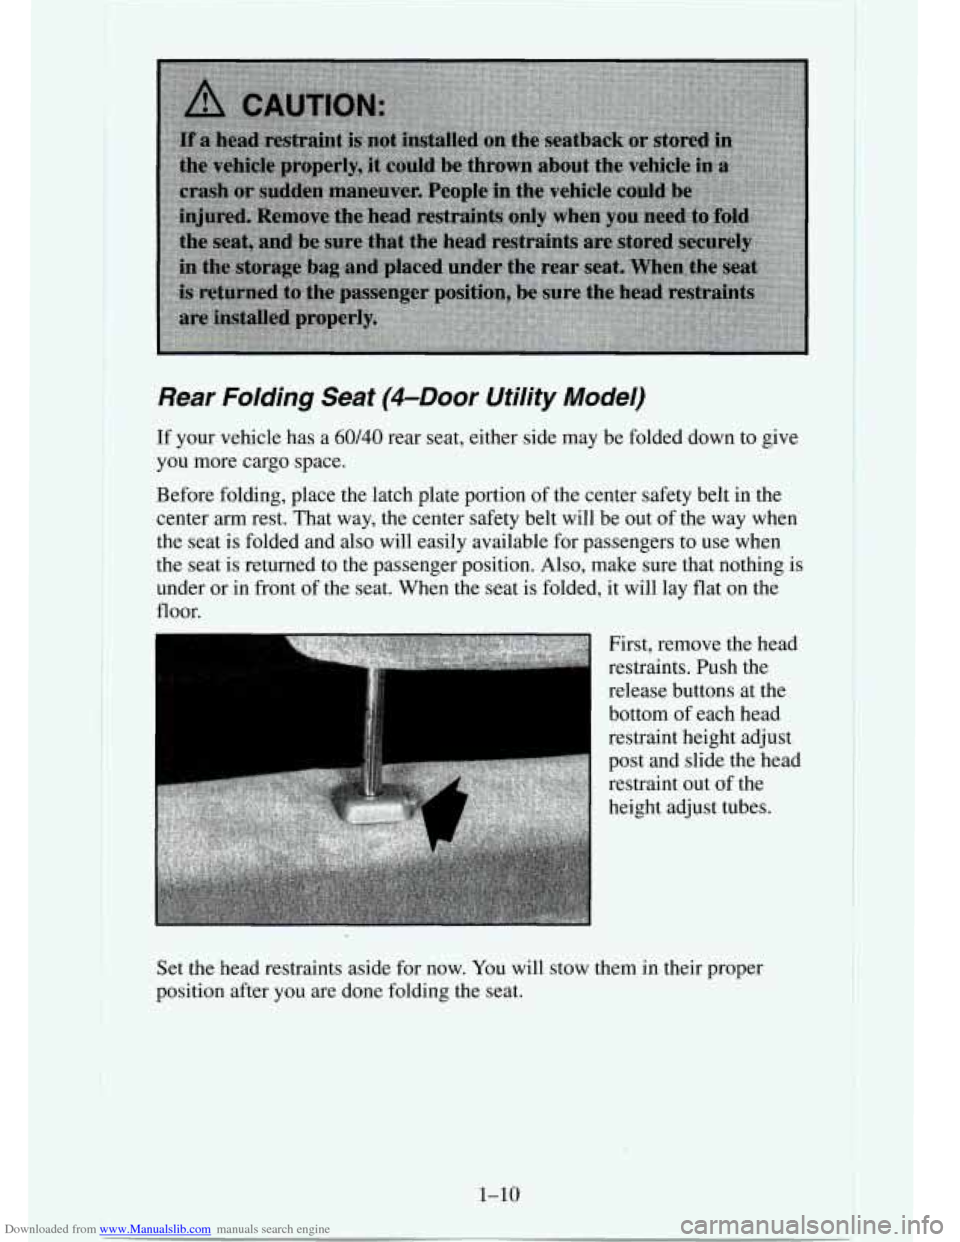
First, remove the head
restraints. Push the
release buttons at the
bottom of each head
restraint height adjust
post and slide the head
restraint out of the
height adjust tubes.
a
Set the head restraints aside for now. You will stow them in their proper
position after
you are done folding the seat.
1-10
Page 28 of 486
Downloaded from www.Manualslib.com manuals search engine Folding Second Seat (Suburban)
If your vehicle has a 60/40 second seat, either side may be folded down to
give you more cargo space. Before folding, push the buckle portion of the
safety belt down into the seat cushion pockets, out of the way. Also, make
sure that nothing is under
or in front of the seat. When the seat is folded, it
will lay flat
on the floor.
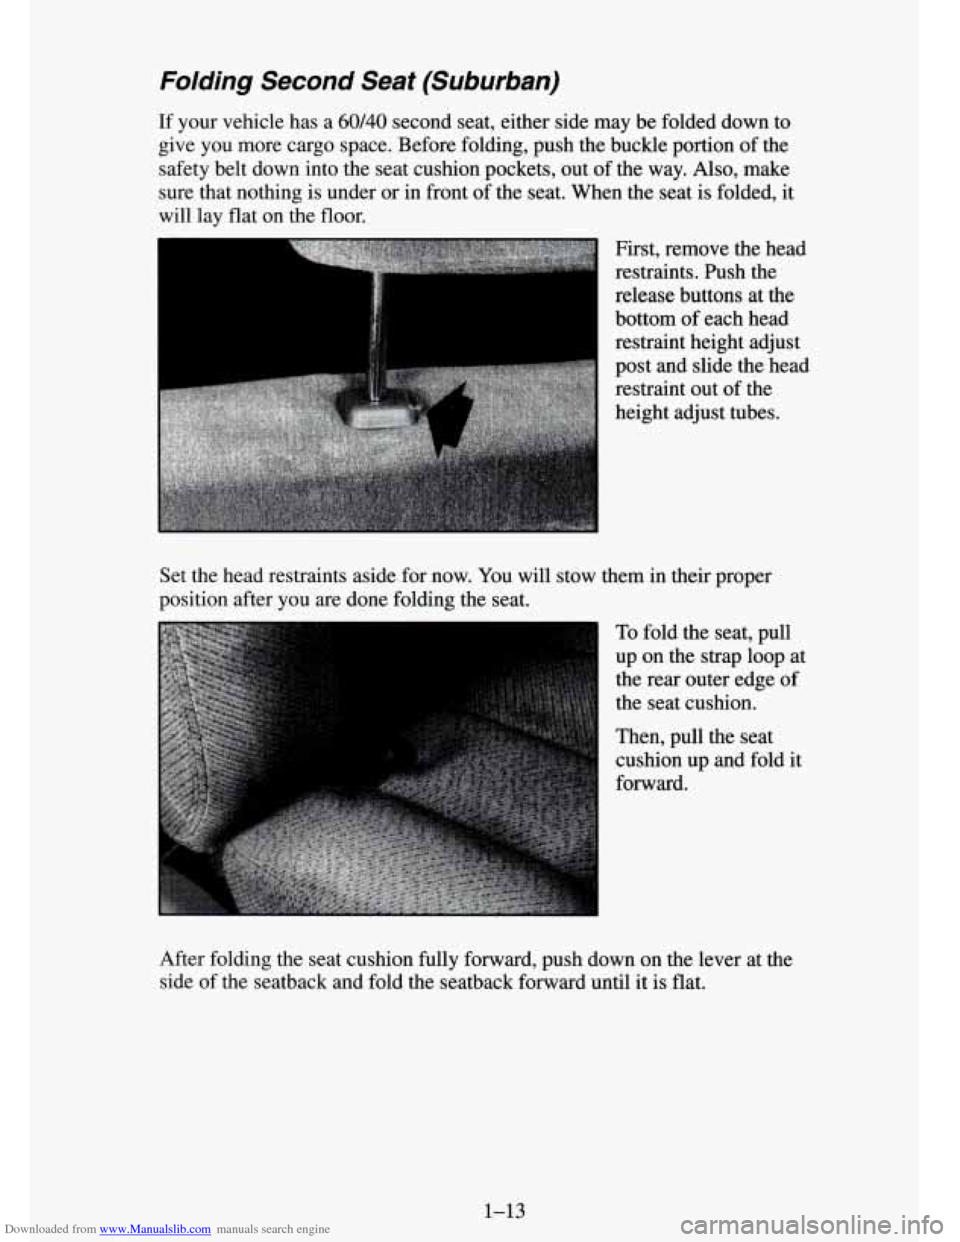
First, remove the head
restraints. Push the
release buttons at the
bottom of each head
restraint height adjust
post and slide the head
restraint out of the
height adjust tubes.
Set the head restraints aside for now. You will stow them in their proper
position after you are done folding the seat.
To fold the seat, pull
up on the strap loop at
the rear outer edge of
the seat cushion.
Then, pull the seat
cushion up and fold it
forward.
After folding the seat cushion fully forward, push down on the lever at the
side of the seatback and fold the seatback forward until it is flat.
1-13
Page 105 of 486
Downloaded from www.Manualslib.com manuals search engine Horn
. . ...
..
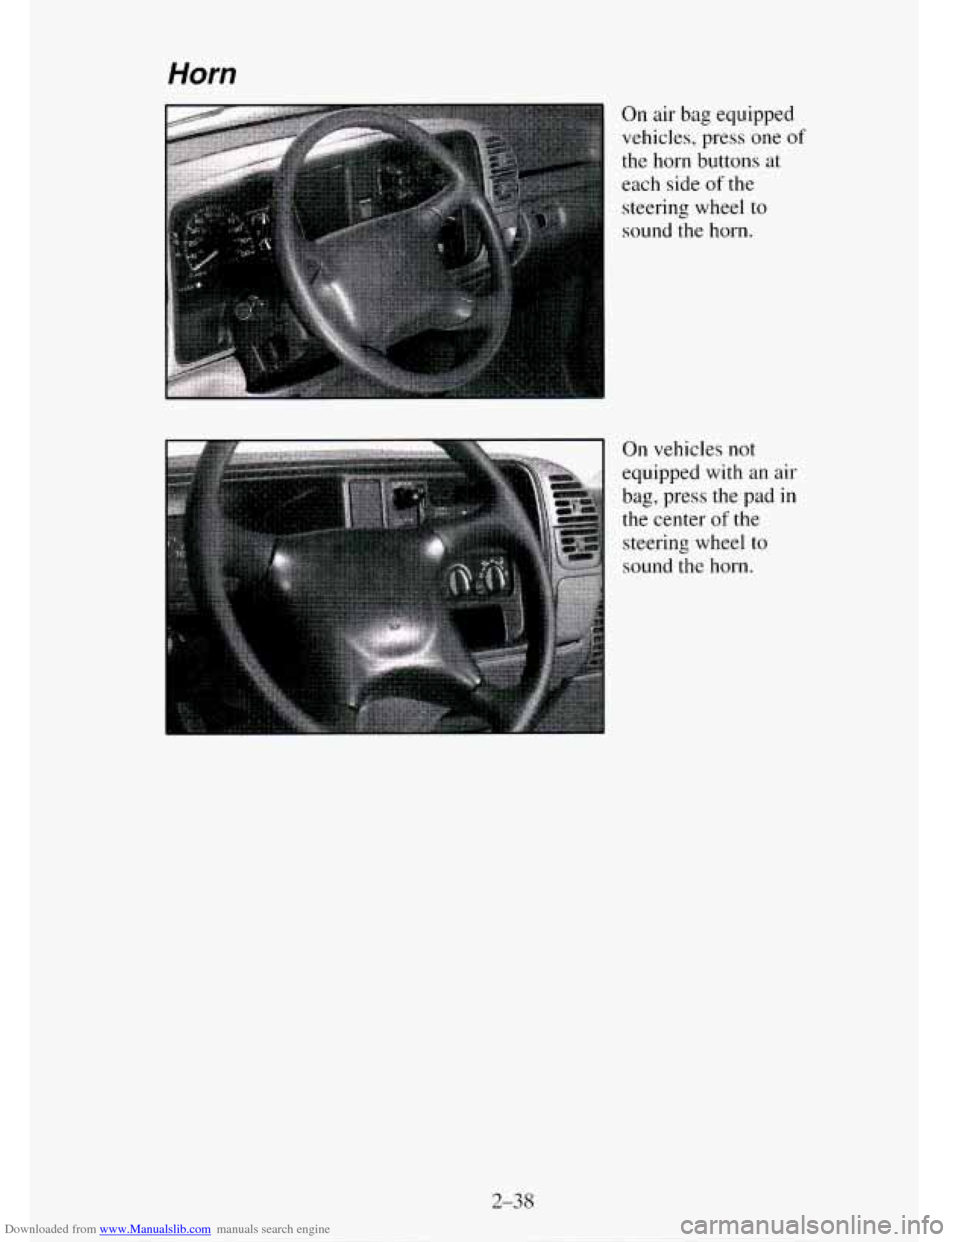
On air bag equipped
vehicles, press one
of
the horn buttons at
each side
of the
steering wheel
to
sound the horn.
On vehicles not
equipped with an air
bag, press the pad
in
the center of the
steering wheel
to
sound the horn.
2-38
Page 165 of 486

Downloaded from www.Manualslib.com manuals search engine Setting the Clock (Audio Systems with AUTO TONE
System)
The buttons used to set the clock are located below the AUTO TONE button
in the bottom right corner of your audio system.
To set the clock:
1. Press and hold HR until the correct hour appears on the display.
2. Press and hold MIN until the correct minute appears on the display.
To display the clock with the ignition off, press the recall button. The time
will be displayed for a few seconds.
There is an initial two-second delay before the clock goes into the time-set
mode.
How to Operate Your ETW AM-FM Stereo Audio
System
This part tells you.how your ETR@AM-FM stereo audio system works.
Upper Knob (VOL-RECALL)
- The upper knob has these four functions:
Turn it to switch the system on and off.
Turn it to control the volume.
Press it to display the time when the ignition is off.
Press it to change between the clock and the radio station frequency
displayed when the radio is
on.
BAL (Balance) - The control ring behind the upper knob adjusts the
left/right speaker balance.
3-10
Page 166 of 486
Downloaded from www.Manualslib.com manuals search engine Lower Knob (TUNE-AM-FM) - The lower knob has two functions:
Turn it to tune in radio stations.
Press it to change between the AM and FM bands.
FADE
- The control ring behind the lower knob adjusts the front/rear
speaker balance.
SEEK
- Press the SEEK b button to cause the receiver to seek the next
higher station.
Press the
4 SEEK button to cause the receiver to seek the next lower
station.
SCAN
- Press the SCAN button to momentarily hear each available
station.
SCAN is a two button function and requires that you also press the
SEEK
b or 4 SEEK. “SCAN” appears in the display while you are in the
SCAN mode.
Press and hold
SEEK b, then press 4 SEEK to cause the receiver to scan
to the next higher station.
Press and hold
4 SEEK, then press SEEK to cause the receiver to scan
to the next lower station.
The receiver
will continue to scan until you press the VOL-RECALL knob
or
both SEEK buttons again.
Pushbuttons
- The four pushbuttons let you return to favorite stations. To
set the pushbuttons for up to fourteen favorite stations (7 AM and 7 FM):
1. Tune in the desired station.
2. Press the SET button. “SET” appears in the display.
3. Within 5 seconds, press one of the four pushbuttons to store the station.
Whenever you press that button, the preset station will return.
Repeat these steps
for each pushbutton.
NOTE:
In addition to the four stations set as above, up to three additional stations
may be preset on each band by pressing two adjoining buttons at the same
time. Then do the following:
1. Tune in the desired station.
2. Press the SET button. “SET” appears in the display momentarily.
3. Within 5 seconds, press any two adjoining pushbuttons at the same
time. (The station
will return when the same two buttons are pressed
again.)
TREBLE
- Slide the TREBLE lever up to increase the treble response. If a
station is weak or noisy, slide the TREBLE lever down to reduce the noise.
BASS - Slide the BASS lever up to increase the bass response. Adjust the
BASS lever to give a pleasing sound to your ear.
3-1 1
Page 168 of 486
Downloaded from www.Manualslib.com manuals search engine P. SCAN (Preset Scan) - Press both SEEK buttons to scan each preset
pushbutton station. The receiver will continue to scan and momentarily stop
at each station until you press either SEEK button or the VOL-RECALL
knob. “PSCAN” appears in the display while you are in the
P. SCAN mode.
Pushbuttons
- The four pushbuttons let you return to favorite stations. To
set the pushbuttons for up to twenty-one favorite stations
(7 AM, 7 FM 1
and 7 FM2):
1. Tune in the desired station.
2. Press the SET button. “SET” appears
in the display.
3. Within 5 seconds, press one of the four pushbuttons to store the station.
Whenever
you press that button, the preset station will return.
Repeat these steps for each pushbutton.
NOTE:
In addition to the four stations set as above, up to three additional stations
may be preset on each band by pressing two adjoining buttons at the same
time. Then do the following:
1. Tune in the desired station.
2. Press the SET button. “SET” appears in the display momentarily.
3. Within 5 seconds, press any two adjoining pushbuttons at the same
time. (The station will return when the same two buttons are pressed
again.)
TREBLE
- Slide the TREBLE lever up to increase the treble response. If a
station is weak or noisy, slide the TREBLE lever down to reduce the noise.
BASS
- Slide the BASS lever up to increase the bass response. Adjust the
BASS lever to give a pleasing sound to your ear.
To Play A Cassette
Your tape player is built to work best with tapes that are 30 to 45 minutes
long on each side. Tapes longer than that are
so thin they may not work well
in this player.
Once the tape is playing, use the controls for volume, balance, fade, treble
and bass just as you do for the radio. A lighted arrow will also appear and
show the direction
of play when a tape is in the player.
FORWARD
- To rapidly advance the tape, press 4 SEEK or SEEK in
the direction that the amber arrow points and the tape will rapidly go
forward until you press the same SEEK button lightly.
REVERSE
- To rapidly reverse the tape, press 4 SEEK or SEEK in
the opposite direction that the amber arrow points and the tape will rapidly
reverse until you press the same
SEEK button lightly.
3-13
Page 170 of 486
Downloaded from www.Manualslib.com manuals search engine RCL (Recall) - Press this button to change between the clock and the radio
station frequency displayed when the radio is on. Also, press this button to
display the time when the ignition is off.
TUNE - Press lightly on the TUNE button to release it from its stored
position. Rotate
the knob clockwise to increase frequency and
counterclockwise to decrease radio frequency. When done, press
the knob
again to return
it to its stored position.
Pushbuttons
- The six pushbuttons let you return to favorite stations. To
set the pushbuttons for up to
18 favorite stations (6 AM, 6 FM1 and 6 FM2):
1. Tune in the desired station.
2. Press AUTO TONE to select the best setting for the type of station
chosen.
3. Press and hold one of the pushbuttons until sound returns
(approximately two seconds). Whenever you press
that button, me
preset station will return.
Repeat these steps for each pushbutton.
SEEK
- Press SEEK to cause the receiver to seek the next higher
station.
Press
4 SEEK to cause the receiver to seek the next lower station.
SCAN
- Press and hold the center of the SEEK button to momentarily hear
each available station. Release the button when SCAN appears
in the
display. The receiver will continue to scan and momentarily stop at each
station
until you press the center of the SEEK button again.
P. SCAN (Preset Scan)
- Press this button to scan each preset pushbutton
station. The receiver will continue to scan and momentarily stop at each
station
until you press either P. SCAN again or one of the six pushbuttons.
The AUTO SCAN setting for
that preset button will also return. The
pushbutton number (PI-P6)
will appear momentarily just before frequency
is displayed.
AUTO TONE
- Press this button to select between five preset equalization
settings and tailor the sound to
the music or voice being heard. Each time
you press the button, the selection
will switch to one of the preset settings of
CLASSIC, NEWS, ROCK, POP, or
JAZZ. The display will show which
mode the receiver is in. To return to the manual mode, press and release
AUTO TONE until
MAN (manual) appears in the display. This will return
the tone adjustment to the TREB and BASS controls. Also, any time a
TREB or BASS control is rotated, tone is automatically set back to MAN
(manual).
3-15