1995 CHEVROLET TAHOE change wheel
[x] Cancel search: change wheelPage 8 of 486
Downloaded from www.Manualslib.com manuals search engine Important Notes to Owners and Drivers
About This Manual
Please keep this manual in your vehicle so it will be there if you ever need it
when you’re on the road. If you sell the vehicle, please leave this manual in
it
so the new owner can use it.
This manual includes the latest information at the time it was printed. We
reserve the right to make changes in the product after that time without
further notice. For vehicles first sold in Canada, substitute the name
“General Motors
of Canada Limited” for Chevrolet Motor Division
whenever it appears in this manual.
About Driving Your Tahoe
As with other vehicles of this type, failure to operate this vehicle correctly
may result in loss
of control or an accident. Be sure to read the
“on-pavement” and “off-road” driving guidelines
in this manual. (See
“Driving Guidelines” and “Off-Road Driving With your Four-wheel Drive
Vehicle”
in the Index.)
WE SUPPORT
VOLUNTARY TECHNICIAN
CERTIFICATION THROUGH
National Institute for
AUTOMOTIVE
EXCELLENCE
iii
Page 92 of 486
Downloaded from www.Manualslib.com manuals search engine While you accelerate, it is normal for the light to go on and off if you
quickly change
the position of the accelerator. Ignore the SHIFT light when
you downshift.
Four-Wheel-Drive Vehicles Only: If your vehicle has four-wheel drive
and
is equipped with a manual transmission, disregard the SHIFT light
when the transfer case
is in 4-LOW.
Manual Transmission Shift Speeds
If your speed drops below 20 mph (32 km/h), or if the engine is not running
smoothly,
you should downshift to the next lower gear. You may have to
downshift two or more gears
to keep the engine running smoothly or for
good performance.
A CAUTION:
If you skip more ;than one gear when you downshift, you could
lose control of your vehicle. And you could injure yourself or
others. Don’t shift down more than one gear when you
downshift.
NOTICE:
If you skip more than one gear when you downshift, or if you
race the engine when you downshift, you can damage the engine,
clutch or transmission.
Locking Rear Axle
If you have this feature, your rear axle can give you additional traction on
snow, mud, ice, sand or gravel. It works like a standard axle most of the
time, but when
one of the rear wheels has no traction and the other does, the
locking feature will allow the wheel with traction to move the vehicle.
2-25
Page 100 of 486
Downloaded from www.Manualslib.com manuals search engine Four- Wheel Drive
If your vehicle has four-wheel drive, you can send your engine’s driving
power to all four wheels for extra traction.
To get the most satisfaction out
of four-wheel drive, you must be familiar with its operation. Read the part
that follows before using four-wheel drive. You should use 2-WHEEL
HIGH (2H) for most normal driving conditions.
NOTICE:
Driving in the 4-WHEEL HIGH (4H) or &WHEEL LOW (4L)
positions for a long time on dry or wet pavement could shorten
the life of your vehicle’s drivetrain.
I NOTICE:
Changing your vehicle’s body height can damage your vehicle’s
suspension, drivetrain, or other vehicle components.
It may also
affect the way your vehicle handles, and the function of your
vehicle’s safety features. Do not change your vehicle’s height
from the original design specifications.
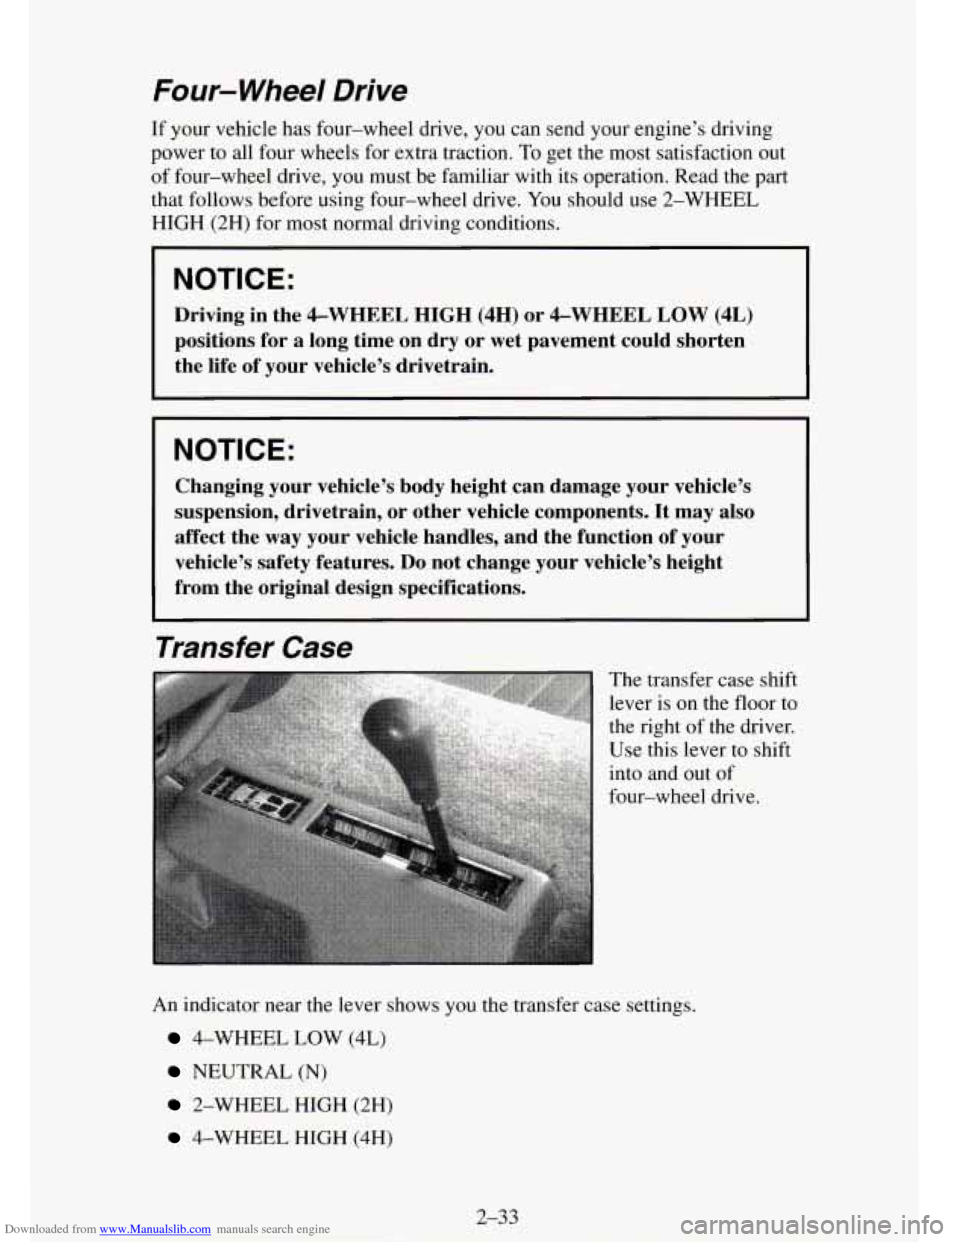
Transfer Case
The transfer case shift
lever is on the floor to
the right of the driver.
Use this lever to shift
into and out
of
four-wheel drive.
An indicator near the lever shows you the transfer case settings.
4-WHEEL LOW (4L)
NEUTRAL (N)
2-WHEEL HIGH (2H)
4-WHEEL HIGH (4H)
2-33
Page 106 of 486
Downloaded from www.Manualslib.com manuals search engine Tilt Wheel (Option)
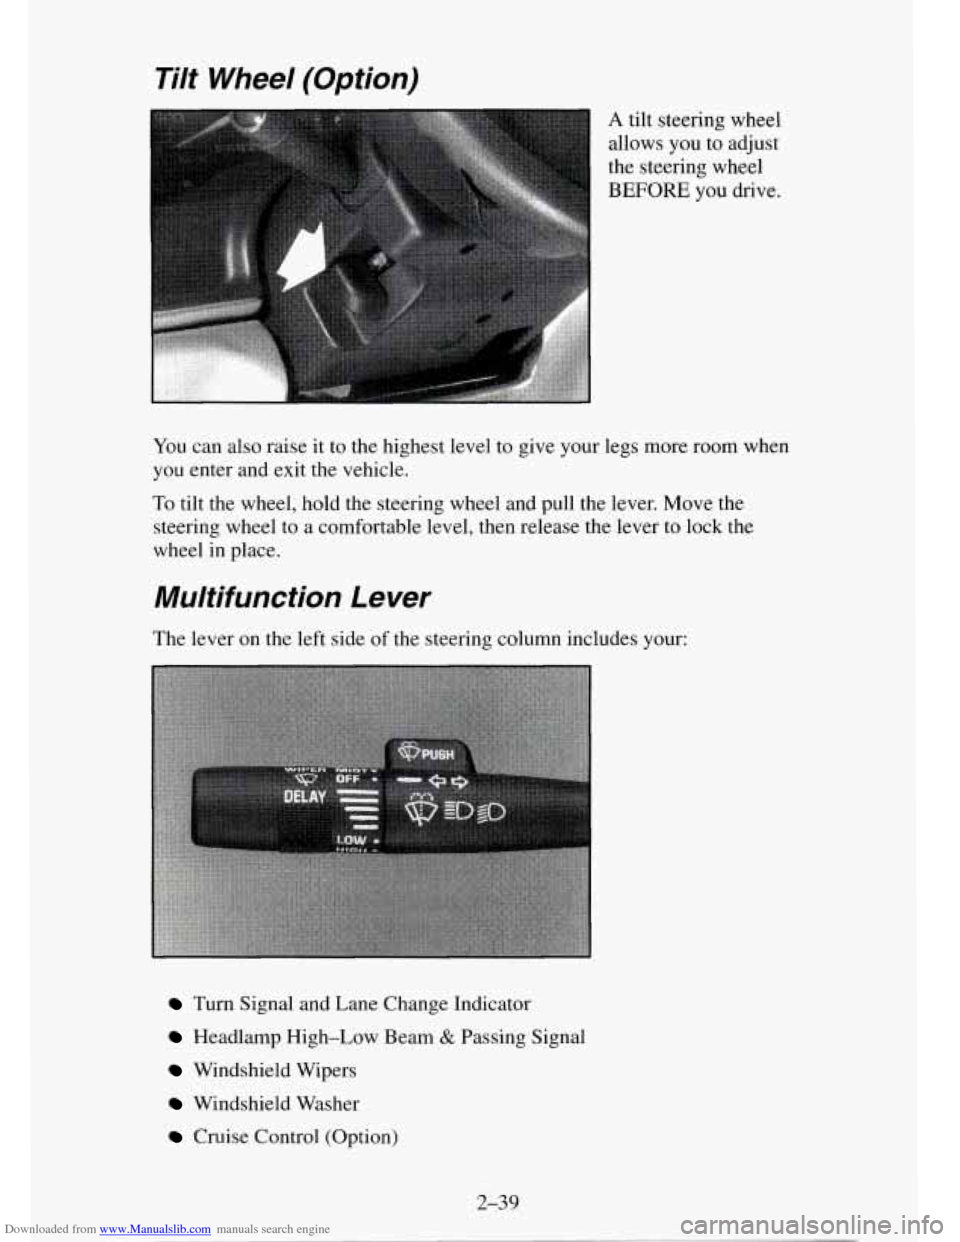
A tilt steering wheel
allows you to adjust
the steering wheel
BEFORE you drive.
You can also raise it to the highest level
to give your legs more room when
you enter and exit the vehicle.
To tilt the wheel, hold the steering wheel and pull the lever. Move the
steering wheel to a comfortable level, then release the lever to lock the
wheel in place.
Multifunction Lever
The lever on the left side of the steering column includes your:
Turn Signal and Lane Change Indicator
Headlamp High-Low Beam & Passing Signal
Windshield Wipers
Windshield Washer
Cruise Control (Option)
2-39
I
Page 111 of 486
Downloaded from www.Manualslib.com manuals search engine When you apply your brakes, the Cruise Control shuts off.
A CAUTION:
Cruise control can be dangerous where you can’t drive safely
at a steady speed. So, don’t use your cruise control on winding
roads or in heavy traffic.
Cruise control can be dangerous on slippery roads. On such
roads, fast changes in tire traction can cause needless wheel
spinning, and you could lose control. Don’t use cruise control
on slippery roads.
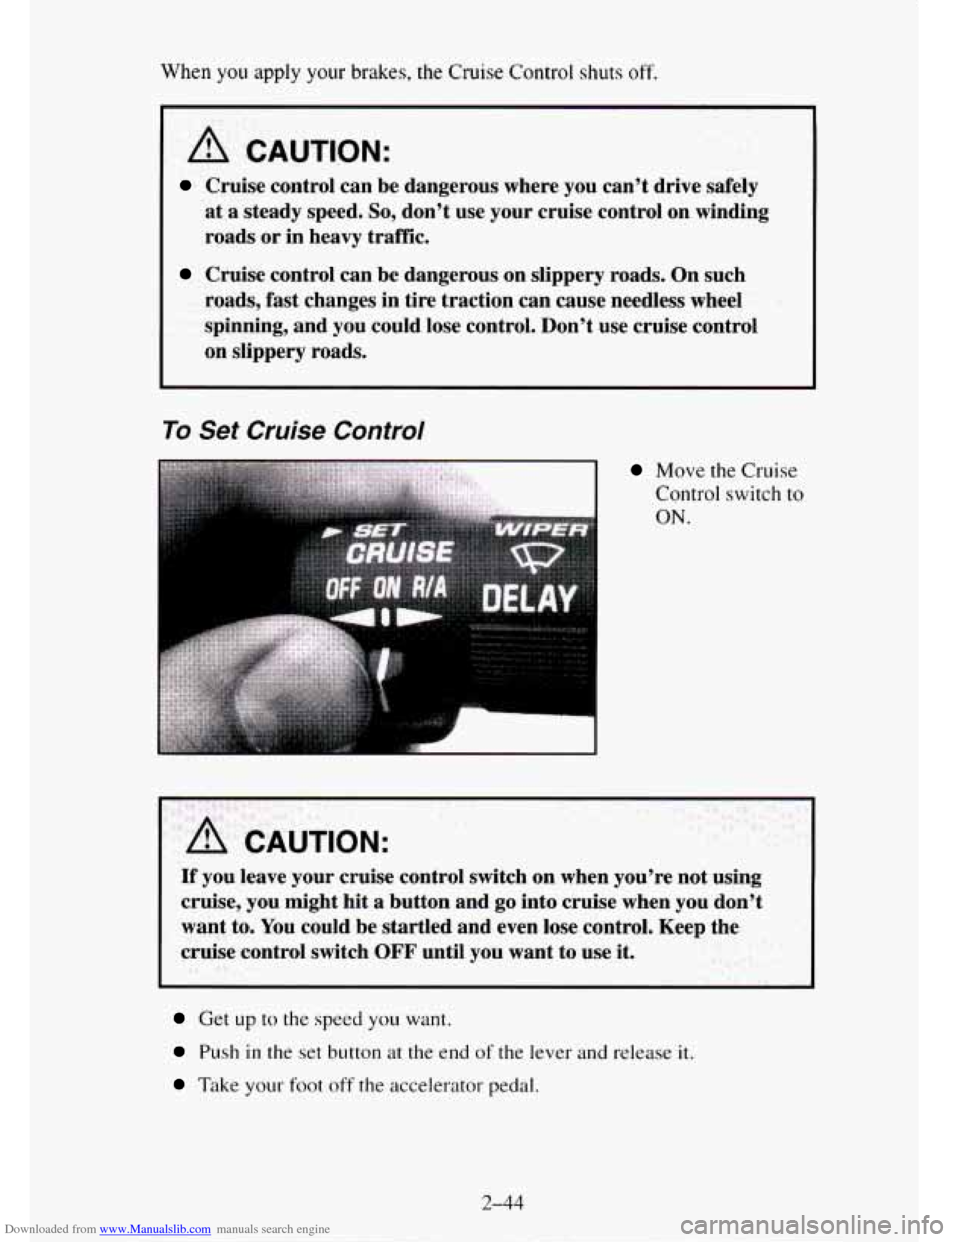
To Set Cruise Control
I Move the Cruise
Control switch
to
ON.
If you leave your cruise control switch on when you’re not using
cruise, you might hit
a button and go into cruise when you don’t
want to. You could be startled and even lose control. Keep the
cruise control switch
OFF until you want to use it.
Get up to the speed you want.
Push in the set button at the end of the lever and release it.
Take your foot off the accelerator pedal.
2-44
Page 117 of 486
Downloaded from www.Manualslib.com manuals search engine When you turn the headlamp switch off, the regular lamps will go off, and
your high-beam headlamps will change to the reduced brightness
of DRL.
To idle your vehicle with the DRL off, set the parking brake. The DRL will
stay
off until you release the parking brake.
Dome Lamps
The dome lamps will come on when you open the doors.
You can also turn the dome lamps on by rotating the thumb wheel, located
next to the parkheadlamp switch knob, all the way up to the second notch.
In this position, the dome lamps will remain
on whether the doors are
opened or closed.
You can
use the dome lamp switch button, located below the parkheadlamp
switch knob, to set the dome lamps
to come on automatically when the doors
are open, or remain
off. To turn the lamps off, press the switch button once.
With the switch button in
this position, the dome lamps will remain off when
the doors are open. To return the lamps to automatic operation, press the switch
button again and return it to the “out” position. With the switch button in this
position, the dome lamps will come on when you open the doors.
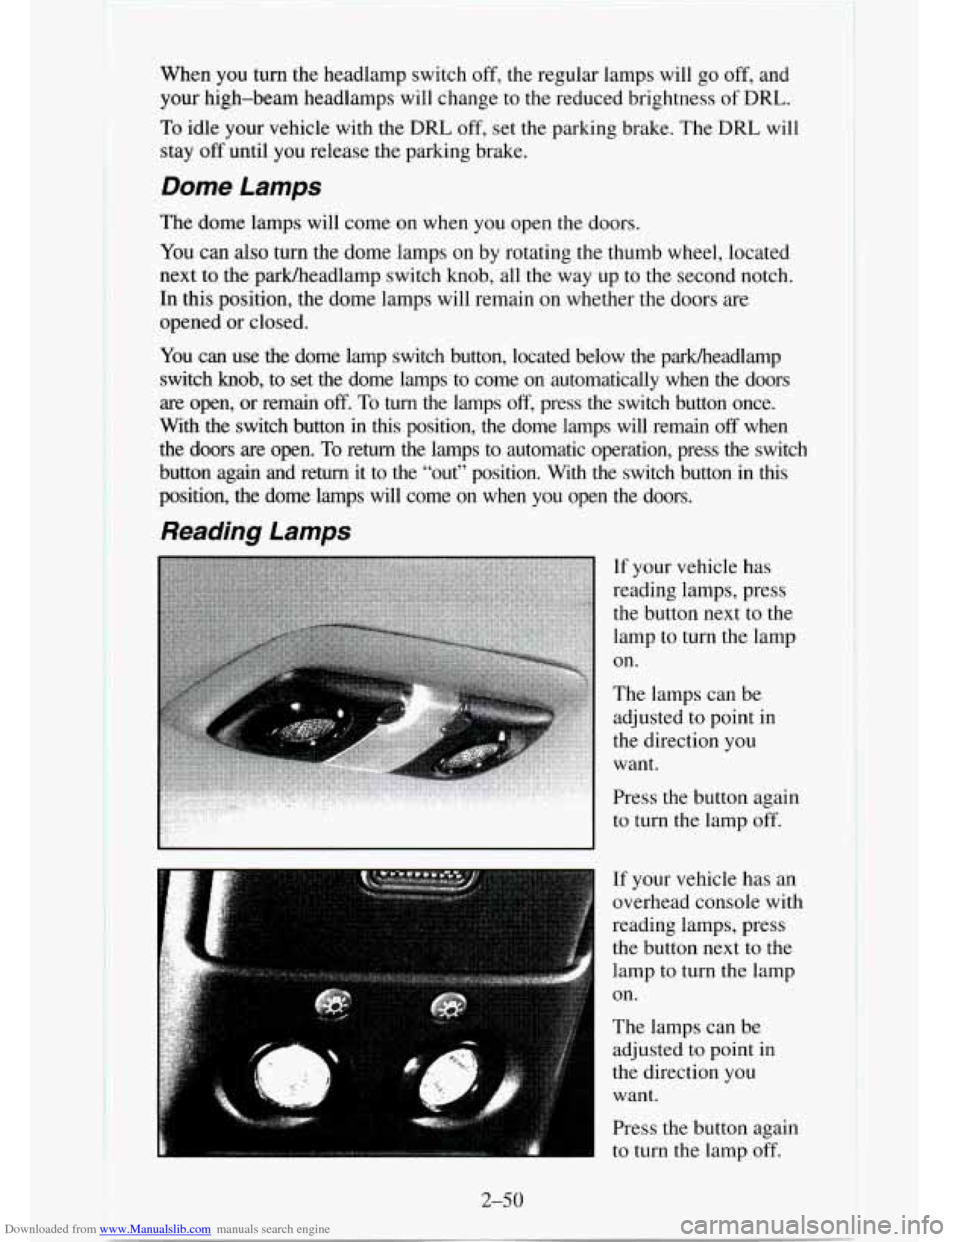
Reading Lamps
If your vehicle has
reading lamps, press
the button next to the
lamp to turn the lamp
on.
The lamps can be
adjusted to point
in
the direction you
want.
Press the button again
to turn the lamp
off.
If your vehicle has an
overhead console with
reading lamps, press
the button next
to the
lamp to turn the lamp
on.
The lamps can be
adjusted
to point in
the direction you
want.
Press the button again
to turn the lamp off.
2-50
Page 189 of 486
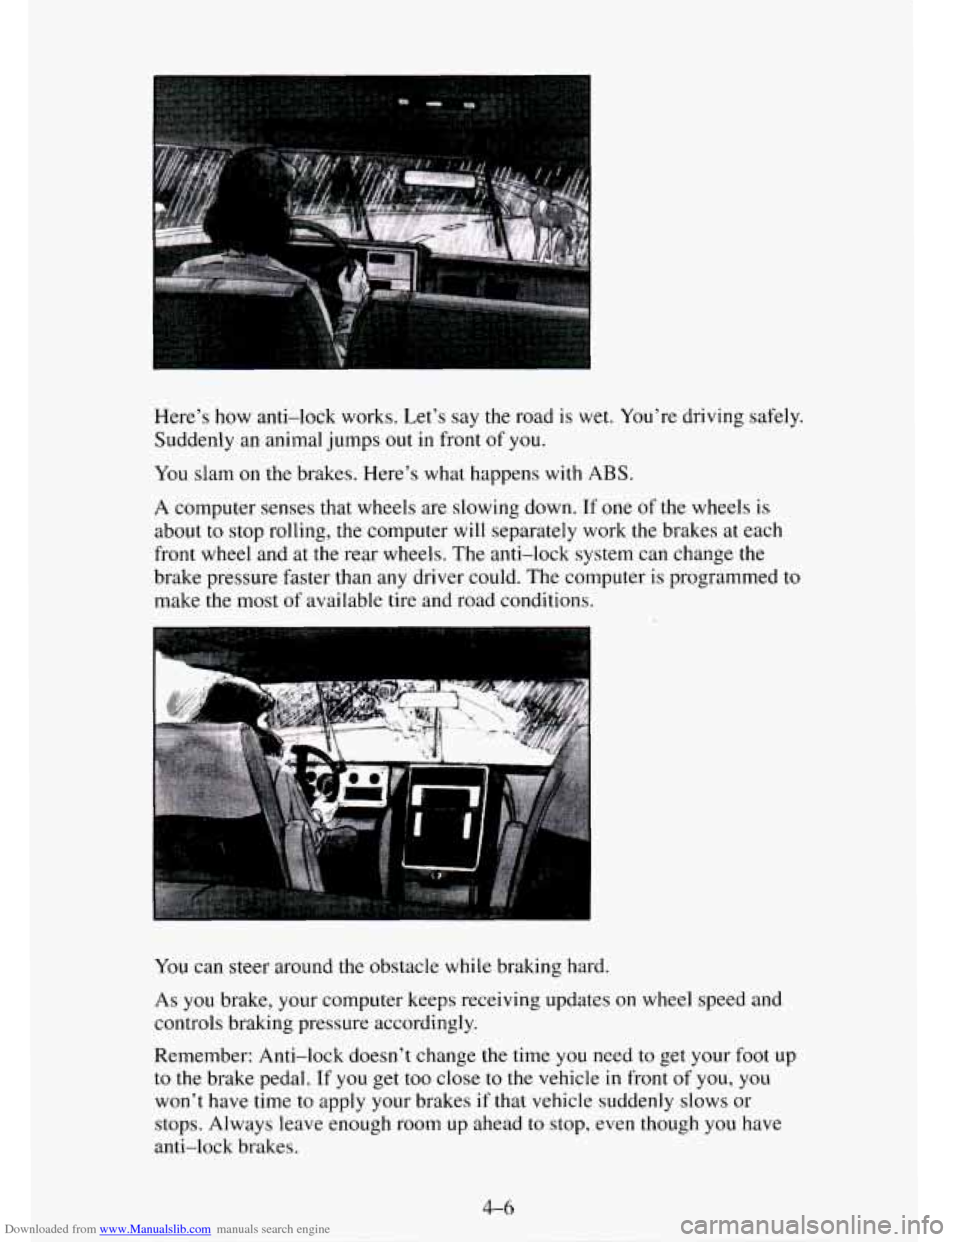
Downloaded from www.Manualslib.com manuals search engine Here’s how anti-lock works. Let’s say the road is wet. You’re driving safely.
Suddenly an animal jumps
out in front of you.
You slam on the brakes. Here’s what happens with ABS.
A computer senses that wheels are slowing down. If one of the wheels is
about to stop rolling, the computer will separately work the brakes at each
front wheel and at
the rear wheels. The anti-lock system can change the
brake pressure faster than any driver could. The computer is programmed to
make the most of available tire and road conditions.
You can steer around the obstacle while braking hard.
As
you brake, your computer keeps receiving updates on wheel speed and
controls braking pressure accordingly.
Remember: Anti-lock doesn’t change the time you need
to get your foot up
to the brake pedal.
If you get too close to the vehicle in front of you, you
won’t have time to apply your brakes if that vehicle suddenly slows or
stops. Always leave enough room up ahead
to stop, even though you have
anti-lock brakes.
Page 190 of 486
Downloaded from www.Manualslib.com manuals search engine To Use Anti-Lock
Don’t pump the brakes. Just hold the brake pedal down and let anti-lock
work for
you. You may feel the brakes vibrate, or you may notice some
noise, but this is normal. On vehicles with four-wheel drive, your anti-lock
brakes work at all times
- whether you are in two-wheel drive or
four-wheel drive.
Braking in Emergencies
Use your anti-lock braking system when you need to. With anti-lock, you
can steer and brake at the same time. In many emergencies, steering can
help
you more than even the very best braking.
Steering
Power Steering
If you lose power steering assist because the engine stops or the system is
not functioning, you can steer but it will take much more effort.
Steering Tips
Driving on Curves
It’s important to take curves at a reasonable speed.
A lot of the “driver lost control” accidents mentioned on the news happen
on curves. Here’s why:
Experienced driver or beginner, each
of us is subject to the same laws of
physics when driving on curves. The traction
of the tires against the road
surface makes it possible for the vehicle to change its path when
you turn
the front wheels.
If there’s no traction, inertia will keep the vehicle going in
the same direction. If you’ve ever tried to steer a vehicle on wet ice, you’ll
understand this.
The traction
you can get in a curve depends on the condition of your tires
and the road surface,
the angle at which the curve is banked, and your
speed. While you’re in a curve, speed is the
one factor you can control.
Suppose you’re steering through a sharp curve. Then you suddenly
accelerate. Both control systems
- steering and acceleration - have to do
their work where the tires meet the road. Adding
the sudden acceleration
can demand
too much of those places. You can lose control.
What should you do if this ever happens? Ease up on the accelerator pedal,
steer the
vehicle the way you want it to go, and slow down.
4-7