1995 CHEVROLET TAHOE ad blue
[x] Cancel search: ad bluePage 11 of 486

Downloaded from www.Manualslib.com manuals search engine Vehicle Damage Warnings
Also, in this book you will find these notices:
NOTICE:
I These mean there is something that could damage your vehicle.
In the notice area, we tell you about something that can damage your
vehicle. Many times, this damage would
not be covered by your warranty,
and it could be costly. But the notice will
tell you what to do to help avoid
the damage.
When you read other manuals, you might
see CAUTION and NOTICE
warnings in different colors or
in different words.
You'll also see warning labels on your vehicle. They use yellow for
cautions, blue for notices and the words CAUTION or NOTICE.
Vehicle Symbols
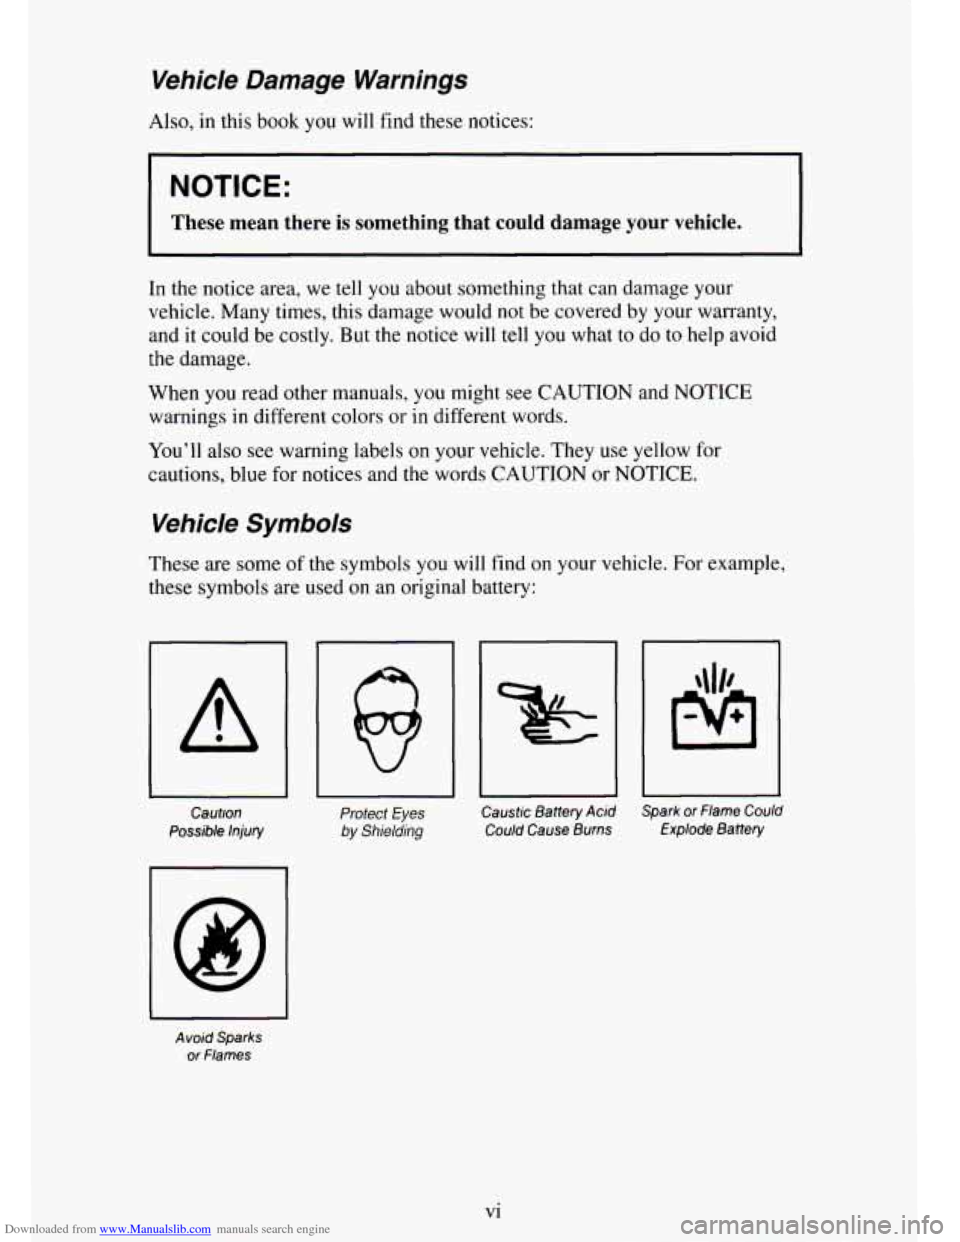
These are some of the symbols you will find on your vehicle. For example,
these symbols are used on an original battery:
Caution
Possible injury
Avoid
Sparks
or Flames
Protect Eyes Caustic Battery Acid Spark or Name Could
by Shielding Could Cause Burns fxpiode Battery
vi
Page 108 of 486

Downloaded from www.Manualslib.com manuals search engine Headlamp High-Low Beam
... ..
Windshield Wipers
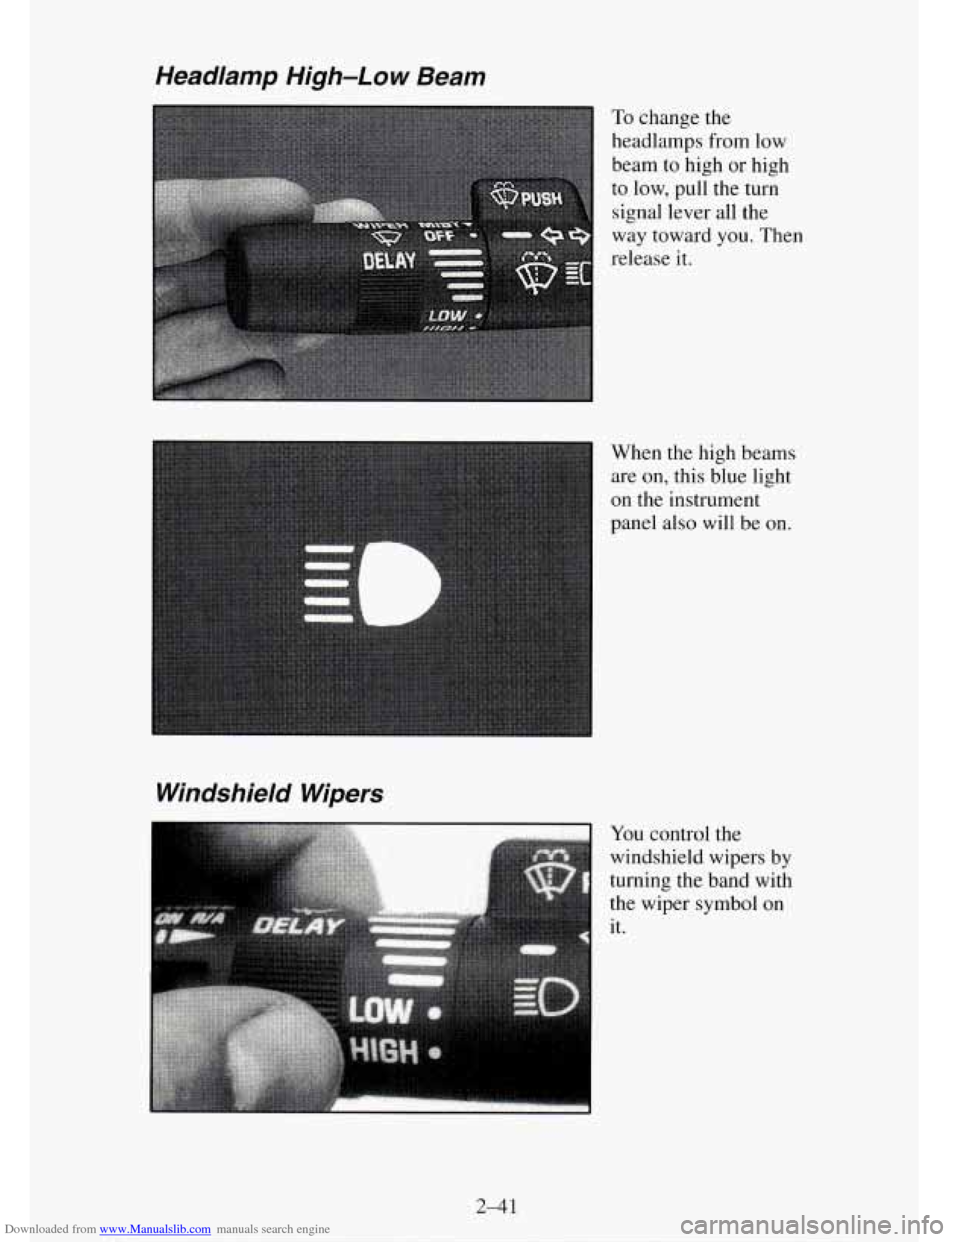
To change the
headlamps from low
beam to high or high
to
low, pull the turn
signal lever all the
way toward
you. Then
release it.
When the high beams
are
on, this blue light
on the instrument
panel also will be on.
You control the
windshield wipers by
turning
the band with
the wiper symbol on it.
2-41
Page 144 of 486

Downloaded from www.Manualslib.com manuals search engine If your vehicle was first sold, when new, in Canada, you will have this green
light on
the instrument panel. It will light whenever the Daytime Running
Lamps
are on. For more details about DRL, see “Headlamps and Vehicle
Lighting’’
in this section.
Shift lndicator Light
This orange light, with the word SHIFT and the upshift arrow, is used on
some models with manual transmissions. Depending on your particular
model, your vehicle may
not have this light. The SHIFT indicator light will
help you get the best fuel economy. See “Shift Light” or “Manual
Transmission Shift Speeds”
in this section for more information.
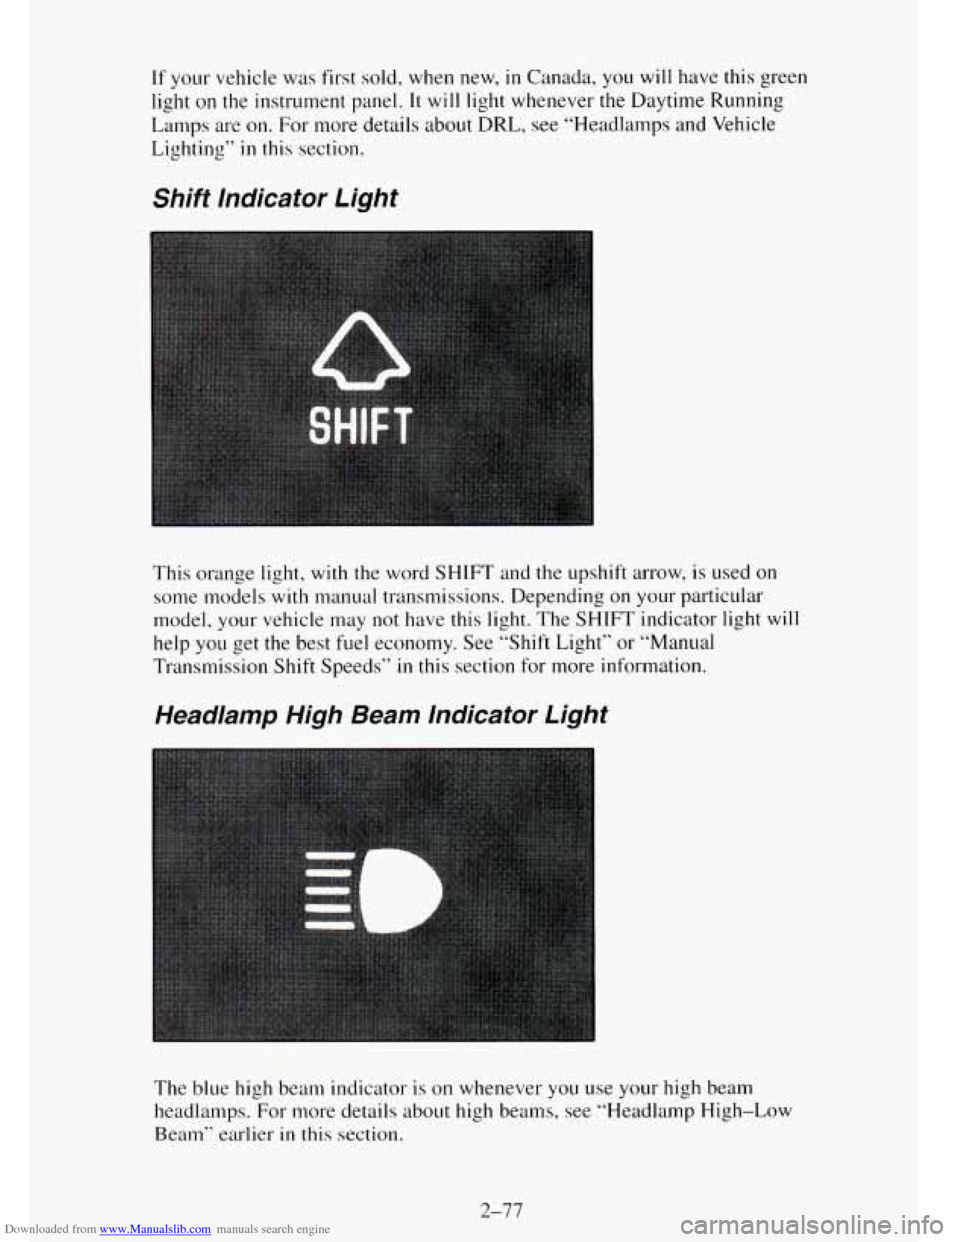
Headlamp High Beam lndicator Light
The blue high beam indicator is on whenever you use your high beam
headlamps. For more details about high beams, see “Headlamp High-Low
Beam” earlier in this section.
2-77
Page 157 of 486

Downloaded from www.Manualslib.com manuals search engine The middle knob on the control panel lets you select the relative
temperature
of the air flowing into the passenger area of your vehicle. This
knob will allow
you to adjust the relative air temperature independently of
the function knob setting. Move the knob right toward the red area for
warmer air. Move the knob left toward the blue area for cooler air.
The right
knob on the control panel changes the heater setting.
VENT
- This setting, with the arrow pointing at the figure’s head, directs
air through the instrument panel vents.
VENT/HEAT
- Use this setting, with the arrows pointing at the figure’s
feet and head, to divide airflow between the heater
floor vents and
instrument panel vents.
HEAT -This setting, with the arrow pointing at the figure’s
feet, directs air
through
the heater floor vents. This setting is useful for cold weather.
HEAT/DEFROST
- Use this setting, with the arrow pointing at the figure’s
feet
and the defroster symbol near the figure’s head, to divide airflow
between the heater floor vents and windshield.
DEFROST -This setting with the defrost symbol directs air through the
windshield defroster vents.
This setting is useful when you have fog or ice
on the windshield.
The control knob
can be placed in any position between two heater settings
to blend the flow of air. The closer the knob is to a setting symbol, the more
the air flow will represent
that symbol’s air flow arrows.
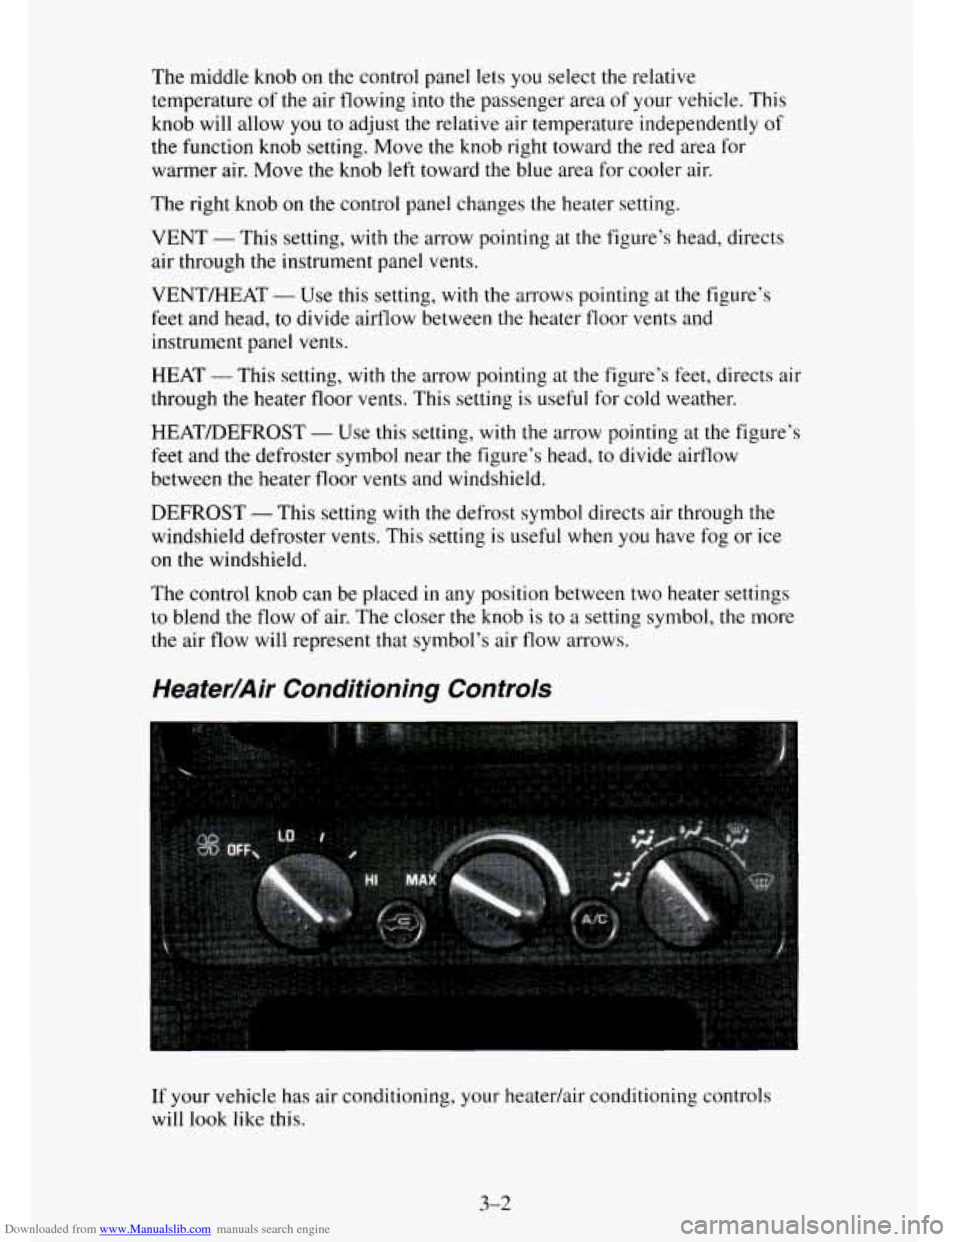
Heater/Air Conditioning Controls
If your vehicle has air conditioning, your heatedair conditioning controls
will look like this.
3-2
Page 158 of 486

Downloaded from www.Manualslib.com manuals search engine Before using your vehicle’s air conditioning, open the windows to clear the
vehicle of
hot air.
Using the recirculation function can also help. See “Recirculation Button”
in this section for more information.
The knob on the left side of the heating system control panel controls the
fan speed. The knob has four speed positions. To increase the air flow, move
the knob toward HI.
To decrease the air flow, move it toward LO. To turn
the fan off, move the knob to
OFF. If you have the air conditioner on,
moving the fan knob to OFF also turns off the A/C compressor.
The middle knob
on the control panel lets you select the relative
temperature
of the air flowing into the passenger area of your vehicle. This
knob will allow
you to adjust the relative air temperature independently of
the function knob setting. Move the knob right toward the red area for
warmer air. Move the knob left toward the blue area for cooler air.
With
A/C on, move the knob to MAX for maximum cooling. This setting
puts the system in the recirculation mode and helps to maximize your air
conditioner’s performance and your vehicle’s fuel economy. This setting
also cools the air
the fastest. After the vehicle’s interior reaches a
comfortable temperature, move
the knob clockwise to place the air
conditioning system
in the normal mode.
The right knob on the control panel changes the heatedair conditioning
setting.
VENT
- This setting, with the arrow pointing at the figure’s head, directs
air through the instrument panel vents.
VENT/HEAT
- Use this setting, with the arrows pointing at the figure’s
feet and head, to divide airflow between the heater floor vents and
instrument panel vents.
HEAT
- This setting, with the arrow pointing at the figure’s feet, directs air
through the heater floor vents. This setting
is useful for cold weather.
HEAT/DEFROST
- Use this setting, with the arrow pointing at the figure’s
feet and the defroster symbol near
the figure’s head, to divide airflow
between the heater floor
vents and windshield.
DEFROST
- This setting with the defrost symbol directs air through the
windshield defroster vents. This setting is useful when
you have fog or ice
on the windshield.
The control knob can be placed in any position between two heatedair
conditioning settings to blend the flow of air. The closer the knob
is to a
setting symbol, the more
the air flow will represent that symbol’s air flow
arrows.
RECIRCULATION BUTTON
- This button, between the left and middle
knobs, allows the air inside your vehicle to be recirculated. This setting
helps to maximize your air conditioner’s performance and your vehicle’s
3-3
Page 161 of 486

Downloaded from www.Manualslib.com manuals search engine To increase and decrease the flow of heated air to the rear floor vents, move
the switch marked REAR HEAT to the blower speed you want.
The knob has three speed positions.
To increase the flow of heated air, move
the switch toward HIGH.
To decrease the flow of heated air, move it toward
LOW. To turn the fan off, move the switch to OFF.
Rear Air Conditioning and Rear Heater
If your vehicle has a rear air conditioning and rear heater system
combination, controls are provided
to regulate the temperature, location and
speed of the air flow.
To adjust the air
temperature, turn the
temperature knob
on
the right side of the
control panel.
For warmer air, turn the knob clockwise toward the red side, and for cooler
air, turn the knob counterclockwise toward the blue side.
To regulate the air flow location, adjust the center knob on the control panel
Turn the knob counterclockwise for floor vent air flow or clockwise for
headliner vent air flow. Generally, the upper vents are used for air
conditioning and the floor vents for heating. The control knob can be set
to
any blend setting.
To adjust the air flow speed, turn the fan control knob on the left side of the
control panel
to the desired blower setting.
To activate
the rear control, move the fan knob on the front control to
REAR
CNTL.
3-6