Page 229 of 486
Downloaded from www.Manualslib.com manuals search engine 2. Have someone place chocks under the trailer wheels.
3. When the wheel chocks are in place, release the regular brakes until the
chocks absorb the load.
4. Re-apply the regular brakes. Then apply your parking brake, and then
shift to
PARK (P), or REVERSE (R) for a manual transmission.
5. If you have a four-wheel-drive vehicle, be sure the transfer case is in a
drive gear-not
in NEUTRAL (N).
6. Release the regular brakes.
When You Are Ready to Leave After Parking on a Hill
1. Apply your regular brakes and hold the pedal down while you:
Start your engine;
Shift into a gear; and
Release the parking brake.
2. Let up on the brake pedal.
3. Drive slowly until the trailer is clear of the chocks.
4. Stop and have someone pick up and store the chocks.
Page 236 of 486

Downloaded from www.Manualslib.com manuals search engine NOTICE:
Ignoring these steps could result in costly damage to your
vehicle that wouldn’t be covered by your vehicle warranty.
Trying to start your vehicle by pushing or pulling it could
damage your vehicle, even if you have a manual transmission.
And if you have an automatic transmission, it won’t start that
way.
To Jump Start Your Vehicle
Check the other vehicle. It must have a 12-volt battery with a negative
ground system.
NOTICE:
If the other system isn’t a 12-volt system with a negative
ground, both vehicles can be damaged.
If you have a diesel engine vehicle with two batteries (or more), you
should know before you begin that, especially
in cold weather, you may
not be able to get enough power from a single battery in another
vehicle
to start your diesel engine.
If your vehicle has more than one battery, use the battery that’s on the
passenger side
of the vehicle - this will reduce electrical resistance.
Get the vehicles close enough so the jumper cables can reach, but be
sure the vehicles aren’t touching each other. If they are, it could cause a
ground connection you don’t want. You wouldn’t be able to start your
vehicle, and the bad grounding could damage the electrical systems.
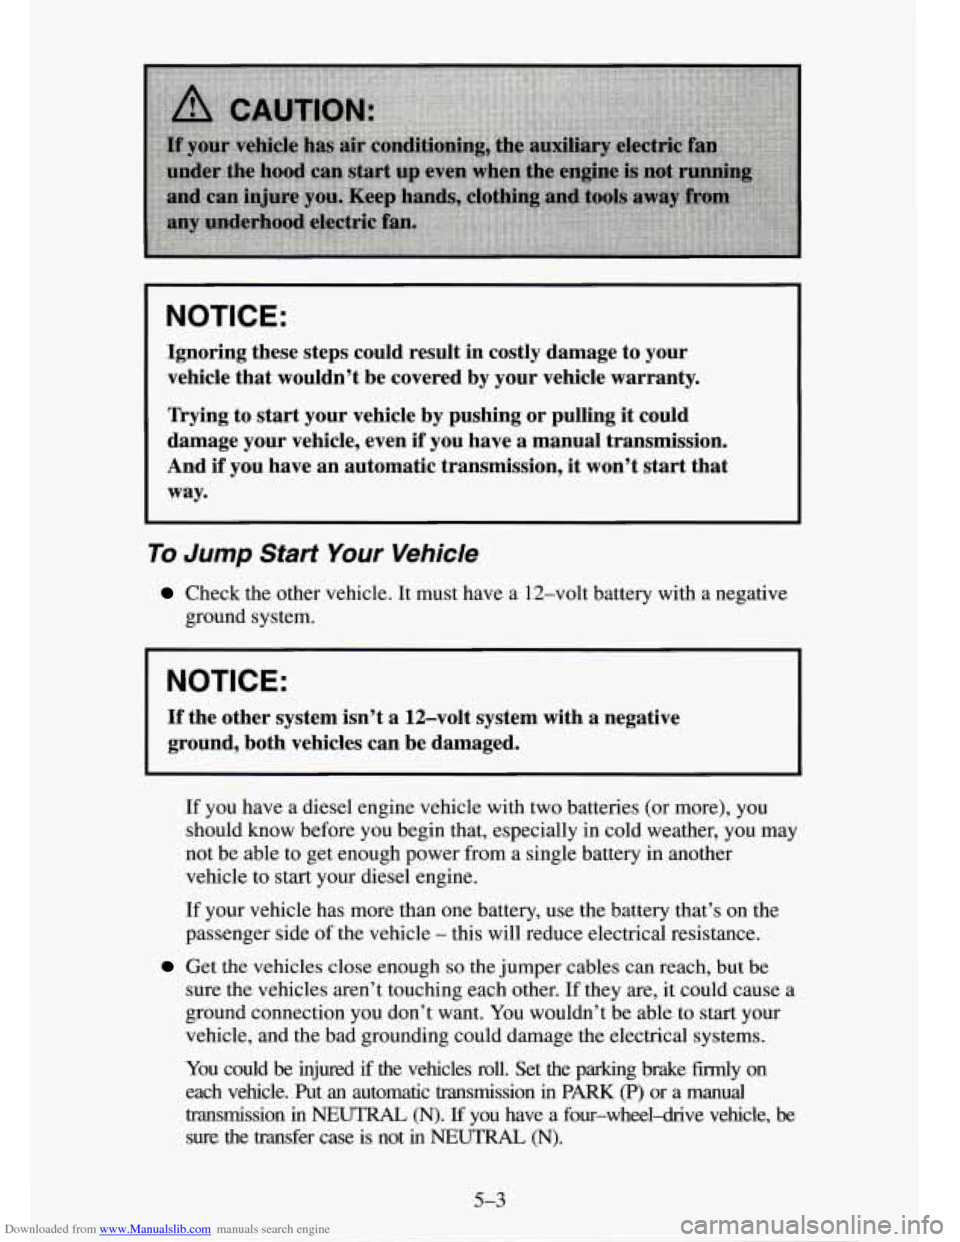
You could
be injured if the vehicles roll. Set the parking brake firmly on
each vehicle. Put
an automatic transmission in PARK (P) or a manual
transmission in NEUTRAL (N). If you have a four-wheel-drive vehicle, be
sure the transfer case is not in NEUTRAL (N).
5-3
Page 240 of 486

Downloaded from www.Manualslib.com manuals search engine To wing Your Vehicle
Try to have your GM dealer or a professional towing service tow your
vehicle. They can provide the right equipment and know how
to tow it
without damage.
If your vehicle has been changed since it was factory-new, by adding such
things like fog lamps, aero skirting, or special tires and wheels, these things
could be damaged during towing.
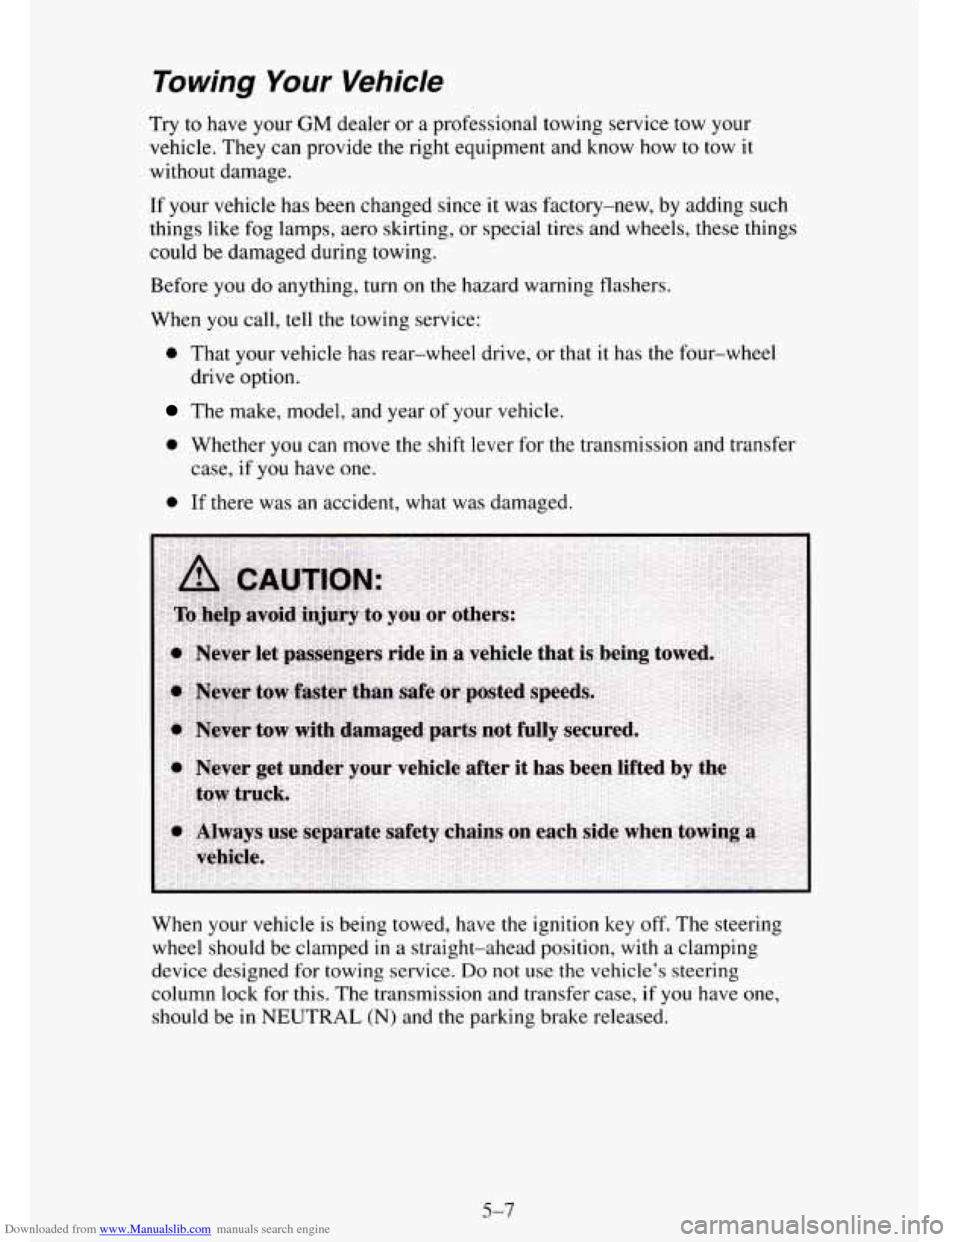
Before you do anything, turn on the hazard warning flashers.
When you call, tell the towing service:
0 That your vehicle has rear-wheel drive, or that it has the four-wheel
drive option.
The make, model, and year of your vehicle.
0 Whether you can move the shift lever for the transmission and transfer
case, if you have one.
0 If there was an accident, what was damaged.
When your vehicle is being towed, have
the ignition key off. The steering
wheel should be clamped
in a straight-ahead position, with a clamping
device designed for towing service.
Do not use the vehicle’s steering
column
lock for this. The transmission and transfer case, if you have one,
should be in NEUTRAL (N) and the parking brake released.
5-7
Page 241 of 486
Downloaded from www.Manualslib.com manuals search engine Towing From the Front
If you have a two-wheel drive vehicle, don’t have your vehicle towed on
the rear wheels, unless you must. If the vehicle must be towed
on the rear
wheels, don’t go more than
35 mph (56 km/h) or farther than 50 miles (80
km) or your transmission will be damaged. If these limits must be exceeded,
then
the rear wheels have to be supported on a dolly.
If your vehicle has the four-wheel drive option and the transfer case is
engaged, a dolly must be used under the rear wheels when towing from the
front.
5-8
.
Page 257 of 486

Downloaded from www.Manualslib.com manuals search engine h
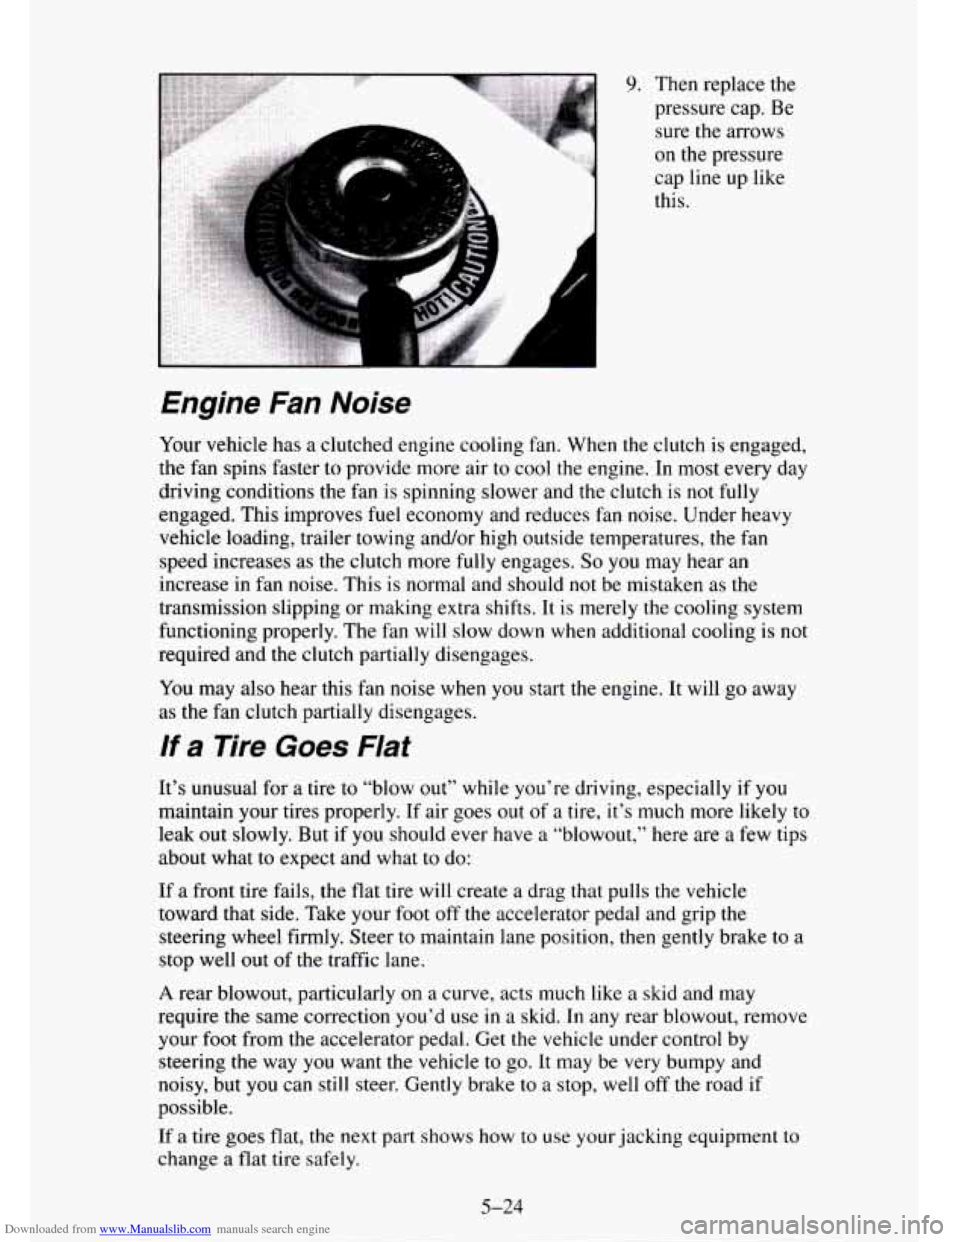
9. Then replace the
pressure cap. Be
sure the arrows
on the pressure
cap line up like
this.
Engine Fan Noise
Your vehicle has a clutched engine cooling fan. When the clutch is engaged,
the fan spins faster to provide more air to cool the engine. In most every day
driving conditions the fan
is spinning slower and the clutch is not fully
engaged. This improves fuel economy and reduces fan noise. Under heavy
vehicle loading, trailer towing and/or high outside temperatures,
the fan
speed increases as the clutch more
fully engages. So you may hear an
increase in fan noise. This is normal and should not be mistaken as the
transmission slipping
or making extra shifts. It is merely the cooling system
functioning properly. The fan will slow down when additional cooling is not
required and the clutch partially disengages.
You may also hear this fan noise when you start the engine. It will go away
as the fan clutch partially disengages.
If a Tire Goes Flat
It’s unusual for a tire to “blow out” while you’re driving, especially if you
maintain your tires properly. If air goes out of a tire, it’s much more likely to
leak out slowly. But if you should ever have a “blowout,” here are a few tips
about what
to expect and what to do:
If a front tire fails, the flat tire will create a drag that pulls the vehicle
toward that side. Take your foot off the accelerator pedal and grip the
steering wheel firmly. Steer
to maintain lane position, then gently brake to a
stop well out of the traffic lane.
A rear blowout, particularly on a curve, acts much like a skid and may
require the same correction you’d
use in a skid. In any rear blowout, remove
your foot from
the accelerator pedal. Get the vehicle under control by
steering the way
you want the vehicle to go. It may be very bumpy and
noisy, but you can still steer. Gently brake to a stop, well
off the road if
possible.
If a tire goes flat, the next part shows how to use your jacking equipment to
change a flat tire safely.
5-24
Page 258 of 486
Downloaded from www.Manualslib.com manuals search engine Changing a Flat Tire
If a tire goes flat, avoid further tire and wheel damage by driving slowly to a
level place. Turn on your hazard warning flashers.
A. Flat Tire
B . Blocked Tire
The following steps will tell you how to use the jack and change a tire.
The equipment you’ll need is located in the rear cargo area. You’ll also find
your spare tire there.
5-25
Page 264 of 486
Downloaded from www.Manualslib.com manuals search engine Spare Tire - 4-DOOr Utility Model
2
8
7
6
1. Hoist Assembly
2. Ratchet
3. Wheel Wrench
4. Hoist Shaft
5. Valve Stem, Pointed Down
6. Spare Tire
7. Retainer
8. Hoist Cable
The &door utility spare tire
is stowed under the vehicle in an under-body
carrier.
Remember, never remove or restow a tire from an under-body carrier while
the vehicle
is supported only by a jack.
5-3 1
Page 266 of 486
Downloaded from www.Manualslib.com manuals search engine I .. Attach the ratchet to
the wheel wrench with
the
DOWN marking
facing
you.
Put the other end of the wheel wrench through the rear bumper access hole,
located
at the passenger side edge of the license plate. Be sure the wheel
wrench connects
into the hoist shaft.
I
Turn the ratchet
counterclockwise to
lower the spare tire.
Keep turning the
ratchet
until the spare
tire can be pulled out
from under the
vehicle.
When the tire has been lowered,
tilt the retainer at the end of the cable and
pull
it through the wheel opening.
5-33