1995 CHEVROLET TAHOE wheel
[x] Cancel search: wheelPage 115 of 486

Downloaded from www.Manualslib.com manuals search engine To Erase Speed Memory
When you turn off the Cruise Control or the ignition, your Cruise Control
set speed memory
is erased.
Headamps and Vehicle Lighting
Your parWheadlamp
switch
is on the
drivers side
of your
instrument panel.
Rotate
the switch knob clockwise to the park lamp symbol to turn on:
Parking Lamps
Sidemarker Lamps
Clearance Lamps (if you have them}
Taillamps
License Plate Lamps
0 Instrument Panel Lights
0 Transfer Case Shift Indicator Light (four-wheel drive vehicles)
Rotate
the switch knob clockwise again to the master lighting symbol to
turn on all the lamps and lights listed above as well as the headlamps.
Rotate the switch counterclockwise to the off sylnbol to turn
off your lamps
and lights.
Rotate the thumb wheel
next to the switch knob up to adjust instrument
panel lamps. Rotate the thumb wheel up to the first notch to return
the radio
display and gearshift indicator LED display
to full intensity when the
headlamps or parklamps are on.
You can switch your headlamps from high to low beam by pulling on the
turn signal/high beam lever.
A circuit breaker protects your headlamps. If you have an electrical
overload, your headlamps
will flicker on and off. Have your headlamp
wiring checked right away
if this happens.
2-48
Page 116 of 486
Downloaded from www.Manualslib.com manuals search engine Headlamps-On Reminder
A buzzer will sound when your headlamps are turned on and your ignition is
in OFF, LOCK or ACC. If you need to use your headlamps when the ignition
switch is
in OFF, LOCK or ACC, the buzzer can be turned off by turning the
thumb wheel next to the park/headlamp switch
all the way down.
Daytime Running Lamps (DRL) Indicator Light
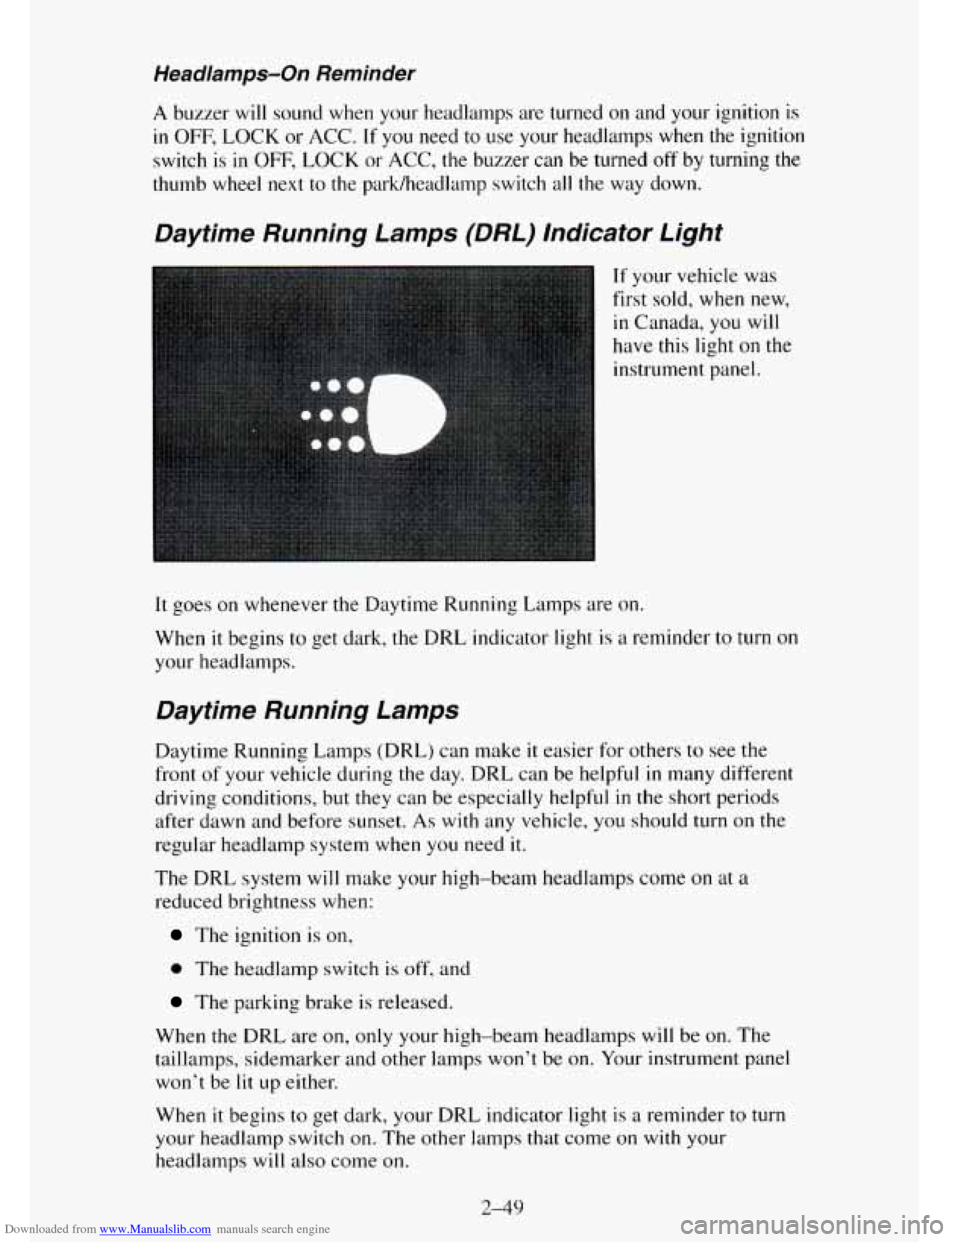
If your vehicle was
first sold, when new,
in Canada, you will
have this light on the
instrument panel.
It goes on whenever the Daytime Running Lamps are on.
When it begins to get dark,
the DRL indicator light is a reminder to turn on
your headlamps.
Daytime Running Lamps
Daytime Running Lamps (DRL) can make it easier for others to see the
front
of your vehicle during the day. DRL can be helpful in many different
driving conditions, but they can be especially helpful
in the short periods
after dawn and before sunset. As
with any vehicle, you should turn on the
regular headlamp system when you need it.
The DRL system will make your high-beam headlamps come
on at a
reduced brightness when:
The ignition is on,
0 The headlamp switch is off, and
The parking brake is released.
When the DRL are on, only your high-beam headlamps will be on. The
taillamps, sidemarker and other lamps won’t be
on. Your instrument panel
won’t be
lit up either.
When
it begins to get dark, your DRL indicator light is a reminder to turn
your headlamp switch on. The other lamps that come on with your
headlamps will also come on.
2-49
Page 117 of 486
Downloaded from www.Manualslib.com manuals search engine When you turn the headlamp switch off, the regular lamps will go off, and
your high-beam headlamps will change to the reduced brightness
of DRL.
To idle your vehicle with the DRL off, set the parking brake. The DRL will
stay
off until you release the parking brake.
Dome Lamps
The dome lamps will come on when you open the doors.
You can also turn the dome lamps on by rotating the thumb wheel, located
next to the parkheadlamp switch knob, all the way up to the second notch.
In this position, the dome lamps will remain
on whether the doors are
opened or closed.
You can
use the dome lamp switch button, located below the parkheadlamp
switch knob, to set the dome lamps
to come on automatically when the doors
are open, or remain
off. To turn the lamps off, press the switch button once.
With the switch button in
this position, the dome lamps will remain off when
the doors are open. To return the lamps to automatic operation, press the switch
button again and return it to the “out” position. With the switch button in this
position, the dome lamps will come on when you open the doors.
Reading Lamps
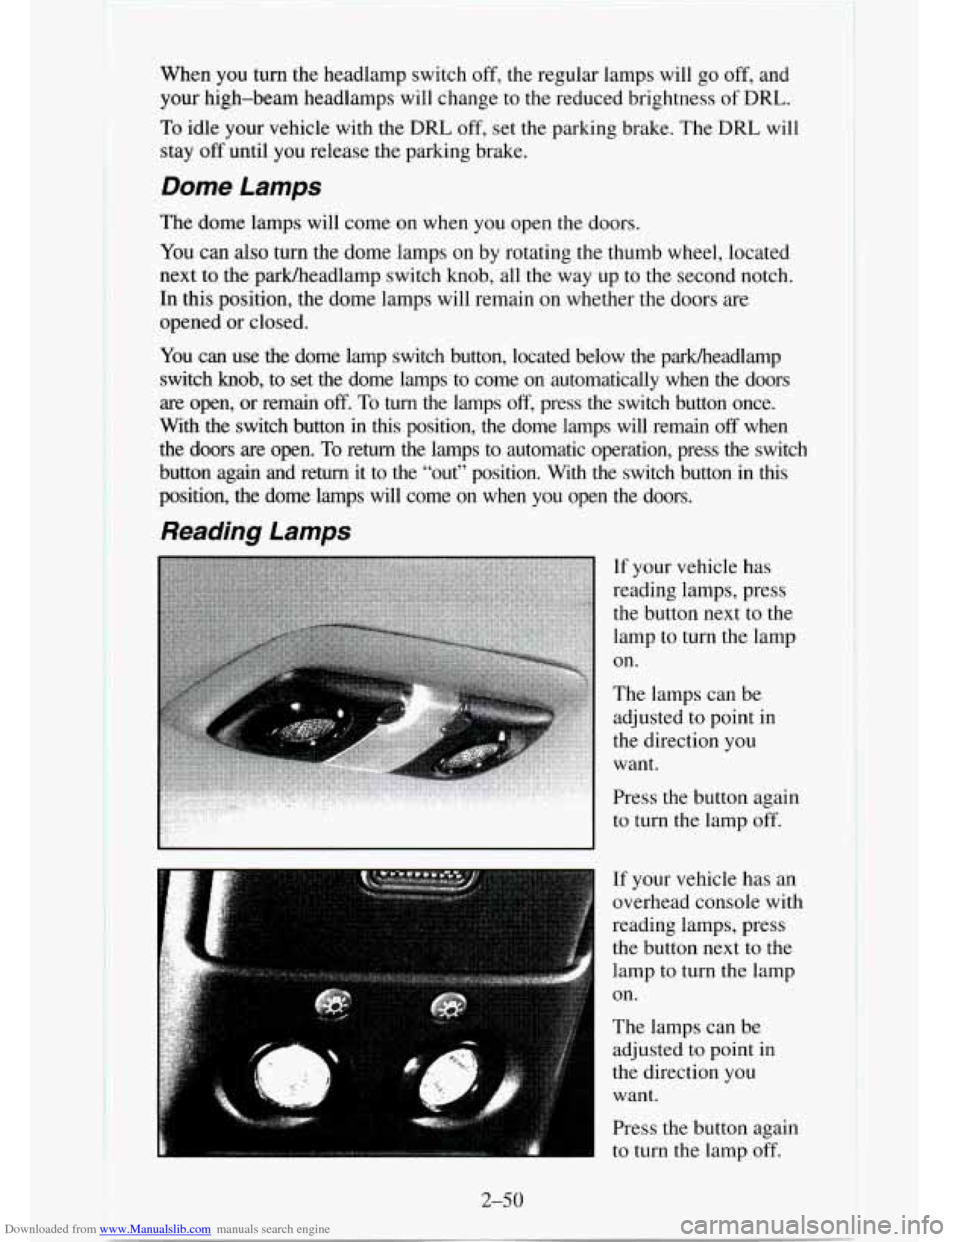
If your vehicle has
reading lamps, press
the button next to the
lamp to turn the lamp
on.
The lamps can be
adjusted to point
in
the direction you
want.
Press the button again
to turn the lamp
off.
If your vehicle has an
overhead console with
reading lamps, press
the button next
to the
lamp to turn the lamp
on.
The lamps can be
adjusted
to point in
the direction you
want.
Press the button again
to turn the lamp off.
2-50
Page 152 of 486
Downloaded from www.Manualslib.com manuals search engine Luggage Carrier
If you have a luggage carrier, you can load things on top of your vehicle.
The luggage carrier has slats and side rails attached to the roof, and cross
rails which can be moved fore and aft in the side rails to help secure cargo.
Tie the load to
the side rails or side rail supports. Use the cross rails mostly
for fore and aft stops.
NOTICE:
Loading cargo that weighs more than 200 pounds (90.6 kg) on
the luggage carrier may damage your vehicle. When you carry
large things, never let them hang over the rear or the sides of
your vehicle. Load your cargo
so that it rests on the slats and
does not scratch or damage the vehicle. Put the cargo against the
side rails and fasten it securely to the luggage carrier.
Don’t exceed the maximum vehicle capacity when loading your vehicle. For
more information on vehicle capacity and loading, see “Loading Your
Vehicle”
in the Index.
To prevent damage or loss of cargo as you’re driving, check now and then to
make sure the luggage carrier and cargo are still securely fastened.
Be sure
the cargo is properly loaded.
0 If small heavy objects are placed on the roof, place the load in the area
over the rear wheels (behind the rear side door on Suburbans).
If you
need
to, cut a piece of 3/8 inch plywood to fit inside the cross rails and
side rails to spread the load.
If plywood is used, tie it to the side rail
supports.
Tie the load to the cross rails or the side rail supports. Use the cross
rails
only to keep the load from sliding.
If you need to carry long items, move the cross rails as far apart as they
will go. Tie
the load to the cross rails and the side rails or side rail
supports. Also tie
the load to the bumpers. Do not tie the load so tightly
that the cross rails or side rails are damaged.
0 After moving the cross rails, be sure to tighten all the slider screws.
Trailer Wiring Harness
A 7-wire harness is stored under your vehicle along the rear frame
crossmember. The harness connects
to the underhood electrical center and
no connector, and should be wired by a qualified electrical technician.
2-85
Page 189 of 486
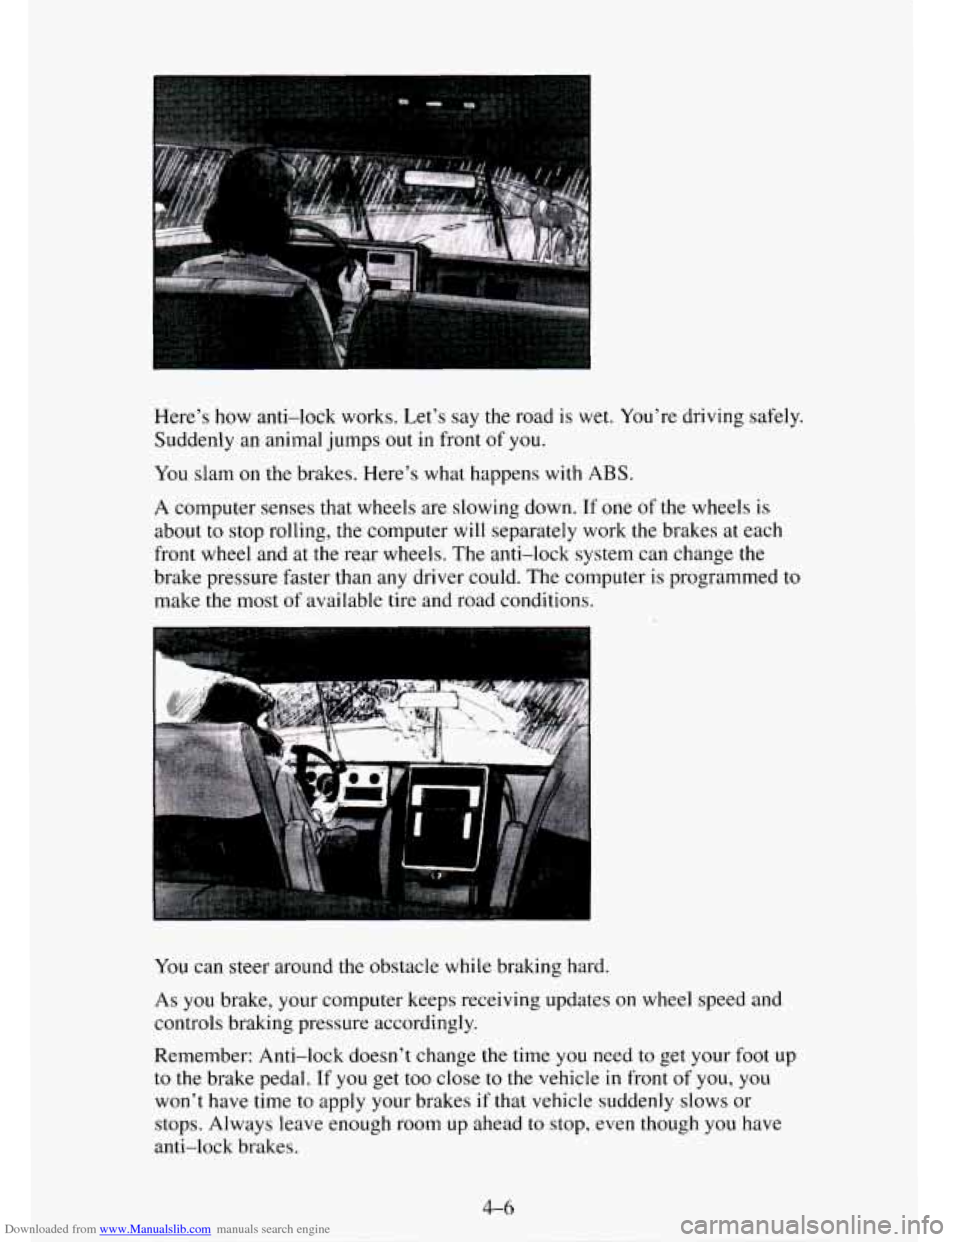
Downloaded from www.Manualslib.com manuals search engine Here’s how anti-lock works. Let’s say the road is wet. You’re driving safely.
Suddenly an animal jumps
out in front of you.
You slam on the brakes. Here’s what happens with ABS.
A computer senses that wheels are slowing down. If one of the wheels is
about to stop rolling, the computer will separately work the brakes at each
front wheel and at
the rear wheels. The anti-lock system can change the
brake pressure faster than any driver could. The computer is programmed to
make the most of available tire and road conditions.
You can steer around the obstacle while braking hard.
As
you brake, your computer keeps receiving updates on wheel speed and
controls braking pressure accordingly.
Remember: Anti-lock doesn’t change the time you need
to get your foot up
to the brake pedal.
If you get too close to the vehicle in front of you, you
won’t have time to apply your brakes if that vehicle suddenly slows or
stops. Always leave enough room up ahead
to stop, even though you have
anti-lock brakes.
Page 190 of 486
Downloaded from www.Manualslib.com manuals search engine To Use Anti-Lock
Don’t pump the brakes. Just hold the brake pedal down and let anti-lock
work for
you. You may feel the brakes vibrate, or you may notice some
noise, but this is normal. On vehicles with four-wheel drive, your anti-lock
brakes work at all times
- whether you are in two-wheel drive or
four-wheel drive.
Braking in Emergencies
Use your anti-lock braking system when you need to. With anti-lock, you
can steer and brake at the same time. In many emergencies, steering can
help
you more than even the very best braking.
Steering
Power Steering
If you lose power steering assist because the engine stops or the system is
not functioning, you can steer but it will take much more effort.
Steering Tips
Driving on Curves
It’s important to take curves at a reasonable speed.
A lot of the “driver lost control” accidents mentioned on the news happen
on curves. Here’s why:
Experienced driver or beginner, each
of us is subject to the same laws of
physics when driving on curves. The traction
of the tires against the road
surface makes it possible for the vehicle to change its path when
you turn
the front wheels.
If there’s no traction, inertia will keep the vehicle going in
the same direction. If you’ve ever tried to steer a vehicle on wet ice, you’ll
understand this.
The traction
you can get in a curve depends on the condition of your tires
and the road surface,
the angle at which the curve is banked, and your
speed. While you’re in a curve, speed is the
one factor you can control.
Suppose you’re steering through a sharp curve. Then you suddenly
accelerate. Both control systems
- steering and acceleration - have to do
their work where the tires meet the road. Adding
the sudden acceleration
can demand
too much of those places. You can lose control.
What should you do if this ever happens? Ease up on the accelerator pedal,
steer the
vehicle the way you want it to go, and slow down.
4-7
Page 191 of 486
Downloaded from www.Manualslib.com manuals search engine Speed limit signs near curves warn that you should adjust your speed. Of
course, the posted speeds are based on good weather and road conditions.
Under less favorable conditions you’ll want
to go slower.
If you need to reduce your speed as you approach a curve, do it before you
enter
the curve, while your front wheels are straight ahead.
Try
to adjust your speed so you can “drive” through the curve. Maintain a
reasonable, steady speed. Wait to accelerate until you are out of the curve,
and then accelerate gently into the straightaway.
Steering in Emergencies
There are times when steering can be more effective than braking. For
example, you come over a hill and find a truck stopped in your lane, or a car
suddenly pulls
out from nowhere, or a child darts out from between parked
cars and stops right
in front of you. You can avoid these problems by
braking
- if you can stop in time. But sometimes you can’t; there isn’t
room. That’s the time for evasive action
- steering around the problem.
Your vehicle can perform very well in emergencies like
these. First apply
your brakes. (See “Braking in Emergencies” earlier
in this section.) It is
better
to remove as much speed as you can from a possible collision. Then
steer around the problem, to the left or right depending on the space
available.
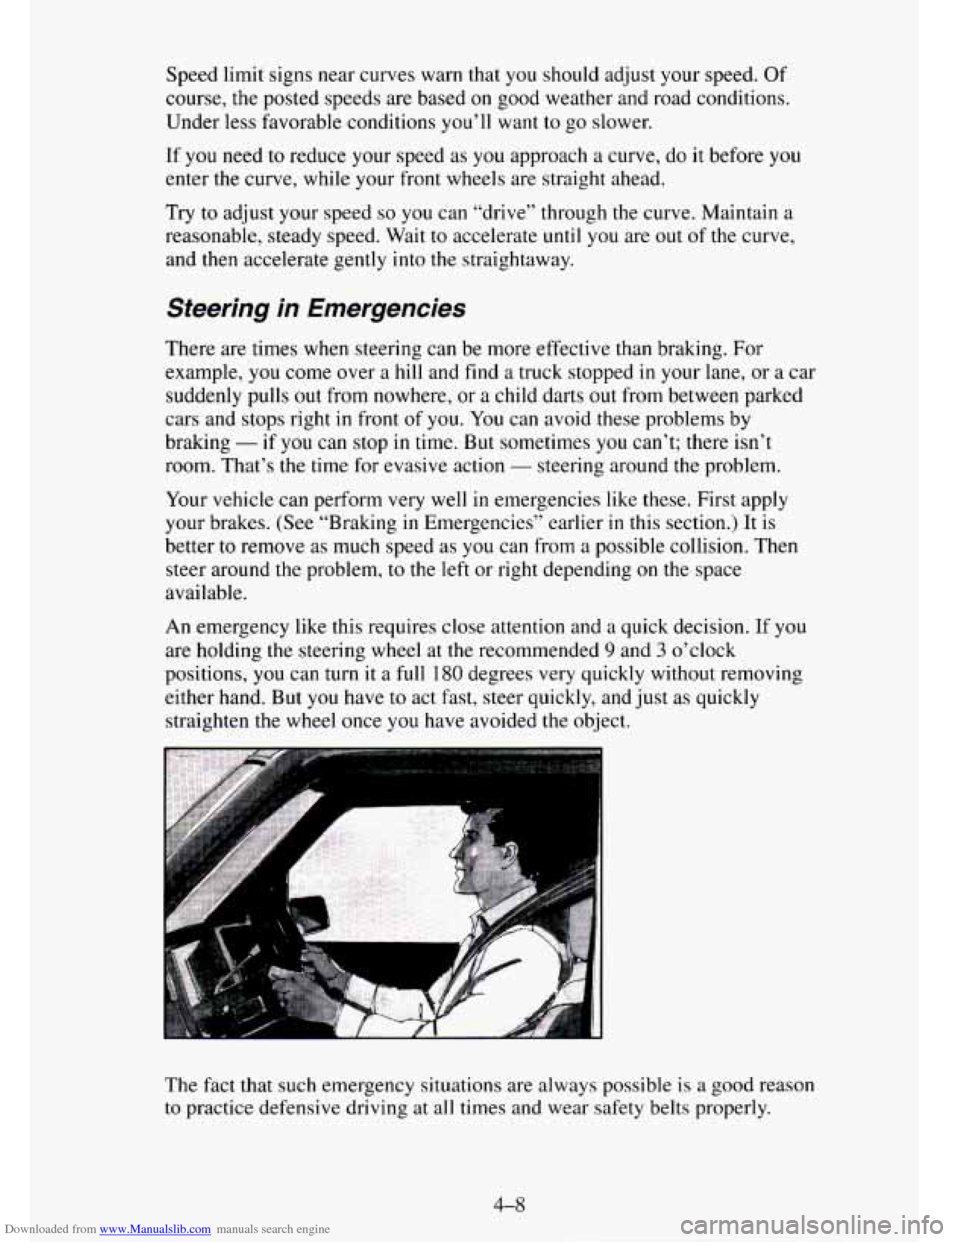
An emergency like this requires close attention and
a quick decision. If you
are holding the steering wheel at the recommended 9 and 3 o’clock
positions, you can
turn it a full 180 degrees very quickly without removing
either hand. But you have to act fast, steer quickly, and just as quickly
straighten the wheel once
you have avoided the object.
The fact that such emergency situations are always possible is
a good reason
to practice defensive driving at
all times and wear safety belts properly.
4-8
Page 192 of 486
Downloaded from www.Manualslib.com manuals search engine Off-Road Recovery
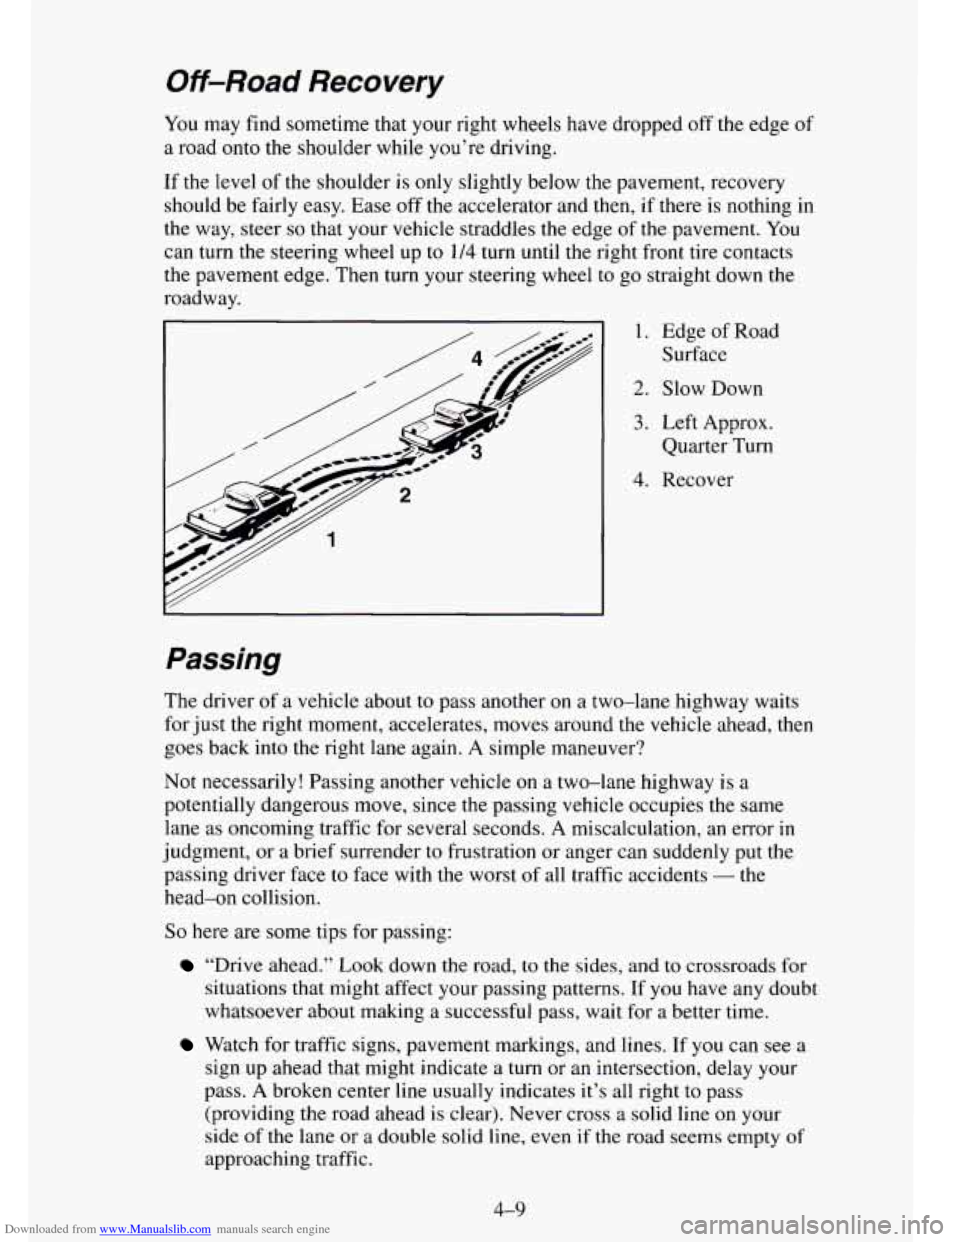
You may find sometime that your right wheels have dropped off the edge of
a road onto the shoulder while you’re driving.
If the level of the shoulder is only slightly below the pavement, recovery
should be fairly easy. Ease off the accelerator and then, if there is nothing in
the way, steer
so that your vehicle straddles the edge of the pavement. You
can turn the steering wheel up to 1/4 turn until the right front tire contacts
the pavement edge.
Then turn your steering wheel to go straight down the
roadway.
I I. Edge of Road
Surface
2. Slow Down
3. Left Approx.
Quarter Turn
4. Recover
Passing
The driver of a vehicle about to pass another on a two-lane highway waits
for just the right moment, accelerates, moves around the vehicle ahead, then
goes back into the right lane again. A simple maneuver?
Not necessarily! Passing another vehicle
on a two-lane highway is a
potentially dangerous move, since the passing vehicle occupies the same
lane as oncoming traffic for several seconds.
A miscalculation, an error in
judgment, or
a brief surrender to frustration or anger can suddenly put the
passing driver face to face with the worst of all traffic accidents
- the
head-on collision.
So here are some tips for passing:
“Drive ahead.” Look down the road, to the sides, and to crossroads for
situations that might affect your passing patterns. If
you have any doubt
whatsoever about making a successful pass, wait for a better time.
Watch for traffic signs, pavement markings, and lines. If you can see a
sign up ahead that might indicate a turn or an intersection, delay your
pass.
A broken center line usually indicates it’s all right to pass
(providing the road ahead is clear). Never cross a solid line
on your
side of the lane or a double solid line, even if the road seems empty
of
approaching traffic.