1995 CHEVROLET S10 check engine light
[x] Cancel search: check engine lightPage 26 of 354
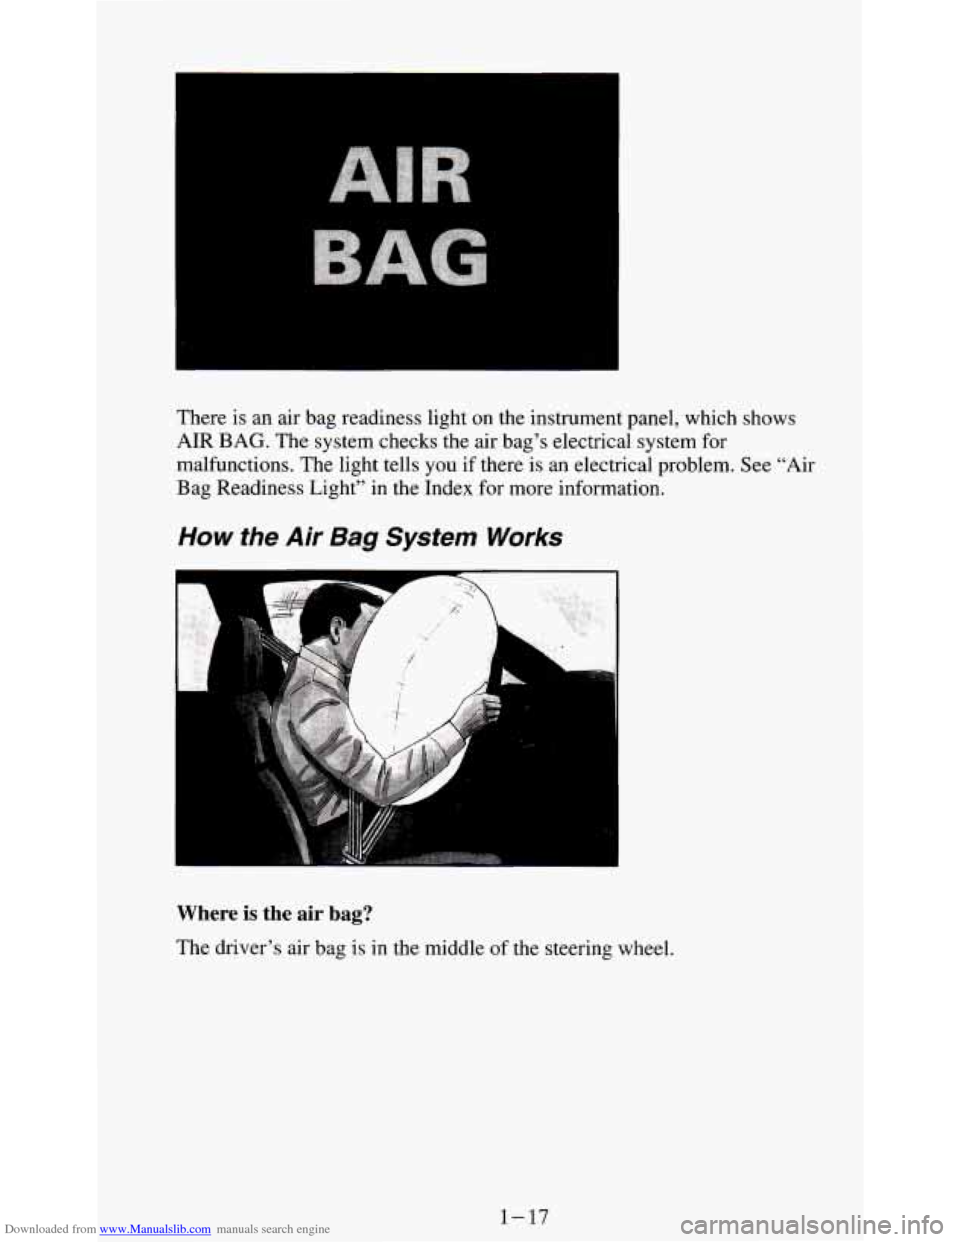
Downloaded from www.Manualslib.com manuals search engine There is an air bag readiness light on the instrument panel, which shows
AIR BAG. The system checks the air bag’s electrical system for
malfunctions. The light tells
you if there is an electrical problem. See “Air
Bag Readiness Light” in the Index for more information.
How the Air Bag System Works
Where is the air bag?
The driver’s air bag is in the middle of the steering wheel.
1-17
Page 60 of 354
Downloaded from www.Manualslib.com manuals search engine NOTICE:
Your engine is designed to work with the electronics in your
vehicle.
If you add electrical parts or accessories, you could
change the way the fuel injection system operates. Before adding
electrical equipment, check with your dealer. If you don’t, your
engine might not perform properly.
If you ever have to have your vehicle towed, see the part of this
manual that tells how to do it without damaging
your vehicle.
See “Towing Your Vehicle” in the Index.
Driving Through Deep Standing Water
1 NOTICE:
If you drive too quickly through deep puddles or standing water,
water can come in through your engine’s air intake and badly
damage your engine. Never drive through water that is slightly
lower than the underbody of your vehicle.
If you can’t avoid
deep puddles or standing water, drive through them very slowly.
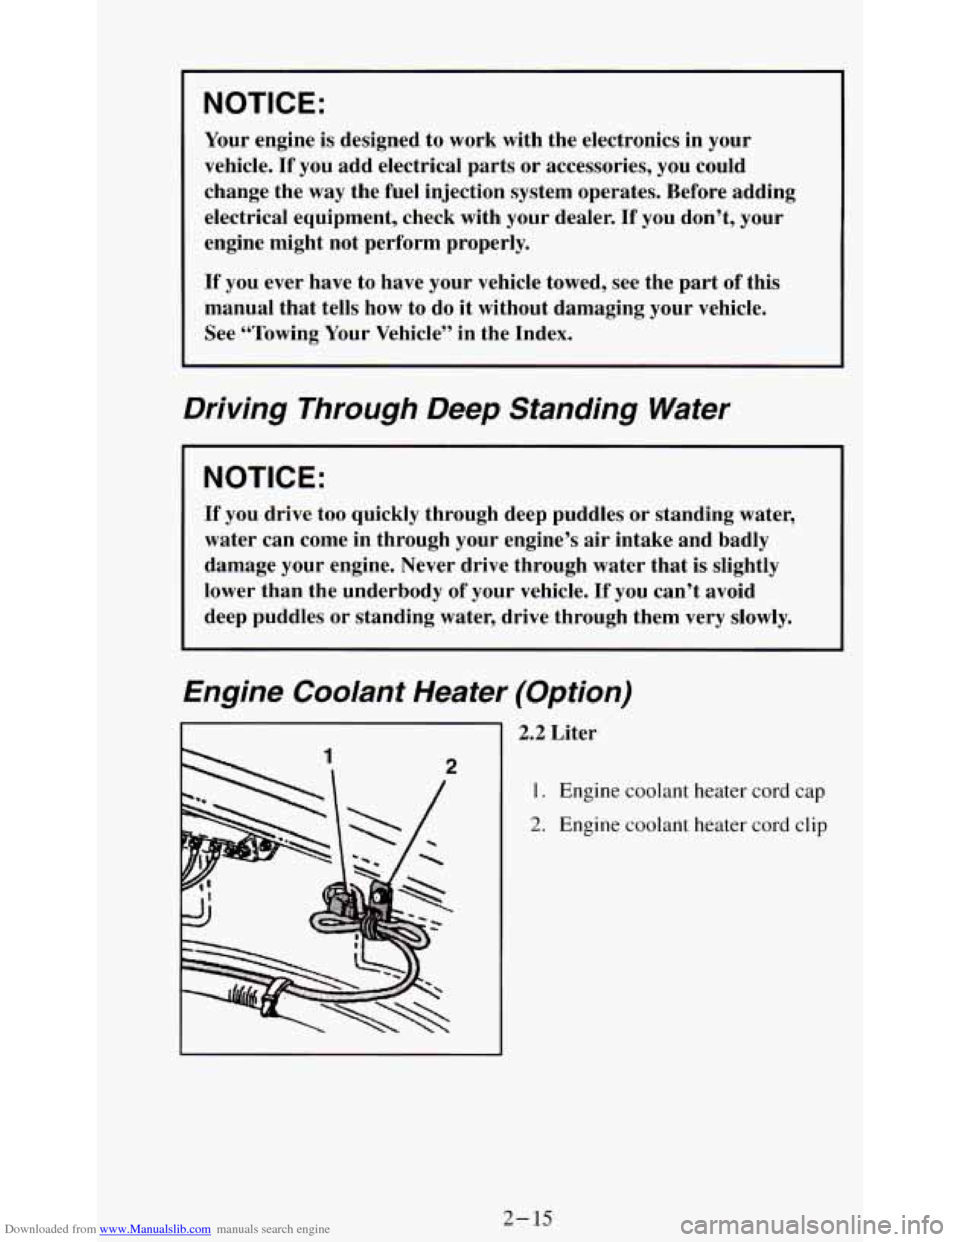
Engine Coo/ant Heater (Option)
2.2 Liter
1. Engine coolant heater cord cap
2. Engine coolant heater cord clip
2- 15
Page 74 of 354
Downloaded from www.Manualslib.com manuals search engine The front axle portion of the diagram on the indicator will light up when
you shift into four-wheel drive. A slight delay between shifting and the
pattern’s lighting is normal. If the pattern does not light up, or
if the front
axle lights do not go out after you shift out of four-wheel drive, have your
dealer check your system. Turn the INT LIGHTS switch located to the right
of your headlight switch
to dim your transfer case indicator light when your
headlights or parking lights are
on. This will also cause your instrument
panel lights to dim.
2HI - This setting is for driving in most street and highway situations.
Your front axle is not engaged in two-wheel drive.
4HI - This setting engages your front axle to help drive your vehicle. Use
4HI when you need extra traction, such as on snowy or icy roads, or in most
off-road situations.
N SET PARK BRAKE - Shift to this neutral setting only when your
vehicle needs to be towed.
4LO - This setting also efigziges your front axle to give you extra traction
and provides extra gear reduction. You may never need 4LO. It
sends the
maximum power to all four wheels. You might choose 4LO if you were
driving off-road in sand, mud, or deep snow and climbing or descending
steep hills.
You can shift from 2HI to 4HI
or from 4HI to 2HI while the vehicle is
moving.
Do not press the transfer case shift lever button when shifting from
2HI to
4HI or from 4HI to 2HT. Your front axle will engage faster if you
take your foot off of the accelerator for a few seconds after you shift.
To shift your transfer case into N SET PARK BRAKE:
1. Stop the vehicle and shift your transmission into NEUTRAL
(N).
2. Set the parking brake. Your vehicle can roll unless the brakes are
applied.
3. Pull the transfer case shift lever into N SET PARK BRAKE.
To shift into or out of 4LO:
1. The vehicle must be stopped or moving less than 3 mph (4.8 km/h)
with the transmission in NEUTRAL
(N) for an automatic transmission
or the clutch pedal depressed with a manual transmission.
2. Press the transfer case shift button and shift in one continuous motion.
Don’t pause in
N SET PARK BRAKE as you shift into or out of 4L0, or
your gears could clash.
Remember that driving in 4HI or 4LO may reduce fuel economy. Also,
driving in four-wheel drive
on dry pavement could cause your tires to wear
faster and make your transfer case harder to shift and reduce powertrain
longevity.
2-29
Page 80 of 354
Downloaded from www.Manualslib.com manuals search engine Turn Signal and Lane Change Indicator
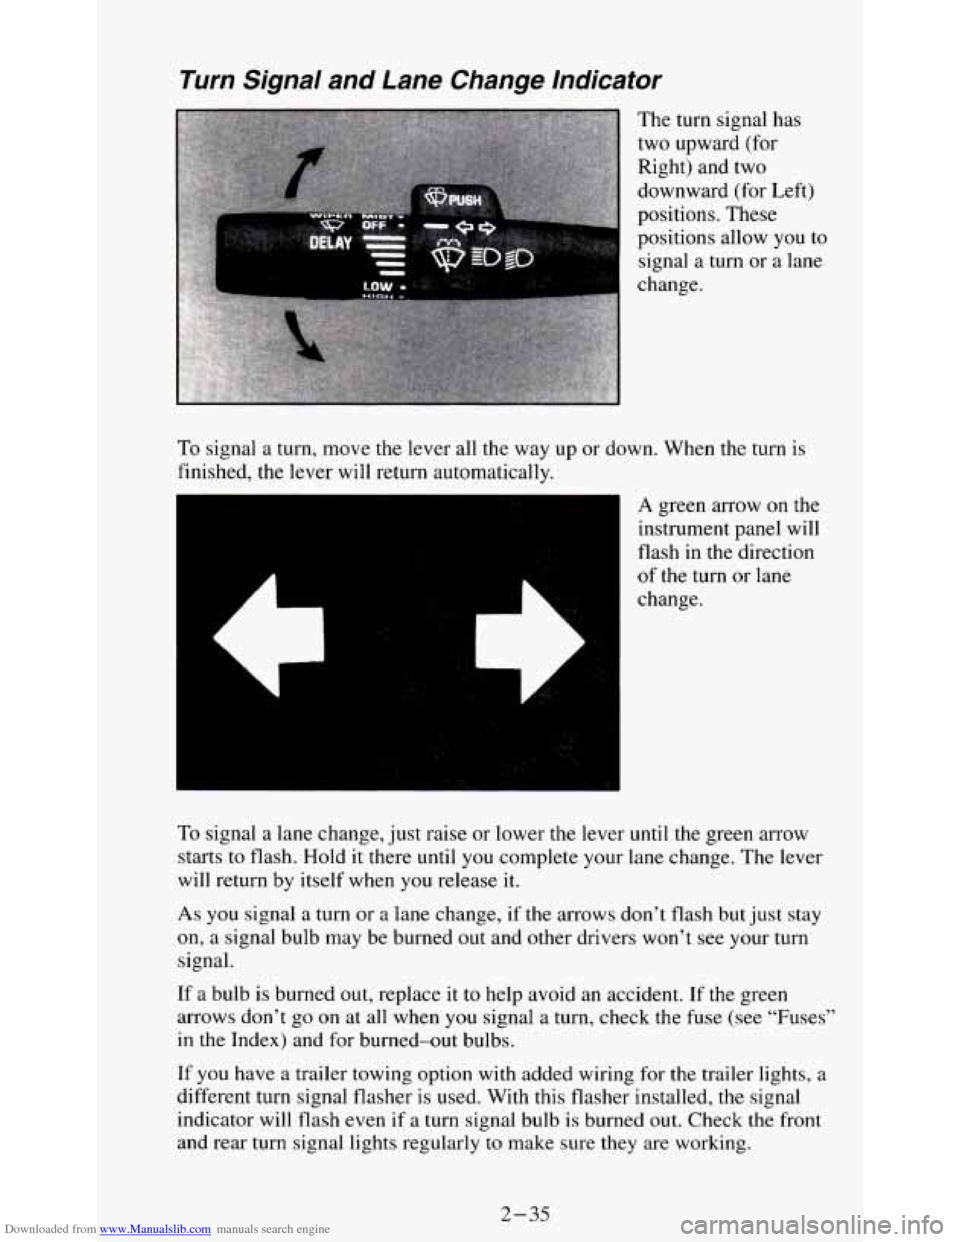
The turn signal has
two upward (for
Right) and two
downward (for Left)
positions. These
positions allow you
to
signal a turn or a lane
change.
To signal a turn, move the lever all the way up or down. When the turn is
finished, the lever will return automatically.
es
A green arrow on the
instrument panel will
flash in the direction
of the turn or lane
change.
To signal a lane change, just raise or lower the lever
until the green arrow
starts
to flash. Hold it there until you complete your lane change. The lever
will return by itself when
you release it.
As you signal a turn or a lane change, if the arrows don’t flash but just stay
on, a signal bulb may be burned out and other drivers won’t see your turn
signal.
If a bulb is burned out, replace it to help avoid an accident. If the green
arrows don’t go on at all when
you signal a turn, check the fuse (see “Fuses”
in the Index) and for burned-out bulbs.
If you have a trailer towing option with added wiring for the trailer lights, a
different turn signal flasher is used. With this flasher installed, the signal
indicator will flash even
if a turn signal bulb is burned out. Check the front
and rear turn signal lights regularly
to make sure they are working.
2-35
Page 82 of 354
Downloaded from www.Manualslib.com manuals search engine You can set the wiper speed for a long or short delay between wipes. This
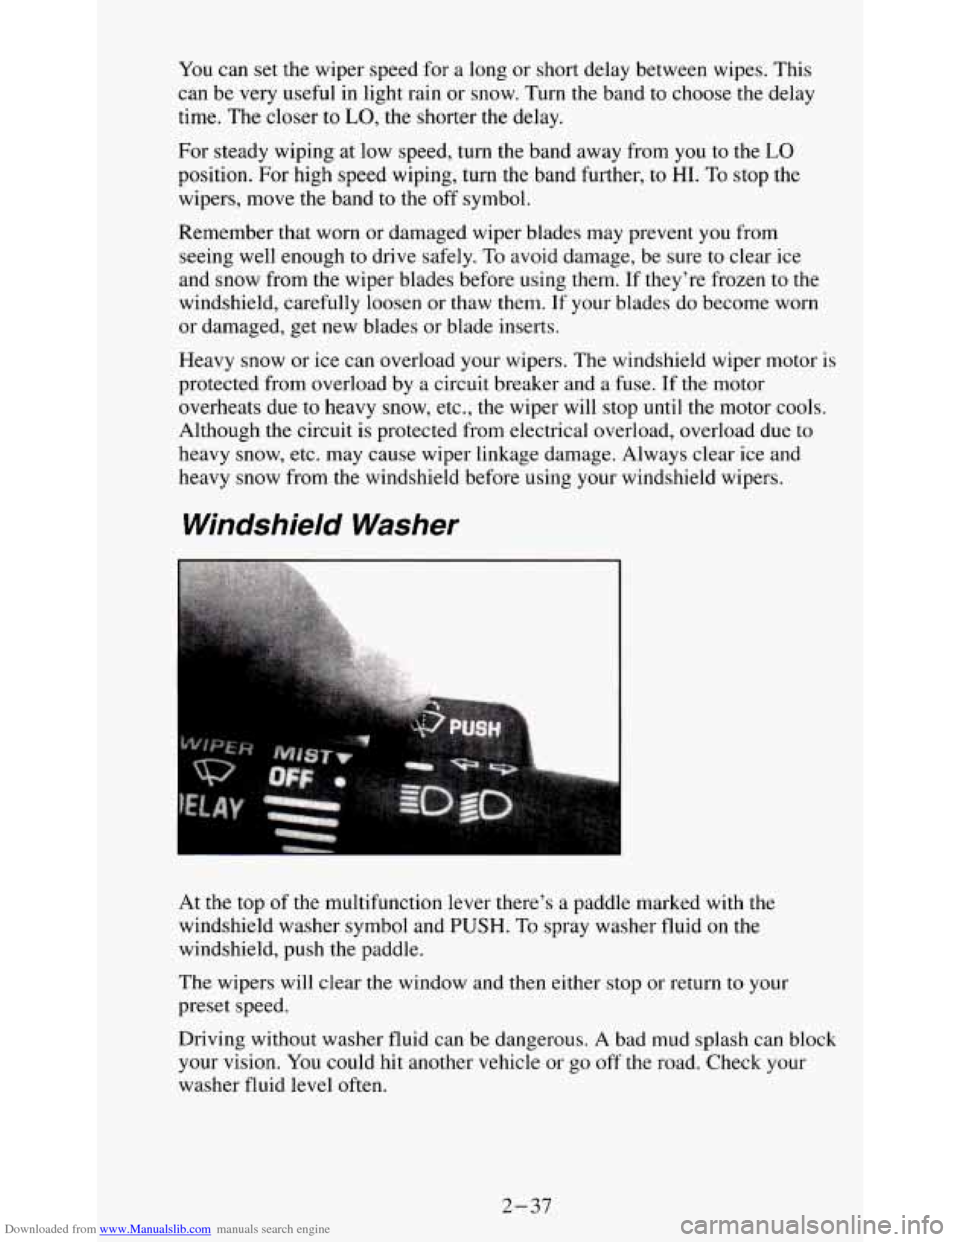
can be very useful in light rain or snow. Turn
the band to choose the delay
time. The closer
to LO, the shorter the delay.
For steady wiping at low speed, turn the band away from you to the
LO
position. For high speed wiping, turn the band further, to HI. To stop the
wipers, move the band to the
off symbol.
Remember that worn or damaged wiper blades may prevent
you from
seeing well enough to drive safely.
To avoid damage, be sure to clear ice
and snow from the wiper blades before using them. If they’re frozen to the
windshield, carefully loosen or thaw them. If your blades do become worn
or damaged, get new blades or blade inserts.
Heavy snow or ice can overload your wipers. The windshield wiper motor is
protected from overload by a circuit breaker and a fuse. If the motor
overheats due
to heavy snow, etc., the wiper will stop until the motor cools.
Although the circuit is protected from electrical overload, overload due to
heavy snow, etc. may cause wiper linkage damage. Always clear ice and
heavy snow from the windshield before using your windshield wipers.
Windshield Washer
At the top of the multifunction lever there’s a paddle marked with the
windshield washer symbol and
PUSH. To spray washer fluid on the
windshield, push the paddle.
The wipers will clear the window and then either stop or return
to your
preset speed.
Driving without washer fluid can be dangerous. A bad mud splash can block
your vision. You could hit another vehicle or go
off the road. Check your
washer fluid level often.
2-37
Page 88 of 354
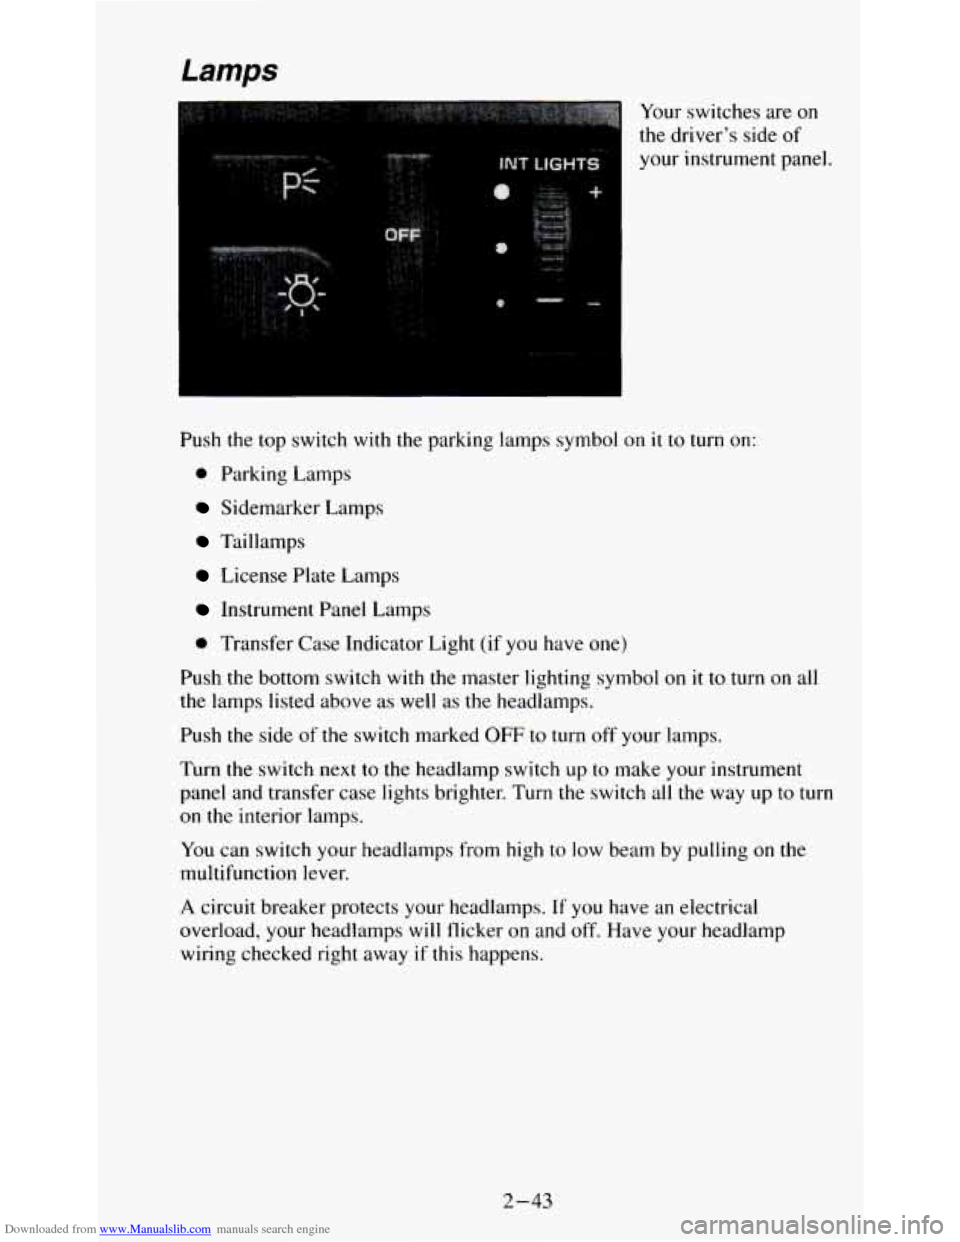
Downloaded from www.Manualslib.com manuals search engine Your switches are on
the driver’s side of
your instrument panel.
Push the top switch with the parking lamps symbol on
it to turn on:
0 Parking Lamps
Sidemarker Lamps
Taillamps
License Plate Lamps
Instrument Panel Lamps
0 Transfer Case Indicator Light (if you have one)
Push the bottom switch with the master lighting symbol on it to turn on all
the lamps listed above as well as the headlamps.
Push
the side of the switch marked OFF to turn off your lamps.
Turn the switch next to the headlamp switch up to make your instrument
panel and transfer case lights brighter. Turn the switch all the way up
to turn
on the interior lamps.
You can switch your headlamps from high to low beam by pulling on the
multifunction lever.
A circuit breaker protects your headlamps. If you have an electrical
overload, your headlamps
will flicker on and off. Have your headlamp
wiring checked right away
if this happens.
2-43
Page 101 of 354
Downloaded from www.Manualslib.com manuals search engine Normal operating range shows your engine speed during normal driving
conditions. For example, when the needle points
to 2, it means the engine is
running at
2,000 revolutions per minute (rpm). The tachometer needle will
vary all the time that the engine is running.
The red warning range tells you that your engine speed is reaching its upper
limits. Don’t drive very long with the tachometer in the red warning range.
If you have a manual transmission, shift to a higher gear as soon as possible.
If you have an automatic transmission, lift your foot off of the accelerator
pedal. If
you drive for very long with the tachometer in the red danger
range, engine damage will result.
I NOTICE:
Do not operate the engine with the tachometer in the red range,
or engine damage
will occur.
The red danger range tells you that your engine speed is at its upper limits.
You should immediately shift to a higher gear, or lift your
foot off of the
accelerator pedal. If you drive for very long with the tachometer in the red
danger range, engine damage will result.
Warning Lights and Indicators
This part describes the warning lights and gages that may be on your
vehicle.
The pictures will help you locate them.
Warning lights and gages can signal that something is wrong before it
becomes serious enough
to cause an expensive repair or replacement.
Paying attention to your warning lights and gages could also save you or
others from injury.
Warning lights come on when there may be or is a problem with one of your
vehicle’s functions.
As you will see in the details on the next few pages,
some warning lights come on briefly when you start the engine just to let
you know they’re working. If
you are familiar with this section, you should
not be alarmed when this happens.
Gages can indicate when there may be or is a problem with one
of your
vehicle’s functions. Often gages and warning lights work together to let you
know when there’s a problem with your vehicle.
When one
of the warning lights comes on and stays on when you are
driving, or when one
of the gages shows there may be a problem, check the
section that
tells you what to do about it. Please follow this manual’s advice.
Waiting to do repairs can be costly
- and even dangerous. So please get to
know your warning lights and gages. They’re a big help.
2-56
Page 102 of 354

Downloaded from www.Manualslib.com manuals search engine Safety Belt Reminder Light
When the key is turned to RUN or START, a tone will come on for about
eight seconds
to remind people to fasten their safety belts, unless the
driver’s safety belt
is already buckled. The safety belt light will also come
on and stay on for about 20 seconds, then it will flash for about 55 seconds.
If the driver’s belt is already buckled, neither the tone nor the light will
come on.
Air Bag Readiness Light
There is an air bag readiness light on the instrument panel, which shows
AIR
BAG. The system checks the air bag’s electrical system for
malfunctions. The light tells you if there is an electrical problem.
The
system check includes the air bag sensors and module, the wiring and the
diagnostic module. For more information on the air bag system, see “Air
Bag” in the Index.
2-57