1995 CHEVROLET S10 start stop button
[x] Cancel search: start stop buttonPage 57 of 354

Downloaded from www.Manualslib.com manuals search engine To Remove the Key
On manual transmission vehicles, turn the key to the LOCK position while
pressing the key release button down at the same time. Pull the key straight
out.
On automatic transmission vehicles,
turn the key to LOCK and pull it
straight out.
Starting Your Engine
Engines start differently. The 8th digit of your Vehicle Identification
Number (VIN) shows the code letter or number for your engine. You will
find the VIN at the top left
of your instrument panel. (See “Vehicle
Identification Number” in the Index.) Follow the proper steps to start the
engine.
Automatic transmission:
Move your shift lever to PARK (P) or NEUTRAL (N). Your engine won’t
start in any other position
- that’s a safety feature. To restart when you’re
already moving, use NEUTRAL (N) only.
NOTICE:
Don’t try to shift to PARK (P) if your vehicle is moving. If you
do, you could damage the transmission. Shift to PARK (P) only
when your vehicle is stopped.
Manual transmission:
The gear selector should be in neutral. Hold the clutch pedal to the floor and
start the engine. Your vehicle won’t start
if the clutch pedal is not all the
way down
- that’s a safety feature.
To start your 2.2 Liter engine:
1. Without pushing the accelerator pedal, turn your ignition key to
START, When the engine starts, let go of the key. The idle speed will
go down as your engine gets warm.
r
NOTICE:
Holding your key in START for longer than 15 seconds at a time
will cause your battery to be drained much sooner. And the
excessive heat can damage your starter motor.
2- 12
Page 128 of 354

Downloaded from www.Manualslib.com manuals search engine RCL - Press RCL to see what track is playing. Press it again within 5
seconds to see how long it has been playing. The track number also appears
when
you change the volume or when a new track starts to play.
COMP
- Press the COMP button to make soft and loud passages more
nearly equal in volume. “COMP’ will appear in the display while using this
control.
RDM
- The RDM button means random and when it is pressed, it causes
the CD mechanism to play the tracks
in a random order rather than in the
sequential 1,2,
3 order. “RDM” will appear in the display while using this
control.
To return to normal sequence, press RDM again.
REV
- Press and hold the REV button to quickly return to a favorite
passage. Release it
to display the passage. The counter reading will be
displayed while using this control.
FWD
- Press and hold the FWD button to advance quickly within a track.
Release it to resume playing. Watch the display to stop at
a specific passage.
SCAN
- Press SCAN to sample each track for approximately 10 seconds.
Scanning will continue until the RDM, SCAN or any other motion button is
pressed again.
PREV
- Hold the PREV (4 SEEK) button, or press it more than once, and
the disc will return to previous tracks.
NEXT
- Press NEXT (SEEK ,) to hear the next track now instead of
waiting until the present track is finished. If you hold this button or press it
more than once, the disc will advance further.
ST-PL
- Press ST-PL (Stop-Play) to make the disc stop and the radio
play. Press ST-PL again to restart the disc at the point where it stopped.
Press PWR or turn the ignition key
off to stop the disc player. The disc stays
in the player and will resume playing at the point where it stopped.
Press EJCT to eject the disc and make the radio play. The disc will start at
track
I when you reinsert it.
Anti-Theft Feature
Delco LOC II@ is an Anti-Theft feature for the compact disc player. It can
be used or ignored. If ignored, the system plays normally. If it is used, your
player won’t be usable if it is ever stolen, because it won’t turn
on.
The instructions below tell you how to enter a secret code into the system. If
your car loses battery power for any reason,
you must unlock the system
with the secret code before the radio will turn on.
3-15
Page 185 of 354

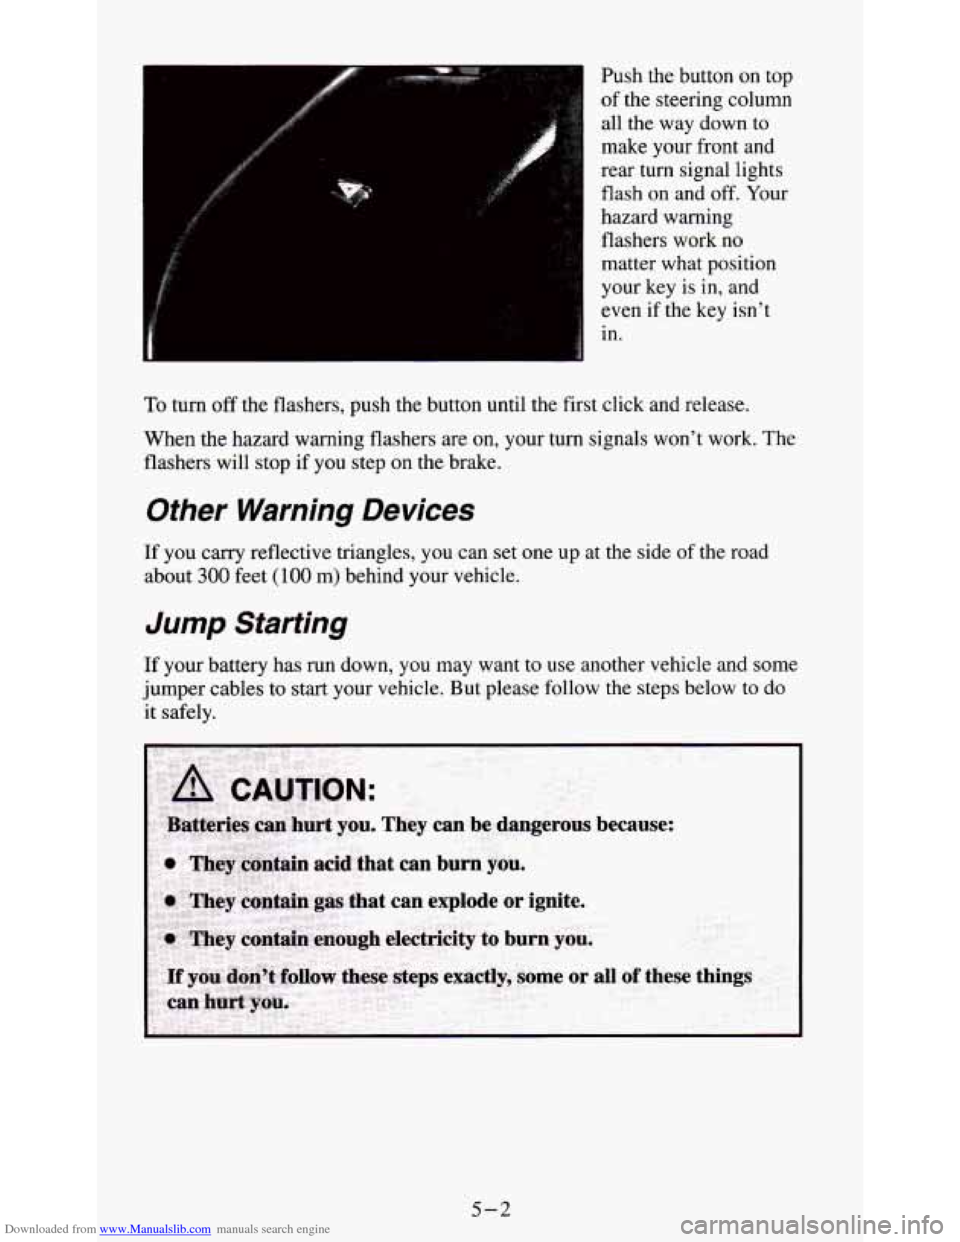
Downloaded from www.Manualslib.com manuals search engine Push the button on top
of the steering column
all the way down
to
make your front and
rear turn signal lights
flash on and
off. Your
hazard warning
flashers work
no
matter what position
your key is
in, and
even if the key isn’t
in.
To turn off the flashers, push the button until the first click and release.
When the hazard warning flashers are on, your turn signals won’t work. The
flashers will stop if you step on the brake.
Other Warning Devices
If you carry reflective triangles, you can set one up at the side of the road
about
300 feet (100 m) behind your vehicle.
Jump Starting
If your battery has run down, you may want to use another vehicle and some
jumper cables to start your vehicle. But please follow the steps below to do
it safely.
5-2
Page 348 of 354

Downloaded from www.Manualslib.com manuals search engine I
If You’re Stuck: In Sand. Mud. Ice. or Snow ........................... 5-32
Ignitionswitch
.................................................. 2-10
Inflation-Tire Pressure
( See “Tires”)
Instrument Cluster
............................................... 2-53
Instrumentpanel
................................................ 2-53
Jacking Equipment Storage
........................................ 5-20
Jumpstarting .................................................... 5-2
K
KeyLockCylinders .............................................. 6-39
Key Release Button
.............................................. 2-11
Keyless Entry System
............................................. 2-6
Keys
........................................................... 2-1
L
Labels
Lamps Certificatioflire
( See “Certification/Tire Label”)
Center High Mounted
Stop Lamp (CHMSL) ........................ 2-67
Dome
....................................................... 2-46
FogLamps
.................................................. 2-44
Headlights (See “Headlamps”)
Replacement
(See “Bulb Replacement”)
Lights
......................................................... 2-43
Air Bag Readiness Light
........................................ 2-57
Anti-Lock Brake System Warning Light
........................... 2-59
BrakeSystemLight
............................................ 2-58
Charging System Indicator Light
................................. 2-62
Check Gages Indicator Light
.................................... 2-62
Daytime Running Lamps (DRL) Indicator Light
................ 2-45. 2-63
Headlamp High Beam Indicator Light
............................. 2-64
Headlights (See “Headlamps”)
Malfunction Indicator
..................................... 2-60. 6-39
Safety Belt Reminder Light
..................................... 2-57
Service Engine Soon (See “Malfunction Indicator”) Shift Indicator Light
...................................... 2-21. 2-63
Turn Signal and Lane Change Indicator Light
....................... 2-64
Loading Your Vehicle
............................................ 4-36
Add-on Equipment
........................................... 4-39
Off-Road Driving
............................................. 4-13
Payload ..................................................... 4-38
Pickup Conversion to Chassis Cab
................................ 4-42
TraileringPackage
............................................ 4-39
Truck-Camper Loading Information
.............................. 440
Two-Tiered Loading ........................................... 4-38
Lock Cylinders (See “Key Lock Cylinders”)
Loss of Control (See “Driving-Loss of Control”)
Lubrication (See “Recommended Fluids and Lubricants”)
5