1995 CHEVROLET S10 air condition
[x] Cancel search: air conditionPage 2 of 354
Downloaded from www.Manualslib.com manuals search engine Table of Contents
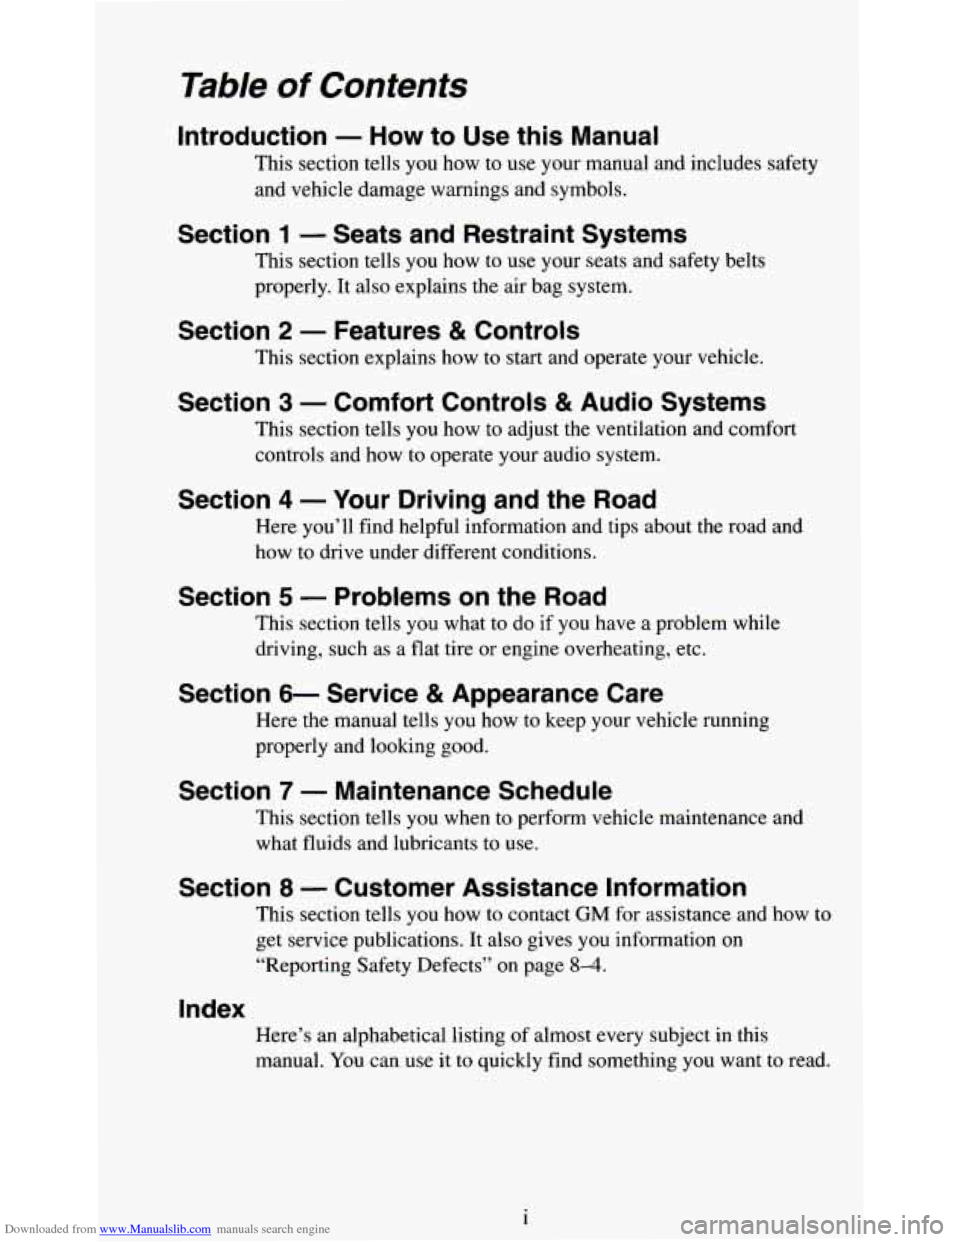
Introduction - How to Use this Manual
This section tells you how to use your manual and includes safety
and vehicle damage warnings and symbols.
Section 1 - Seats and Restraint Systems
This section tells you how to use your seats and safety belts
properly. It also explains the air bag system.
Section 2 - Features & Controls
This section explains how to start and operate your vehicle.
Section 3 - Comfort Controls & Audio Systems
This section tells you how to adjust the ventilation and comfort
controls and how to operate your audio system.
Section 4 - Your Driving and the Road
Here you’ll find helpful information and tips about the road and
how to drive under different conditions.
Section 5 - Problems on the Road
This section tells you what to do if you have a problem while
driving, such as a flat tire or engine overheating, etc.
Section 6- Service & Appearance Care
Here the manual tells you how to keep your vehicle running
properly and looking good.
Section 7 - Maintenance Schedule
This section tells you when to perform vehicle maintenance and
what fluids and lubricants to use.
Section 8 - Customer Assistance Information
This section tells you how to contact GM for assistance and how to
get service publications. It also gives you information on
“Reporting Safety Defects” on page
8-4.
Index
Here’s an alphabetical listing of almost every subject in this
manual. You can use it to quickly find something you want to read.
1
Page 27 of 354
Downloaded from www.Manualslib.com manuals search engine When should an air bag inflate?
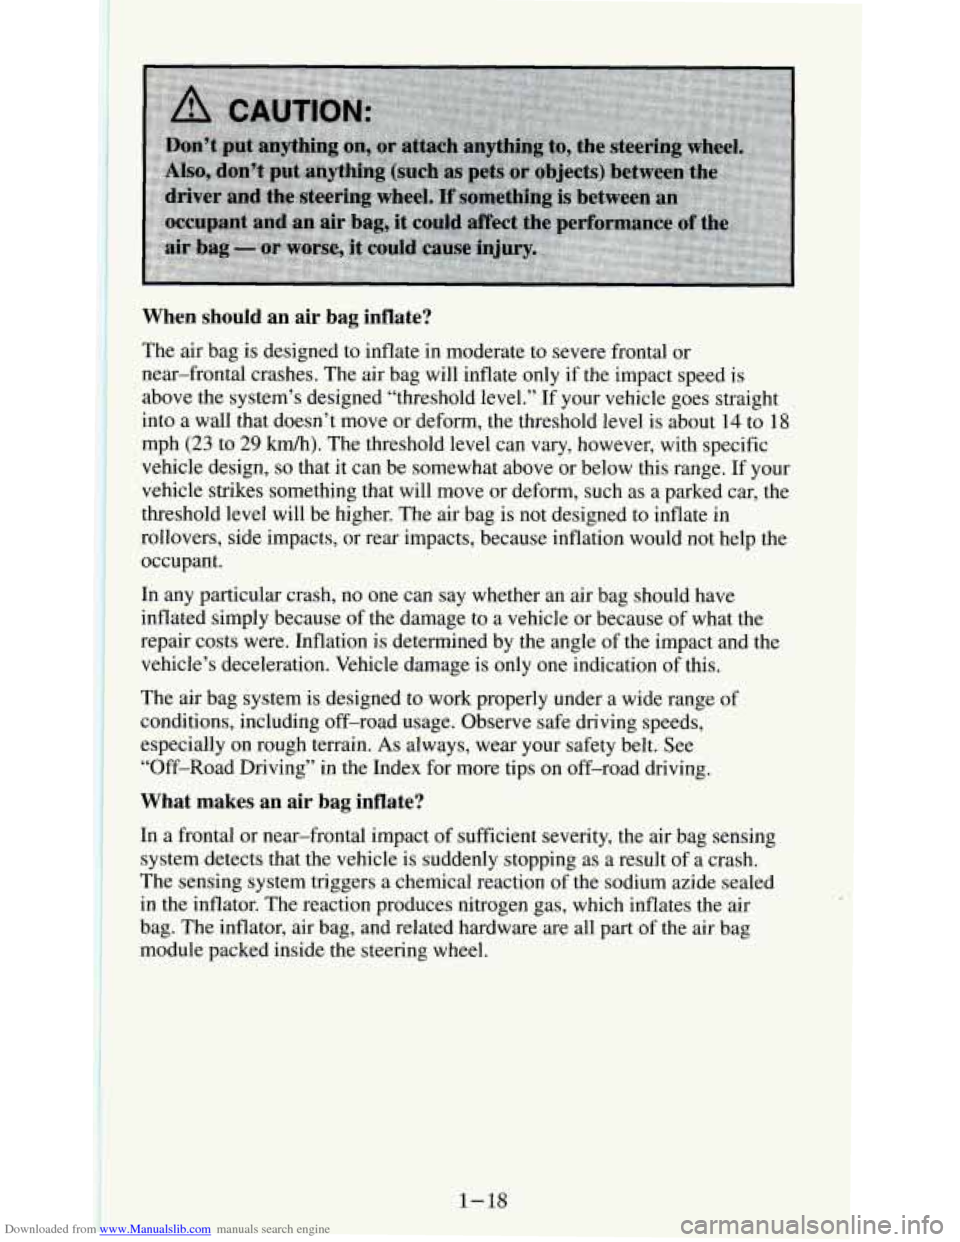
The air bag is designed to inflate in moderate to severe frontal or
near-frontal crashes. The air bag will inflate only if the impact speed is
above the system’s designed “threshold level.” If your vehicle\
goes straight
into a wall that doesn’t move or deform, the threshold level is about 14 to
18
mph (23 to 29 kdh). The threshold level can vary, however, with specific
vehicle design,
so that it can be somewhat above or below this range. If your
vehicle strikes something that will move or deform, such
as a parked car, the
threshold level will be higher. The air bag is not designed to inflate in
rollovers, side impacts, or rear impacts, because inflation would not help the
occupant.
In any particular crash, no one can say whether an air bag should have
inflated simply because
of the damage to a vehicle or because of what the
repair costs were. Inflation is determined by the angle of the impact and the
vehicle’s deceleration. Vehicle damage is only one indication of this.
The air bag system is designed to work properly under a wide range of
conditions, including off-road usage. Observe safe driving speeds,
especially on rough terrain.
As always, wear your safety belt. See
“Off-Road Driving” in the Index for more tips on off-road driving.
What makes an air bag inflate?
In a frontal or near-frontal impact of sufficient severity, the air bag sensing
system detects that the vehicle is suddenly stopping as a result of a crash.
The sensing system triggers a chemical reaction
of the sodium azide sealed
in the inflator. The reaction produces nitrogen gas, which inflates the air
bag. The inflator, air bag, and related hardware are all part
of the air bag
module packed inside the steering wheel.
1-18
Page 98 of 354
Downloaded from www.Manualslib.com manuals search engine lnstrument Panel
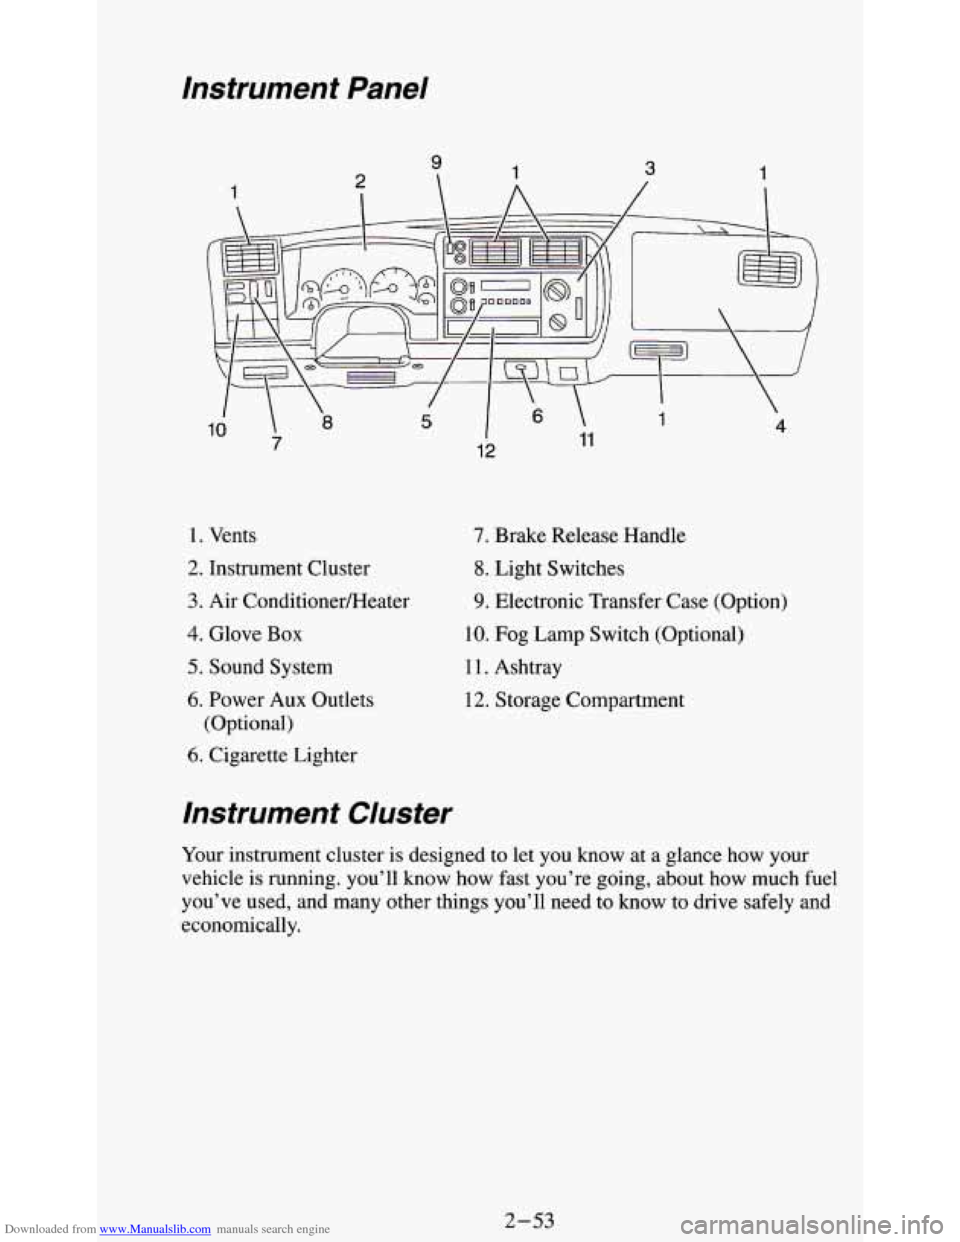
1. Vents
2. Instrument Cluster
3. Air ConditionerLHeater
4. Glove Box
5. Sound System
6. Power Aux Outlets
(Optional)
6. Cigarette Lighter
lnstrument Cluster
7. Brake Release Handle
8. Light Switches
9. Electronic Transfer Case (Option)
10. Fog Lamp Switch (Optional)
11. Ashtray
12. Storage Compartment
Your instrument cluster
is designed to let you know at a glance how your
vehicle is running. you’ll know how fast you’re going, about how much fuel
you’ve used, and many other things you’ll need to know to drive safely and
economically.
2-53
Page 101 of 354
Downloaded from www.Manualslib.com manuals search engine Normal operating range shows your engine speed during normal driving
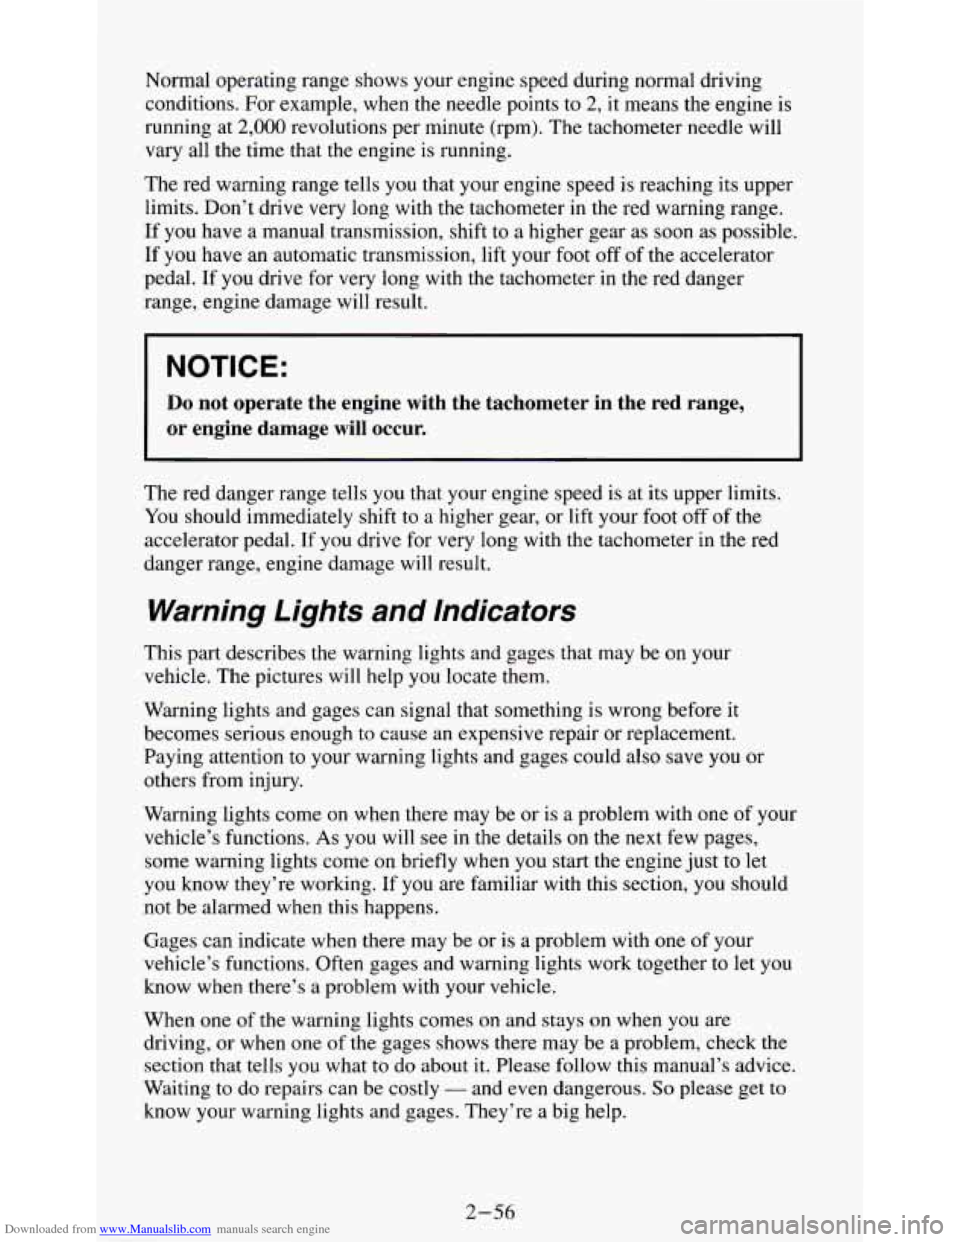
conditions. For example, when the needle points
to 2, it means the engine is
running at
2,000 revolutions per minute (rpm). The tachometer needle will
vary all the time that the engine is running.
The red warning range tells you that your engine speed is reaching its upper
limits. Don’t drive very long with the tachometer in the red warning range.
If you have a manual transmission, shift to a higher gear as soon as possible.
If you have an automatic transmission, lift your foot off of the accelerator
pedal. If
you drive for very long with the tachometer in the red danger
range, engine damage will result.
I NOTICE:
Do not operate the engine with the tachometer in the red range,
or engine damage
will occur.
The red danger range tells you that your engine speed is at its upper limits.
You should immediately shift to a higher gear, or lift your
foot off of the
accelerator pedal. If you drive for very long with the tachometer in the red
danger range, engine damage will result.
Warning Lights and Indicators
This part describes the warning lights and gages that may be on your
vehicle.
The pictures will help you locate them.
Warning lights and gages can signal that something is wrong before it
becomes serious enough
to cause an expensive repair or replacement.
Paying attention to your warning lights and gages could also save you or
others from injury.
Warning lights come on when there may be or is a problem with one of your
vehicle’s functions.
As you will see in the details on the next few pages,
some warning lights come on briefly when you start the engine just to let
you know they’re working. If
you are familiar with this section, you should
not be alarmed when this happens.
Gages can indicate when there may be or is a problem with one
of your
vehicle’s functions. Often gages and warning lights work together to let you
know when there’s a problem with your vehicle.
When one
of the warning lights comes on and stays on when you are
driving, or when one
of the gages shows there may be a problem, check the
section that
tells you what to do about it. Please follow this manual’s advice.
Waiting to do repairs can be costly
- and even dangerous. So please get to
know your warning lights and gages. They’re a big help.
2-56
Page 107 of 354
Downloaded from www.Manualslib.com manuals search engine Charging System lndicator Light
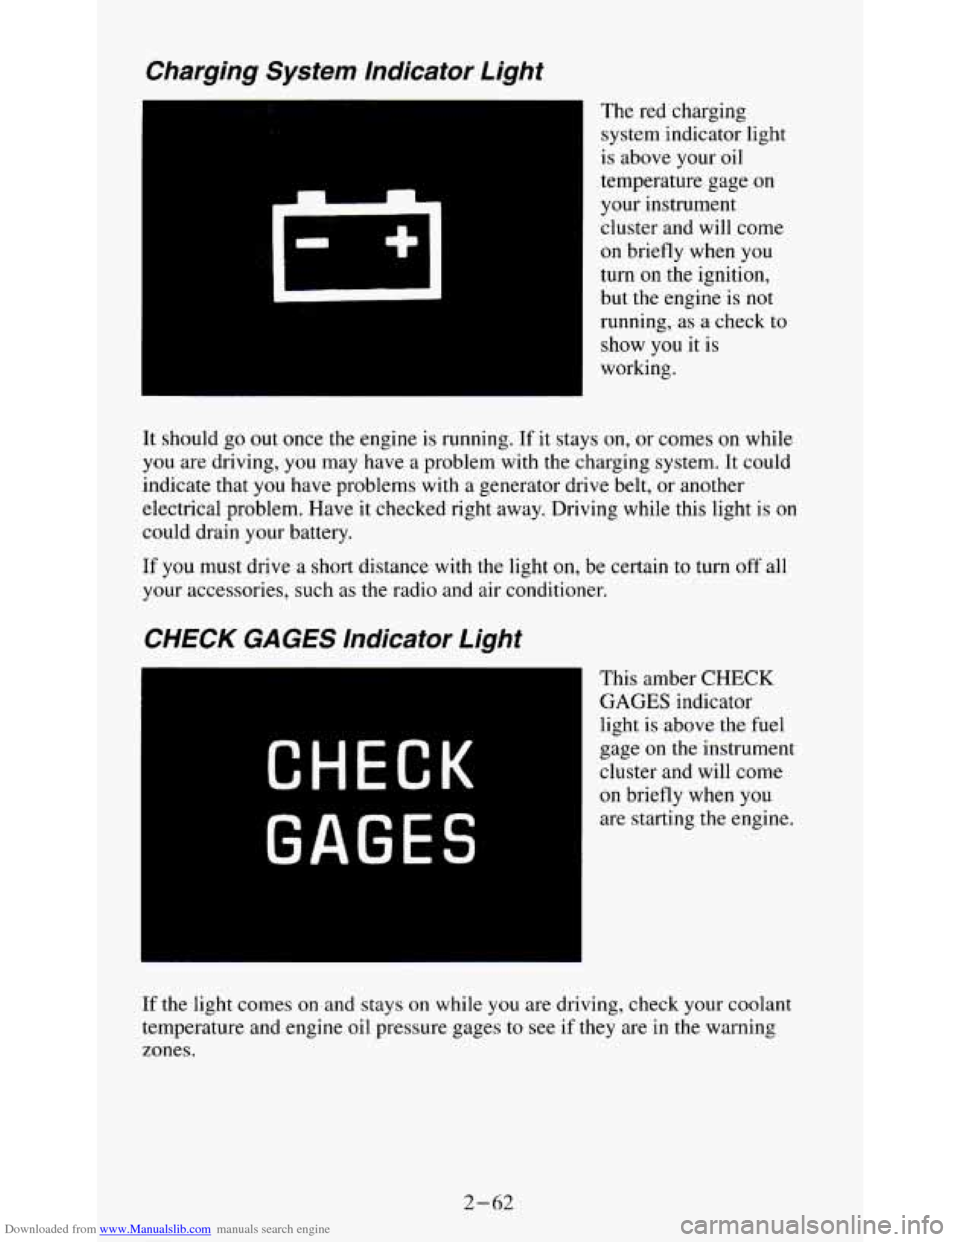
The red charging
system indicator light
is above your oil
temperature gage on
your instrument
cluster and will come
on briefly when you
turn
on the ignition,
but the engine is
not
running, as a check to
show you it is
working.
It should go
out once the engine is running. If it stays on, or comes on while
you are driving, you may have a problem with the charging system. It could
indicate that
you have problems with a generator drive belt, or another
electrical problem. Have it checked right away. Driving while this light is
on
could drain your battery.
If you must drive a short distance with the light on, be certain to turn off all
your accessories, such as the radio and air conditioner.
CHECK GAGES lndicator Light
CHECK
GAGES
This amber CHECK
GAGES indicator
light
is above the fuel
gage
on the instrument
cluster and will come
on briefly when you
are starting the engine.
If the light comes on and stays on while you are driving, check your coolant
temperature and engine oil pressure gages
to see if they are in the warning
zones.
2-62
Page 114 of 354
Downloaded from www.Manualslib.com manuals search engine Comfort Controls & Audio Systems
Section
In this section you'll find out how to operate the comfort control systems
and audio systems offered with your vehicle. Be sure to read about the
particular system supplied with your vehicle.
Comfort Controls
Heater Controls
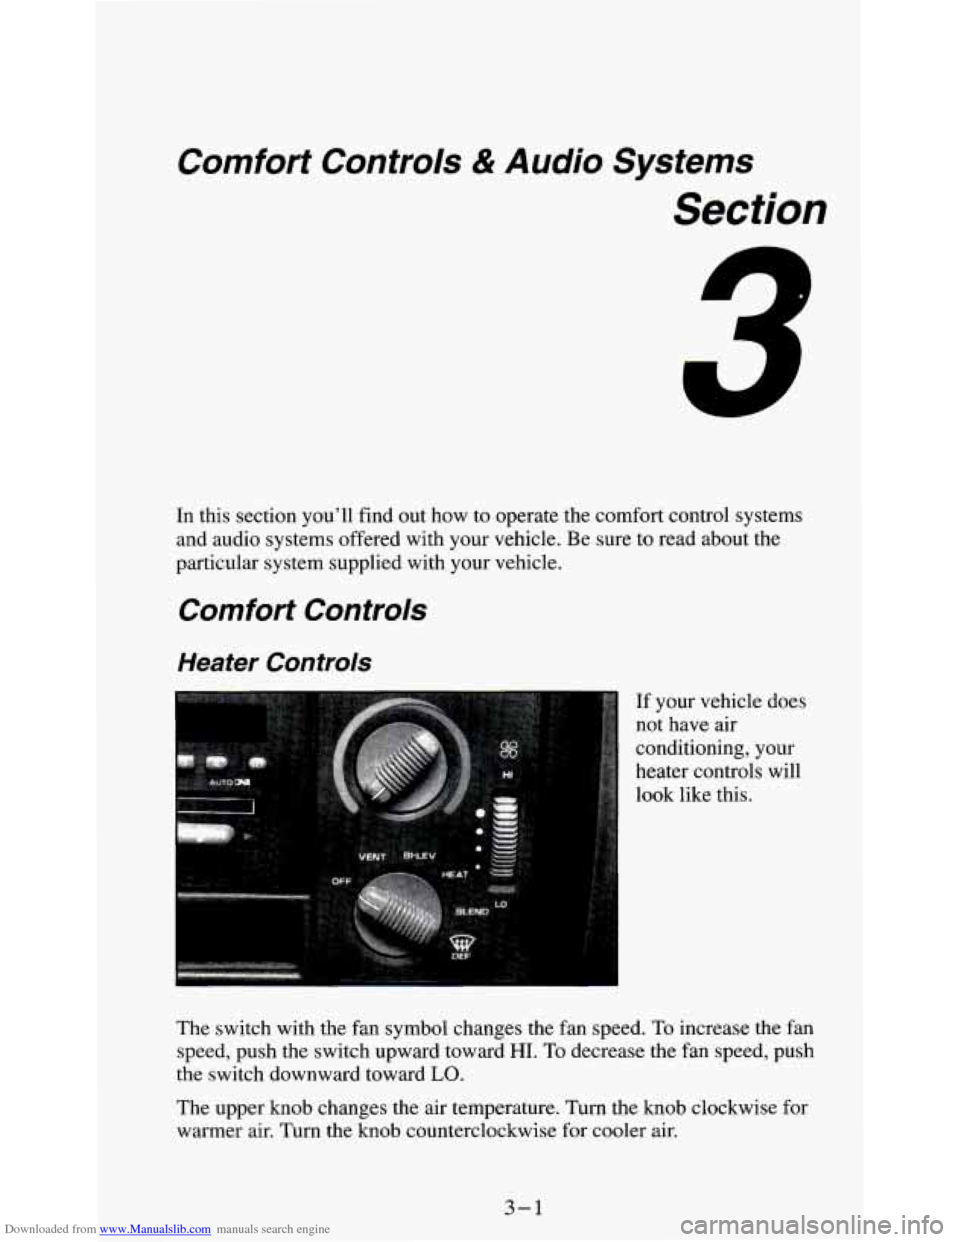
If your vehicle does
not have air
conditioning, your
heater controls will
look like this.
The switch with the fan symbol changes the fan speed.
To increase the fan
speed, push the switch upward toward
HI. To decrease the fan speed, push
the switch downward toward
LO.
The upper knob changes the air temperature. Turn the knob clockwise for
warmer air. Turn the knob counterclockwise for cooler air.
3-1
Page 115 of 354
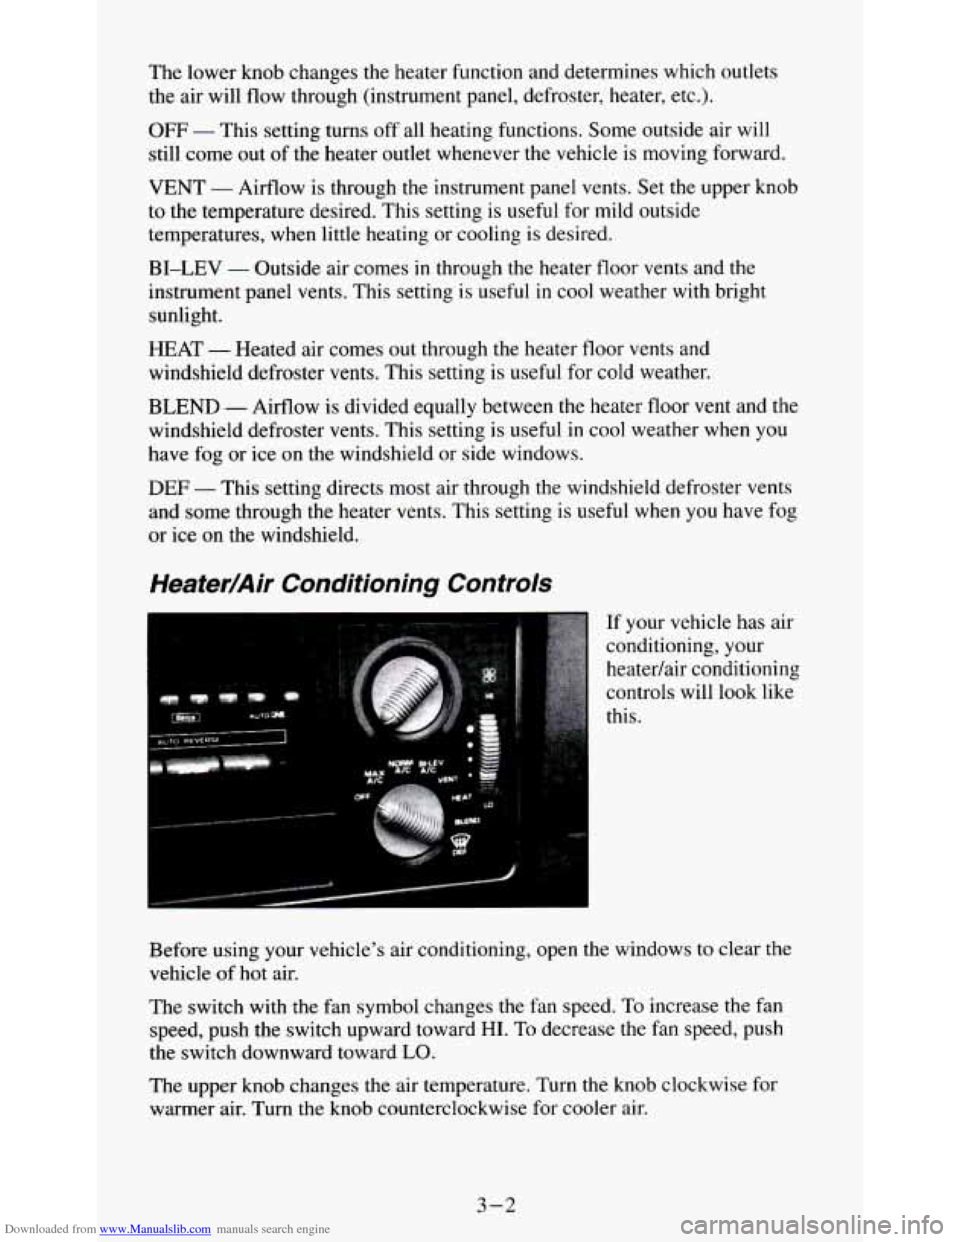
Downloaded from www.Manualslib.com manuals search engine The lower knob changes the heater function and determines which outlets
the air will flow through (instrument panel, defroster, heater, etc.).
OFF - This setting turns off all heating functions. Some outside air will
still come out of the heater outlet whenever the vehicle is moving forward.
VENT - Airflow is through the instrument panel vents. Set the upper knob
to the temperature desired. This setting is useful for mild outside
temperatures, when little heating or cooling is desired.
BI-LEV - Outside air comes in through the heater floor vents and the
instrument panel vents. This setting is useful
in cool weather with bright
sunlight.
HEAT
- Heated air comes out through the heater floor vents and
windshield defroster vents. This setting is useful for cold weather.
BLEND - Airflow is divided equally between the heater floor vent and the
windshield defroster vents. This setting is useful
in cool weather when you
have fog
or ice on the windshield or side windows.
DEF - This setting directs most air through the windshield defroster vents
and some through the heater vents. This setting
is useful when you have fog
or ice on the windshield.
Heater/Air Conditioning Controls
If your vehicle has air
conditioning, your
heatedair conditioning
controls will look like
this.
Before using your vehicle's air conditioning, open the windows to clear the
vehicle of
hot air.
The switch with the fan symbol changes the fan speed. To increase the fan
speed, push the switch upward toward
HI. To decrease the fan speed, push
the switch downward toward
LO.
The upper knob changes the air temperature. Turn the knob clockwise for
warmer air. Turn the knob counterclockwise for cooler air.
3-2
Page 116 of 354
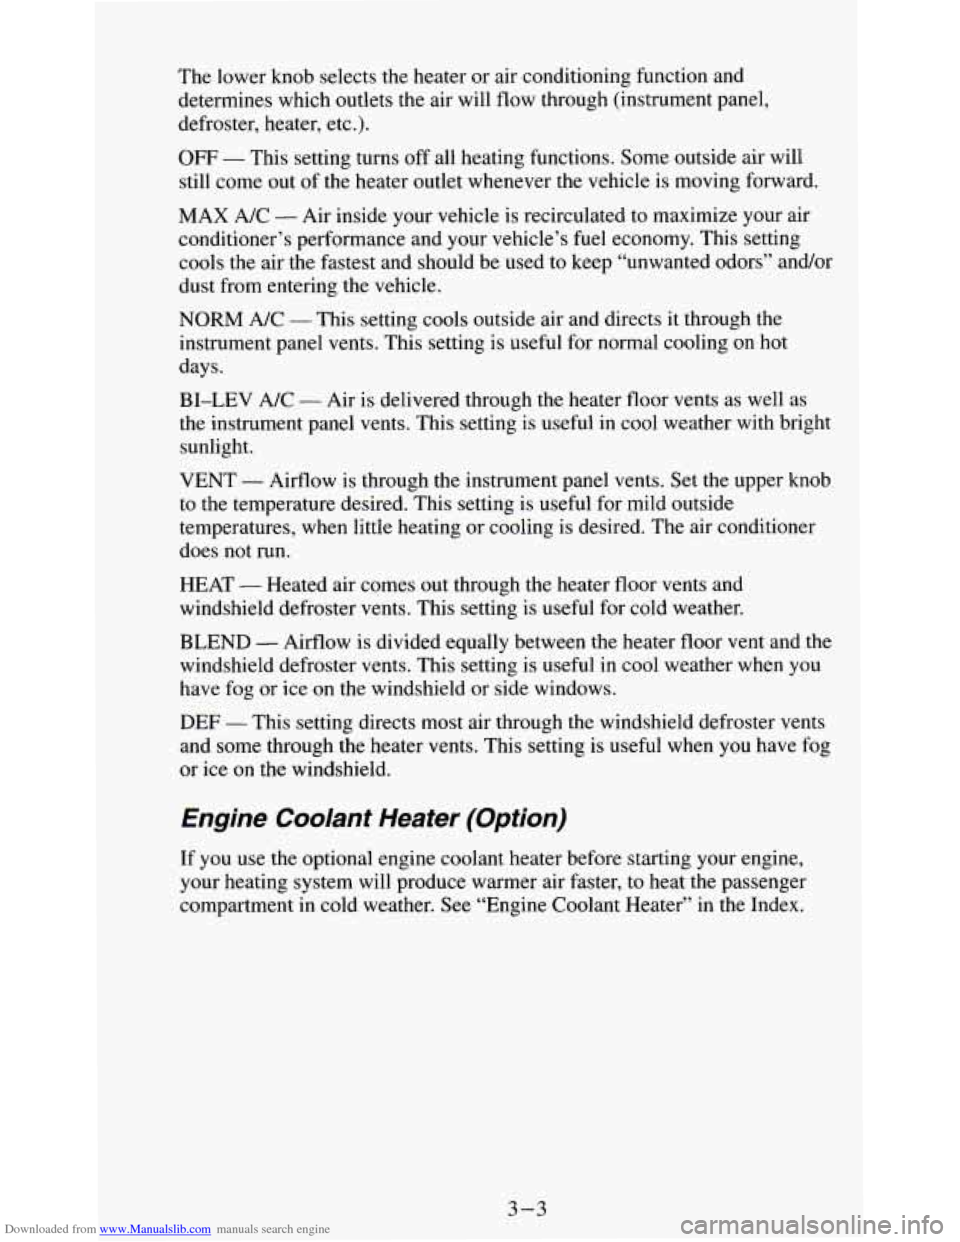
Downloaded from www.Manualslib.com manuals search engine The lower knob selects the heater or air conditioning function and
determines which outlets the air will flow through (instrument panel,
defroster, heater, etc.).
OFF - This setting turns off all heating functions. Some outside air will
still come out of the heater outlet whenever the vehicle is moving forward.
MAX A/C
- Air inside your vehicle is recirculated to maximize your air
conditioner’s performance and your vehicle’s fuel economy. This setting
cools the air the fastest and should be used to keep “unwanted odors” and/or
dust from entering the vehicle.
NORM A/C - This setting cools outside air and directs it through the
instrument panel vents. This setting is useful for normal cooling on hot
days.
BI-LEV A/C
- Air is delivered through the heater floor vents as well as
the instrument panel vents. This setting is useful in cool weather with bright
sunlight.
VENT - Airflow is through the instrument panel vents. Set the upper knob
to the temperature desired. This setting is useful for mild outside
temperatures, when little heating or cooling is desired. The air conditioner
does not run.
HEAT
- Heated air comes out through the heater floor vents and
windshield defroster vents. This setting is useful for cold weather.
BLEND
- Airflow is divided equally between the heater floor vent and the
windshield defroster vents. This setting
is useful in cool weather when you
have fog or ice on the windshield
or side windows.
DEF - This setting directs most air through the windshield defroster vents
and some through the heater vents. This setting is useful when you have fog
or ice on the windshield.
Engine Coolant Heater (Option)
If you use the optional engine coolant heater before starting your engine,
your heating system
will produce warmer air faster, to heat the passenger
compartment
in cold weather. See “Engine Coolant Heater” in the Index.
3-3