1995 CHEVROLET S10 check engine light
[x] Cancel search: check engine lightPage 105 of 354
Downloaded from www.Manualslib.com manuals search engine Indicator Lights
Indicator lights go on when you use your turn signals, change from low
beam headlights
to high beams, or when you use your hazard flashers. The
next few pages will also tell you about the indicator lights on your vehicle
and help
you locate them.
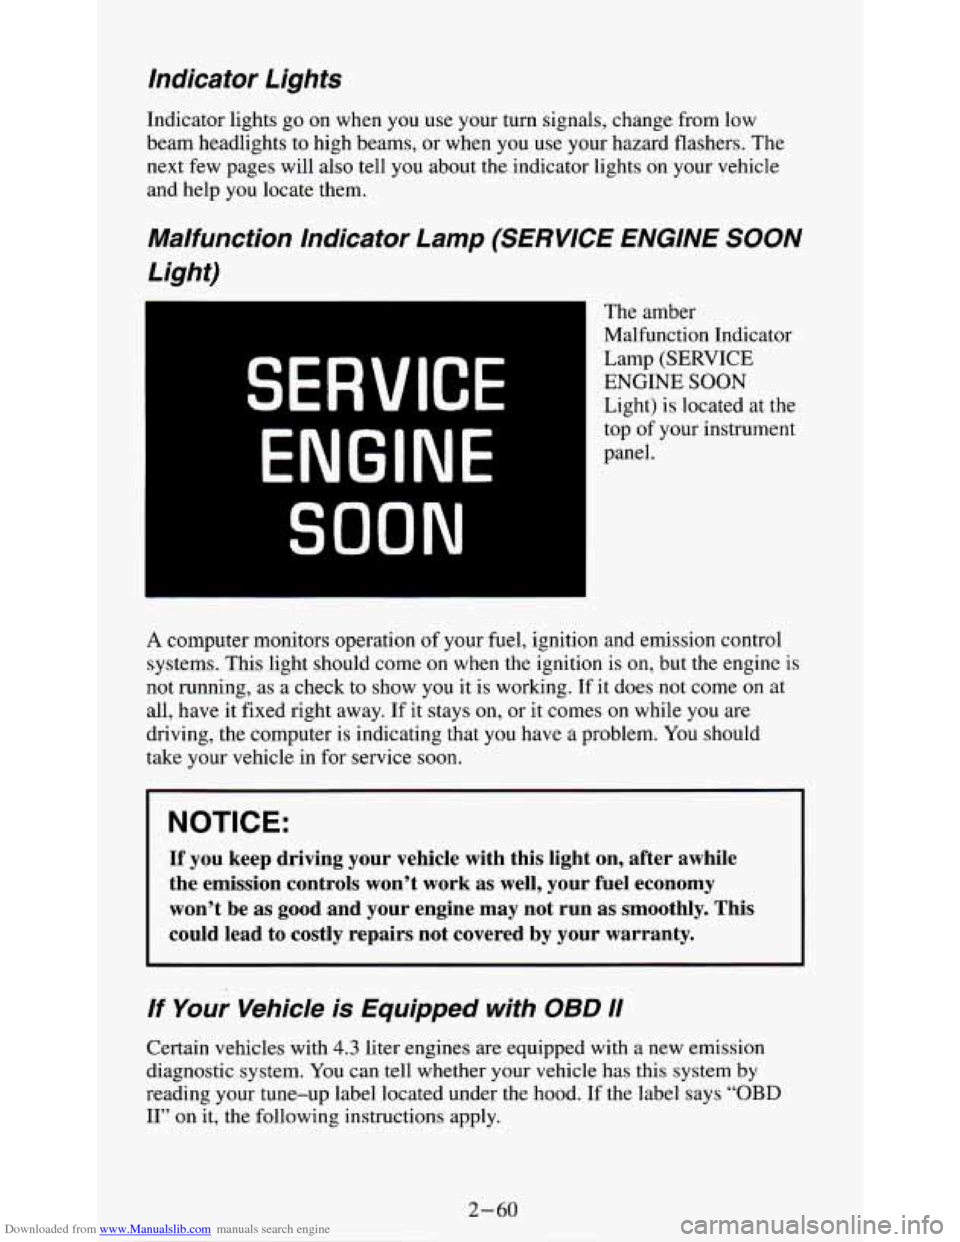
Malfunction Indicator Lamp (SERVICE ENGINE SOON
Light)
The amber
Malfunction Indicator
Lamp (SERVICE
ENGINE SOON
Light) is located at the
top of your instrument
panel.
SERVICE
ENGINE
SOON
A computer monitors operation of your fuel, ignition and emission control
systems. This light should come
on when the ignition is on, but the engine is
not running, as a check to show you it is working. If it does not come
on at
all, have it fixed right away.
If it stays on, or it comes on while you are
driving, the computer is indicating that
you have a problem. You should
take your vehicle in for service
soon.
NOTICE:
If you keep driving your vehicle with this light on, after awhile
the emission controls won’t work as well, your fuel economy
won’t be as good and your engine may not run as smoothly. This
could lead
to costly repairs not covered by your warranty.
If Your Vehicle is Equipped with OBD I1
Certain vehicles with 4.3 liter engines are equipped with a new emission
diagnostic system. You can tell whether your vehicle has this system
by
reading your tune-up label located under the hood. If the label says “OBD
11” on it, the following instructions apply.
Page 106 of 354
Downloaded from www.Manualslib.com manuals search engine Malfunction Indicator Lamp (SERVICE ENGINE SOON Light)
Your vehicle is equipped with an onboard computer which monitors
operation of the emission control system. This system is called OBD I1
(On-Board Diagnostics-Second Generation) and is intended to assure that
emissions are at acceptable levels for the life of the vehicle, helping to
produce a cleaner environment. The “SERVICE ENGINE
SOON’ light
comes on to indicate when service is required. Malfunctions often will be
indicated by
the system before any problem is apparent, which may prevent
more serious damage to your vehicle. This system is also designed to assist
your service technician in correctly diagnosing any malfunction.
The “SERVICE ENGINE
SOON, light should come on, as a check to show
you it is working, when the ignition is on and the engine is not running. This
light will also come during a malfunction in one
of two ways:
0
0
Light on steady - indicates a system malfunction has been detected.
Drive the vehicle to the dealer for service at your first opportunity.
Light flashing
- indicates a misfire has been detected which may
damage the emission control system. The damage may be reduced by
lowering the vehicle speed, reducing the amount of cargo being hauled
or trailered, avoiding hard acceleration, or by avoiding steep uphill
grades.
If these actions are effective, the light will stop flashing and
remain on steady. Drive the vehicle to a dealer for service. If the light
continues to flash, stop the vehicle. Wait for a steady light to come on,
then drive the vehicle to a dealer for service.
These following conditions also may cause the “SERVICE ENGINE
SOON” light to come on:
Low FueVOut of Fuel
- As the vehicle starts to run out of fuel the
“SERVICE ENGINE
SOON” light may come on as a result of an engine
misfire. Filling your gasoline tank should correct this condition. Make sure
to install the gas cap fully. It will require a few driving trips to turn the light
off.
Poor Quality Fuel
- Be sure to fuel your vehicle with quality fuel. Your
engine may not run efficiently on poor fuel. Poor fuel may cause stalling,
hesitation or misfire. These conditions may go away when the engine is
warned-up. However, poor quality fuel may cause the “SERVICE ENGINE
SOON, light to come on.
Have a dealer check the vehicle. If no problems are found, you may want to
change to another brand
of fuel.
Driving Through Standing Water
- Driving your vehicle through puddles
of deep standing water may result in a temporary misfire condition. This
condition will usually correct itself shortly after the electrical system dries
out. It will require a few driving trips to turn the light off.
2-61
Page 107 of 354
Downloaded from www.Manualslib.com manuals search engine Charging System lndicator Light
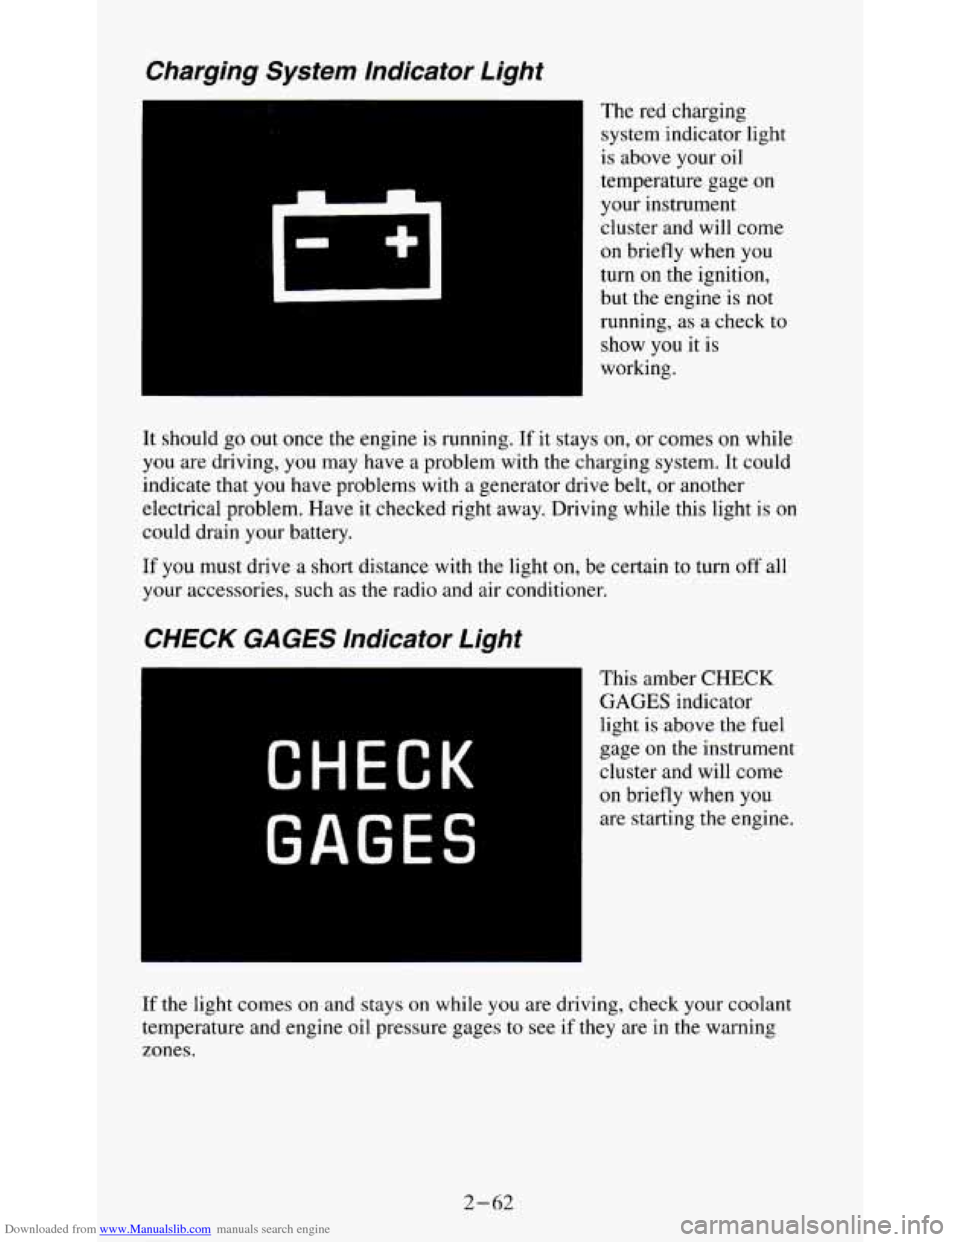
The red charging
system indicator light
is above your oil
temperature gage on
your instrument
cluster and will come
on briefly when you
turn
on the ignition,
but the engine is
not
running, as a check to
show you it is
working.
It should go
out once the engine is running. If it stays on, or comes on while
you are driving, you may have a problem with the charging system. It could
indicate that
you have problems with a generator drive belt, or another
electrical problem. Have it checked right away. Driving while this light is
on
could drain your battery.
If you must drive a short distance with the light on, be certain to turn off all
your accessories, such as the radio and air conditioner.
CHECK GAGES lndicator Light
CHECK
GAGES
This amber CHECK
GAGES indicator
light
is above the fuel
gage
on the instrument
cluster and will come
on briefly when you
are starting the engine.
If the light comes on and stays on while you are driving, check your coolant
temperature and engine oil pressure gages
to see if they are in the warning
zones.
2-62
Page 131 of 354
Downloaded from www.Manualslib.com manuals search engine NOTICE:
Before you add any sound equipment to your vehicle - like a
tape player,
CB radio, mobile telephone or two-way radio - be
sure you can add what you want. If
you can, it’s very important
to do it properly. Added sound equipment may interfere with th\
e
operation of your vehicle’s engine, Delco@ radio or other
systems, and even damage them. And, your vehicle’s systems
may interfere with the operation of sound equipment that has been added improperly.
So, before adding sound equipment, check with your dealer and
be sure to check Federal rules covering mobile radio and telephone units.
Care of Your Cassette Player and Tape
A tape player that is not cleaned regularly is subject to reduced sound
quality, ruining the cassette, or damaging the mechanism. Tape cassettes that
are not properly stored in their plastic cases away from contaminants, direct
sunlight, and extreme heat, may not operate properly and could cause
premature failure of the tape player.
Your tape player should be cleaned with every
50 hours of use to provide
optimum performance. Your radio may display “Cln” (Clean)
to indicate
that you have used your tape player for
50 hours without re-setting the tape
clean timer. If you notice a reduction in sound quality, regardless \
of when
the tape player was last cleaned, try playing a different cassette to see if the
tape
or tape player is at fault. If the second cassette results in no
improvement in sound quality, try cleaning the tape player.
Proper tape player cleaning should be done with a scrubbing action,
non-abrasive cleaning cassette. This is a wet-type cleaning system that uses
a cleaning cassette with pads which scrub the tape head as the hubs of the
cleaner cassette turn. To properly clean your tape player, follow instructions
with the cleaning cassette. If
you use this type of cleaner, the radio may
display an error and eject
the cartridge. This is normal and is the result of an
added feature in the tape player that detects broken tapes. If an error occurs,
you will need to insert the cleaning cassette at least
3 times to thoroughly
clean the tape player.
You may prefer
to use a non-scrubbing action, wet-type cleaner. This type
of cleaner uses a fabric belt to clean the tape head. This type of cleaner
cassette will not cause an error, but it may not clean the tape player as
thoroughly as the scrubbing type cleaner.
3-18
Page 132 of 354
Downloaded from www.Manualslib.com manuals search engine A scrubbing action cleaner cassette is available through your retailer (SPO
12344600).
Cassettes are subject to wear and the sound quality may degrade over time.
Always verify that the cassette tape
is in good condition and the tape player
is clean before obtaining service on your tape player.
NOTICE:
Cassette tape adapter kits for portable CD players will not work
in your cassette player. These adapters will cause the radio
to
display an error and the adapter cassette will be ejected.
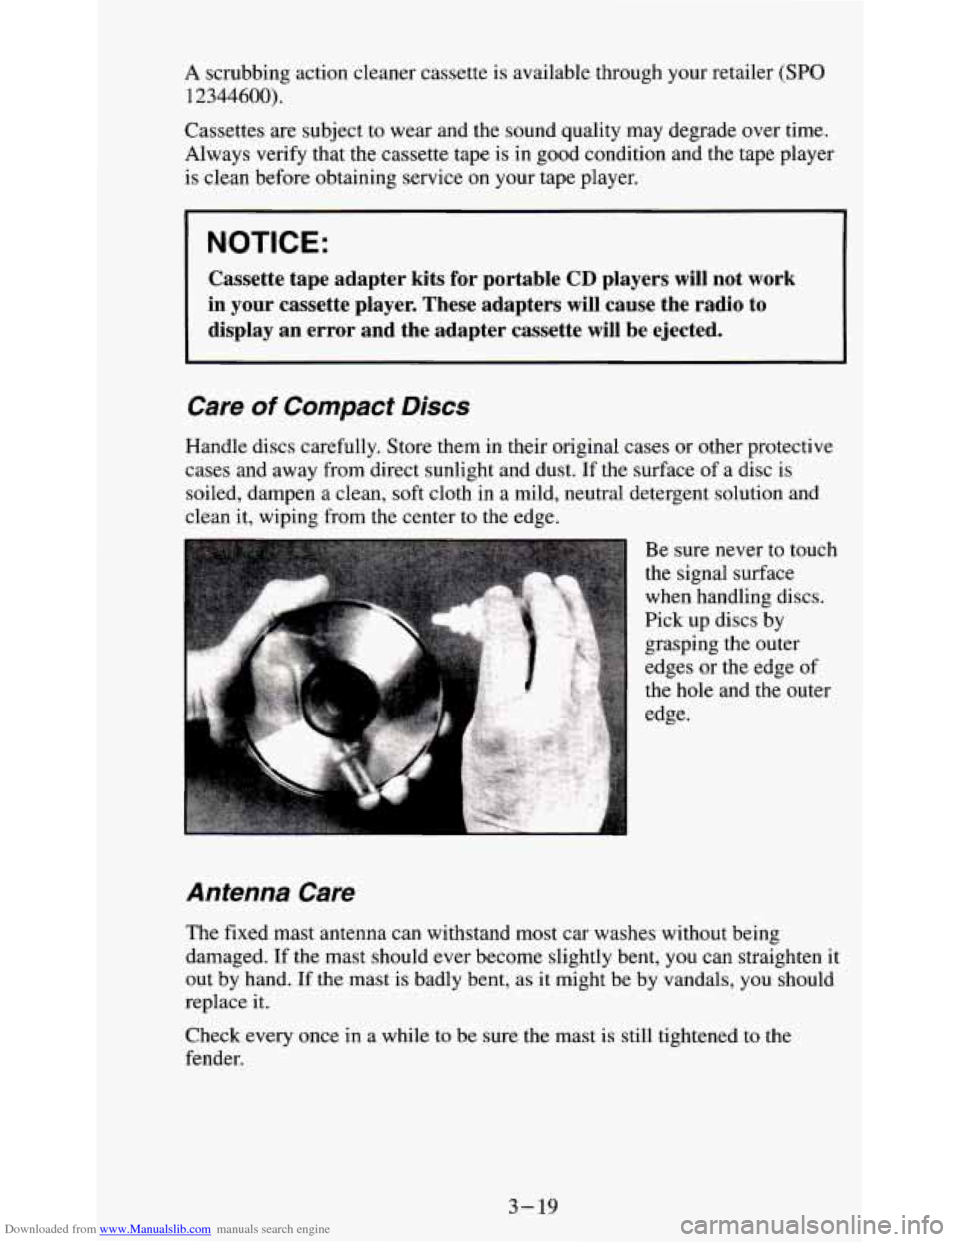
Care of Compact Discs
Handle discs' carefully. Store them in their original cases or other protective
cases and away from direct sunlight and dust. If the surface of a disc
is
soiled, dampen a clean, soft cloth in a mild, neutral detergent solution and
clean it, wiping from the center to the edge.
Antenna Care
The fixed mast antenna can withstand most car washes without being
damaged. If the mast should ever become slightly bent, you can straighten
it
out by hand. If the mast is badly bent, as it might be by vandals, you should
replace it.
Check every once in a while to be sure the mast is still tightened
to the
fender.
3-19
Page 157 of 354
Downloaded from www.Manualslib.com manuals search engine Here are some tips on night driving.
Drive defensively.
0 Don’t drink and drive.
Adjust your inside rearview mirror to reduce the glare from headlights
Since you can’t see as well, you may need to slow down and keep more
behind you.
space
between you and other vehicles.
Slow down, especially on higher speed roads. Your headlights can light
up
only so much road ahead.
In remote areas, watch for animals.
0 If you’re tired, pull off the road in a safe place and rest.
Night Vision
No one can see as well at night as in the daytime. But as we get older these
differences increase. A 50-year-old driver may require at least twice as
much light to see the same thing at night as a 20-year-old.
What you do in the daytime can also affect your night vision.
For example,
if you spend the day in bright sunshine you
are wise to wear sunglasses.
Your eyes will have less trouble adjusting to night. But
if you’re driving,
don’t wear sunglasses at night. They may cut down on glare from
headlights, but they also make a lot of things invisible.
You can be temporarily blinded by approaching lights. It can take a second
or
two, or even several seconds, for your eyes to readjust to the dark. When
you
are faced with severe glare (as from a driver who doesn’t lower the high
beams, or a vehicle with misaimed headlights), slow down a little. Avoid
staring directly into the approaching lights.
Keep your windshield and all the glass on your vehicle clean
- inside and
out. Glare at night is made much worse by dirt on the glass. Even the inside
of the glass can build up a film caused by dust. Dirty glass makes lights
dazzle and flash more than clean glass would, making
the pupils of your
eyes contract repeatedly.
Remember that your headlights light up far less of a roadway when you
are
in a turn or curve. Keep your eyes moving; that way, it’s easier to pick out
dimly lighted objects. Just as your headlights should be checked regularly
for proper aim,
so should your eyes be examined regularly. Some drivers
suffer from night blindness
- the inability to see in dim light - and aren’t
even aware
of it,
4-24
Page 160 of 354
Downloaded from www.Manualslib.com manuals search engine City Driving
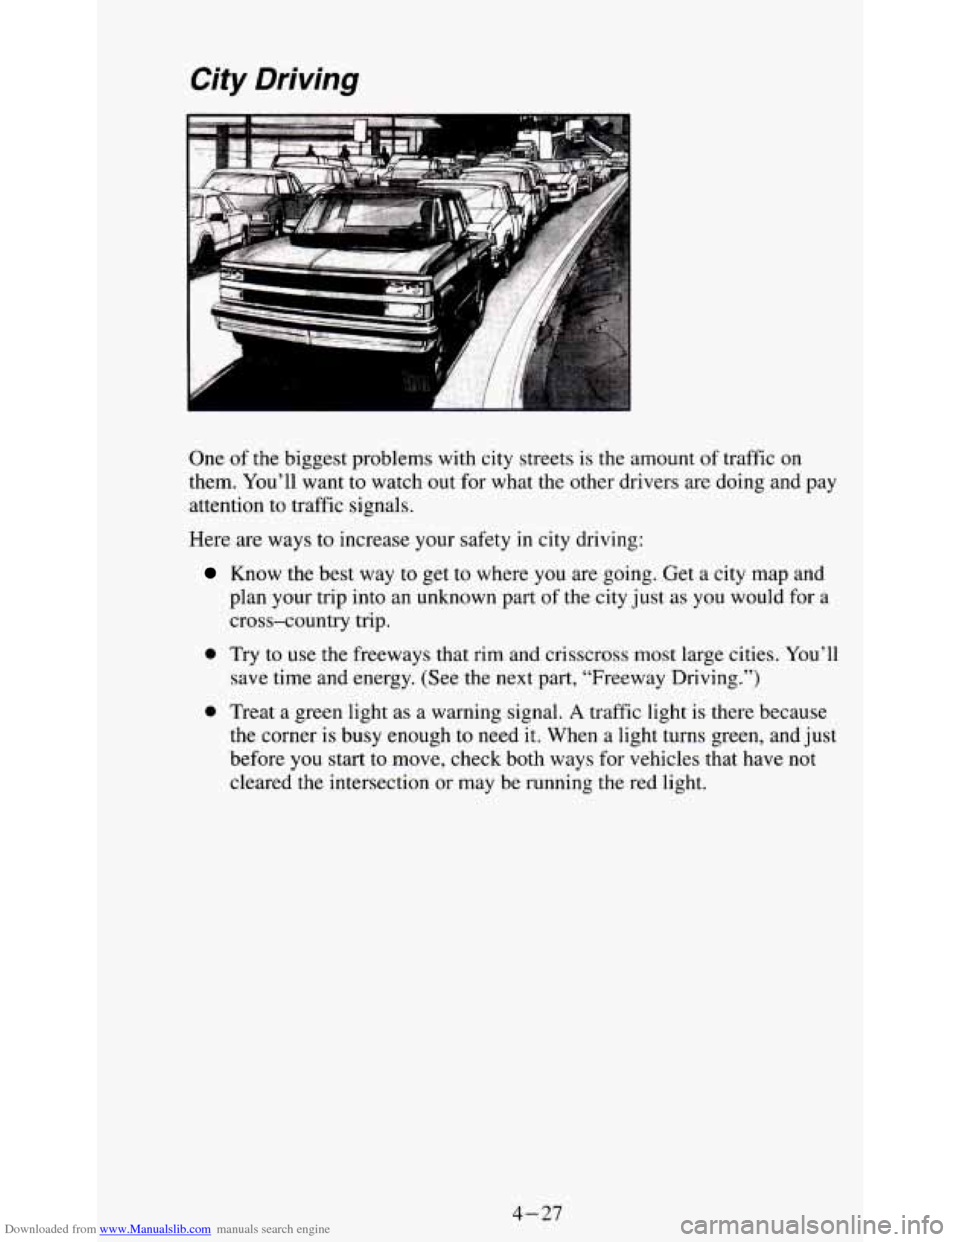
One of the biggest problems with city streets is the amount of traffic on
them. You’ll want to watch out for what the other drivers are doing and pay
attention to traffic signals.
Here are ways to increase your safety in city driving:
Know the best way to get to where you are going. Get a city map and
plan your trip into an unknown part of the city just
as you would for a
cross-country trip.
0 Try to use the freeways that rim and crisscross most large cities. You’ll
save time and energy. (See the next part, “Freeway Driving.”)
0 Treat a green light as a warning signal. A traffic light is there because
the corner is busy enough to need it. When a light turns green, and just
before you start to move, check both ways for vehicles that have not
cleared the intersection
or may be running the red light.
4-27
Page 161 of 354
Downloaded from www.Manualslib.com manuals search engine Freeway Driving
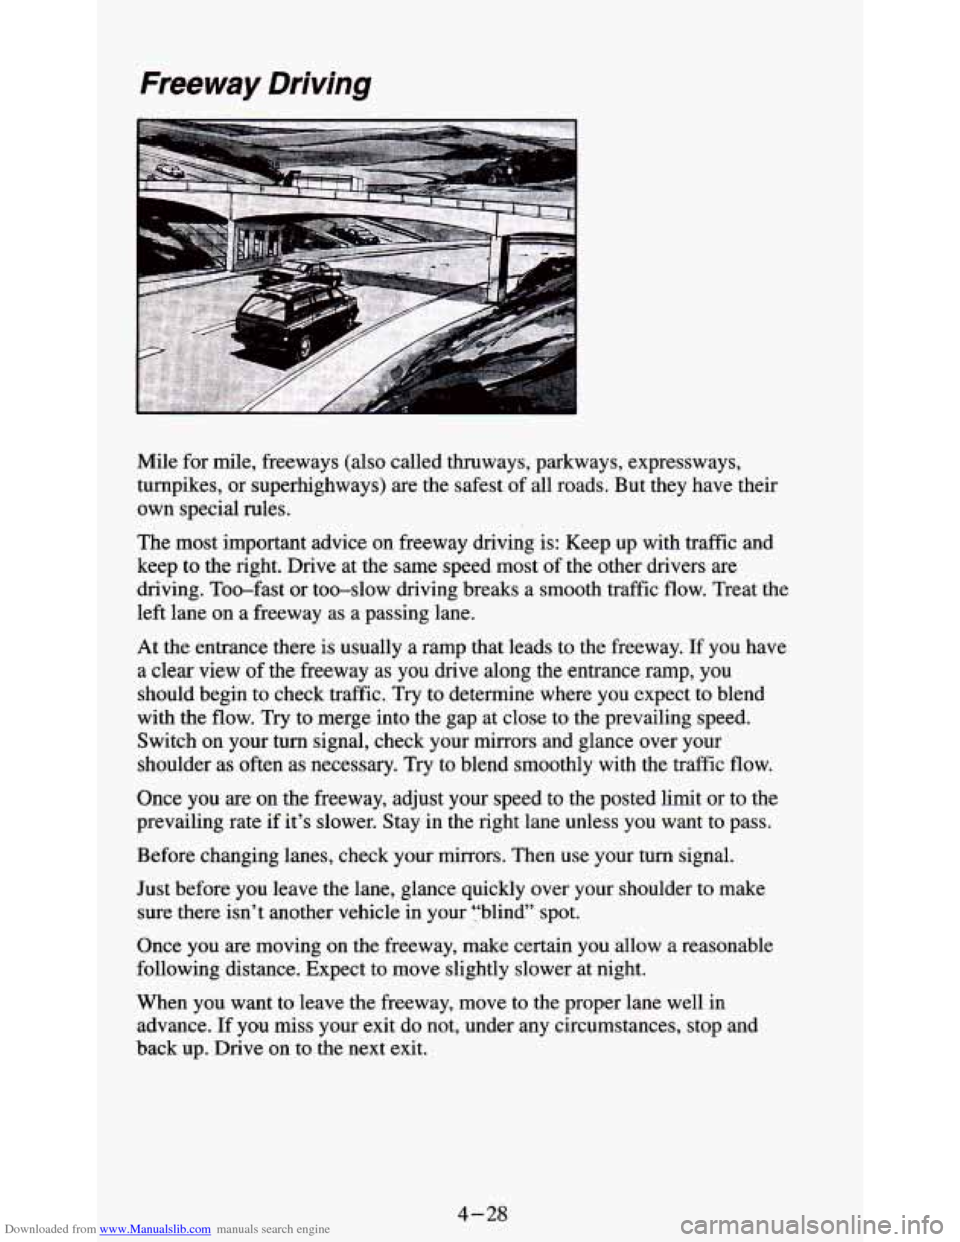
Mile for mile, freeways (also called thruways, parkways, expressways,
turnpikes, or superhighways)
are the safest of all roads. But they have their
own special rules.
The most important advice on freeway driving is: Keep up with traffic and
keep to the right. Drive at the same speed most of the other drivers are
driving. Too-fast or too-slow driving breaks a smooth traffic flow. Treat
the
left lane on a freeway as a passing lane.
At the entrance there is usually a ramp that leads to the freeway. If you have
a clear view of the freeway as you drive along the entrance ramp, you
should begin to check traffic. Try to determine where you expect to blend
with the
flow. Try to merge into the gap at close to the prevailing speed.
Switch on your turn signal, check your mirrors and glance over your
shoulder as often as necessary.
Try to blend smoothly with the traffic flow.
Once you are on the freeway, adjust your speed to the posted limit or to the
prevailing rate if it’s slower. Stay in the right lane unless you want to pass.
Before changing lanes, check your mirrors. Then use your turn signal.
Just before you leave the lane, glance quickly over your shoulder to make
sure there
isn’t another vehicle in your ‘.‘blind” spot.
Once you are moving on the freeway, make certain you allow a reasonable
following distance. Expect to move slightly slower at night.
When you want to leave the freeway, move to the proper lane well in
advance. If you miss your exit
do not, under any circumstances, stop and
back up. Drive on to the next exit.
4-28