1995 CHEVROLET CORVETTE instrument panel
[x] Cancel search: instrument panelPage 119 of 386
Downloaded from www.Manualslib.com manuals search engine Low Tire Pressure Warning Light (Option)
The Low Tire Pressure Warning System (LTPWS) has a
sensor
on each road wheel that transmits to a receiver on
the instrument panel.
The system operates on a radio frequency subject to
Federal Communications Commission (FCC) Rules.
This device complies with Part 15 of the FCC Rules.
Operation is subject to the following two conditions:
(1) This device may not cause harmful interference, and
(2) This device must accept any interference received,
including interference that may cause undesired
operation.
Changes or modifications to this system
by other than an
authorized service facility could void authorization to
use this equipment.
The (LTPWS) monitors air pressure in each road tire
while you’re driving your Corvette.
LOW/FLAT
TIRE
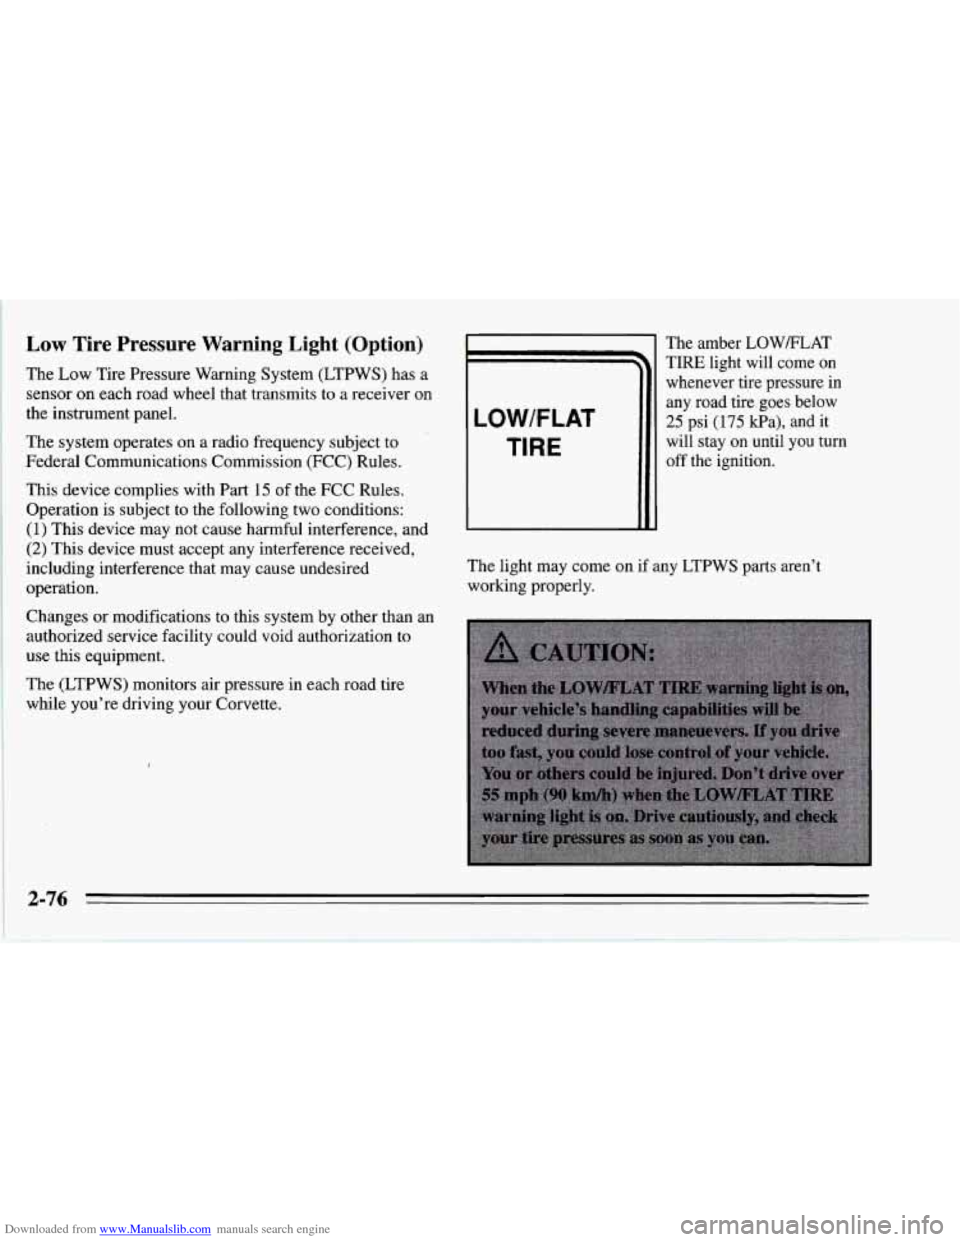
The amber LOW/FLAT
TIRE light will come on
whenever tire pressure in
any road tire goes below
25 psi
(175 kPa), and it
will stay
on until you turn
off the ignition.
The light may come on
if any LTPWS parts aren’t
working properly.
2-76
Page 141 of 386
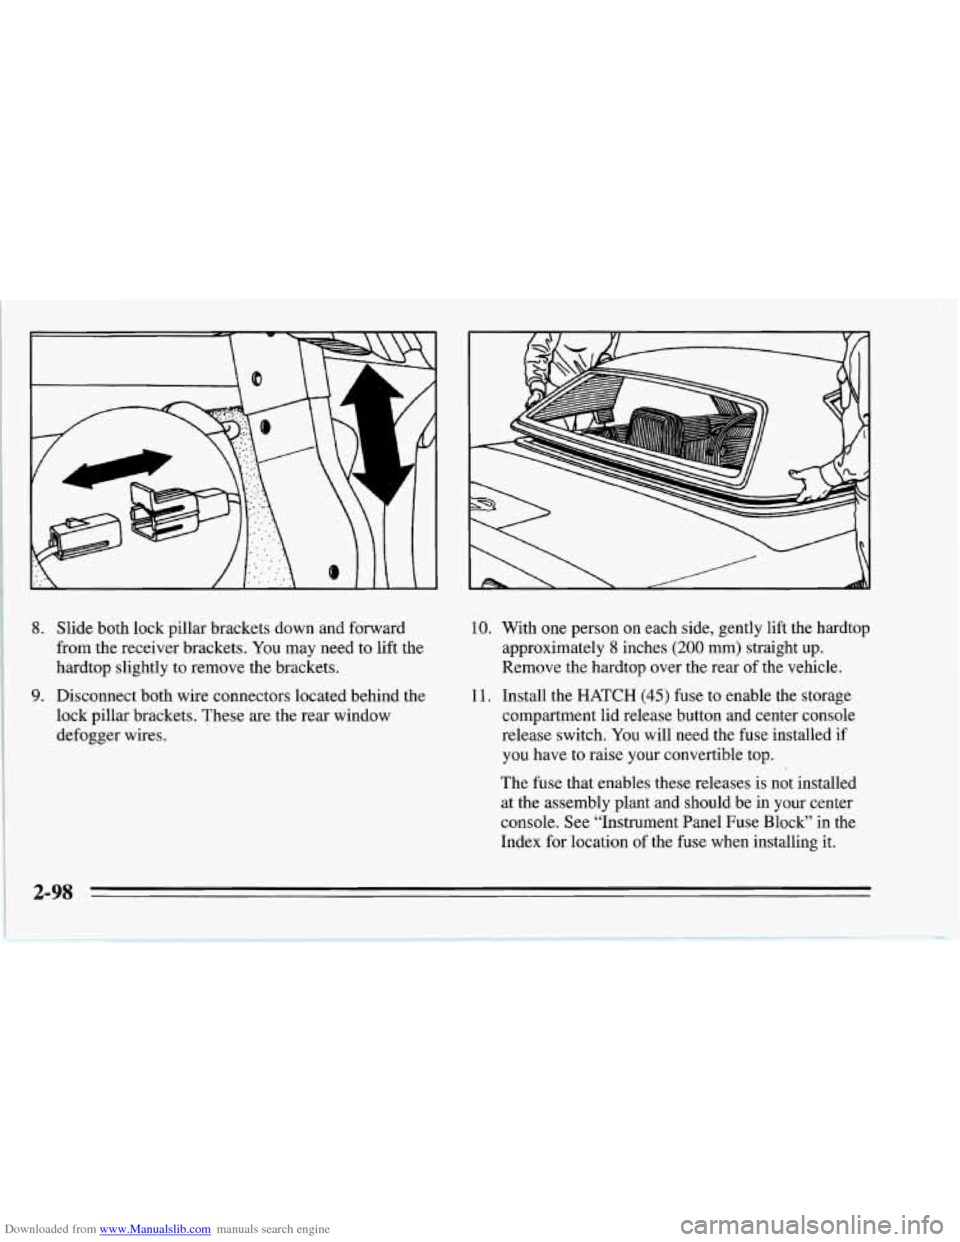
Downloaded from www.Manualslib.com manuals search engine 8. Slide both lock pillar brackets down and forward
from the receiver brackets. You may need to lift the
hardtop slightly to remove the brackets.
9. Disconnect both wire connectors located behind the
lock pillar brackets. These
are the rear window
defogger wires.
10. With one person on each side, gently lift the hardtop
approximately
8 inches (200 mm) straight up.
Remove the hardtop over the rear of the vehicle.
11. Install the HATCH (45) fuse to enable the storage
compartment lid release button and center console
release switch. You will need the fuse installed
if
you have to raise your convertible top.
The fuse that enables these releases
is not installed
at the assembly plant and should be in your center
console. See "Instrument Panel Fuse Block" in the
Index for location
of the fuse when installing it.
I
2-98
Page 142 of 386
Downloaded from www.Manualslib.com manuals search engine NOTICE:
To help avoid damaging the hardtop when not in
use:
Store the hardtop in its normal position,
0 Store hardware and trim panel with the
resting
on its mounting brackets.
hardtop.
12. Connect the rear window defogger electrical
connectors.
To Install Your Convertible Hardtop
1. Park on a level surface, set the parking brake firmly
and shift an automatic transmission into PARK
(P).
Shift a manual transmission into REVERSE (R).
Lower both windows and sunshades. Turn off the
radio to lower the power antenna and turn the
ignition key to LOCK.
2. Disconnect both rear window defogger electrical
connectors behind the lock pillar.
3. Lower the convertible top. Refer to “Convertible
Top” in the Index.
This procedure will require the use
of the storage
compartment lid release button behind the dnver’s
seat or the center console release switch. The fuse that
enables these releases is not installed at the assembly
plant and should be in your center console. See
“Instrument Panel Fuse Block” in the Index for
location
of the fuse. The fuse is labeled HATCH (45).
4. With one person on each side, carefully position the
hardtop over the vehicle. Lower the hardtop slowly,
aligning the rear bolt spacers onto the bezels, and
front conical nuts into the tapered receivers. Realign
the hardtop, if necessary.
NOTICE:
To help avoid damage, don’t force the rear of the
hardtop down. The hardtop may rest slightly
above the storage compartment lid until the
release lever is pulled. See Step
8 in this
procedure.
2-99
Page 145 of 386
Downloaded from www.Manualslib.com manuals search engine Temperature Control Lever
Move the lever to change the temperature of the air
flowing from the system. Move it to the right for
warmer air and to the left for cooler air.
Air Control Buttons
OFF: The system is off.
RECIRCULATE: Provides maximum cooling or
quick cool-down
on very hot days. This setting
recirculates most of the air inside your vehicle. If it is
used for long periods of time, the air may become dry.
This setting directs air through the upper air vents. It
will work when the outside temperatures are above
freezing.
'''9 NORMAL A/C: Use for normal cooling on hot
days. This setting cools outside air and directs it through
the instrument panel vents.
The air conditioner compressor also operates in
DEFROST. It only works when the outside temperature is
above freezing. When the air conditioner compressor is on,
you may sometimes notice slight changes in your vehicle's
engine speed and power. This is normal because the
system
is designed to cycle the compressor on and off to
keep the desired cooling and help fuel economy.
do
A.
*P@ BI-LEVEL: This setting cools or heats outside air
and directs it through the instrument panel vents and the
floor ducts.
do
9 VENT: Air flows through the instrument panel
vents. The air conditioning compressor does not work in
VENT mode.
wj HEATER: This setting directs most of the air
through the floor ducts and some of the air through the
defroster vents. The air conditioning compressor does
not work in HEATER mode.
DEFROST This setting directs most of the air
through the windshield defroster and side window
defogger vents and some of the air through the floor
ducts.
Heating
The heater works best if you keep your windows closed
while using it.
Press HEATER and FAN UP, then slide the temperature
control lever to a comfortable setting.
3-2
Page 146 of 386
Downloaded from www.Manualslib.com manuals search engine If your vehicle has an engine coolant heater and you use
it in cold weather,
0 “F (- 18 “C) or lower, your heating
system can provide heat more quickly because the
engine coolant is already warmed. See “Engine Coolant
Heater” in the Index.
Bi-Level
You may want to use BI-LEVEL on cool, but sunny
days. This setting directs outside air through the
instrument panel vents and the floor ducts.
Press BI-LEVEL and FAN UP, then slide the
temperature control lever to a comfortable setting.
Ventilation
For mild outside temperatures, when little heating or
cooling is needed, you can still direct outside air through
your vehicle.
Press VENT and FAN UP, then slide the temperature
control lever to a comfortable setting.
Defogging and Defrosting Windows
Your vehicle has several settings for clearing your
windows. The air conditioner compressor will run to
help remove moisture from the air.
To defrost the windshield quickly, press
DEFROST and
FAN UP, then slide the temperature control lever all the
way to the right or to the FULL
HOT position.
To defrost the side windows quickly, press BI-LEVEL
and FAN UP. Then slide the temperature control lever
all the way to the right. Direct airflow through the air
conditioning outlets closest to the side windows.
3-3
Page 148 of 386
Downloaded from www.Manualslib.com manuals search engine Temperature Control Switch
Press the arrows on the TEMP SET switch to set the
temperature you want in your vehicle. The temperature
you select will show on the display for a few seconds,
then the outside temperature will show.
Air Control Buttons
OFF: The system is off.
AUTO: The system controls airflow.
RECIRCULATE: Provides maximum cooling or
quick cool-down on very hot days. This setting
recirculates most of the air inside your vehicle. If it is
used for long periods
of time, the air may become dry.
This setting directs air through the upper air vents. It
will not work when the outside temperature is above
freezing.
49 BI-LEVEL: This setting directs outside air
through the instrument panel and side window defogger
vents and the floor ducts.
-A*
do
9 VENT Outside air flows through the instrument
panel vents.
w2 HEATER: This setting directs all of the air
through the floor ducts.
DEFROST This setting directs most of the air
through the windshield defroster and side window
defogger vents and some of
the air through the floor
ducts.
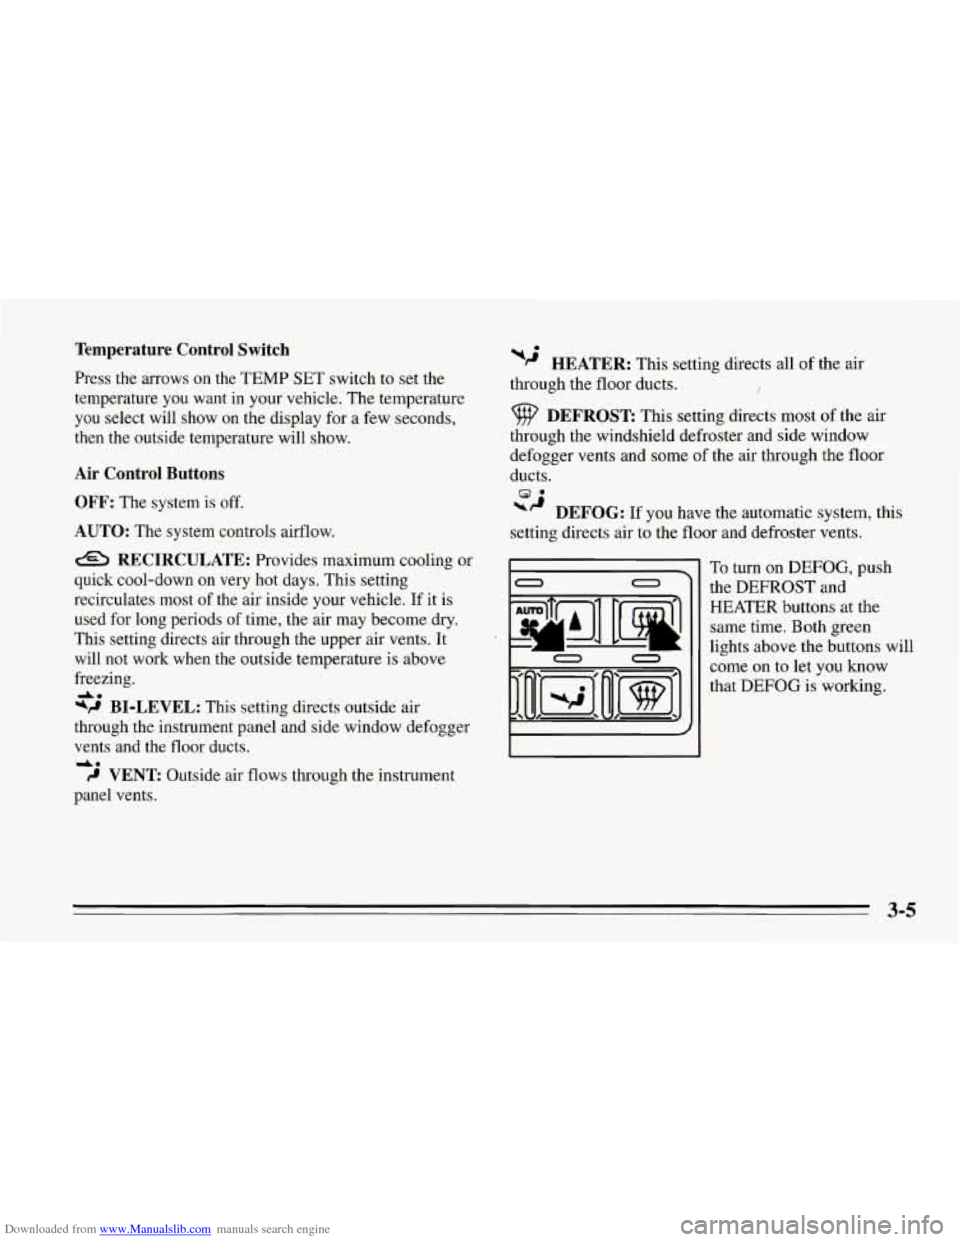
*’ DEFOG: If you have the automatic system, this
setting directs air to the floor and defroster vents.
0 0
E I 0 0
To turn on DEFOG, push
the
DEFROST and
HEATER buttons at the
same time. Both green
lights above the buttons will
come on to let you know
that
DEFOG is working.
3-5
Page 149 of 386

Downloaded from www.Manualslib.com manuals search engine Temperature Sensors
Sunload:
This sensor is on top of the instrument panel.
When the inside temperature
is increased by sunlight,
the system will lower the inside temperature up to
5°F
(3 “C) below the setting on the display.
Outside Temperature: This sensor is on the right side
of the upper radiator support in the grille opening. This
is what you usually see on the display.
If the outside temperature goes up, the displayed
temperature will not change until:
a Vehicle speed is above 25 mph (40 km/h) for at least
0 Vehicle speed is above 45 mph (72 km/h) for
This delay helps prevent a false reading. If vehicle speed
remains above
25 mph (40 km/h) or the temperature
goes down, the display is updated immediately.
If your vehicle has been off for more than three hours,
the current outside temperature will be stored in the
system when you start the vehicle.
Inside temperature: This sensor is in the center air
outlet
on the passenger side.
If you block or cover either interior sensor, the system
will give a false reading.
3 minutes, or
1 1/2 minutes.
Automatic Control
The system will adjust to maintain the temperature you
set. It will select the best fan speed and aifflow setting to
keep you comfortable with the least amount of noise.
Press the arrows on the TEMP SET switch’to set a
comfortable temperature. Then press AUTO
and the fan
speed will adjust automatically unless you press the
arrows on the switch.
Manual Heating
The heater works best if you keep your windows closed
while using it.
Press the arrows on the TEMP SET switch to set a
comfortable temperature. Then press HEATER and, if
you don’t like the automatic setting, press the arrows on
the fan speed switch.
In AUTO FAN on cold days, the
fan will stay off until the coolant warms up enough to
heat your vehicle.
If your vehicle has an engine coolant heater and you use
it in cold weather,
0 OF (- 18 O C) or lower, your heating
system can provide heat more quickly because the
engine coolant is already warmed. See “Engine Coolant
Heater” in the Index.
3-6
Page 169 of 386
Downloaded from www.Manualslib.com manuals search engine Avoid needless heavy braking. Some people drive
in spurts
-- heavy acceleration followed by heavy
braking
-- rather than keeping pace with traffic. This
is
a mistake. Your brakes may not have time to cool
between hard stops. Your brakes will wear out much
faster if you do a lot of heavy braking. If you keep pace
with the traffic and allow realistic following distances,
you will eliminate a lot of unnecessary braking. That
means better braking and longer brake life.
If your engine ever stops while you’re driving, brake
normally but don’t pump your brakes. If
you do, the
pedal may get harder to push down.
If your engine
stops, you will still have some power brake assist. But
you will use it when you brake. Once the power assist is
used up, it may take longer to stop and the brake pedal
will be harder to push.
Anti-Lock Brakes (ABS)
Your Corvette has an advanced electronic braking
system that will help prevent a braking skid.
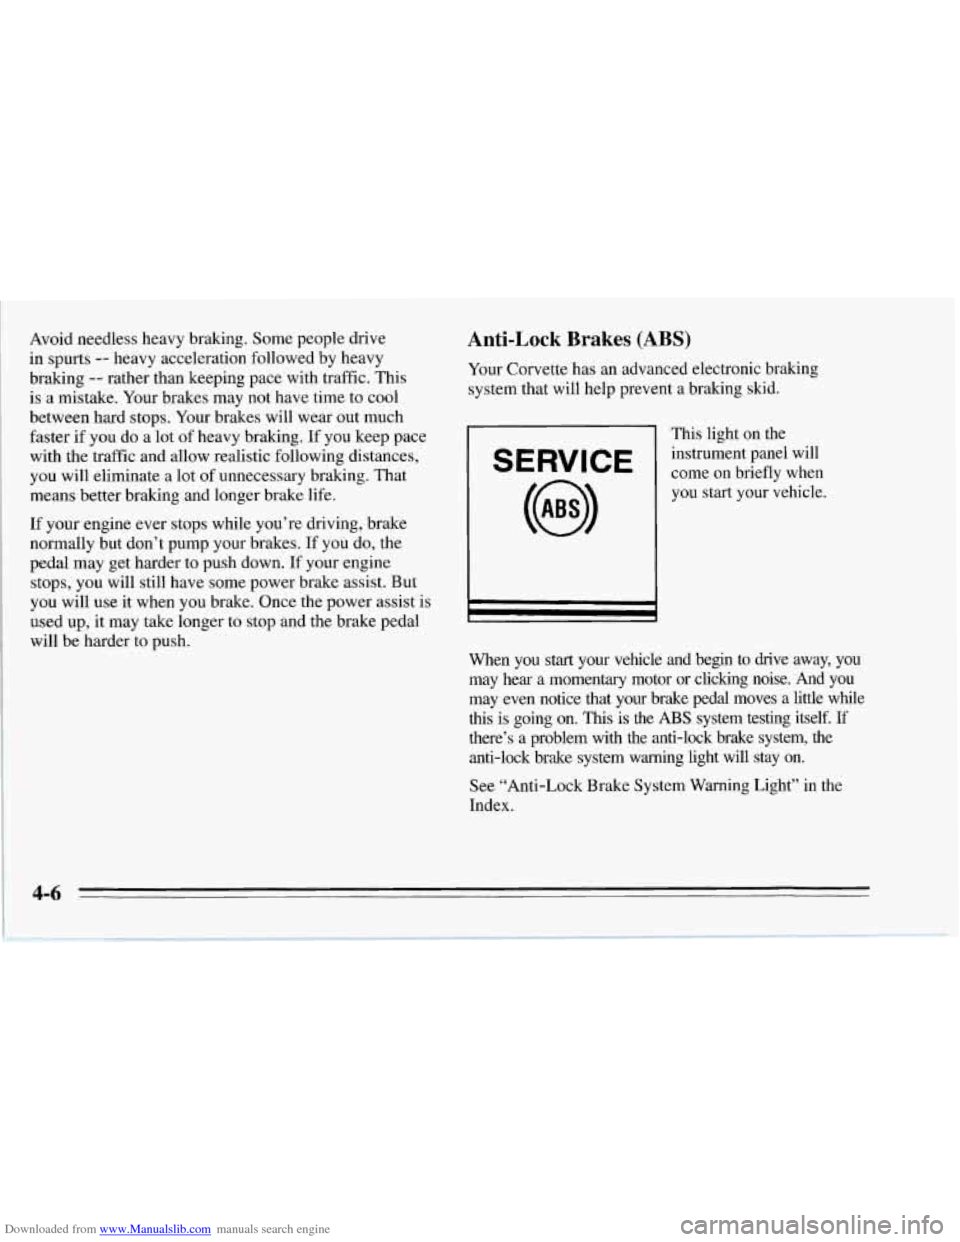
This light on the
E RVI E come on briefly when
instrument
panel will
you start your vehicle.
I r I
When you start your vehicle and begin to drive away, you
may hear a momentary motor or clicking noise. And you
may even notice that your brake pedal moves a little while
this is going on.
This is the ABS system testing itself. If
there’s a problem with the anti-lock brake system, the
anti-lock brake system warning light will stay on.
See “Anti-Lock Brake System Warning Light” in the
Index.