1995 CHEVROLET CORVETTE CD player
[x] Cancel search: CD playerPage 154 of 386
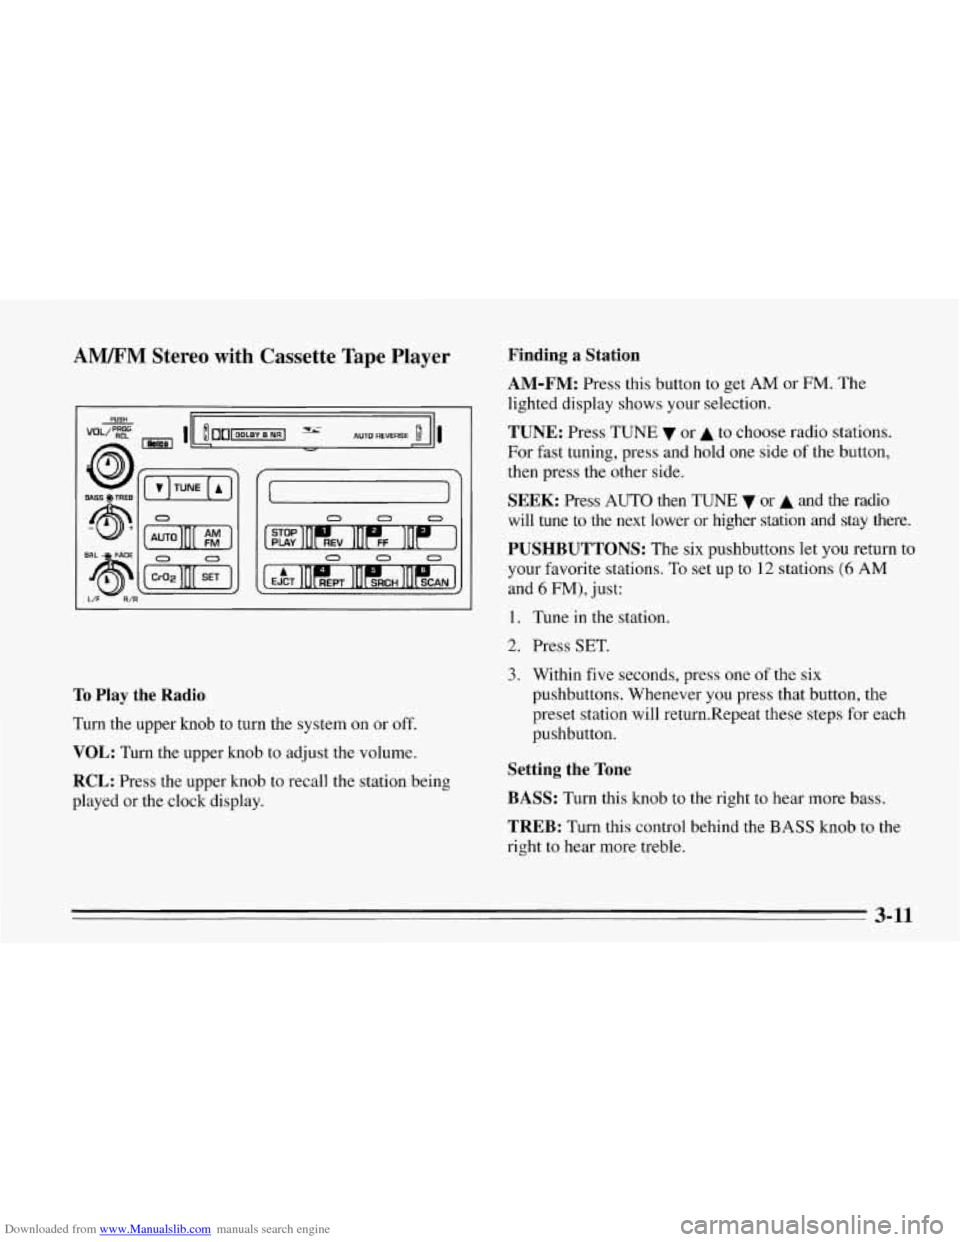
Downloaded from www.Manualslib.com manuals search engine AM/FM Stereo with Cassette Tape Player
L/F R/I
0 II 0 0 0
0 OII 0 0 0
To Play the Radio
Turn the upper knob to turn the system on or off.
VOL: Turn the upper knob to adjust the volume.
RCL: Press the upper knob to recall the station being
played or the clock display.
Finding a Station
AM-FM:
Press this button to get AM or FM. The
lighted display shows your selection.
TUNE: Press TUNE or A to choose radio stations.
For fast tuning, press and hold one side
of the button,
then press the other side.
SEEK: Press AUTO then TUNE 7 or A and the radio
will tune to the next lower or higher station
and stay there.
PUSHBUTTONS: The six pushbuttons let you return to
your favorite stations. To set up to
12 stations (6 AM
and 6 FM), just:
1. Tune in the station.
2. Press SET.
3. Within five seconds, press one of the six
pushbuttons. Whenever you press that button, the
preset station will return.Repeat these steps for each
pushbutton.
Setting the Tone
BASS:
Turn this knob to the right to hear more bass.
TREB: Turn this control behind the BASS knob to the
right to hear more treble.
3-11
Page 155 of 386
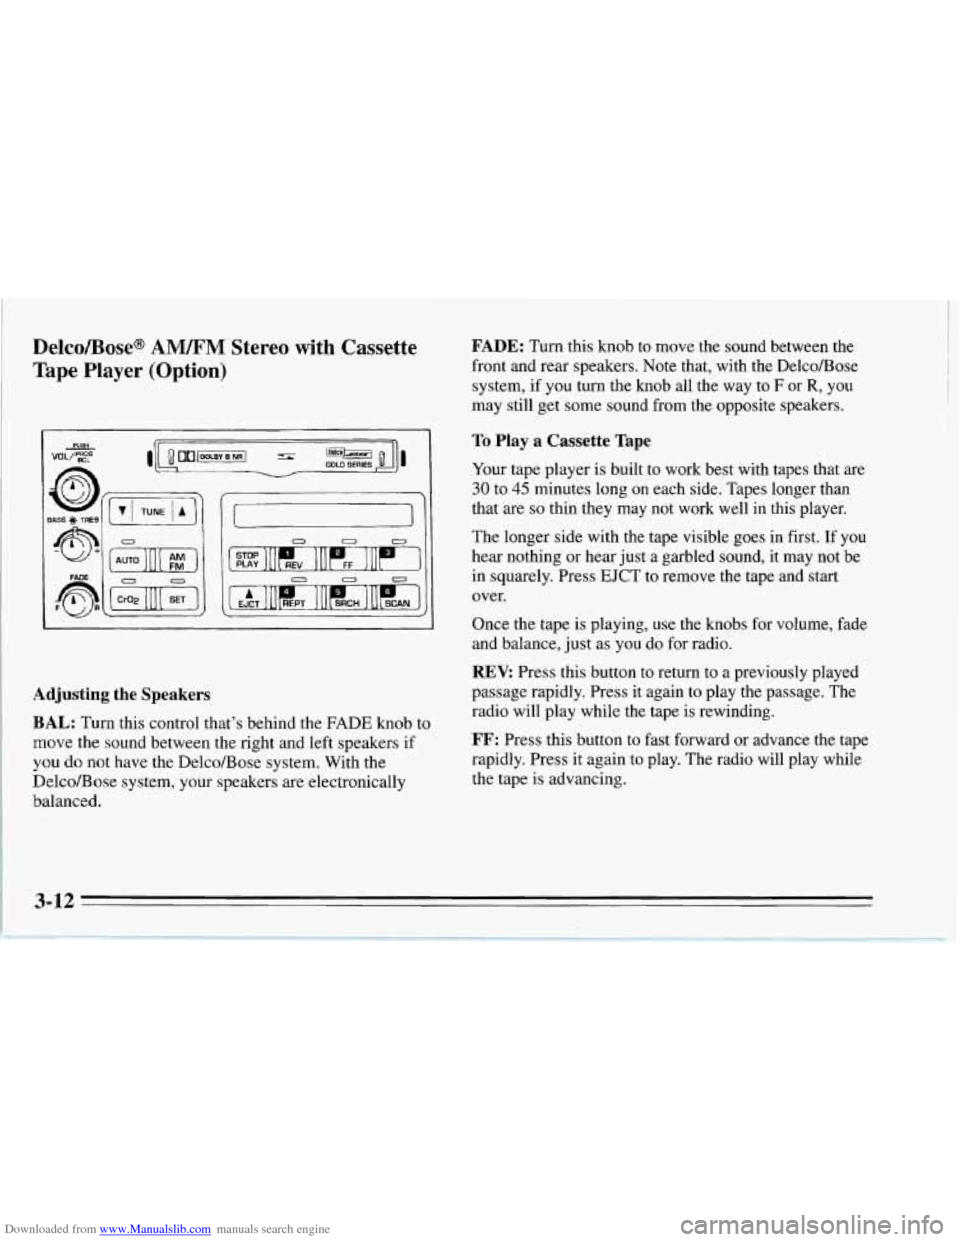
Downloaded from www.Manualslib.com manuals search engine Delco/Bose@ AM/FM Stereo with Cassette
Tape Player (Option)
FADE: Turn this knob to move the sound between the
front and rear speakers. Note that, with the Delco/Bose
system, if you turn the knob all the way to
F or R, you
may still get some sound from the opposite speakers.
0 I
0 01
0 0
0 0 0 II
'I
Adjusting the Speakers
BAL: Turn this control that's behind the FADE knob to
move the sound between the right and left speakers if
you
do not have the Delco/Bose system. With the
Delco/Bose system, your speakers are electronically
balanced. Your
tape player
is built to work best with tapes that are
30 to 45 minutes long on each side. Tapes longer than
that are
so thin they may not work well in this player.
The longer side with the tape visible goes in first. If you
hear nothing or hear just a garbled sound, it may not be
in squarely. Press
EJCT to remove the tape and start
over.
Once the tape is playing, use the knobs for volume, fade
and balance, just as you do for radio.
REV: Press this button to return to a previously played
passage rapidly. Press it again to play the passage. The
radio will play while the tape
is rewinding.
FF: Press this button to fast forward or advance the tape
rapidly. Press it again to play. The radio will play while
the tape
is advancing.
To Play a Cassette Tape
3-12
Page 156 of 386
Downloaded from www.Manualslib.com manuals search engine REPT Press this button to go to the beginning of the
current selection after 10 seconds or more of play. After
five seconds or less of play, the player will return to the
beginning
of the previous selection.
SRCH: Press this button to go to the beginning of the
next selection.
SCAN: Press this button to listen to the first eight
seconds of each passage. Press it again
to stop scanning.
PROG: Press the upper knob to change the side of the
tape that is playing. The lighted arrows show which side
is currently playing.
EJCT Press this button to remove the tape.
STOP-PLAY: Press this button to listen to the radio
without ejecting the cassette tape. Press it again to go
back to the tape.
CrO2: Press this button when playing high-bias chrome
or metal tapes.
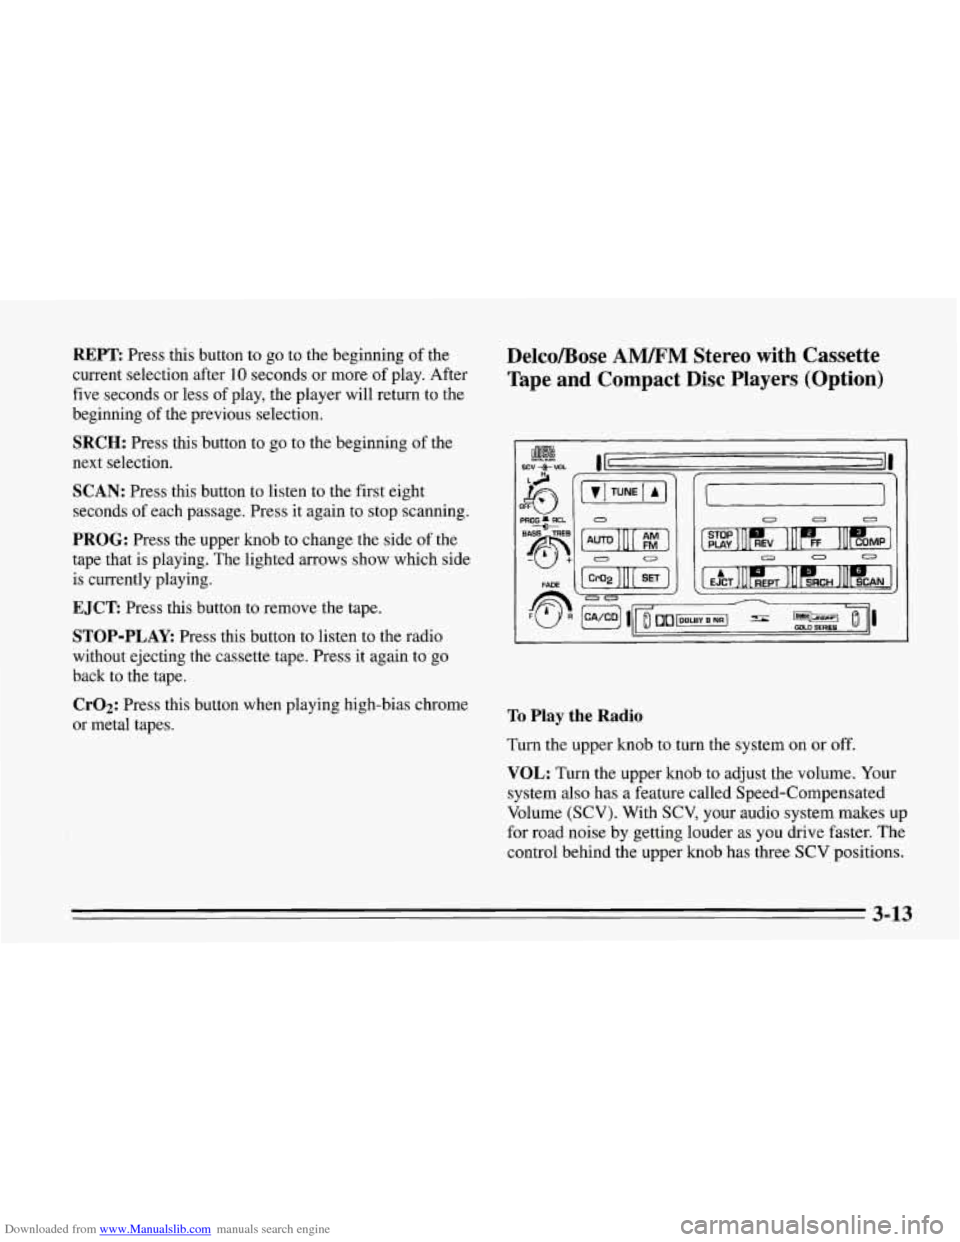
DelcoBose AMLFM Stereo with Cassette
Tape and Compact Disc Players (Option)
PROG RCL
BASS TREB --e>
@+
II 0 0
To Play the Radio
Turn the upper knob to turn the system on or off.
VOL: Turn the upper knob to adjust the volume. Your
system also has a feature called Speed-Compensated
Volume
(SCV). With SCV, your audio system makes up
for road noise by getting louder as you drive faster. The
control behind the upper knob has three SCV positions.
3-13
Page 158 of 386
Downloaded from www.Manualslib.com manuals search engine To Play a Cassette Tape
Your tape player is built to work best with tapes that are
30 to 45 minutes long on each side. Tapes longer than
that are
so thin they may not work well in this player.
The longer side with the tape visible goes in first. If you
hear nothing or hear just a garbled sound, it may not be
in squarely. Press EJCT to remove the tape and start
over.
Once the tape is playing, use the knobs for volume and
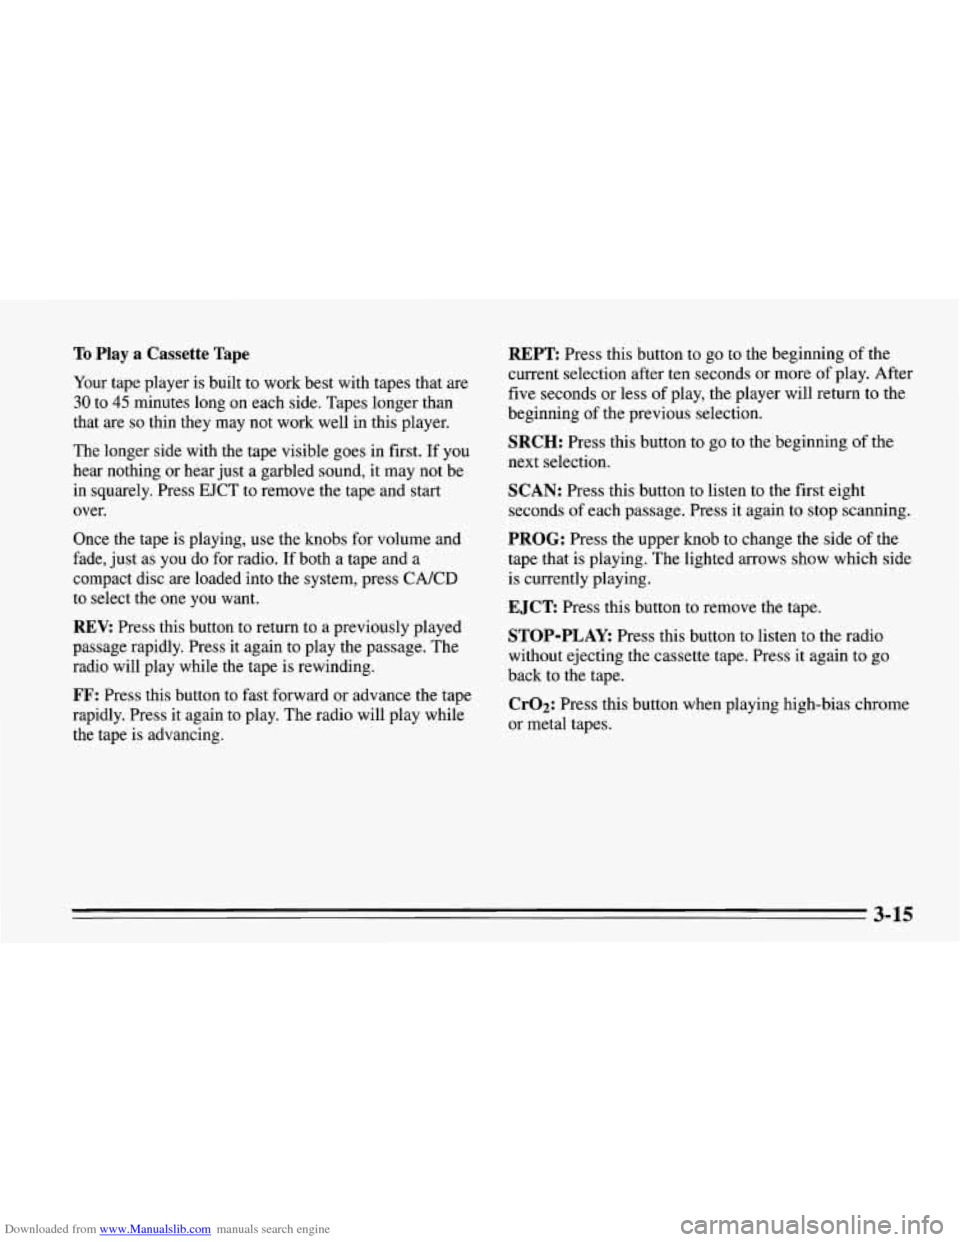
fade, just as you do for radio. If both a tape and a
compact disc are loaded into the system, press CAKD
to select the one you want.
REV: Press this button to return to a previously played
passage rapidly. Press it again to play the passage. The
radio will play while the tape is rewinding.
FF: Press this button to fast forward or advance the tape
rapidly. Press it again
to play. The radio will play while
the tape
is advancing.
REPT Press this button to go to the beginning of the
current selection after ten seconds or more of play. After
five seconds or less of play, the player will return
to the
beginning of the previous selection.
SRCH: Press this button to go to the beginning of the
next selection.
SCAN: Press this button to listen to the first eight
seconds of each passage. Press it again to stop scanning.
PROG: Press the upper knob to change the side of the
tape that is playing. The lighted arrows show which side
is currently playing.
E JCT Press this button to remove the tape.
STOP-PLAY: Press this button to listen to the radio
without ejecting the cassette tape. Press it again to go
back to the tape.
CrO2: Press this button when playing high-bias chrome
or metal tapes.
3-15
Page 159 of 386
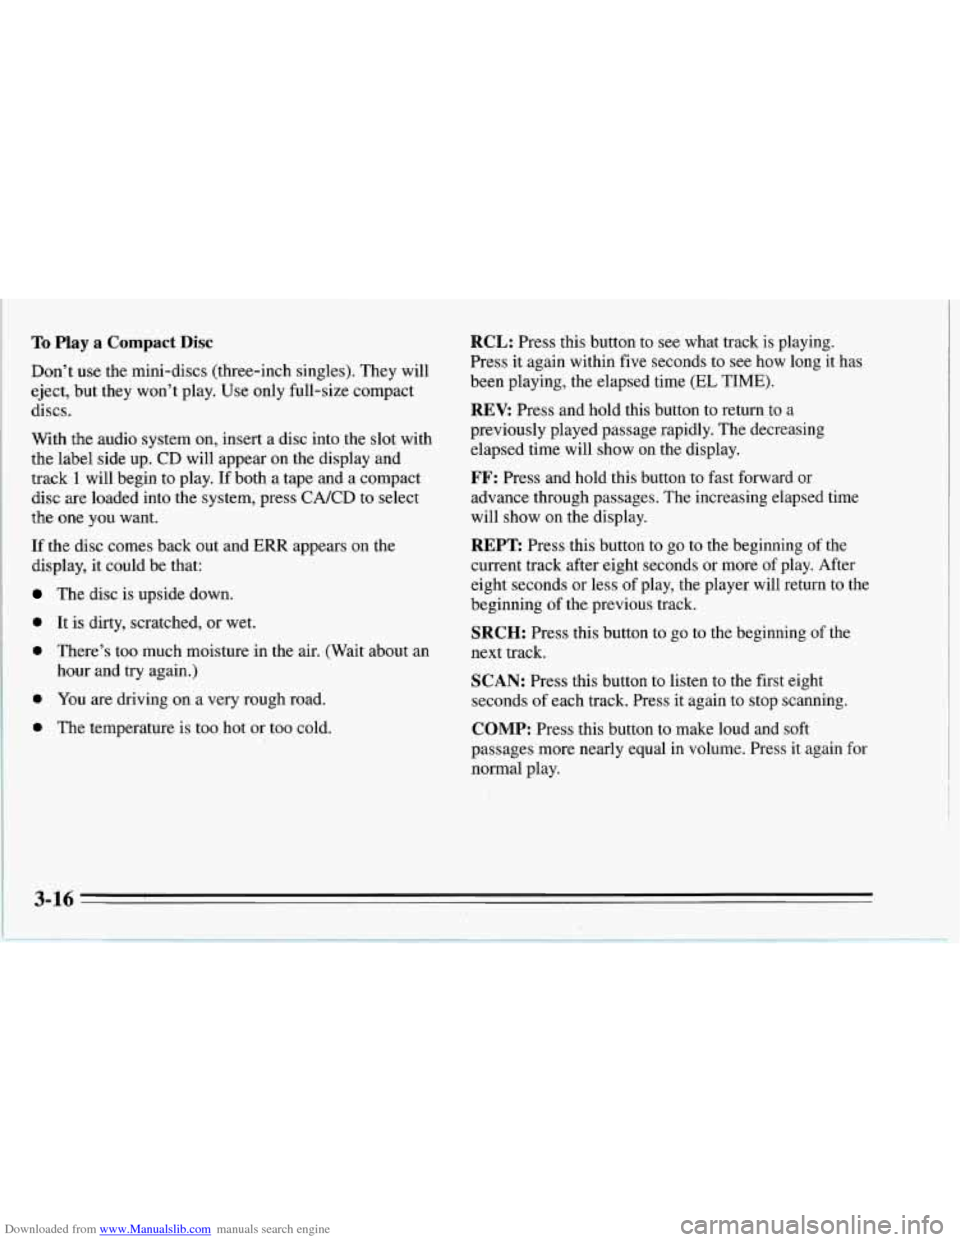
Downloaded from www.Manualslib.com manuals search engine To Play a Compact Disc
Don’t use the mini-discs (three-inch singles). They will
eject, but they won’t play. Use only full-size compact
discs.
With the audio system on, insert a disc into the slot with
the label side up. CD will appear on the display and
track
1 will begin to play. If both a tape and a compact
disc are loaded into the system, press CA/CD to select
the one you want.
If the disc comes back out and
ERR appears on the
display, it could be that:
The disc is upside down.
0 It is dirty, scratched, or wet.
0 There’s too much moisture in the air. (Wait about an
hour and try again.)
0 You are driving on a very rough road.
1 0 The temperature is too hot or too cold.
RCL: Press this button to see what track is playing.
Press it again within five seconds to see how long it has
been playing, the elapsed time
(EL TIME).
REV: Press and hold this button to return to a
previously played passage rapidly. The decreasing
elapsed time will show on the display.
FF: Press and hold this button to fast forward or
advance through passages. The increasing elapsed time
will show on the display.
REPT Press this button to go to the beginning of the
current track after eight seconds or more of play. After
eight seconds or less of play, the player will return to the
beginning of the previous track.
SRCH: Press this button to go to the beginning of the
next track.
SCAN: Press this button to listen to the first eight
seconds of each track. Press it again to stop scanning.
COMP: Press this button to make loud and soft
passages more nearly equal in volume. Press it again for
normal play.
Page 160 of 386
Downloaded from www.Manualslib.com manuals search engine To Stop the Disc Player
Turn the power off or turn the ignition key off. The
disc stays in the player and will resume playing at
the point where it stopped.
switch to radio. Press it again to restart the disc at the
point where it stopped.
the ignition or audio system is turned off, the player
will pull the disc back
in if you don’t remove it from
the opening within
30 seconds.
Tips about Your Audio System
Hearing damage from loud noise is almost undetectable
until it is too late. Your hearing can adapt to higher
volumes
of sound. Sound that seems normal can be loud
and harmful to your hearing. Take precautions by
adjusting the volume control on your radio to
a safe
sound level before your hearing adapts to it.
Press STOP-PLAY to stop playing the disc and
Press EJCT to eject the disc and switch to radio. If To
help avoid hearing loss or damage:
Adjust the volume control to the lowest setting.
Increase volume slowly until you hear comfortably
and clearly.
NOTICE:
Before you add any sound equipment to your
vehicle
-- like a tape player, CB radio, mobile
telephone or two-way radio
-- be sure you can
add what you want.
If you can, it’s very
important to do
it properly. Added sound
equipment may interfere with the operation of
your vehicle’s engine, Delco@ radio or other
systems, and even damage them. And, your
vehicle’s systems may interfere with the
operation of sound equipment that has been
added improperly.
So, before adding sound equipment, check with
your dealer and be sure to check Federal rules
covering mobile radio and telephone units.
3-17
Page 161 of 386
Downloaded from www.Manualslib.com manuals search engine Understanding Radio Reception
FM Stereo
FM Stereo will give you the best sound. But FM signals
will reach only about 10 to
40 miles (16 to 65 km). And,
:ausing the sound to come and go.
1 tall buildings or hills can interfere with FM signals,
4M
The range for most AM stations is greater than for FM,
especially at night. The longer range, however, can
cause stations to interfere with each other. AM can pick
reducing the treble to reduce this noise if you ever get it.
1 up noise from things like storms and power lines. Try
Care of Your Cassette Tape Player
A tape player that is not cleaned regularly can cause
reduced sound quality, ruined cassettes, or a damaged
mechanism. Cassette tapes should be stored in their
cases away from contaminants, direct sunlight, and
extreme heat.
If they aren't, they may not operate
properly or cause failure of the tape player.
'
Your tape player should be cleaned regularly after every
50 hours of use. If you notice a reduction in sound
quality, try a known good cassette to see
if the tape or
the tape player is at fault. If this other cassette has no
improvement in sound quality, clean the tape player.
Cleaning may be done with a scrubbing action,
non-abrasive cleaning cassette with pads which scrub
the tape head as the hubs of the cleaner cassette turn. It
is normal for the cartridge to eject while cleaning. Insert
the cassette at least
3 times to ensure thorough cleaning.
A scrubbing action cleaning cassette is available through
your Chevrolet dealership.
You may also choose a non-scrubbing action, wet-type
cleaner which uses a cassette with a fabric belt to clean
the tape head. This type of cleaning cassette will not
eject. It may not clean as thoroughly as the scrubbing
type cleaner.
Cassettes are subject to wear and the sound quality may
degrade over time. Always make sure that the cassette
tape is in
good condition before you have your tape
player serviced.
3-18
Page 375 of 386
Downloaded from www.Manualslib.com manuals search engine Park (P) Position ............................. 2-24
Reverse (R) Position
.......................... 2-25
Second (2) Position
........................... 2-27
Automatic Transmission Fluid
..................... 6-20
Temperature Reading
......................... 2-84
Adding
.................................... 6-22
Checking
................................... 6-21
Axle, Rear
.................................... 6-26
Back-up Lamp. Bulb Replacement
................ 6-41
Battery
....................................... 6-35
Replacement, Passive Keyless Entry
.............. 2-8
Warnings .................................... 5-2
BBB Auto Line
................................. 8-3
Bi-Level
....................................... 3-3
Blizzard
...................................... 4-26
Brake
Adjustment
................................. 6-35
Fluid, Adding
............................... 6-34
Master Cylinder
............................. 6-32
System Parts, Replacing
....................... 6-35
System Warning Light
........................ 2-70
Transmission Shift Interlock (BTSI)
.............. 7-42
Brake, Parking
................................. 2-32
Brakes, Anti-Lock
............................... 4-6
Braking, In Emergencies
.......................... 4-9
Brightness Control
.............................. 2-46
PedalTravel
................................ 6-35
Wear
...................................... 6-34
Braking
........................................ 4-5
“Break-In,
” New Vehicle .......................... 2- 15
BTSI (Brake-Transmission Shift Interlock) ........... 7-42
Bulb Replacement Back-up Lamp
.............................. 6-41
Center High-Mounted Stoplamp (ZR-
1) .......... 6-46
Cornering Lamp
............................. 6-43
Front Turn Signal Lamps
...................... 6-39
Center High-Mounted
Stoplamp (Except ZR-1)
.... 6-45
Chart
...................................... 6-74
FogLamp
.................................. 6-38
Headlamps
................................. 6-37
Rear Cargo Compartment Lamp (Convertible)
..... 6-44
Rear Cargo Compartment Lamp (Coupe)
.......... 6-44
Rear Turn Signal and Taillamp
.................. 6-40
Sidemarker
................................. 6-42
Canada. Vehicles First Sold in
11 .. .......................
Canadian Roadside Assistance ...................... 8-8
Capacities and Specifications ...................... 6-75
Carbon Monoxide
......................... 2.36. 4.27
Care of Your Cassette Tape Player
.................. 3-18
Care
of Your Compact Discs ...................... 3-19
Cassette Tape Player. Care of Your
................. 3-18
Center Console
................................. 2-57
Bulb Replacement
............................. 6-45
Bulb Replacement
............................. 6-46
CertificationRire Label
.......................... 4-28
Changing a Flat Tire
............................. 5-27
Charging System Light
.......................... 2-70
Center High-Mounted
Stoplamp (Except
ZR- 1).
Center High-Mounted Stoplamp (ZR- 1).
Chains. Tire ................................... 6-55
9-2