Page 54 of 386
Downloaded from www.Manualslib.com manuals search engine I NOTICE:
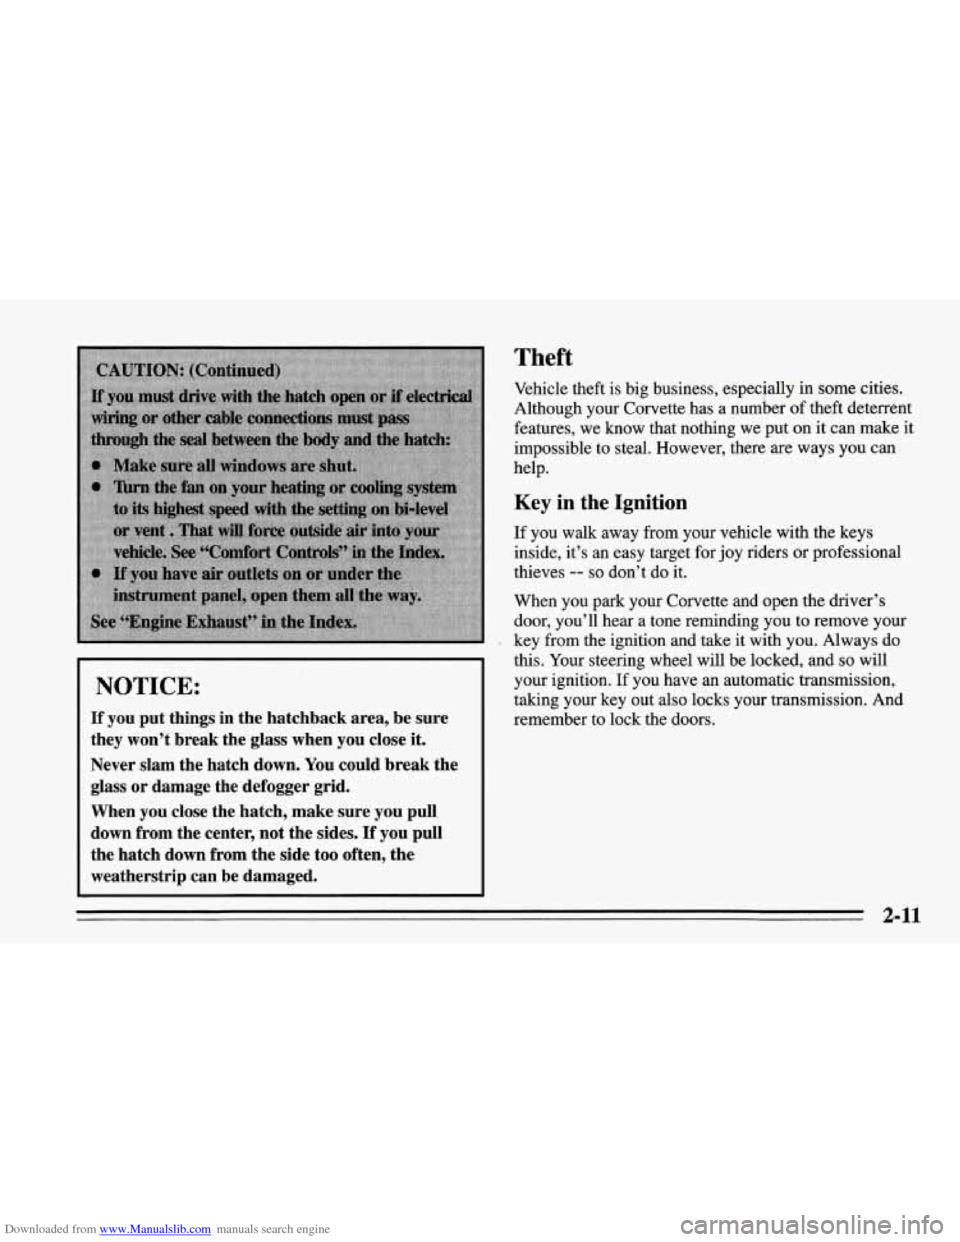
If you put things in the hatchback area, be sure
they won’t break the glass when you close
it.
Never slam the hatch down. You could break the
glass or damage the defogger grid.
When you close the hatch, make sure you pull
down from the center, not the sides.
If you pull
the hatch down from the side too often, the
weatherstrip can be damaged.
Theft
Vehicle theft is big business, especially in some cities.
Although your Corvette has a number of theft deterrent
features, we know that nothing we put on it can make it
impossible to steal. However, there
are ways you can
help.
Key in the Ignition
If you walk away from your vehicle with the keys
inside, it’s an easy target for joy riders
or professional
thieves
-- so don’t do it.
When you park your Corvette and open the driver’s
door, you’ll hear a tone reminding
you to remove your
key from the ignition and take it with
you. Always do
this. Your steering wheel will be locked, and
so will
your ignition. If you have an automatic transmission,
taking your key out also locks your transmission. And
remember to lock the doors.
3 11
Page 55 of 386
Downloaded from www.Manualslib.com manuals search engine Parking at Night
Park in a lighted spot, close all windows and lock your
vehicle. Remember to keep your valuables out of sight.
Put them in
a storage area, or take them with you.
Parking Lots
If you park in a lot where someone will be watching
your vehicle, it’s best to lock it up and take your keys.
But what if you have to leave your ignition key? What
if
you have to leave something valuable in your vehicle?
Put your valuables in a storage area, like your rear
Lock the rear storage compartment and center
0 Lock all the doors except the driver’s.
Then take the door key with you.
storage
compartment or center console.
console.
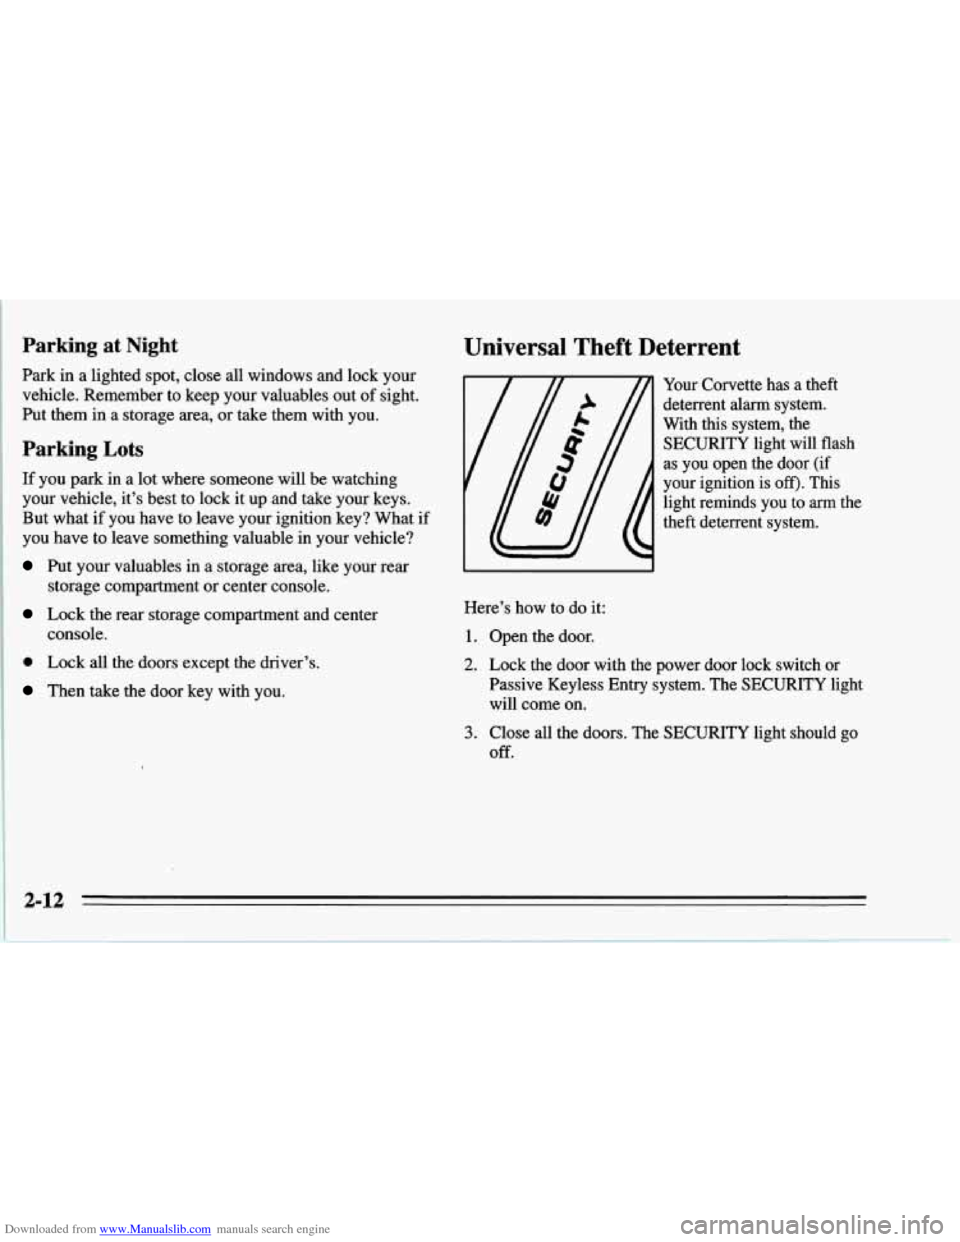
Universal Theft Deterrent
Your Corvette has a theft
deterrent alarm system.
With this system, the
SECURITY light will flash
as you open the door (if
your ignition is
off). This
light reminds you to arm the
theft deterrent system.
Here’s how to do it:
1. Open the door.
2. Lock the door with the power door lock switch or
Passive Keyless Entry system. The SECURITY light
will come on.
3. Close all the doors. The SECURITY light should go
Off.
2-1 2 I - --
Page 56 of 386
Downloaded from www.Manualslib.com manuals search engine Now, if a door or the hatch is opened without the key or
Passive Keyless Entry system, the alarm will go off.
Your horn will sound for three minutes, then it will go
off to save battery power. And, your vehicle won’t start.
The theft deterrent system won’t arm if you lock the
doors with a key or manual door lock, or if you lock the
vehicle after the doors are closed.
If your passenger stays in the vehicle when you leave
with the keys, have the passenger lock the vehicle after
the doors are closed. This way the alarm won’t
arm, and
your passenger won’t set it
off.
Always use your key or the Passive Keyless Entry
system to unlock a door. Unlocking a door any other
way will set off the alarm. If you do set off the alarm
accidentally, there are three ways to stop it:
Unlock any door with your key.
Put the ignition key in the ignition.
Use the Passive Keyless Entry system.
How to Test the Alarm
1. Make sure the rear hatch is latched.
2. Lower a window.
3. Arm the system.
4. Close the doors and wait five seconds.
5. Reach through the open window and unlock the door
from inside. The alarm should sound.
6. Turn off the alarm.
If the alarm doesn’t go off, check to see if the horn
works. If not, check the horn fuse. See “Fuses and
Circuit Breakers” in the Index. If the
horn does work,
. but the alarm doesn’t go off, see your dealer.
2-13
Page 59 of 386
Downloaded from www.Manualslib.com manuals search engine Ignition Switch
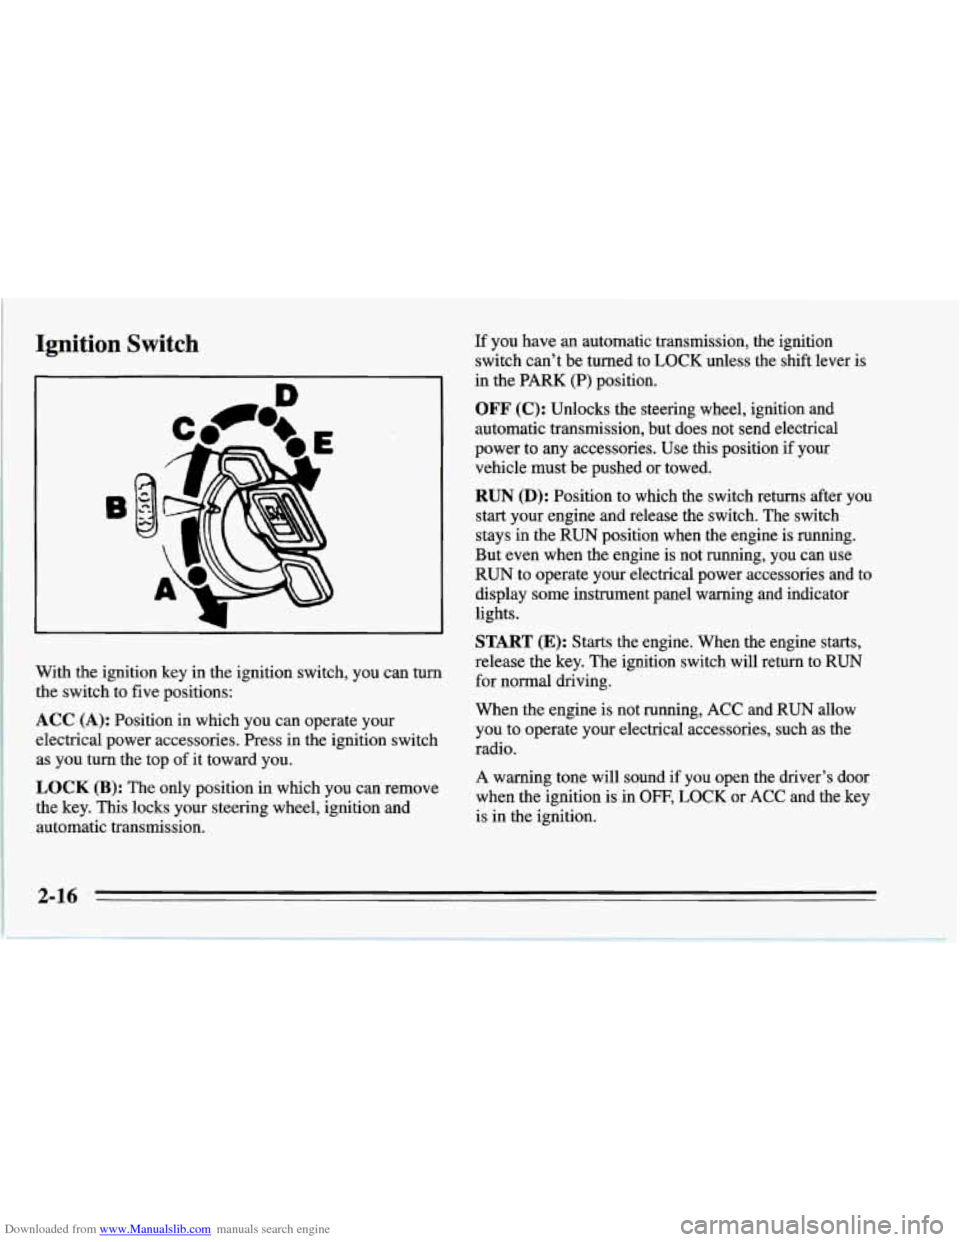
With the ignition key in the ignition switch, you can turn
the switch to five positions:
ACC (A): Position in which you can operate your
electrical power accessories. Press in the ignition switch as you turn the top of it toward you.
LOCK (B): The only position in which you can remove
the key.
This locks your steering wheel, ignition and
automatic transmission. If
you have an automatic transmission, the ignition
switch can’t be turned to LOCK unless the shift lever is
in the PARK (P) position.
OFF (C): Unlocks the steering wheel, ignition and
automatic transmission, but does not send electrical
power to any accessories. Use this position
if your
vehicle. must be pushed or towed.
RUN (D): Position to which the switch returns after you
start your engine and release the switch. The switch
stays in the
RUN position when the engine is running.
But even when the engine is not running, you can use
RUN to operate your electrical power accessories and to
display some instrument panel warning and indicator
lights.
START (E): Starts the engine. When the engine starts,
release
the key. The ignition switch will return to RUN
for normal driving.
When
the engine is not running, ACC and RUN allow
you to operate your electrical accessories, such as the
radio.
A warning tone will sound if you open the driver’s door
when the ignition
is in OFF, LOCK or ACC and the key
is in the ignition.
Page 90 of 386

Downloaded from www.Manualslib.com manuals search engine Headlamp Doors
The headlamp doors are designed to open when you
turn the headlamps on and close when you turn the
headlamps and parking lamps off. If you turn the
headlamps on, then turn the headlamp switch back to
the parking lamps setting, the headlamp doors will stay
open. You
can open the doors manually using the knob next to
the headlamp assembly. Turn the knob counterclockwise
until the doors are open.
The headlamp doors should be open when driving in icy
or snowy conditions to prevent the doors from freezing
closed and when washing the vehicle to help clean the
headlamps.
Daytime Running Lamps (Canada Only)
Daytime Running Lamps (DRL) can make it easier for
others to see the front of your vehicle during the day.
DRL can be helpful in many different driving
conditions, but they can be especially helpful in the
short periods after dawn and before sunset.
A light sensor on top of the instrument panel makes the
DRL work,
so be sure it isn’t covered.
The DRL system will make your front turn signal lamps
come on when:
The ignition is on,
The headlamp switch is off, and
0 The parking brake is released.
2-47
Page 100 of 386
Downloaded from www.Manualslib.com manuals search engine Storage and Compartments
Center Console
You can use the door key to lock and unlock the
console. Don’t leave the key in the lock, or it could be
damaged when the driver sits down.
To use the storage area, push the button on the front end
of the console and lift. Your roof
panel or hardtop wrench
is stored inside the
console.
2-57
Page 101 of 386
Downloaded from www.Manualslib.com manuals search engine Rear Storage Compartment
This compartment is in the floor behind the passenger’s
seat.
To use it, push the button and lift the lid at the
same time. Use the door key
to lock it.
The top tray can be removed. The jack
(if so equipped),
wheel lock key and wheel nut socket are stored below
the
tray.
I NOTICE:
Your Corvette’s radio receiver is in the rear
storage compartment.
To help avoid damage to
the receiver:
0 Securely store the jack (if so equipped) in
Store any other objects under the storage
Do not store items such as liquids or sharp
the foam container after
use.
tray carefully.
objects that could puncture or cut the radio
receiver or wiring.
Also, to reduce the potential for radio receiver
interference, do not install
any other electronic
module under the storage tray.
2-58
Page 106 of 386
Downloaded from www.Manualslib.com manuals search engine 4. Remove the four screws that attach the console door.
5. Remove the console door.
6. Remove the trim plate by pulling up and back.
7. Disconnect the plug by pulling forward on the plastic
locking tab and pull the plug into the console.
The plug has three separate wires:
0 The orange wire connects to the battery.
The pink wire connects to the ignition. Power is only
0 The black wire connects to the ground.
available in
RUN.
NOTICE:
When using the accessory plug:
0
0
0
0
Don’t splice wires directly into the
accessory plug wire.
If done incorrectly,
splicing might cause damage to your
electrical system.
The maximum load
of any electrical
equipment should not exceed
10 amps.
Be sure to turn
off any electrical equipment
when not in use. Leaving electrical
equipment on for extended periods can
drain your battery.
Do not use this plug if the electrical
equipment requires frequent connecting
and disconnecting. This may cause
excessive wear on the accessory plug and
damage your electrical system.
After you’ve installed the electrical equipment, put the
trim panel and console lid back in place and install the
screws
.
2-63