1995 CHEVROLET CORVETTE door lock
[x] Cancel search: door lockPage 221 of 386
Downloaded from www.Manualslib.com manuals search engine If you have someone else remove your wheels, make
sure you give them the special wheel nut socket and
wheel lock key. They are under the jack in the rear
storage compartment behind the passenger’s seat. The
socket can be used with an air
or torque wrench.
NOTICE:
Your wheels could be damaged if the wheel nut
socket
is not used to remove your Corvette’s
wheels.
Always use the wheel nut socket when you use the
wheel wrench provided with your Corvette.
The equipment you’ll need is behind the driver’s seat
and in the rear storage compartment behind the
passenger’s seat.
Move the driver’s seat all the way forward and fold the
seatback forward. The wheel wrench is on the floor
behind the seat. Loosen the wingnuts and slide the wheel
wrench out
of the clamps.
r
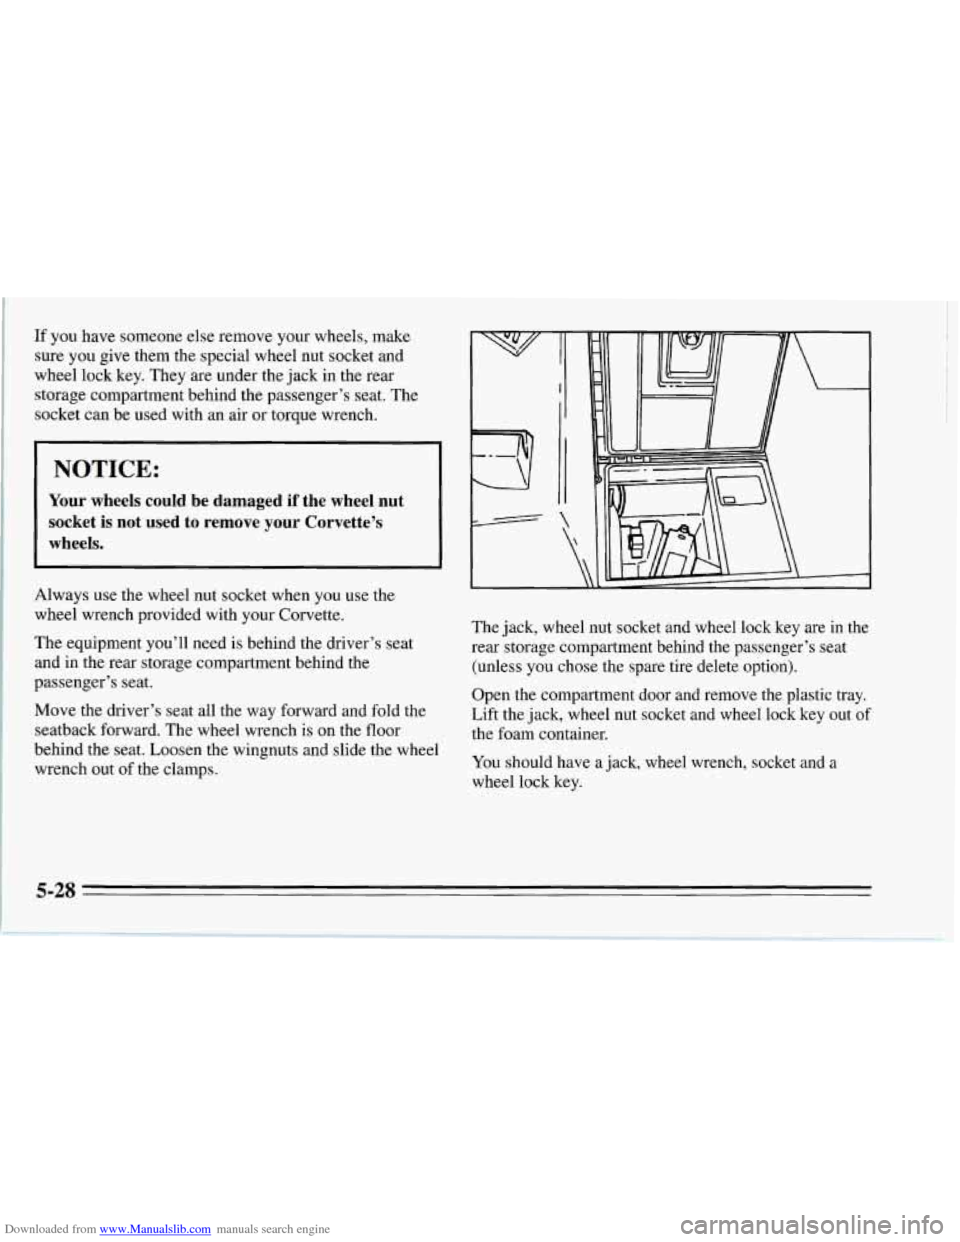
The jack, wheel nut socket and wheel lock key are in the
rear storage compartment behind the passenger’s seat
(unless you chose the spare tire delete option).
Open the compartment door and remove the plastic tray.
Lift the jack, wheel
nut socket and wheel lock key out of
the foam container.
You should have a jack, wheel wrench, socket and a
wheel lock key.
Page 241 of 386
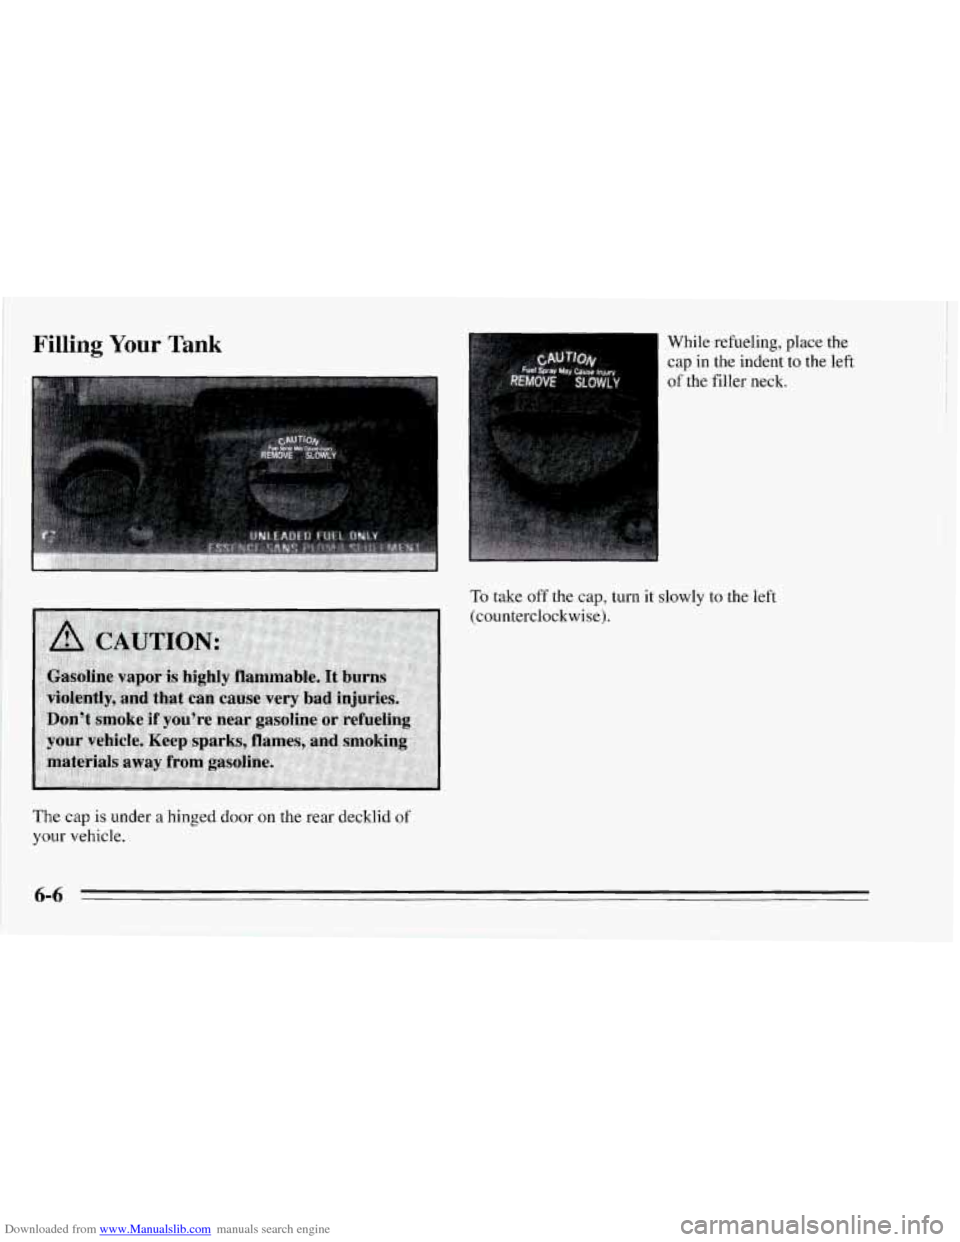
Downloaded from www.Manualslib.com manuals search engine Filling Your Tank While refueling, place the
cap in the indent to the left
of the filler neck.
To take off the cap, turn it slowly to the left
(counterclockwise).
The cap is under a hinged door on the rear decklid of
your vehicle.
Page 273 of 386
Downloaded from www.Manualslib.com manuals search engine Fog Lamp
You can reach the fog lamps from under the front
bumper.
1. Remove the screw in the access door. Open the door.
2. Turn the bulb base counterclockwise 118 turn and
pull it out.
3. Disconnect the bulb base from the wiring harness.
4. Reverse the steps with a new bulb.
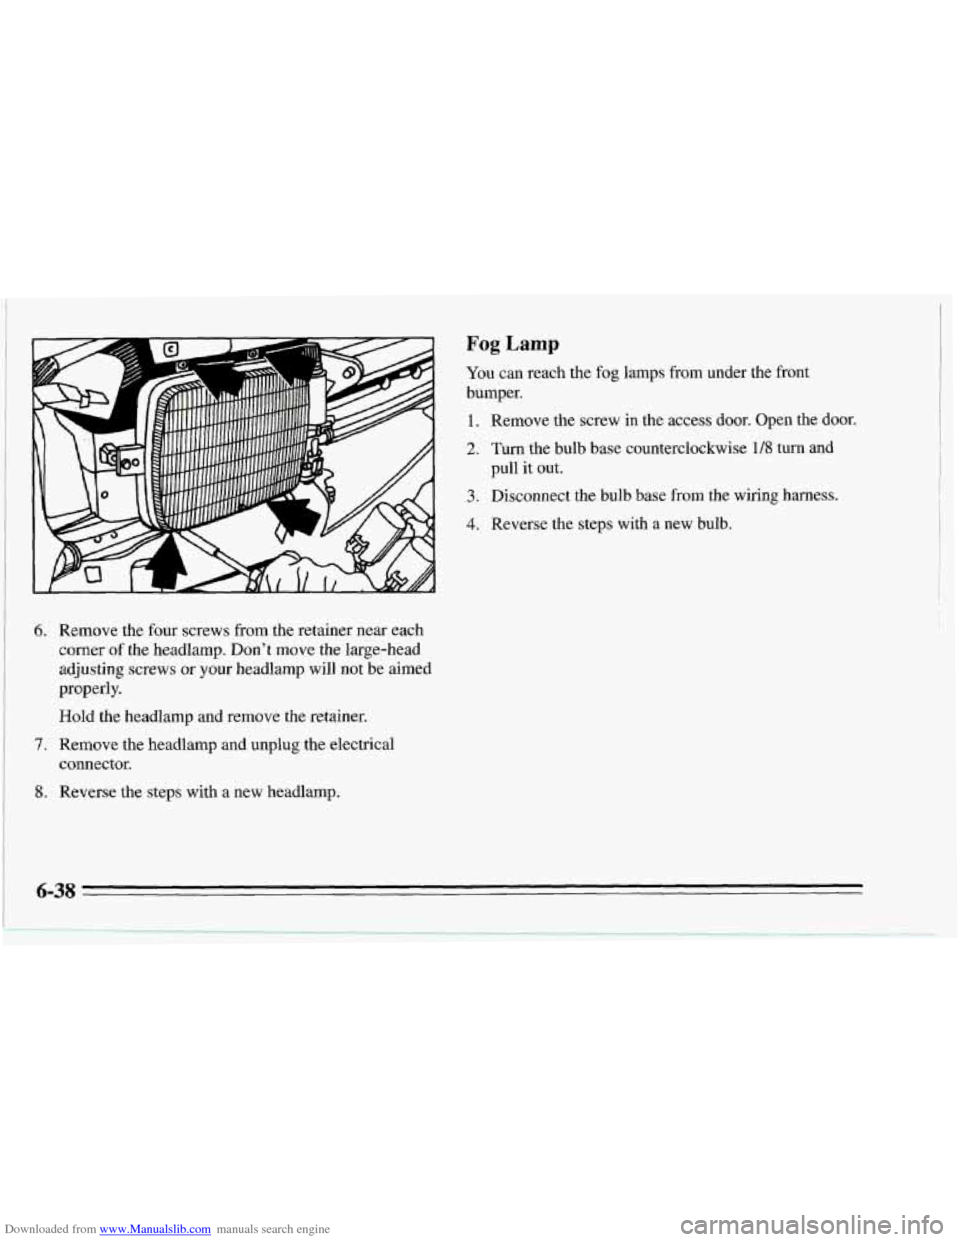
6. Remove the four screws from the retainer near each
comer of the headlamp. Don’t move the large-head
adjusting screws
or your headlamp will not be aimed
properly.
Hold the headlamp and remove the retainer.
7. Remove the headlamp and unplug the electrical
8. Reverse the steps with a new headlamp.
connector.
Page 303 of 386
Downloaded from www.Manualslib.com manuals search engine There are three fuse centers on your vehicle. One is in
the right side of your instrument panel. Turn the knob
and pull the door to access the fuses.
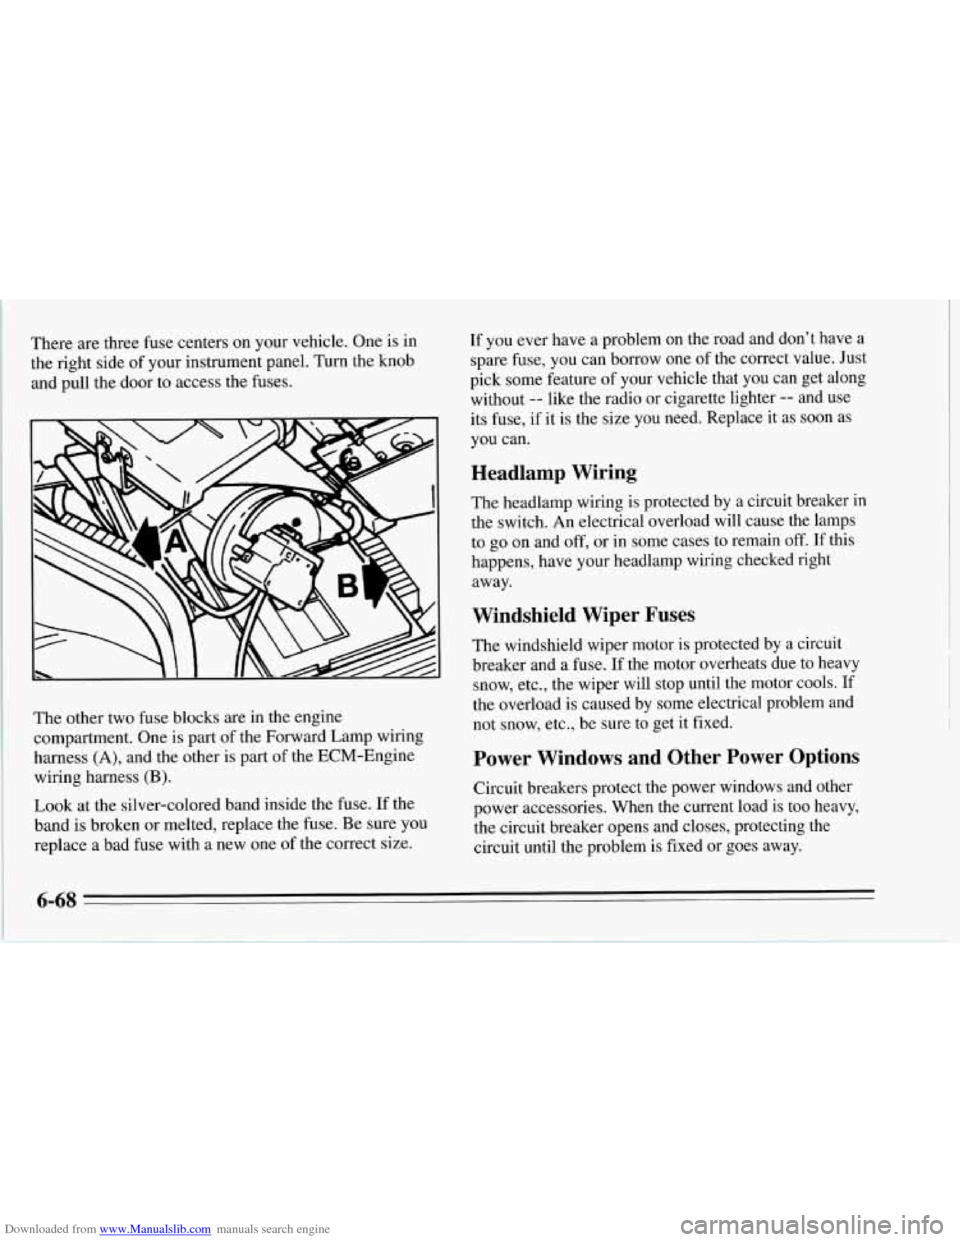
The other two fuse blocks are in the engine
compartment. One
is part of the Forward Lamp wiring
harness
(A), and the other is part of the ECM-Engine
wiring harness
(B).
Look at the silver-colored band inside the fuse. If the
band
is broken or melted, replace the fuse. Be sure you
replace a bad fuse with a new one
of the correct size.
If you ever have a problem on the road and don’t have a
spare fuse, you can borrow one of the correct value. Just
pick some feature
of your vehicle that you can get along
without
-- like the radio or cigarette lighter -- and use
its fuse, if it is the size you need. Replace it as soon as
you can.
Headlamp Wiring
The headlamp wiring is protected by a circuit breaker in
the switch. An electrical overload will cause the lamps
to
go on and off, or in some cases to remain off. If this
happens, have your headlamp wiring checked right
away.
Windshield Wiper Fuses
The windshield wiper motor is protected by a circuit
breaker and a
fuse. If the motor overheats due to heavy
snow, etc., the wiper will stop until the motor cools. If
the overload is caused by some electrical problem and
not snow, etc., be sure to get it fixed.
Power Windows and Other Power Options
Circuit breakers protect the power windows and other
power accessories. When the current load is too heavy,
the circuit breaker opens and closes, protecting the
circuit until the problem is fixed or goes away.
6-68
Page 306 of 386
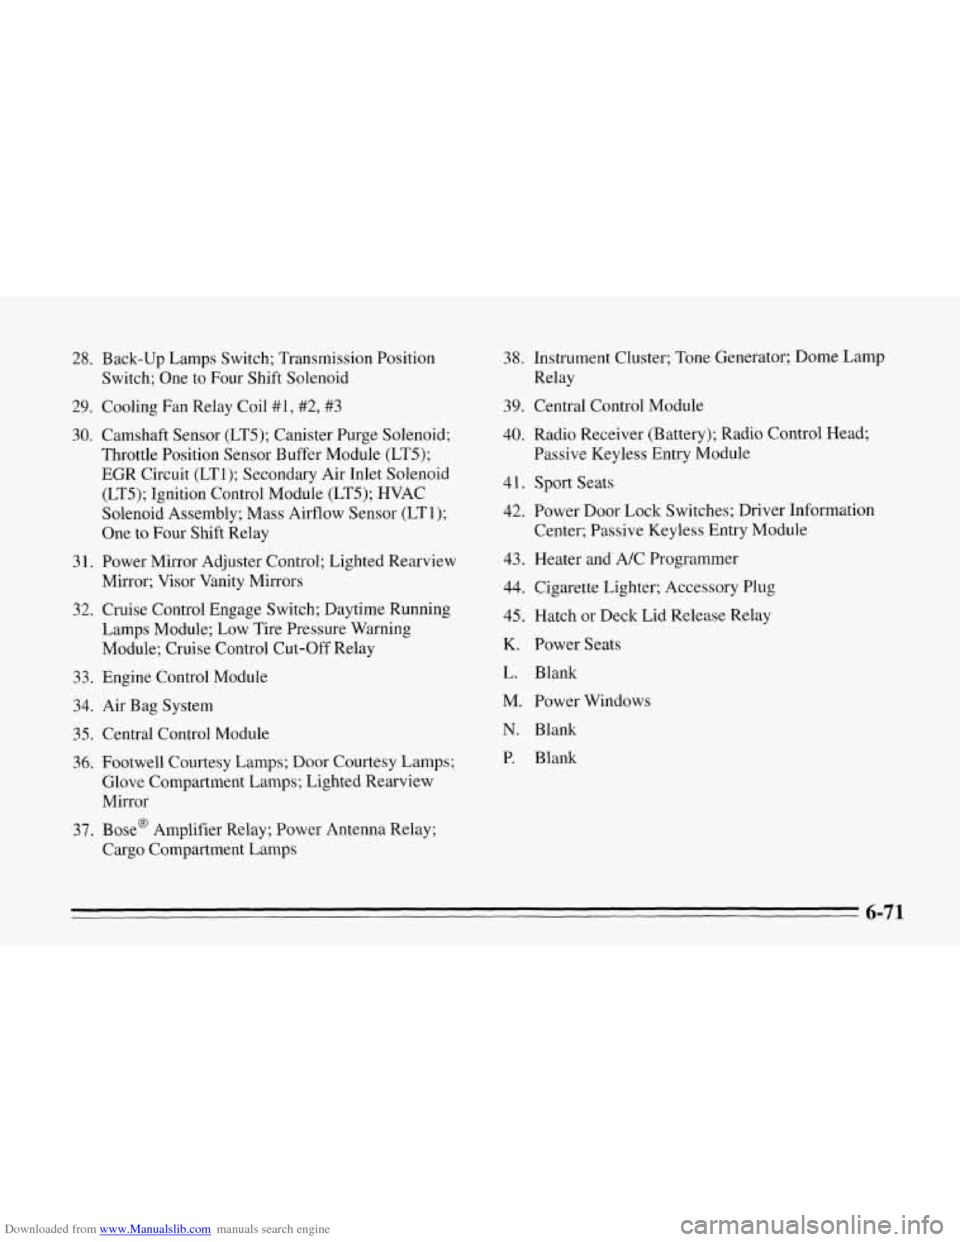
Downloaded from www.Manualslib.com manuals search engine 28. Back-up Lamps Switch; Transmission Position
Switch; One to Four Shift Solenoid
29. Cooling Fan Relay Coil
#I, #2, #3
30. Camshaft Sensor (LT5); Canister Purge Solenoid;
Throttle Position Sensor Buffer Module (LT5);
EGR Circuit (LT1); Secondary Air Inlet Solenoid
(LT5); Ignition Control Module (LT5); HVAC
Solenoid Assembly; Mass Airflow Sensor (LT 1);
One
to Four Shift Relay
3 1. Power Mirror Adjuster Control; Lighted Rearview
Mirror; Visor Vanity Mirrors
32. Cruise Control Engage Switch; Daytime Running
Lamps Module; Low Tire Pressure Warning
Module; Cruise Control Cut-Off Relay
33. Engine Control Module
34. Air Bag System
35. Central Control Module
36. Footwell Courtesy Lamps; Door Courtesy Lamps;
Glove Compartment Lamps; Lighted Rearview
Mirror
37, Bose@ Amplifier Relay; Power Antenna Relay;
Cargo Compartment Lamps
38. Instrument Cluster; Tone Generator; Dome Lamp
Relay
39. Central Control Module
40, Radio Receiver (Battery); Radio Control Head;
Passive Keyless Entry Module
41. Sport Seats
42. Power Door Lock Switches; Driver Information
Center; Passive Keyless Entry Module
43. Heater and A/C Programmer
44. Cigarette Lighter; Accessory Plug
45. Hatch or Deck Lid Release Relay
K. Power Seats
L. Blank
M. Power Windows
N. Blank
P. Blank
6-71
Page 357 of 386
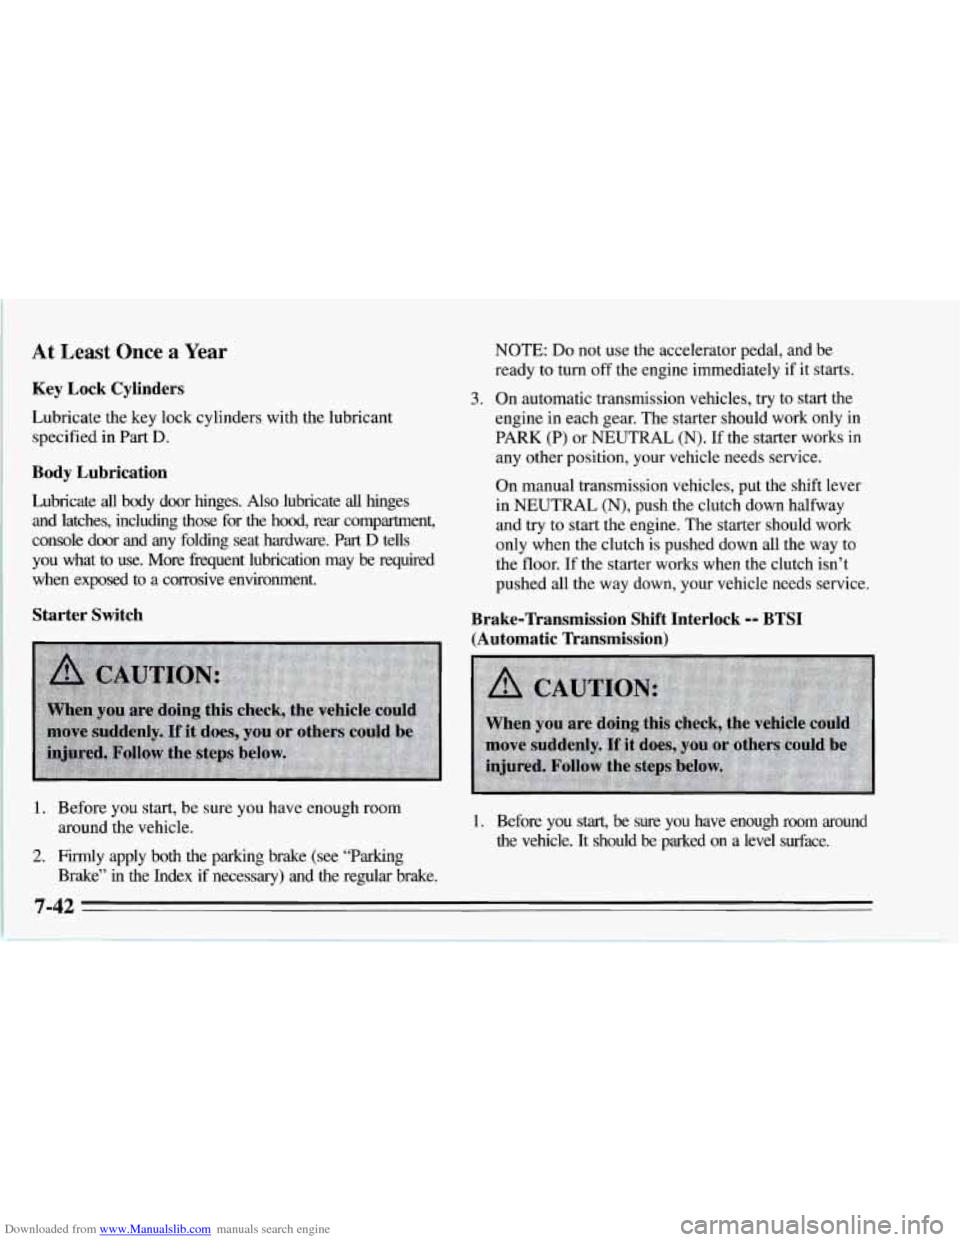
Downloaded from www.Manualslib.com manuals search engine At Least Once a Year
Key Lock Cylinders
Lubricate the key lock cylinders with the lubricant
specified in Part
D.
Body Lubrication
Lubricate all body door hinges. Also lubricate all hinges
and latches, including those for the hood, rear compartment,
console door and any folding seat hardware. Part
D tells
you what
to use. More fiequent lubrication may be required
when exposed to a corrosive environment.
Starter Switch
NOTE: Do not use the accelerator pedal, and be
ready to turn off the engine immediately if it starts.
3. On automatic transmission vehicles, try to start the
engine in each gear. The starter should work only in
PARK
(P) or NEUTRAL (N). If the starter works in
any other position, your vehicle needs service.
On manual transmission vehicles, put the shift lever
in NEUTRAL
(N), push the clutch down halfway
and
try to start the engine. The starter should work
only when the clutch is pushed down all the way to
the floor. If the starter works when the clutch isn’t
pushed all the way down, your vehicle needs service.
Brake-l’ransmission Shift Interlock -- BTSI
(Automatic Transmission)
1. Before you start, be sure you have enough room
2. Firmly apply both the parking brake (see “Parking
around
the vehicle.
Brake” in the Index
if necessary) and the regular brake.
1. Before you start, be sure you have enough room around
the vehicle. It should
be parked on a level surface.
7-42
Page 376 of 386
Downloaded from www.Manualslib.com manuals search engine Check Gauges Light ............................. 2-85
Checking Your Restraint Systems
.................. 1-30
Checking Automatic Transmission Fluid
.................. 6-21
BrakeFluid
................................. 6-33
Engine Coolant
.............................. 6-28
Manual Transmission Fluid
.................... 6-23
Power Steering Fluid
......................... 6-30
Restraint Systems
............................ 1-30
Things Under the
Hood ........................ 6-8
Checking and Adding Hydraulic Clutch Fluid
........ 6-25
Chemical Paint Spotting
.......................... 6-64
Child Restraints
................................ 1-25
Securing in the Passenger Seat Position
........... 1-26
TopStrap
................................... 1-25
WheretoPut
................................ 1-25
Cigarette Lighter
............................... 2-6 1
Cinch Feature. Lap Belt
.......................... 1- 12
Cleaner. Air
................................... 6-17
Cleaning Aluminum Wheels
........................... 6-63
Dulso-Coated Moldings ....................... 6-58
Engine
..................................... 6-63
Fabric
..................................... 6-56
Glass
...................................... 6-59
Leather
.................................... 6-58
Outside
of the Windshield and Wiper Blades ....... 6-60
Removable Roof Panel
........................ 6-60
Soft-Touch Surfaces
.......................... 6-58
Speakercovers
.............................. 6-59
Special Problems
............................ 6-57
EngineOil
.................................. 6-13
Stains
...................................... 6-57
The Inside
of Your Corvette .................... 6-56
The Outside of Your Corvette
................... 6-61
Tires
...................................... 6-63
Top
of the Instrument Panel .................... 6-59
Your Convertible Top
......................... 6-62
Cleaning and Storage. Hardtop
.................... 6-63
Climate Control. Automatic Electronic
............... 3-4
Clock. Setting the
............................... 3-10
Clutch. Hydraulic
............................... 6-24
Comfort Controls
................................ 3-1
Compact Discs. Care of Your
...................... 3-19
Compact Spare Tire
............................. 5-40
Compartment. Door Storage ...................... 2-59
Console. Center
................................ 2-57
Control
of a Vehicle .............................. 4-5
Control. Loss of ................................ 4-14
Convertible Hardtop
............................. 2-95
Convertible Hardtop.
To Install .................... 2-99
Convertible Hardtop. To Remove
.................. 2-96
ConvertibleTop
................................ 2-90
ToLower
................................... 2-90
ToRaise
................................... 2-93
Convex Outside Mirror
.......................... 2-50
Coolant ....................................... 6-27
Coolant Heater. Engine
..................... 2-23. 6- 16
Coolant High Fill Reservoir
(LT1 Engine) ........... 5-23
Coolant. How to Add to the High Fill Reservoir
Vinyl
...................................... 6-58
Compartment.
Rear Storage ....................... 2-58
Coolant Recovery Tank
.......................... 5-17
(LTl Engine)
................................. 5-23
Page 377 of 386
Downloaded from www.Manualslib.com manuals search engine Coolant. How to Add to the High Fill Reservoir
(LT5Engine)
................................. 5-20
Coolant. How to Add to the Coolant Recovery Tank
... 5-17
Cooling System
................................ 5-15
Cornering Lamp. Bulb Replacement
................ 6-43
Corvette Action Center
........................... 8-2
Courtesy Lamps
................................ 2-49
Courtesy Transportation
........................... 8-7
Covered Visor Vanity Mirror
...................... 2-5 1
Cruise Control
................................. 2-43
Erasing Speed Memory
........................ 2-45
Getting Out of
............................... 2-45
Passing Another Vehicle While Using
............ 2-45
To Increase Speed
............................ 2-45
To Resume a Set Speed
........................ 2-44
ToReduceSpeed
............................ 2-45
ToSet
..................................... 2-44
UseonHills
................................ 2-45
SpeechImpaired
............................... 8-2
Customer Assistance
for the Hearing or
Customer Assistance Information
................... 8- 1
Customer Satisfaction Procedure
.................... 8- 1
Damage. Finish
............................... 6-64
Daytime Running Lamps
......................... 2-47
Dead Battery
................................... 5-2
Defects. Reporting
............................... 8-4
Defensive Driving
............................... 4- 1
Defogger. Rear Window
.......................... 3-9
Defogging
..................................... 3-3
Defogging and Defrosting (Manual System)
..... 3.3. 3.8 Defrosting
..................................... 3-3
Delay%d Accessory Bus
.......................... 2-18
Dolby B Noise Reduction
....................... 3-10
Door Ajar Light
................................ 2-78
Door Storage Compartment
....................... 2-59
Downshifting, Manual Transmission
................ 2-30
Drive (D) Position, Automatic Transmission
.......... 2-26
Driver Information Center
........................ 2-89
Driver Position
................................. 1-11
DoorLocks
..................................... 2-3
Driving AtNight
................................... 4-15
City
....................................... 4-19
Defensive
................................... 4-1
Drunken
.................................... 4-2
Freeway
.................................... 4-20
In a Blizzard
................................ 4-26
In Foreign Countries
........................... 6-5
In the Rain
.................................. 4-16
OnCurves
.................................. 4-10
On Hill and Mountain Roads
................... 4-22
On Snow and Ice
............................. 4-25
Through Deep Standing Water
.................. 2-22
Drunken Driving
................................ 4-2
Winter ..................................... 4-24
ECM Engine
Fuse Block ........................ 6-73
Electrical Equipment, Adding
................ 2- 19, 6-67
Electronic Climate Control, Automatic
............... 3-4