1995 CHEVROLET CORVETTE buttons
[x] Cancel search: buttonsPage 48 of 386
Downloaded from www.Manualslib.com manuals search engine Your Passive Keyless Entry system operates on a radio
frequency subject to Federal Communications
Commission (FCC) Rules.
This device complies with Part
15 of the FCC Rules.
Operation is subject to the following two conditions:
(1) This device may not cause harmful interference, and
(2) This device must accept any interference received,
including interference that may cause undesired
operation.
Should interference to this system occur, try this:
0
0
a
0
Check to determine if battery replacement is
necessary. See the instructions
on battery
replacement.
Check the distance. You may be too far from your
vehicle. This product has a maximum range.
Check the location. Other vehicles or objects may be
blocking the signal.
See your Chevrolet dealer or a qualified technician
for service.
Changes or modifications to this system by other than an
authorized service facility could void authorization to
use this equipment.
Operation
You don’t have to do anything for PKE to work when
the passive feature is on. Just walk toward your vehicle
with the
PKE transmitter, and the system will
automatically disarm your theft-deterrent system and
unlock the doors.
If it’s dark enough outside, your
interior lamps will come on.
If you move out of range, the PKE system will:
1. Lock the doors after five seconds.
2. Arm the theft-deterrent system.
3. Sound the horn to let you know the doors are locked.
4. Turn off the interior lamps.
You can also use the buttons on the transmitter. Press
DOOR to open the passenger’s door or HATCH to open
the hatch. The HATCH button will only work when the
ignition is off.
The system has a feature that makes it difficult for you
to lock your keys in your vehicle. If you leave your keys
in the ignition and lock the doors, the system will unlock
the doors as soon as they are closed. If you leave the
keys in the ignition and move away with the transmitter,
the doors still will not lock. You should notice that the
horn doesn’t sound and return to get your keys.
Page 144 of 386
Downloaded from www.Manualslib.com manuals search engine Comfort Controls and Audio Systems
In this section you'll find out how to operate the comfort Manual Air Conditioner Controls
control systems and audio systems offered with your
Corvette. Be sure to read about the particular system
supplied with your vehicle.
Comfort Controls
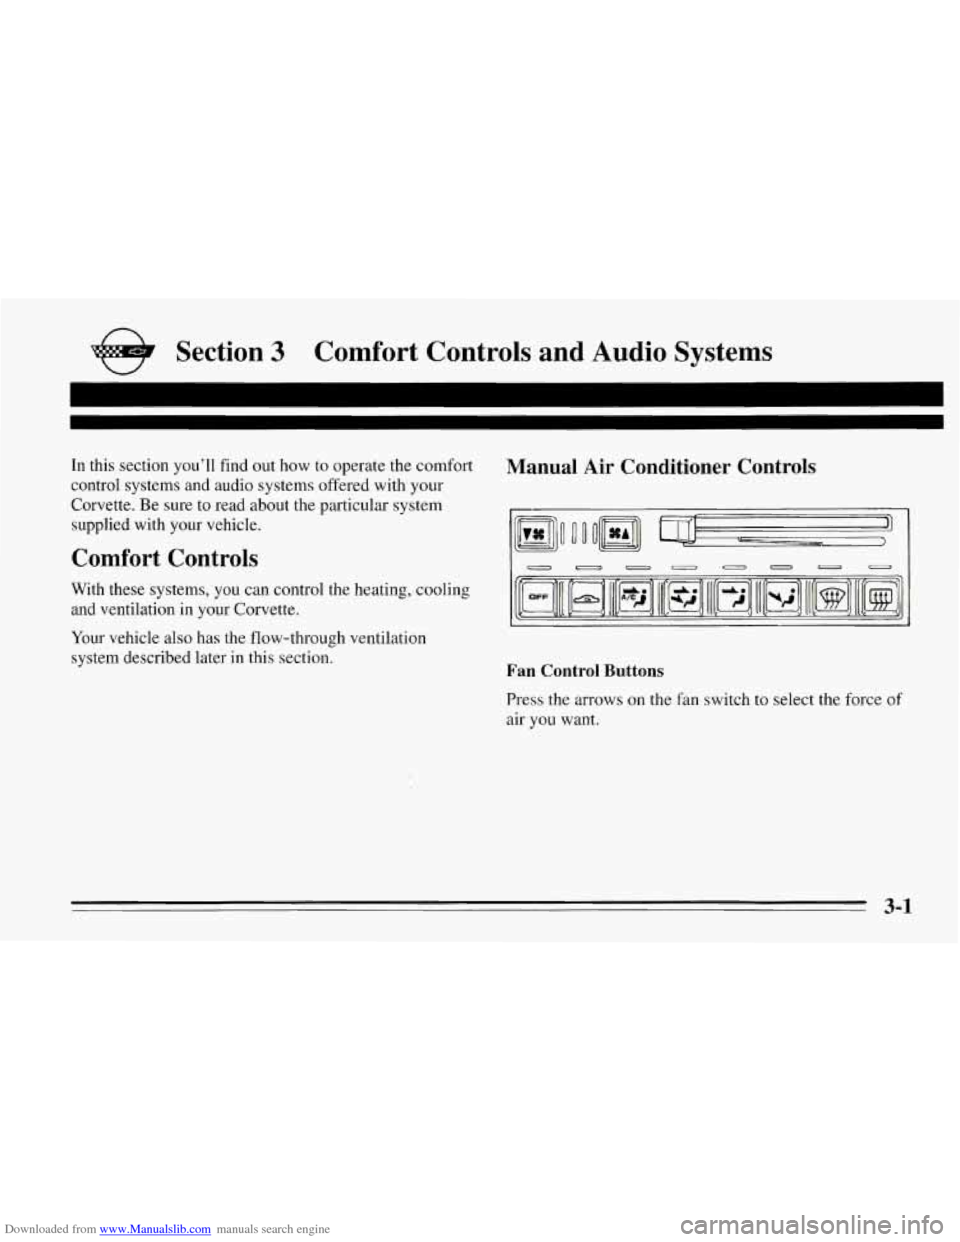
With these systems, you can control the heating, cooling
and ventilation in your Corvette.
Your vehicle also has the flow-through ventilation
system described later in this section.
Fan Control Buttons
Press the arrows on the fan switch to select the force of
air you want.
3-1
Page 145 of 386
Downloaded from www.Manualslib.com manuals search engine Temperature Control Lever
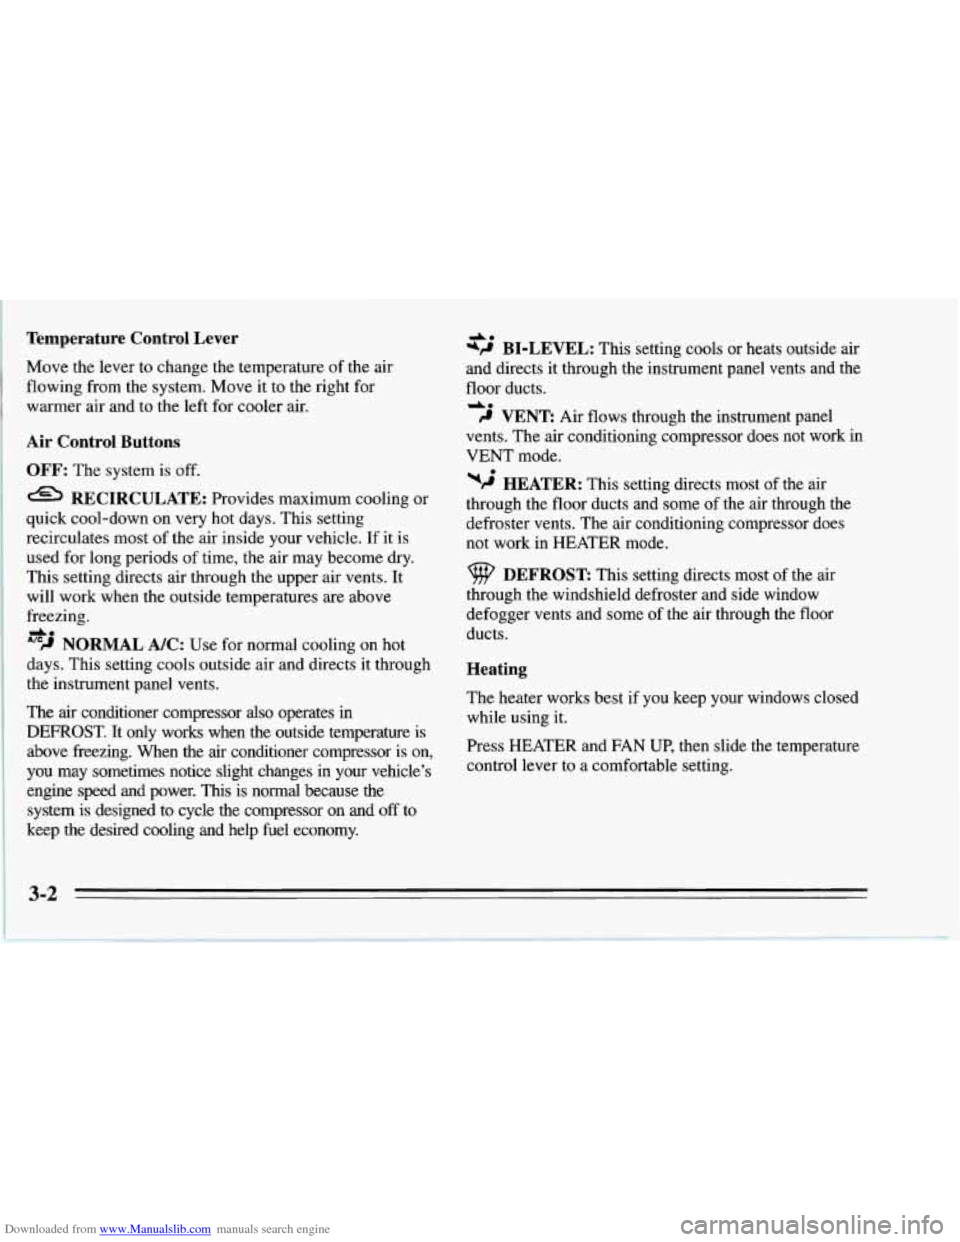
Move the lever to change the temperature of the air
flowing from the system. Move it to the right for
warmer air and to the left for cooler air.
Air Control Buttons
OFF: The system is off.
RECIRCULATE: Provides maximum cooling or
quick cool-down
on very hot days. This setting
recirculates most of the air inside your vehicle. If it is
used for long periods of time, the air may become dry.
This setting directs air through the upper air vents. It
will work when the outside temperatures are above
freezing.
'''9 NORMAL A/C: Use for normal cooling on hot
days. This setting cools outside air and directs it through
the instrument panel vents.
The air conditioner compressor also operates in
DEFROST. It only works when the outside temperature is
above freezing. When the air conditioner compressor is on,
you may sometimes notice slight changes in your vehicle's
engine speed and power. This is normal because the
system
is designed to cycle the compressor on and off to
keep the desired cooling and help fuel economy.
do
A.
*P@ BI-LEVEL: This setting cools or heats outside air
and directs it through the instrument panel vents and the
floor ducts.
do
9 VENT: Air flows through the instrument panel
vents. The air conditioning compressor does not work in
VENT mode.
wj HEATER: This setting directs most of the air
through the floor ducts and some of the air through the
defroster vents. The air conditioning compressor does
not work in HEATER mode.
DEFROST This setting directs most of the air
through the windshield defroster and side window
defogger vents and some of the air through the floor
ducts.
Heating
The heater works best if you keep your windows closed
while using it.
Press HEATER and FAN UP, then slide the temperature
control lever to a comfortable setting.
3-2
Page 147 of 386
Downloaded from www.Manualslib.com manuals search engine Cooling
The air conditioner works best if you keep your
windows closed. On very hot days, open the windows
just long enough for the hot air to escape.
Press RECIRCULATE and
FAN UP, then slide the
temperature control lever to a comfortable setting.
After cool-down, adjust the air control buttons to
another setting. The compressor works in all settings
except VENT and HEATER and at all temperatures
above freezing.
When the air conditioner is on, you may notice slight
changes in your vehicle's engine speed and power. This
is normal because the system is designed to cycle the
compressor on and off to keep the desired temperature
and help fuel economy.
Automatic Electronic Climate Control
(Option)
0
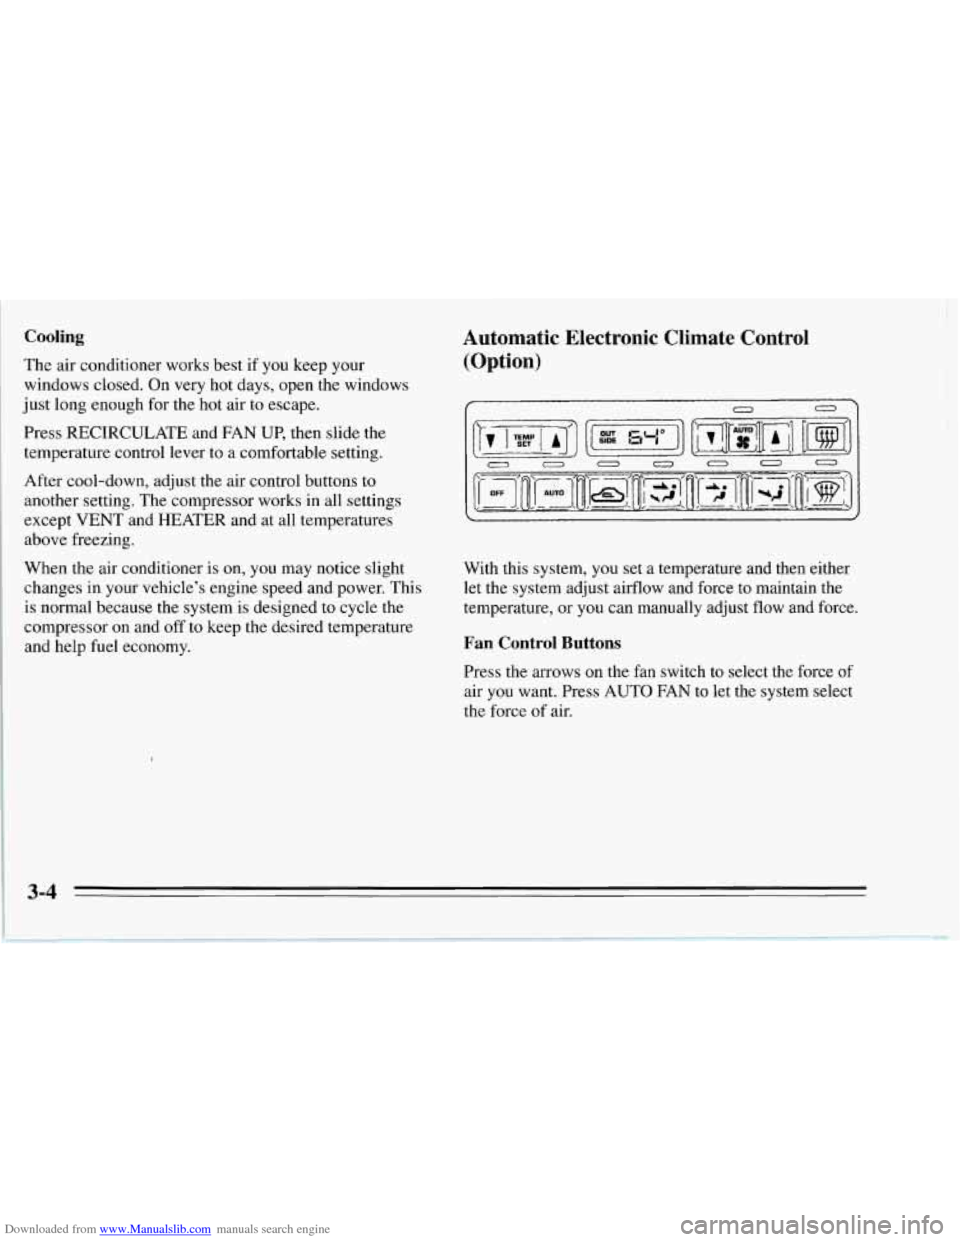
With this system, you set a temperature and then either
let the system adjust airflow and force to maintain the
temperature, or you can manually adjust flow and force.
Fan Control Buttons
Press the arrows on the fan switch to select the force of
air you want. Press
AUTO FAN to let the system select
the force
of air.
3-4
Page 148 of 386
Downloaded from www.Manualslib.com manuals search engine Temperature Control Switch
Press the arrows on the TEMP SET switch to set the
temperature you want in your vehicle. The temperature
you select will show on the display for a few seconds,
then the outside temperature will show.
Air Control Buttons
OFF: The system is off.
AUTO: The system controls airflow.
RECIRCULATE: Provides maximum cooling or
quick cool-down on very hot days. This setting
recirculates most of the air inside your vehicle. If it is
used for long periods
of time, the air may become dry.
This setting directs air through the upper air vents. It
will not work when the outside temperature is above
freezing.
49 BI-LEVEL: This setting directs outside air
through the instrument panel and side window defogger
vents and the floor ducts.
-A*
do
9 VENT Outside air flows through the instrument
panel vents.
w2 HEATER: This setting directs all of the air
through the floor ducts.
DEFROST This setting directs most of the air
through the windshield defroster and side window
defogger vents and some of
the air through the floor
ducts.
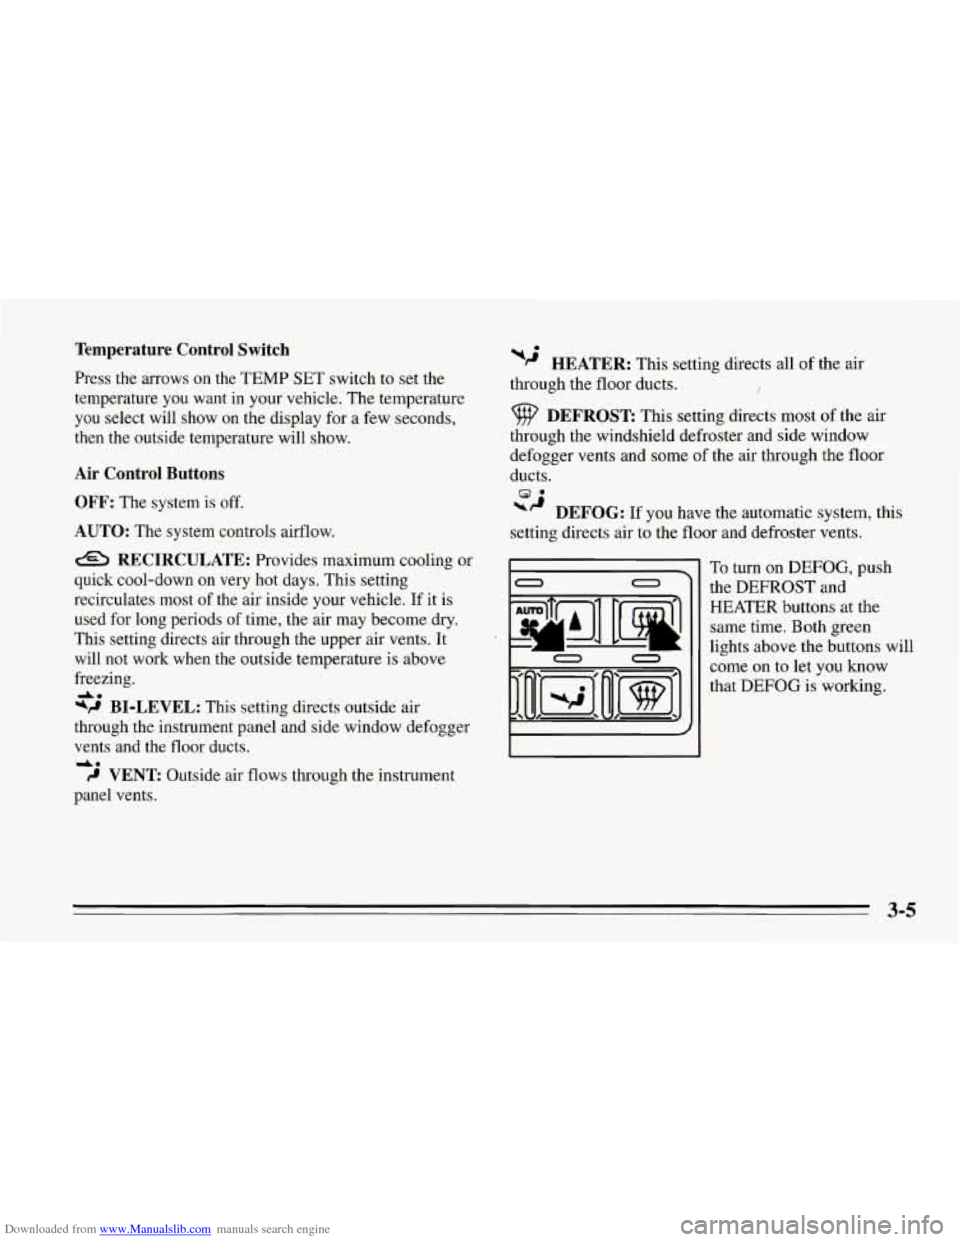
*’ DEFOG: If you have the automatic system, this
setting directs air to the floor and defroster vents.
0 0
E I 0 0
To turn on DEFOG, push
the
DEFROST and
HEATER buttons at the
same time. Both green
lights above the buttons will
come on to let you know
that
DEFOG is working.
3-5
Page 154 of 386
Downloaded from www.Manualslib.com manuals search engine AM/FM Stereo with Cassette Tape Player
L/F R/I
0 II 0 0 0
0 OII 0 0 0
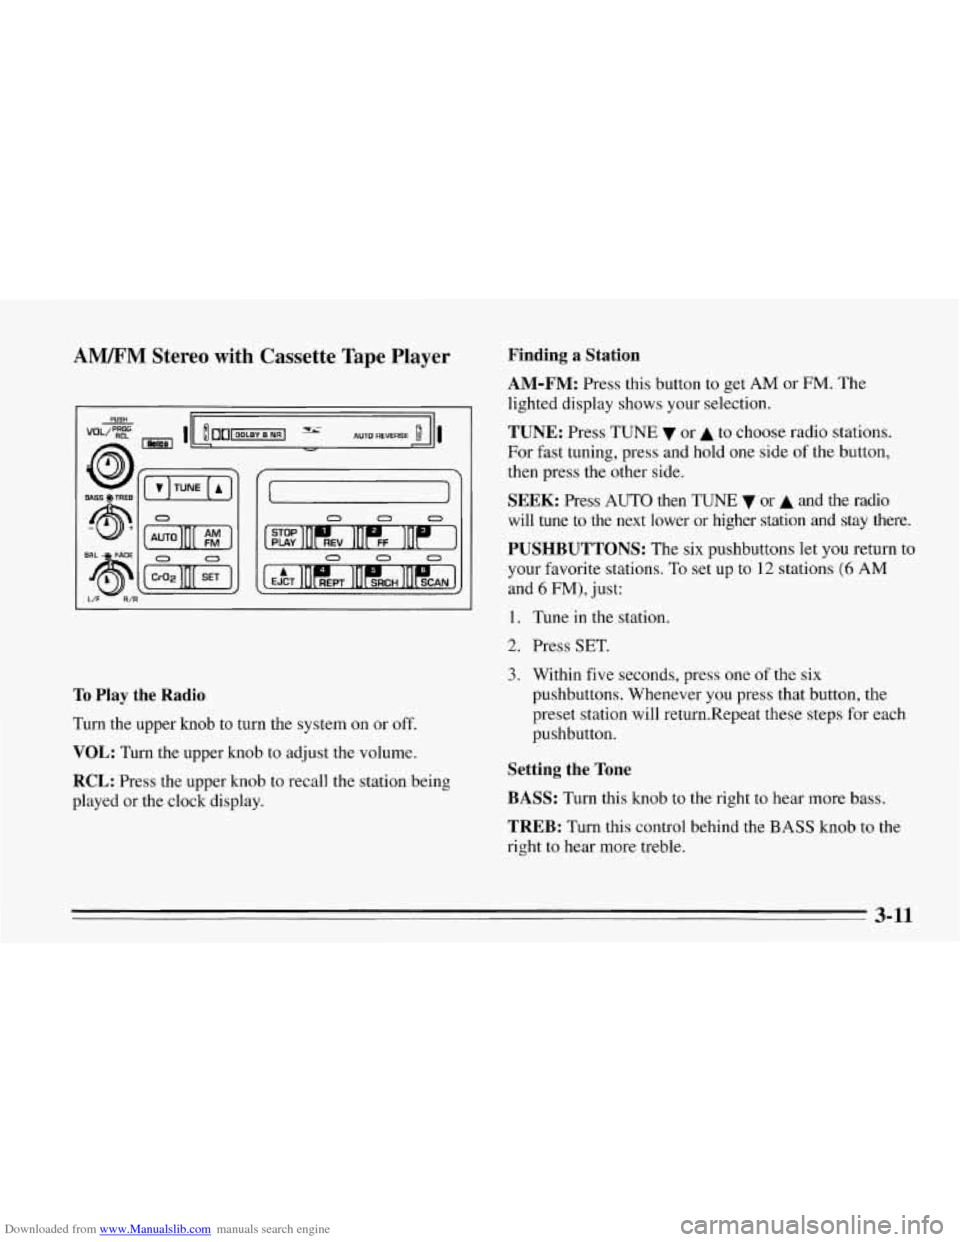
To Play the Radio
Turn the upper knob to turn the system on or off.
VOL: Turn the upper knob to adjust the volume.
RCL: Press the upper knob to recall the station being
played or the clock display.
Finding a Station
AM-FM:
Press this button to get AM or FM. The
lighted display shows your selection.
TUNE: Press TUNE or A to choose radio stations.
For fast tuning, press and hold one side
of the button,
then press the other side.
SEEK: Press AUTO then TUNE 7 or A and the radio
will tune to the next lower or higher station
and stay there.
PUSHBUTTONS: The six pushbuttons let you return to
your favorite stations. To set up to
12 stations (6 AM
and 6 FM), just:
1. Tune in the station.
2. Press SET.
3. Within five seconds, press one of the six
pushbuttons. Whenever you press that button, the
preset station will return.Repeat these steps for each
pushbutton.
Setting the Tone
BASS:
Turn this knob to the right to hear more bass.
TREB: Turn this control behind the BASS knob to the
right to hear more treble.
3-11
Page 157 of 386
Downloaded from www.Manualslib.com manuals search engine H has a higher maximum volume and gets louder faster
than L. Use H when you are driving with the roof panel
off, the convertible top down or the windows open. If
you don’t want to use SCV, turn the control to OFF.
RCL: Press the upper knob to recall the station being
played
or the clock display.
Finding a Station
AM-FM:
Press this button to get AM or FM. The
lighted display shows your selection.
TUNE: Press TUNE v or A to choose radio stations.
For fast tuning, press and hold one side of the button,
then press the other side.
SEEK: Press AUTO then TUNE v or A and the radio
will tune to the next lower or higher station and stay
there.
PUSHBUTTONS: The six pushbuttons let you return to
your favorite stations. To set up to 12 stations (6 AM
and
6 FM), tune in the station and press SET. Within
five seconds, press one of the six pushbuttons.
Whenever you press that button, the preset station will
return. Repeat these steps for each pushbutton.
Setting the Tone
BASS:
Turn this knob to the right to hear more bass.
TREB: Turn this control behind the BASS knob to the
right to hear more treble.
Adjusting the Speakers
BAL: With the DelcoBose system, your speakers are
electronically balanced.
FADE: Turn this knob to move the sound between the
front and rear speakers. Note that
if you turn the knob
all the way to
F or R, you may still get some sound from
the opposite speakers.
3-14
Page 374 of 386
Downloaded from www.Manualslib.com manuals search engine Index
Accessory Plug ............. ............. 2-62
Adding Automatic Transmission Fluid
................ 6-22
Brake Fluid
...................... ...... 6-34
Coolant to the Recovery Tank
....... ........ 6-29
Electrical Equipment .................... 2- 19. 6-67
Engine Coolant
.............................. 6-28
Engineoil
.................................. 6-13
Manual Transmission Fluid
.................... 6-24
Power Steering Fluid
......................... 6-3 1
SoundEquipment ............................ 3-17
Windshield Washer Fluid
................. 2-42. 6-3 1
AirBag ....................................... 1-17
How Does it Restrain ......................... 1-20
How it Works ............................... 1 - I8
Location
................................... 1-19
Readiness Light
............................. 2-69
Servicing ................................... 1-22
System
..................................... 1-17
What Makes
it Inflate ......................... 1-20
What Will
You See After it Inflates .............. 1-2 1
When Should it Inflate ........................ 1-20
Air Cleaner
.................................... 6- 17
Air Conditioner Controls .......................... 3- 1
Air Conditioning ................................ 3-4 Air Control
Buttons
.......................... 3.2. 3.5
Alignment and Balance. Tires ..................... 6-54
Antenna. Power Mast Care
....................... 3-19
Anti-Lock Brake System Active Light
.............. 2-72
Anti-Lock Brake System Warning Light
......... 2.72. 4.6
Anti-Lock Brakes
............................... 4-6
Antifreeze ..................................... 6-27
Appearance Care
............................... 6-55
Appearance Care and Materials
.................... 6-65
Ashtray
....................................... 2-60
ASR (Acceleration Slip Regulation) System
........... 4-8
Active Light
................................ 2-74
OffLight
................................... 2-73
Warning Light
........................... 2.73. 4.8
Audio System. Tips about Your .................... 3-17
Audio Systems
................................. 3- IO
Automatic Control ............................... 3-6
Automatic Electronic Climate Control ................ 3-4
Automatic Transmission
......................... 2-24
Automatic Overdrive Position
.................. 2-26
Drive
(D) Position ............................ 2-26
First
(1) Position ............................. 2-27
Neutral
(N) Position .......................... 2-26
Alarm. Theft Deterrent
System
.................... 2-12
Aluminum Wheels. Cleaning
...................... 6-63
9-1