1995 CHEVROLET CORVETTE reset
[x] Cancel search: resetPage 87 of 386
Downloaded from www.Manualslib.com manuals search engine To Set Cruise Control To Resume a Set Speed
1. Turn the cruise control on.
2. Get up to the speed you want.
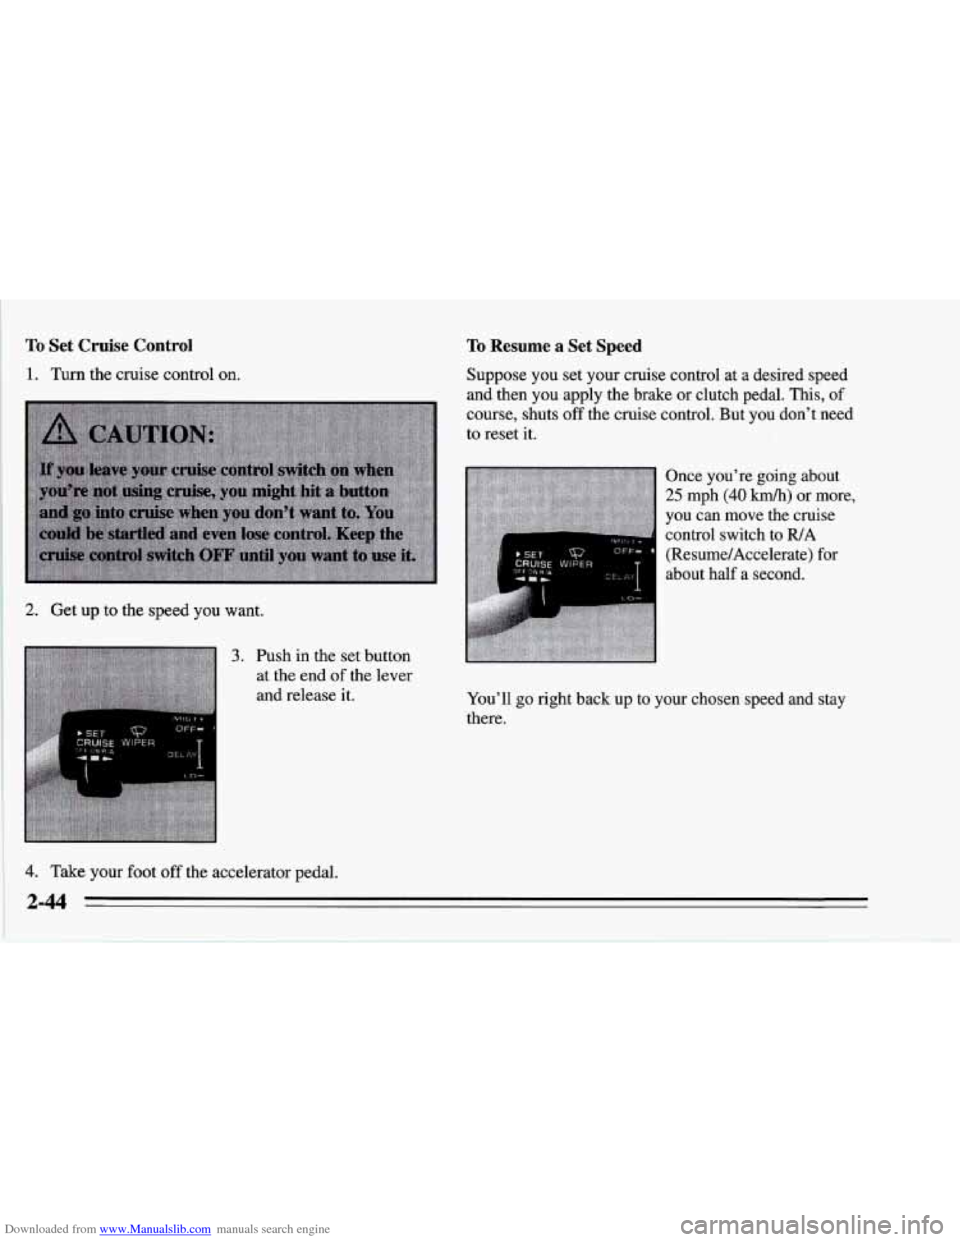
3. Push in the set button
at the end
of the lever
and release
it.
4. Take your foot off the accelerator pedal. Suppose you set your cruise control
at a desired speed
and then you apply the brake or clutch pedal.
This, of
course, shuts off the cruise control. But you don’t need
to reset it.
Once you’re going about
25 mph (40 km/h) or more,
you can move the cruise
control switch to IUA
(Resume/Accelerate) for
about half a second.
You’ll go right back up
to your chosen speed and stay
there.
2-44
Page 111 of 386
Downloaded from www.Manualslib.com manuals search engine Your Corvette’s odometer is tamper-resistant. It will
read
OD0 ERR if someone has tampered with it.
If a new odometer is installed, it will automatically reset
to the correct reading. If an electrical or other problem
makes setting the odometer correctly impossible, then
it’s set
at zero, but a label on the driver’s door must
show the old reading and when the new one was
installed.
Trip Odometer
The trip odometer can tell you how far your Corvette has
been driven since you last set the trip odometer to zero.
To display the trip odometer, press TRIP OD0 on the
Trip Monitor.
To reset it, press and hold RESET TRIP
for two seconds.
Tachometer
The tachometer displays the engine speed in thousands
of revolutions per minute (rpm).
Fuel will shut off at
7200 rpm for the LT5 (Code J)
engine and at 5850 rpm for the LT1, (Code P) engine.
If you continue to drive your Corvette at the fuel shut
off rpm, you could damage your engine. Be sure to
operate your Corvette below the fuel shut
off rpm or
reduce your rpm quickly when the fuel shuts off.
Warning Lights, Gauges and
Indicators
Warning lights and gauges can signal that something is
wrong before it becomes serious enough to cause an
expensive repair or replacement. Paying attention to
your warning lights and gauges could also save you or
others from injury.
Warning lights come
on when there may be or is a
problem with one of your vehicle’s functions. As you
will see in the details on the next few pages, some
warning lights come
on briefly when you start the
engine just to let you know they’re working. If you are
familiar with this section, you should not be alarmed
when this happens.
Gauges can indicate when there may be or is a problem
with one
of your vehicle’s functions. Often gauges and
warning lights work together to let you know when
there’s a problem with your vehicle.
When one of the warning lights comes on and stays on
when you are driving, or when one
of the gauges shows
there may be a problem, check the section that tells you
what to do about it. Please follow this manual’s advice.
Waiting to
do repairs can be costly -- and even
dangerous.
So please get to know your warning lights
and gauges. They’re a big help.
2-68
Page 115 of 386
Downloaded from www.Manualslib.com manuals search engine Anti-Lock Brake System Warning Light
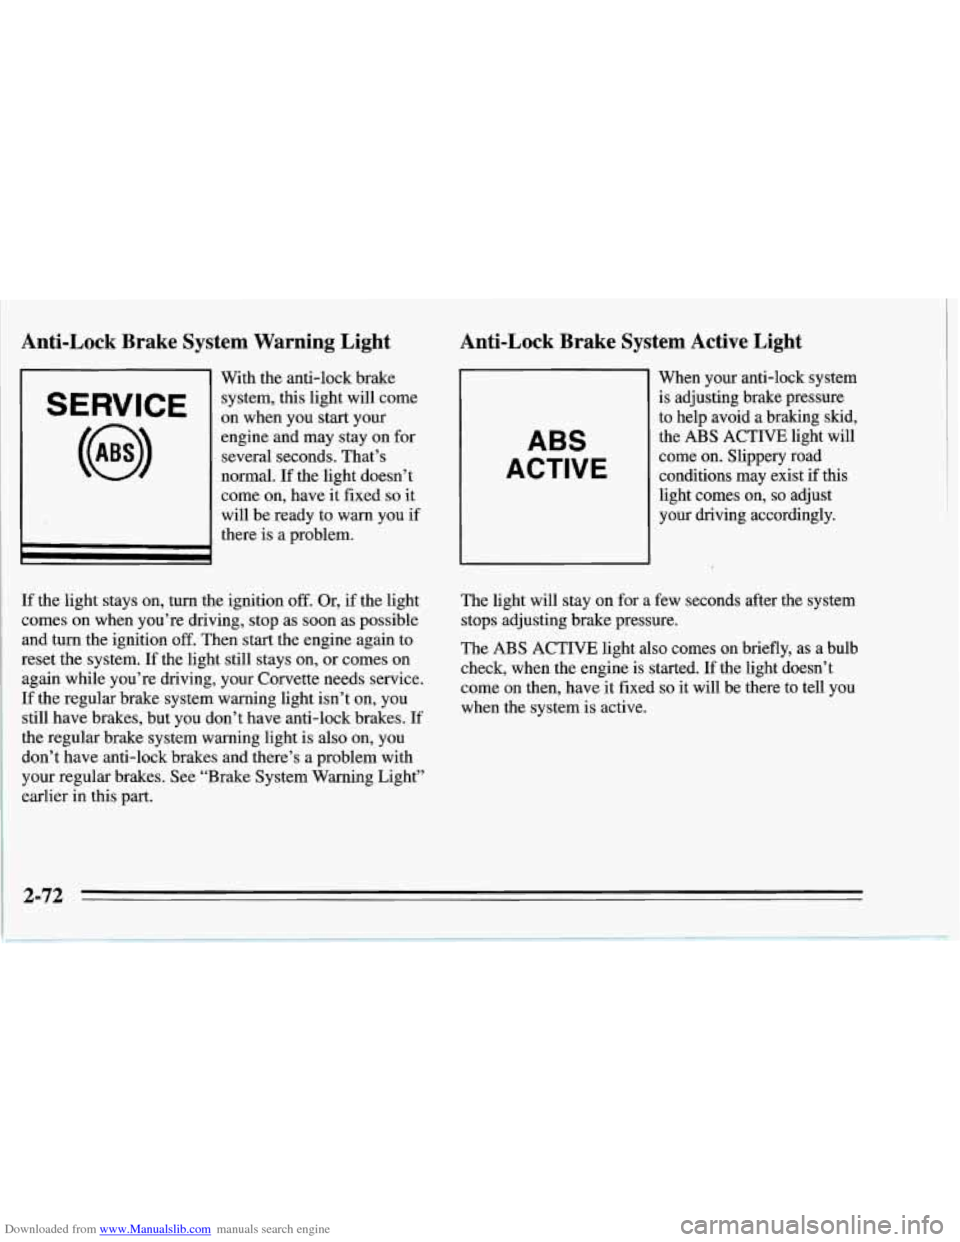
SERVICE
With the anti-lock brake
system, this light will come
on when you start your
engine and may stay on for
several seconds. That’s
normal. If the light doesn’t
come on, have it fixed
so it
will be ready to warn you if
there is a problem.
Anti-Lock Brake System Active Light
ABS
ACTIVE
When your anti-lock system
is adjusting brake pressure
to help avoid a braking skid,
the
ABS ACTIVE light will
come on. Slippery road
conditions may exist
if this
light comes on,
so adjust
your driving accordingly.
If the light stays on, turn the ignition
off. Or, if the light
comes on when you’re driving, stop
as soon as possible
and turn the ignition
off. Then start the engine again to
reset the system. If the light still stays on, or comes on
again while you’re driving, your Corvette needs service.
If the regular brake system warning light isn’t on, you
still have brakes, but you don’t have anti-lock brakes. If
the regular brake system warning light is also on, you
don’t have anti-lock brakes and there’s a problem with
your regular brakes. See “Brake System Warning Light”
earlier in this part. The
light will stay on for a few seconds after the system
stops adjusting brake pressure.
The ABS ACTIVE light also comes on briefly, as a bulb
check, when the engine is started. If the light doesn’t
come on then, have it fixed
so it will be there to tell you
when the system is active.
2-72
Page 127 of 386
Downloaded from www.Manualslib.com manuals search engine 0 It takes more (or less) fuel to fill up than the gauge
reads. For example, the gauge reads half full, but it
took more (or less) than half of the tank's capacity to
fill it.
0 The gauge moves a little when you turn, stop or
You can use the Trip Monitor to display more detailed
fuel information. Each time you press FUEL
INFO, one
of the following will appear next to the fuel gauge.
0 INST The fuel economy calculated for your current
speed up.
driving
conditions.
0 AVERAGE: The fuel economy calculated for the
current tank of fuel,
or since you last reset the
display.
refueling.
0 RANGE: The distance you can drive before
0 BLANK: The fuel gauge is displayed alone.
You should reset the fuel information display every time
you refuel. To reset the display, press
FUEL INFO until
AVERAGE appears. Then, press RESET FUEL on the
Trip Monitor.
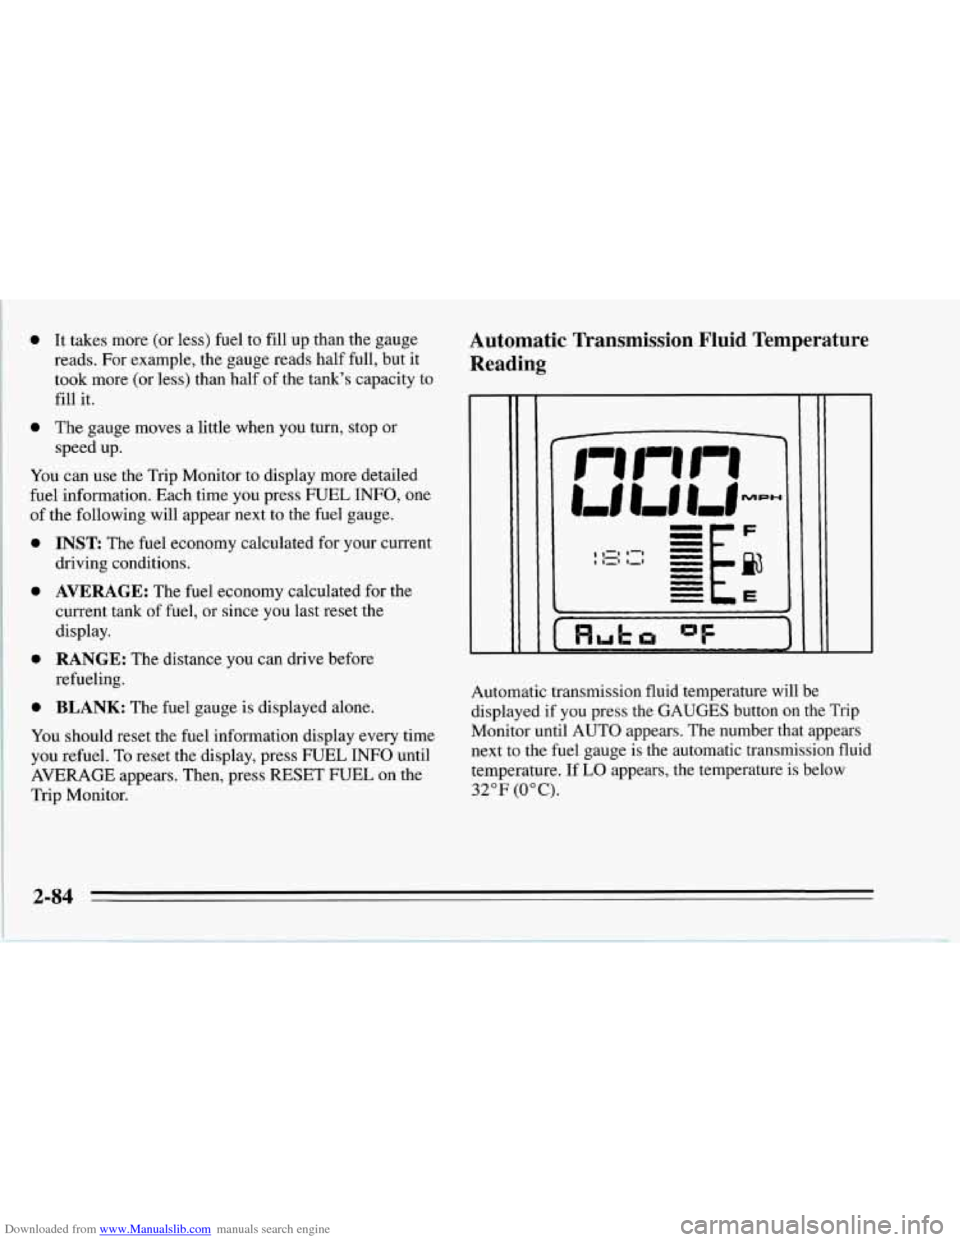
Automatic Transmission Fluid Temperature
Reading
I I Huh "F
Automatic transmission fluid temperature will be
displayed if you press the GAUGES button on the Trip
Monitor until AUTO appears. The number that appears
next to the fuel gauge is the automatic transmission fluid
temperature. If
LO appears, the temperature is below
32°F (0°C).
2-84
Page 130 of 386
Downloaded from www.Manualslib.com manuals search engine Be sure to reset the monitor when your oil is changed,
even if the CHANGE OIL light didn’t come on. If you
don’t reset the monitor, it won’t work correctly. Follow
these steps:
1. Turn the key to RUN, but don’t start the engine.
2. Press ENG MET on the Trip Monitor. Then, within
five seconds, press it again.
3. Witbin five seconds, press and hold GAUGES on the
Trip’Monitor. The CHANGE OIL light should flash.
4. Hold the GAUGES button until the CHANGE OIL
light stops flashing and goes out. This should take
about ten seconds.
When the light goes out, the monitor is reset. If the
monitor doesn’t reset, turn the ignition
off, then try
again.
Service Ride Control Light
SERVICE
RIDE
CONTROL
If your vehicle is equipped
with Selective Ride Control,
this amber light should
come on for
a few seconds
when you start your vehicle.
If the light stays on or comes on while you’re driving,
there may be
a problem with your Selective Ride
Control system. You can still drive, but you should see
your dealer soon.
The Selective Ride Control system is designed to sense
vehicle speed in the first minute after the vehicle is
started. If the vehicle is not moved in that first minute,
the system records a fault. The SERVICE RIDE
CONTROL light comes on after three faults are
recorded. If the light comes on for this reason, move
your Corvette and the light should
go out.
2-87
Page 151 of 386
Downloaded from www.Manualslib.com manuals search engine Defogging and Defrosting Windows
Your vehicle has several settings for clearing your
windows. The air conditioner compressor will run to
help remove moisture from the air.
To defrost the windshield quickly, press the arrows on
the
TEMP SET switch to set a comfortable temperature.
Press DEFROST and the fan will go to high speed. After
the windows are clear, you can lower the speed using the
downward arrow or
AUTO FAN.
With the automatic system, to warm passengers while
keeping the windshield clear? press the arrows on the
TEMP SET switch to set a comfortable temperature. Press
HEATER and DEFROST at the same time and, if you
don’t like the automatic setting, press the
arrows on the fan
speed switch.
To defrost the side windows quickly, press the arrows on
the
TEMP SET switch to set a comfortable temperature.
Then press DEFROST and,
if you don’t like the automatic
setting, press the arrows on the fan speed switch.
System Problems
If the light above an air control button flashes when you
turn on the ignition, your system may have an electrical
problem. The flashing will continue for one minute, then
stop.
The flashing light could also mean the refrigerant level
is too low in your system. The light will continue to
flash, even if refrigerant is added, until the system is
reset. Have your system checked and serviced if needed.
To reset your system:
1. Turn your ignition key to OFF or LOCK.
2. Remove the courtesy lamps and radio fuses from the
main fuse panel and wait one minute. See “Fuses and
Circuit Breakers” in the Index.
3. Put the fuses back in and start your vehicle.
The light shouldn’t come on and your system should be
working properly. If you still have a problem, see your
dealer.
Page 154 of 386
Downloaded from www.Manualslib.com manuals search engine AM/FM Stereo with Cassette Tape Player
L/F R/I
0 II 0 0 0
0 OII 0 0 0
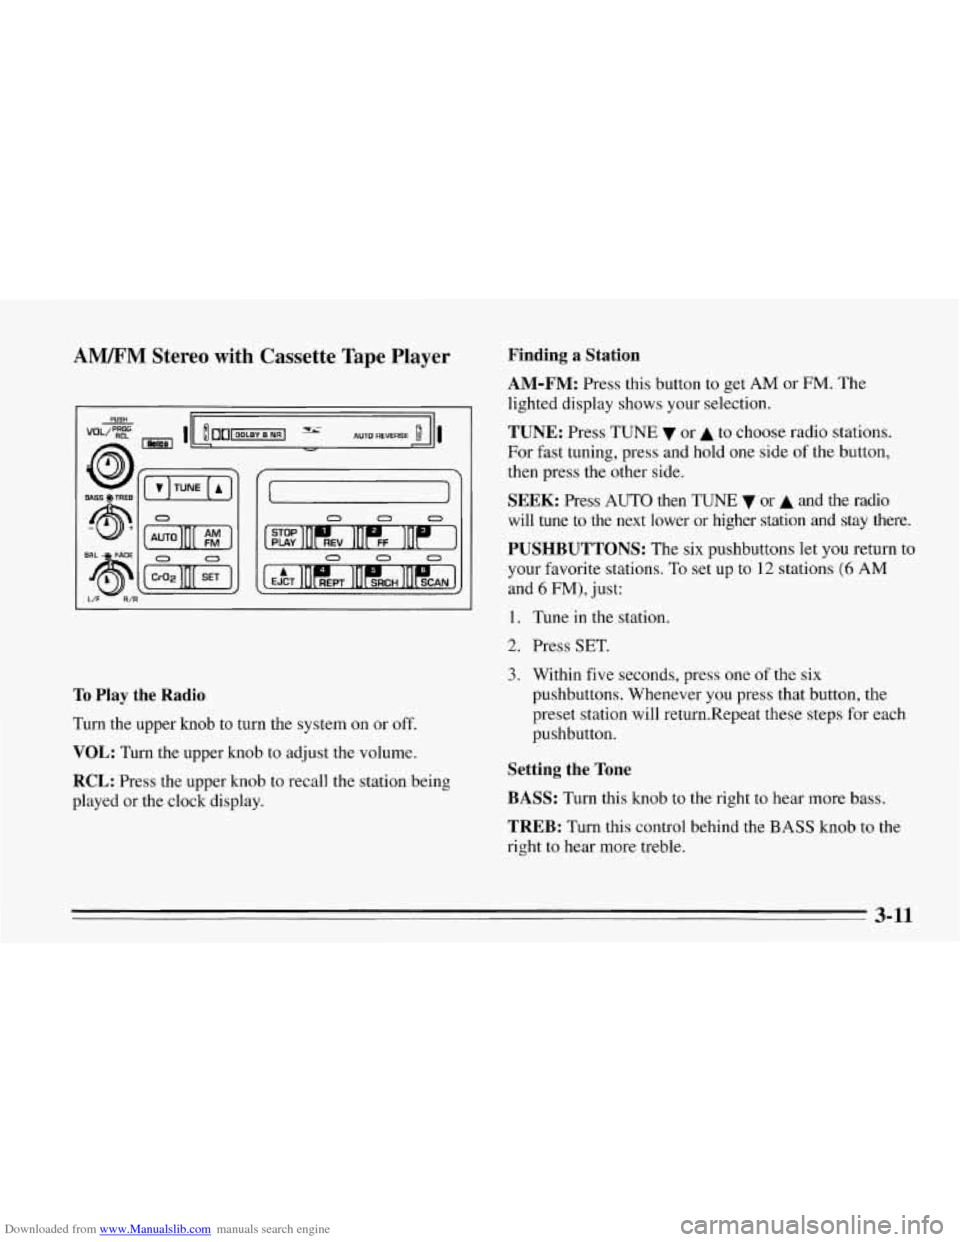
To Play the Radio
Turn the upper knob to turn the system on or off.
VOL: Turn the upper knob to adjust the volume.
RCL: Press the upper knob to recall the station being
played or the clock display.
Finding a Station
AM-FM:
Press this button to get AM or FM. The
lighted display shows your selection.
TUNE: Press TUNE or A to choose radio stations.
For fast tuning, press and hold one side
of the button,
then press the other side.
SEEK: Press AUTO then TUNE 7 or A and the radio
will tune to the next lower or higher station
and stay there.
PUSHBUTTONS: The six pushbuttons let you return to
your favorite stations. To set up to
12 stations (6 AM
and 6 FM), just:
1. Tune in the station.
2. Press SET.
3. Within five seconds, press one of the six
pushbuttons. Whenever you press that button, the
preset station will return.Repeat these steps for each
pushbutton.
Setting the Tone
BASS:
Turn this knob to the right to hear more bass.
TREB: Turn this control behind the BASS knob to the
right to hear more treble.
3-11
Page 157 of 386
Downloaded from www.Manualslib.com manuals search engine H has a higher maximum volume and gets louder faster
than L. Use H when you are driving with the roof panel
off, the convertible top down or the windows open. If
you don’t want to use SCV, turn the control to OFF.
RCL: Press the upper knob to recall the station being
played
or the clock display.
Finding a Station
AM-FM:
Press this button to get AM or FM. The
lighted display shows your selection.
TUNE: Press TUNE v or A to choose radio stations.
For fast tuning, press and hold one side of the button,
then press the other side.
SEEK: Press AUTO then TUNE v or A and the radio
will tune to the next lower or higher station and stay
there.
PUSHBUTTONS: The six pushbuttons let you return to
your favorite stations. To set up to 12 stations (6 AM
and
6 FM), tune in the station and press SET. Within
five seconds, press one of the six pushbuttons.
Whenever you press that button, the preset station will
return. Repeat these steps for each pushbutton.
Setting the Tone
BASS:
Turn this knob to the right to hear more bass.
TREB: Turn this control behind the BASS knob to the
right to hear more treble.
Adjusting the Speakers
BAL: With the DelcoBose system, your speakers are
electronically balanced.
FADE: Turn this knob to move the sound between the
front and rear speakers. Note that
if you turn the knob
all the way to
F or R, you may still get some sound from
the opposite speakers.
3-14