Page 52 of 386
Downloaded from www.Manualslib.com manuals search engine To replace your battery: Remote Hatch Release
1.
2.
3.
4.
5.
Insert a screwdriver in the slot on the back of the
transmitter and gently pry apart the front and back.
Gently pry the battery out of the transmitter using the
screwdriver.
Put the new battery in the transmitter, positive
(+)
side up. Use a Duracell@ battery, type DL2450, or
equivalent.
Put the two halves back together. Make sure the
halves are together tightly
so water won’t get in.
Test the transmitter. Press the
switch in your center console to unlock the
hatch from inside your vehicle. If you have an automatic
transmission, your shift lever must be in
PARK (P) or
NEUTRAL (N) to use the switch. If you have a manual
transmission, you must set the parking brake before you
can use the switch when the vehicle
is running. If you
have a manual transmission and the vehicle is not
running, you may use the switch in any gear.
2-9
Page 75 of 386
Downloaded from www.Manualslib.com manuals search engine Parking Brake
To set the parking brake, hold the brake pedal down.
Pull the parking brake lever up, then move it back down.
This sets your parking brake, even though the lever is
down.
If the ignition is on, the parking brake indicator
light will come on.
To release the parking brake, hold the brake pedal down.
Pull the parking brake lever up until you can push in the
release button. Hold the release button in
as you move
the brake lever all the way down.
NOTICE:
Driving with the parking brake on can 'cause
your rear brakes to overheat. You may have to
replace them, and you could also damage other
parts
of your vehicle.
2-32
Page 76 of 386
Downloaded from www.Manualslib.com manuals search engine Shifting Into PARK (P)
(Automatic Transmission Models Only)
I
1. Hold the brake pedal down with your right foot and
set the parking brake.
holding in the button on the lever and pushing the
lever
all the way toward the front of your vehicle.
2. Move the shift lever into the PARK (P) position by
3. Move the ignition key to LOCK.
4. Remove the key and take it with you. If you can
walk away from your vehicle with the ignition key in
your hand, your vehicle
is in PARK (P).
2-33
Page 77 of 386

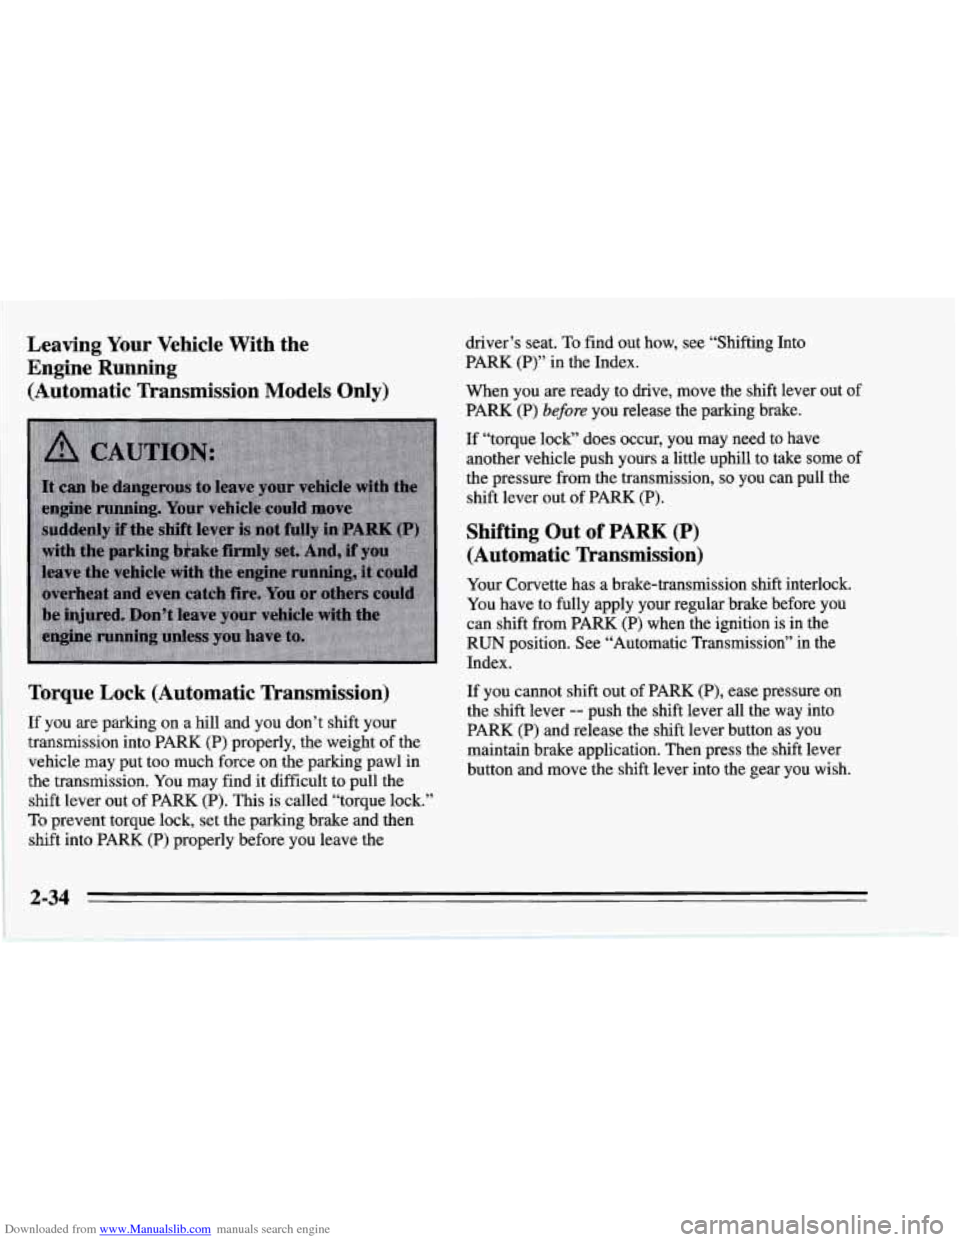
Downloaded from www.Manualslib.com manuals search engine Leaving Your Vehicle With the
Engine Running (Automatic Transmission Models Onlv)
Y‘
Torque Lock (Automatic Transmission)
If you are parking on a hill and you don’t shift your
transmission into PARK (P) properly, the weight of the
vehicle may put too much force
on the parking pawl in
the transmission. You may find it difficult to pull
the
shift lever out of PARK (P). This is called “torque lock.”
To prevent torque lock, set the parking brake and then
shift into PARK (P) properly before you leave the driver’s seat.
To find
out how, see “Shifting Into
PARK
(P)” in the Index.
When you are ready to drive, move the shift lever out of
PARK
(P) before you release the parking brake.
If “torque lock” does occur, you may need to have
another vehicle push yours a little uphill to take some
(
the pressure from the transmission, so you can pull the
shift lever out of PARK (P).
Shifting Out of PARK (P)
(Automatic Transmission)
Your Corvette has a brake-transmission shift interlock.
You have to fully apply your regular brake before you
can shift from PARK
(P) when the ignition is in the
RUN position. See “Automatic Transmission” in the
Index.
If you cannot shift out of PARK
(P), ease pressure on
the shift lever
-- push the shift lever all the way into
PARK
(P) and release the shift lever button as you
maintain brake application. Then press the shift lever
button and move the shift lever into the gear you wish.
2-34
Page 78 of 386
Downloaded from www.Manualslib.com manuals search engine If you ever hold the brake pedal down but still can’t
shift out of PARK
(P), try this:
1. Turn the key to OFF,
2. Apply and hold the brake until the end of Step 4.
3. Shift to NEUTRAL (N).
4. Start the vehicle and then shift to the drive gear you
want.
5. Have the vehicle fixed as soon as you can.
Parking Your Vehicle
(Manual Transmission)
Before you get out of your vehicle, put your manual
transmission in
REVERSE (R) and firmly apply the
parking brake.
Parking Over Things That Burn
2-35
Page 90 of 386

Downloaded from www.Manualslib.com manuals search engine Headlamp Doors
The headlamp doors are designed to open when you
turn the headlamps on and close when you turn the
headlamps and parking lamps off. If you turn the
headlamps on, then turn the headlamp switch back to
the parking lamps setting, the headlamp doors will stay
open. You
can open the doors manually using the knob next to
the headlamp assembly. Turn the knob counterclockwise
until the doors are open.
The headlamp doors should be open when driving in icy
or snowy conditions to prevent the doors from freezing
closed and when washing the vehicle to help clean the
headlamps.
Daytime Running Lamps (Canada Only)
Daytime Running Lamps (DRL) can make it easier for
others to see the front of your vehicle during the day.
DRL can be helpful in many different driving
conditions, but they can be especially helpful in the
short periods after dawn and before sunset.
A light sensor on top of the instrument panel makes the
DRL work,
so be sure it isn’t covered.
The DRL system will make your front turn signal lamps
come on when:
The ignition is on,
The headlamp switch is off, and
0 The parking brake is released.
2-47
Page 95 of 386
Downloaded from www.Manualslib.com manuals search engine Roof Panel (Coupe)
Until you are sure you can remove the panel alone, have
someone help you.
Removing the Roof Panel
2. Remove the ratchet from the console.
1. Park on a level surface, set the parking brake firmly
and shift an automatic transmission into PARK
(P).
Shift a manual transmission into REVERSE (R).
Lower both windows, turn the ignition key to LOCK
and move both sunshades to the side.
2-52
Page 99 of 386

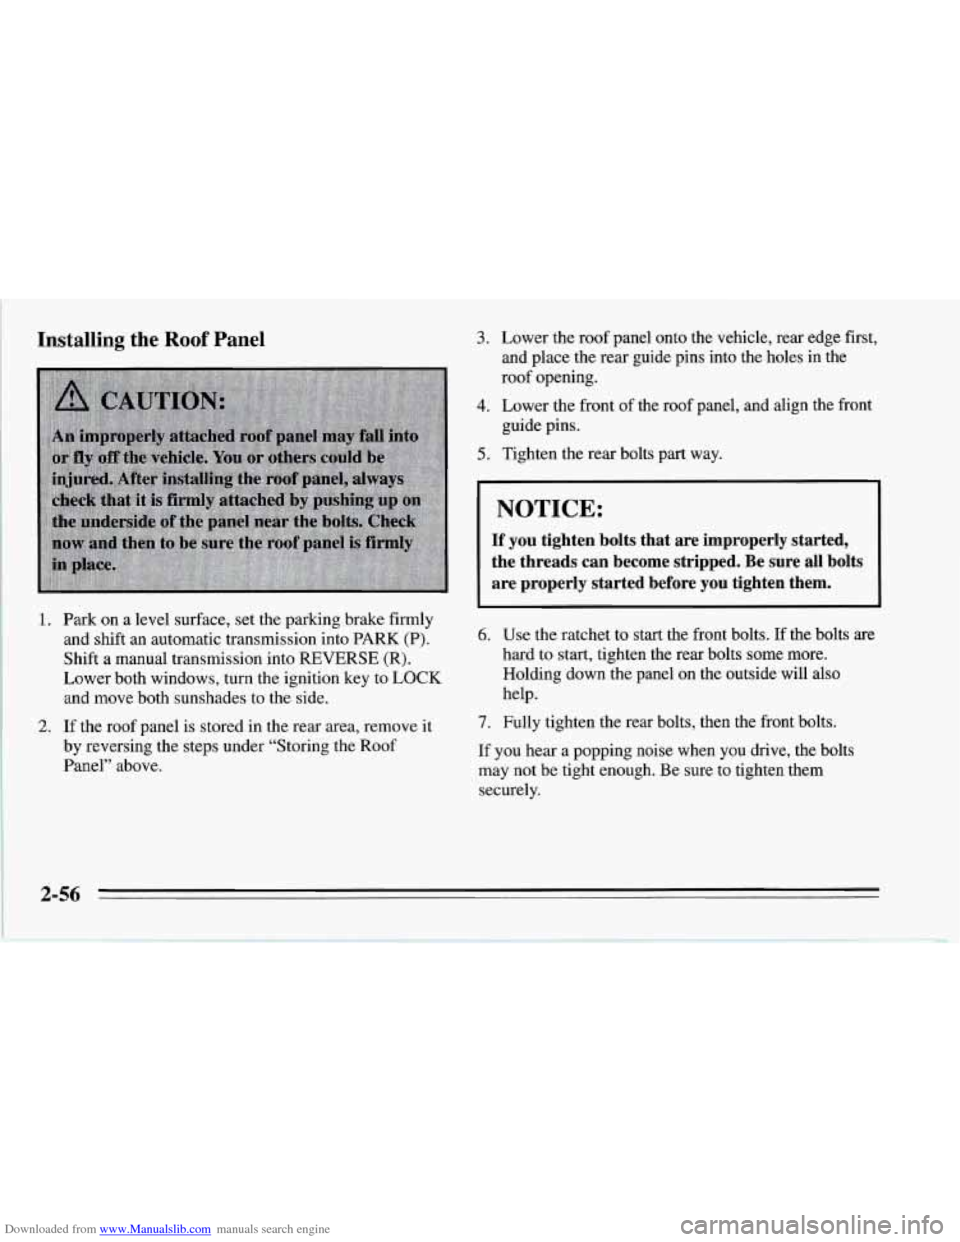
Downloaded from www.Manualslib.com manuals search engine Installing the Roof Panel 3. Lower the roof panel onto the vehicle, rear edge first,
and place the rear guide pins into the holes in the
roof opening.
4. Lower the front of the roof panel, and align the front
guide pins.
5. Tighten the rear bolts part way.
I
_____~~
NOTICE:
If you tighten bolts that are improperly started,
the threads can become stripped. Be sure all bolts are properly started before you tighten them.
1. Park on a level surface, set the parking brake firmly
and shift an automatic transmission into
PARK (P).
Shift a manual transmission into REVERSE (R).
Lower both windows, turn the ignition key to LOCK
and move both sunshades to the side.
2. If the roof panel is stored in the rear area, remove it
by reversing the steps under “Storing the Roof
Panel” above.
6. Use the ratchet to start the front bolts. If the bolts are
hard to start, tighten the rear bolts some more.
Holding down the panel on the outside will also
help.
7. Fully tighten the rear bolts, then the front bolts.
If you hear a popping noise when you drive, the bolts
may not be tight enough. Be sure to tighten them
securely.