1994 PONTIAC GRAND-AM brake
[x] Cancel search: brakePage 6 of 274

Vehicle Symbols
These are some of the symbols you may find on your vehicle.
For example,
these symbols
are used on an
original battery:
PROTECT
EYES BY
SHIELDING
CAUSTIC
BURNS
AVOID
SPARKS
OR
FLAMES
SPARK OR ,\I/,
COULD FLAME
EXPLODE BATTERY
These symbols
are important
for you and
your passengers
whenever your
vehicle is
driven:
DOOR LOCK
UNLOCK
FASTEN SEAT 4
BELTS
POWER
WINDOW
These symbols
have
to do with
your lights:
SIGNALS e
TURN
HIGH BEAM OR = =o
FOG LAMPS $0
These symbols
are
on some of
your controls:
WIPER Q
WINDSHIELD
WASHER
wlNDSHIELDw DEFROSTER
WINDOW REAR
DEFOGGER.
VENTILATING ca
FAN c.
These symbols
are used
on
warning and
indicator lights:
COOLANT F-
TEMP --
ENGINE
CHARGING BATTERY
SYSTEM
BRAKE (0)
RADIATOR a
COOLANT
FUEL
ENGINE OIL
PRESSURE
-4
TEMP OIL &
ANTILOCK (e)
BRAKE
Here are some
other symbols
you may
see:
FUSE *
RADIO
VOLUME
AIR
CONDITIONING
RELEASE TRUNK
LIGHTER
SPEAKER
b
ProCarManuals.com
Page 46 of 274

...
dele you can learn about the many
tandard and optional features on our Pontiac. and information on
tarting. shifting and braking
. Also
!xplained are the instrument panel
nd the warning systems that tell you
’ everything is working properly ..
ind what to do if you have a problem .
Part 2
Features & Controls
Keys ..... ....................................................... 46
DoorLocks ........................................................ 47
Keyless Entry System
............................................... 50
GloveBox ........................................................ 54
Ignitionswitch
..................................................... 55
StartingYourEngine ................................................ 56
Engine Coolant Heater (Engine Block Heater) ............................ 58
Shifting the Automatic Transaxle ...................................... 59
Shifting the Five-Speed Manual Transaxle ............................... 64
Shifting Into Park (Automatic Transaxle) ................................ 67
Windows
......................................................... 72
Turn Signal/Multifunction Lever ....................................... 73
CruiseControl
..................................................... 74
Lightcontrols
..................................................... 77
Battery Rundown Protection
.......................................... 80
Windshield Wipers .................................................. 81
Windshield Washer ................................................. 82
Mirrors ........................................................... 82
SunVisors ........................................................ 84
Instrumentpanel ................................................... 88
Warning Lights, Gages and Indicators ................................... 93
ParkingBrake ...................................................... 66
45.0.
ProCarManuals.com
Page 55 of 274

Features & Controls
. .
Remote Trunk Release
(CONT.)
Lockout Feature:
The remote trunk release is equipped wit1
a lockout feature to help prevent
unauthorized entry into the trunk when
leaving the vehicle unattended. The
switch is located on the inside of the trun
lid, mounted to the trunk lid latch.
To turn the lockout on, slide the switch a1
the way to the right.
To turn the lockout
off, slide the switch all the way to the lefi
When the lockout is on, the mechanical
remote trunk release will not release the
trunk lid. However, the trunk lid can still
be opened with the key.
54
Glove Box
Use the door key to lock and unlock the
glove box.
To open, pull the glove box
handle toward you.
New Vehicle
“Break-In”
NOTICE:
Your modem Pontiac doesn’t need
an elaborate “break-in.” But it
will
perform better in the long run if you
follow these guidelines:
0
0
Don’t drive at any one speed
-- fast or slow -- for the first
500 miles (804 km). Don’t
make full-throttle starts.
Avoid making hard stops for
the first
200 miles (322 km)
or so. During this time your
new brake linings aren’t yet
broken
in. Hard stops with
new linings can mean
premature wear and earlier
replacement. Follow this “breaking-in” guideline
every time you get new
brake linings.
ProCarManuals.com
Page 62 of 274

Ensure the shift lever is fully in PARK (P)
range before starting the engine. Your
Pontiac has a brake-transaxle shift
interlock.
You have to fully apply your
regular brake before you can shift from
PARK (P) when the ignition key is in the
RUN position. If you cannot shift out of
PARK (P), ease pressure on
the shift
lever- push the shift lever all the way
into PARK (P)
- as you maintain brake
application. Then move
the shift lever
into the gear you wish. (Press the shift
lever button before moving the shift
lever.) See “Shifting
Out of PARK (P)”
later
in this section.
I
Reverse
REVERSE (R): Use this gear to back up.
NOTICE:
Shifting to REVERSE (R) while
your vehicle is moving forward
could damage your transaxle. Shift
to REVERSE only after your
vehicle is stopped.
To rock your vehicle back and forth to get
out of snow, ice or sand without
damaging your transaxle, see “If You’re
Stuck: In Sand, Mud, Ice or Snow” in the
Index.
Neutral
NEUTRAL (N): In this position,,your
engine doesn’t connect with the wheels.
To restart when you’re already moving,
use NEUTRAL
(N) only. Also, use
NEUTRAL when your vehicle is Geing
towed.
61 ...
ProCarManuals.com
Page 63 of 274

Features & Controls
Shifting the Automatic
Transaxle
(3 or 4 Speeds) (CONT.)
I NOTICE: I
Damage to your transaxle caused by
shifting out of
“P’ (Park) or “N”
(Neutral) with the engine racing
isn’t covered by your warranty.
Forward Gears
(Three Speed)
D (Drive): This position is for normal
driving with the three speed automatic
transaxle.
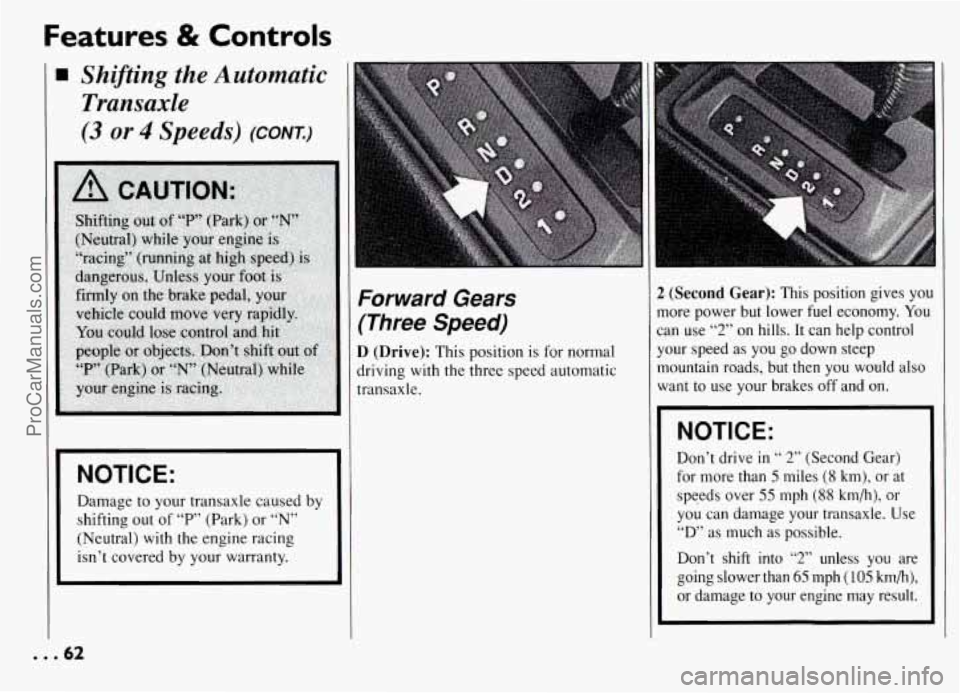
2 (Second Gear): This position gives you
more power but lower fuel economy.
You
can use “2” on hills. It can help control
your speed as
you go down steep
mountain roads, but then you would also
want to use your brakes off and on.
NOTICE:
Don’t drive in “ 2” (Second Gear)
for more than
5 miles (8 km), or at
speeds over
55 mph (88 km/h), or
you can damage your transaxle. Use
“D” as much as possible.
Don’t shift into “2” unless you are
going slower than
65 mph (105 km/h),
or damage to your engine may result.
I
... 62
ProCarManuals.com
Page 64 of 274

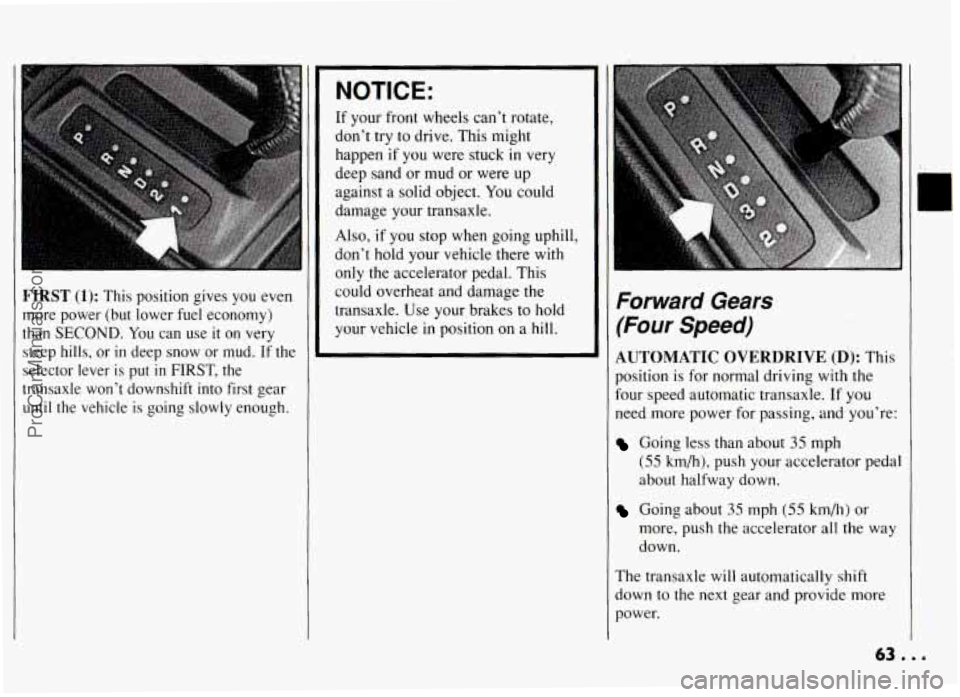
FIRST (1): This position gives you even
more power
(but lower fuel economy)
than
SECOND. You can use it on very
steep
hills, or in deep snow or mud. If the
selector lever
is put in FIRST, the
transaxle won’t downshift into
first gear
until the vehicle is going slowly enough.
NOTICE:
If your front wheels can’t rotate,
don’t try
to drive. This might
happen
if you were stuck in very
deep sand or mud or were up
against a solid object. You could
damage your transaxle.
Also, if you stop when going uphill,
don’t hold your vehicle there
with
only the accelerator pedal. This
could overheat and damage the
transaxle. Use your brakes to hold
your vehicle
in position on a hill.
Forward Gears
(Four Speed)
AUTOMATIC OVERDRIVE (D): This
position is for normal driving
with the
four speed automatic transaxle.
If you
need more power for passing, and you’re:
Going less than about 35 mph
(55 kmh), push your accelerator pedal
about halfway down.
Going about 35 mph (55 km/h) or
more, push the accelerator all the way
down.
The transaxle will automatically shift
down to the next gear and provide more
power.
ProCarManuals.com
Page 65 of 274

Features & Controls
Forward Gears
(Four Speed) (CONK)
3 (Third Gear): This is like D, but you
never
go into Overdrive. Here are some
times you might choose
3 instead of D:
0 When driving on hilly, winding roads.
When towing a trailer, so there is less
shifting between gears.
When going down a steep hill.
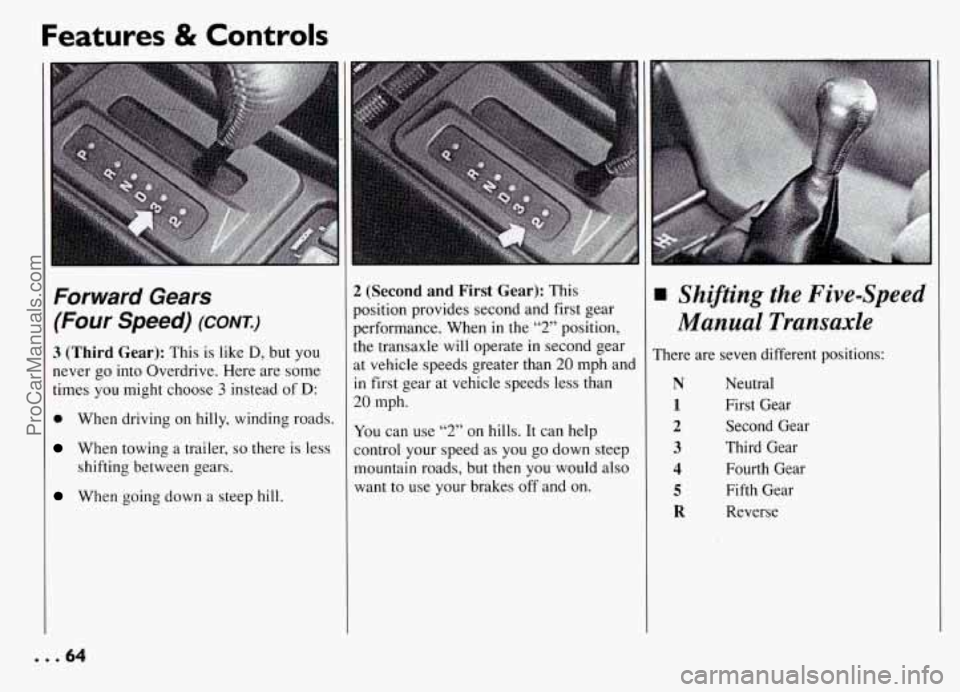
2 (Second and First Gear): This
position provides second and first gear
performance. When in the
“2” position,
the transaxle will operate in second gear
at vehicle speeds greater than
20 mph and
in first gear at vehicle speeds less than
20 mph.
You can use “2” on hills. It can help
control your speed as you go down steep
mountain roads, but then you would also
want to use your brakes
off and on.
Shifting the Five-Speed
Manual Transaxle
There are seven different positions:
N Neutral
1 First Gear
2 Second Gear
3 Third Gear
4 Fourth Gear
5 Fifth Gear
R Reverse
... 64
ProCarManuals.com
Page 66 of 274

1 3 5
2 4 R
C
E
il
F
4
h
II
t'
C
4
I1
C
F
'his is your shift pattern. Here's how to
bperate your transaxle:
rIRST (1): Press the clutch pedal and shi
nto FIRST. Then, slowly let up on the clutc
kedal as you press the accelerator pedal.
lou can shift into FIRST when you're
;oing less than
20 mph (32 km/h). If
fou've come to a complete stop and it's
lard to
shift into FIRST, put the shift
ever
in NEUTRAL (N) and let up on the
Iutch. Press the clutch pedal back down
hen shift into FIRST.
iECOND (2): Press the clutch pedal as
'ou let up on the accelerator pedal and shij
nto
SECOND. Then, slowly let up on the
:lutch pedal as
you press the accelerator
Iedal.
HIRD (3), FOURTH (4) AND FIFTH
;): Shift into THIRD, FOURTH and
IFTH the same way you do for
ECOND. Slowly let up on the clutch
:dal as you press the accelerator pedal.
o Stop: Let up on the accelerator pedal
Id press the brake pedal. Just before the
:hicle stops, press
the clutch pedal and
le brake pedal, and shift into NEUTRAL
9.
'EUTRAL (N): Use this position when
3u start or idle your engine.
.EVERSE (R): To back up, press down
Le clutch pedal and shift into REVERSE.
et
up on the clutch pedal slowly while
ressing the accelerator pedal. ~
NOTICE:
Shift
to REVERSE (R) only after
your vehicle is stopped. Shifting to
REVERSE (R) while your vehicle is
moving could damage your
transaxle.
ho, use REVERSE (R), along with the
arking brake, for parking your vehicle.
Shift Light
If you have a manual transaxle, you have
a SHIFT light. This light will show you
when to shift to the next higher gear for
best fuel economy.
When this light comes on, you can shift to
the next higher gear if weather, road and
traffic conditions let you. For the best fuel
economy, accelerate slowly and shift
when the light comes on.
While you accelerate, it is normal for the
light to go on and off if you quickly
change the position of the accelerator.
Ignore the SHIFT light when you
downshift.
ProCarManuals.com