Page 185 of 290
Problems on the Road
I
Changing a Flat Tire
(CONI)
1. Turn the center retainer bolt on the spare tire cover counterclockwise to
remove
it, then lift the tire cover.
2. Remove the spare tire from the trunk.
. . . 184
#. Open the jack storage cover by
twisting the
knob 1/4 turn
counterclockwise.
4. Remove the jack and wheel wrench.
5. Next, remove the wheel or nut cap
covers for your particular vehicle.
ProCarManuals.com
Page 187 of 290
Problems on the Road
4
6.
Changing a Flat Tire
(CONT.)
Attach the wheel wrench to the jack,
and rotate the wrench clockwise to
raise the jack head a few inches.
7. Near each wheel well is a notch in the
frame into which to put the jack head.
The front notch is
10 inches back fron
the front wheel well. The rear notch iy
8 inches forward from the rear wheel
well.
The wheel wrench has these
8 and 10
inch distances stamped on the handle.
Use the wheel wrench to measure to
the notch by flipping the socket into
the handle, then measure from the
socket end of
the wrench.
I. Position the jack and raise the jack
head
until it fits firmly on the ridge in
the vehicle’s frame nearest the flat
tire.
Do not raise the vehicle yet. Put
the compact spare tire near you.
ProCarManuals.com
Page 188 of 290
9. If your wheel has the special locking
lug nut, use the special adapter
supplied with your vehicle to remove
the locking wheel nut
by turning
counterclockwise. 1O.Use
the wheel wrench to loosen the
wheel nuts, but don't remove them.
- .. .
11 .Raise the vehicle by rotating tbe
wheel wrench clockwise
on thejack
shaft. Raise the vehicle far enough off
the ground
so there is enough mom
for the spare tire to fit.
. .5 $I' .
8. ':C. -.% :i .
, .*.
187.
ProCarManuals.com
Page 189 of 290
Problems on the Road
1
Changing a Flat Tire
(CONT.)
NOTICE:
Raising your vehicle with the jack
inlproperly positioned will damage
the vehicle or may allow the vehicle
to fdl off the jack. Be sure to fit the
jack lift head into the proper
location before raising your vehicle.
12. Remove all the wheel nuts and take
off the flat tire.
13. Remove any corrosion from the wheel
bolts, mounting surfaces and spare wheel.
14. Place the spare wheel on the
mounting surface.
I
ProCarManuals.com
Page 191 of 290

Problems on the Road
I
Changing a Flat Tire
(CONT.)
Don't try to put the wheel cover on the
compact spare tire. It won't fit. Store the
wheel cover
in the trunk until you have
replaced
the compact spare tire with a
regular tire.
NOTICE:
Wheel covers won't fit on your
compact spare.
If you try to put a
wheel cover
on your compact spare,
you could damage the cover or the
spare.
18. When you reinstall the full size whee
and tire, you install the wheel cover
or nut caps at this point. :1
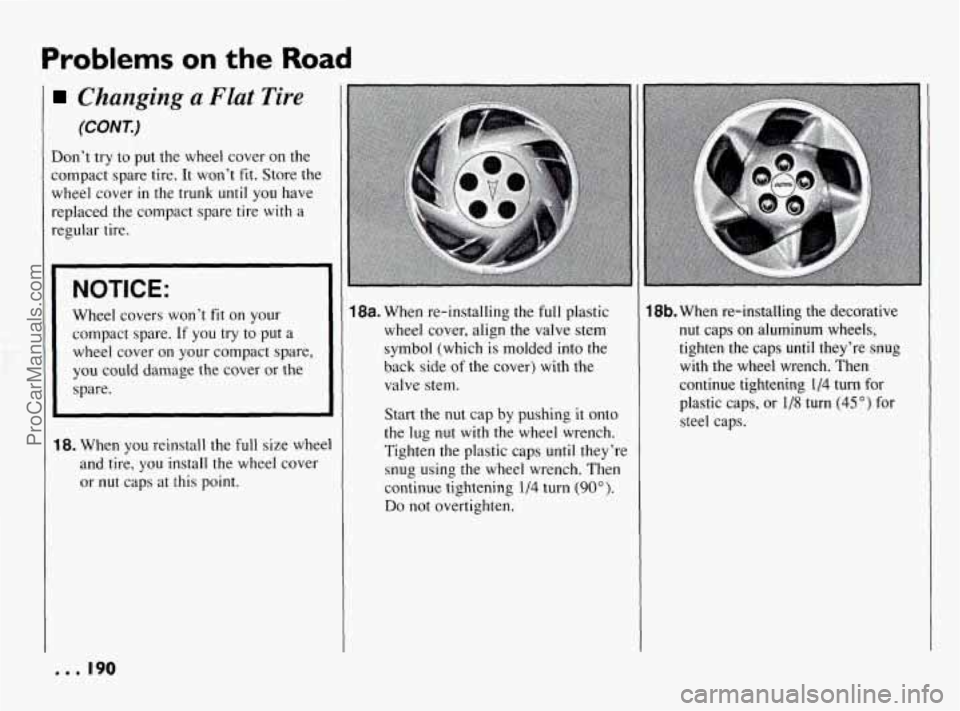
18a. When re-installing the full plastic
wheel cover, align the valve stem
symbol (which is molded into the
back side of the cover) with the
valve stem.
Start the nut cap by pushing it onto
the lug nut with the wheel wrench.
Tighten the plastic caps until they're
snug using the wheel wrench. Then
continue tightening
1/4 turn (90").
Do not overtighten.
18b. When re-installing the decorative
nut caps on aluminum wheels,
tighten the caps
until they're snug
with the wheel wrench. Then
continue tightening
1/4 turn for
plastic caps, or
1/8 turn (45") for
steel caps.
. . . 190
ProCarManuals.com
Page 192 of 290

!l
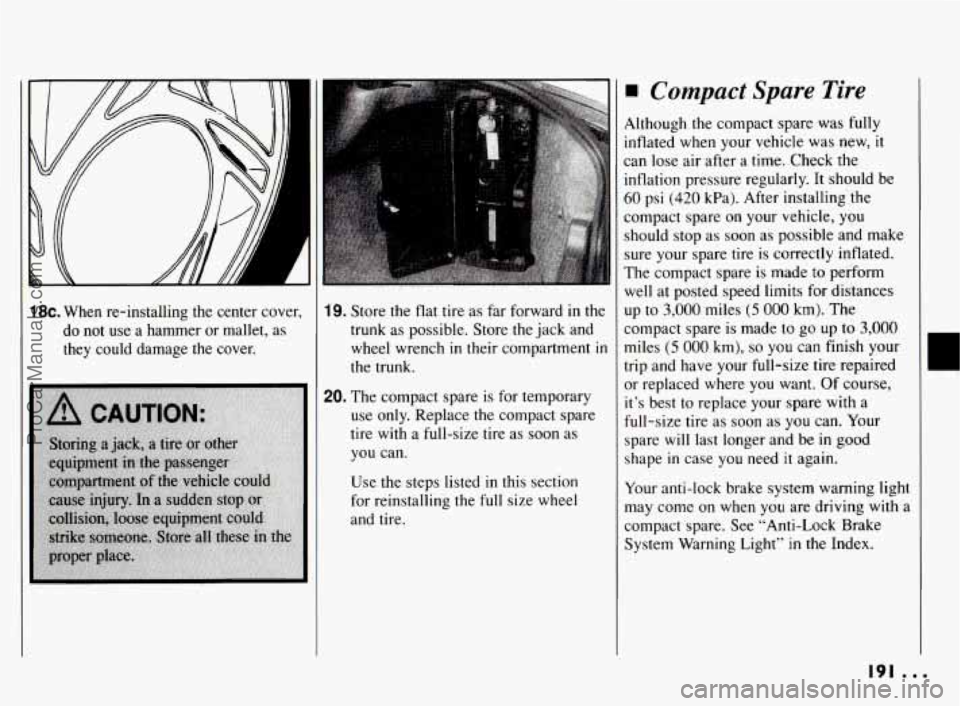
18~. When re-installing the center cover,
do not use a hammer or mallet, as
they could damage the cover. 19. Store the flat tire as far forward in the
trunk as possible. Store
the jack and
wheel wrench in their compartment
in
the trunk.
20. The compact spare is for temporary
use only. Replace the compact spare
tire with a full-size tire as
soon as
you can.
Use the steps listed in this section
for reinstalling the
full size wheel
and tire.
Compact Spare Tire
Although the compact spare was fully
inflated when your vehicle was new, it
can lose air after a time. Check the
inflation pressure regularly. It should be
60 psi (420 kPa). After installing the
compact spare on your vehicle, you
should stop as soon as possible and make
sure your spare tire is correctly inflated.
The compact spare is made to perform
well at posted speed limits for distances
up to
3,000 miles (5 000 km). The
compact spare is made
to go up to 3,000
miles (5 000 km), so you can finish your
trip and have your full-size tire repaired
or replaced where you want. Of course,
it’s best to replace your spare with a
full-size tire as soon as you can. Your
spare will last longer and be
in good
shape
in case you need it again.
Your anti-lock brake system warning light
may come on when
you are driving with a
compact spare. See “Anti-Lock Brake
System Warning Light”
in the Index.
191 ...
ProCarManuals.com
Page 193 of 290

Problems on the Road
[
Compact Spare Tire
(CONK)
NOTICE:
Don’t take your compact spare
through an automatic car wash
with
guide rails. The compact spare can
get caught on the rails. That can
damage the tire and wheel, and
maybe other parts of your vehicle.
Don’t use your compact spare on some
other vehicle.
And don’t mix your compact spare or
wheel with other wheels or tires. They
won’t fit. Keep your spare and its wheel
together.
NOTICE:
Tire chains won’t fit your compact
spare. Using them will damage your
vehicle and destroy the chains too.
Don’t use tire chains on your
compact spare.
If You’re Stuck: In
Sand, Mud, Ice
or
Snow
What you don’t want to do when your
vehicle is stuck
is to spin your wheels.
The method known as “rocking” can help
you get out when you’re stuck, but you
must use caution.
I
I
I
1
1
1
(
1
1
1
NOTICE:
Spinning your wheels can destroy
parts of your vehicle as well as the
tires. If you spin the wheels too fast
while shifting your transaxle back
and forth, you can destroy your
transaxle.
Rocking Your Vehicle to Get it Out:
First, turn your steering wheel left and
right. That will clear the area around your front wheels. If your vehicle has traction
control, you should turn the system
off.
See “Traction Control System” in the
Index.
Then shift back and forth between
“R”
(Reverse) and a forward gear, spinning
the wheels as little as possible. Release
the accelerator pedal while you shift, and
press lightly on the accelerator pedal
when the transaxle is in gear. If that
doesn’t get you out after a few tries, you
may need to be towed out. If you do need
to be towed out, see “Towing Your
Pontiac”
in the Index.
I.. 192
ProCarManuals.com
Page 226 of 290
When to Check
Check your tires once a month or more.
Don’t forget your compact spare tire. It
should be at
60 psi (420 kPa).
How to Check
Use a good quality pocket-type gage to
check tire pressure. Simply looking at the
tires will.not tell you the pressure,
especially
if you have radial tires --
which may look properly inflated even if
they’re underinflated.
If your tires have valve caps, be sure to
put them back on. They help prevent
leaks by keeping out dirt and moisture.
Tire lnspecfion and
Rotafion
To make your tires last longer, have them
inspected and rotated at the mileages
recommended
in the Maintenance
Schedule. See “Scheduled Maintenance Services” in the Index.
X5028
Use this rotation pattern.
After the tires have been rotated, adjust
the front and rear inflation pressure as
shown on the Tire-Loading Information
label. Make certain that all wheel nuts are
properly tightened. See “Wheel Nut
Torque” in the Index.
e
225 . .
ProCarManuals.com