1994 PONTIAC BONNEVILLE run flat
[x] Cancel search: run flatPage 4 of 290
How to Use This Manual
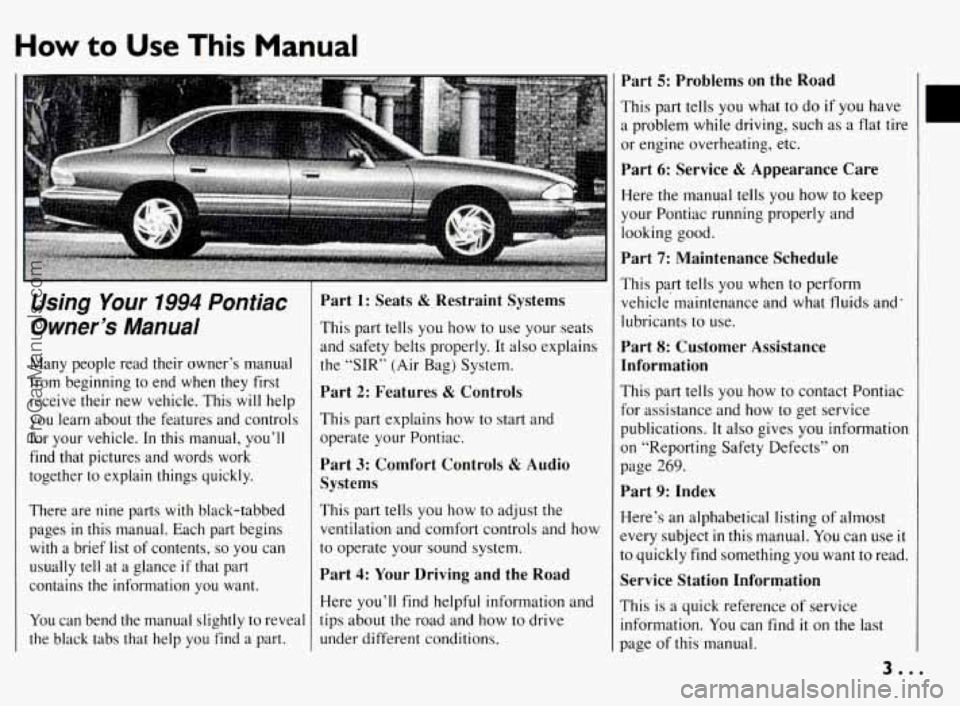
Using Your 1994 Pontiac
Owner’s Manual
Many people read their owner’s manual
from beginning
to end when they first
receive their
new vehicle. This will help
you learn about the features and controls
for your vehicle. In this manual, you’ll
find that pictures and words work
together
to explain things quickly.
There are nine parts with black-tabbed pages
in this manual. Each part begins
with a brief list of contents,
so you can
usually tell at a glance
if that part
contains the information you want.
You can bend the manual slightly to reveal
the black tabs that help you find a part.
This part tells you how to use your seats
and safety belts properly. It also explains
the “SIR’ (Air Bag) System.
Part 2: Features & Controls
This part explains how to start and
operate your Pontiac.
Part 3: Comfort Controls & Audio
Systems
This part tells you how to adjust the
ventilation and comfort controls and how
to operate your sound system.
Part 4: Your Driving and the Road
Here you’ll find helpful information and
tips about the road and how
to drive
under different conditions.
Part 5: Problems on the Road
This part tells you what to do if you have
a problem while driving, such as a flat tire
or engine overheating, etc.
Part 6: Service & Appearance Care
Here the manual tells you how to keep
your Pontiac running properly and
looking good.
Part 7: Maintenance Schedule
This part tells you when to perform
vehicle’maintenance and what fluids and’
lubricants to use.
Part 8: Customer Assistance
Information
This part tells you how to contact Pontiac
for assistance and how
to get service
publications. It also gives
you information
on “Reporting Safety Defects”
on
page 269.
Part 9: Index
Here’s an alphabetical listing of almost
every subject
in this manual. You can use it
to quickly find something you want to read.
Service Station Information
This is a quick reference of service
information.
You can find it on the last
page of this manual.
3..
ProCarManuals.com
Page 16 of 290
Here Are Questions
Many People Ask
About Safety Belts --
and the Answers
Q: Won’t I be trapped in the vehicle
after an accident if
I’m wearing a
safety belt?
A: You could be -- whether you’re
wearing a safety belt
or not. But you
can easily unbuckle a safety belt, even
if you’re upside down. And your
chance of being conscious during and
after an accident,
so you can unbuckle
and get
out, is much greater if you are
belted.
Q: Why don’t they just put in air bags
so people won’t have to wear safety
belts?
A: Air bags, or Supplemental Inflatable
Restraint systems, are
in some
vehicles today and
will be in more of
them in the future. But they are
supplemental systems only
-- so they
work safety belts, not instead
of
them. Every air bag system ever
offered for sale has required the use of safety belts.
Even
if you’re in a
vehicle that has air bags, you still have
to buckle up to get the most
protection. That’s true not only
in
frontal collisions, but especially in
side and other collisions.
Q: If I’m a good driver, and I never
drive far from home, why should
I
wear safety belts?
A: You may be an excellent driver, but if
you’re in an accident -- even one that
isn’t your fault
-- you and your
passengers can be hurt. Being a good
driver doesn’t protect you from things
beyond your control, such as bad
drivers.
Most accidents occur within 25 miles
(40 km) of home. And the greatest
number of serious injuries and deaths
occur at speeds
of less than 40 mph
(65 km/h).
Safety belts are for everyone.
BELTS
Safety Belt Reminder
Light
Yhen the key is turned to “Run” or
Start”, a chime will come on for about
ight seconds to remind people
to fasten
heir safety belts. The safety belt light
vi11 also come on and stay on for about
10 seconds. If the driver’s belt is already
buckled, neither the chime nor the light
vill come on.
C
15...
ProCarManuals.com
Page 23 of 290
Seats & Restraint Systems
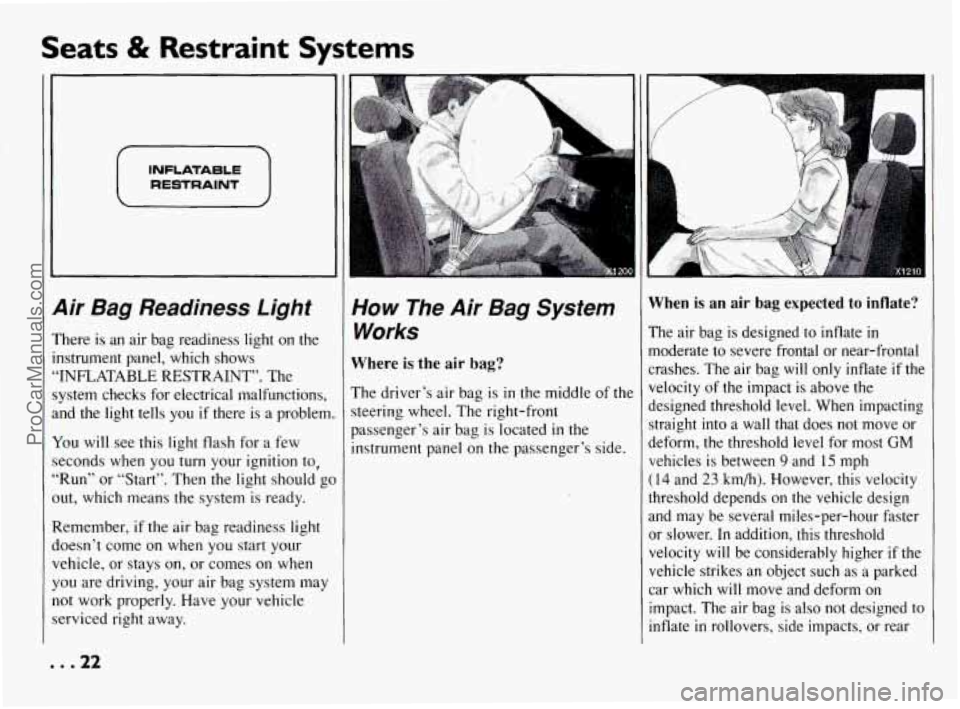
INFLATABLE
RESTRAINT
9ir Bag Readiness Light
’here is an air bag readiness light on the
xtrument panel, which shows
INFLATABLE RESTRAINT”. The
ystem checks for electrical malfunctions,
nd the light tells you
if there is a problem.
’ou will see this light flash for a few
xonds when
you turn your ignition to,
Run” or “Start”. Then the light should gc
ut, which means the system is ready.
.emember, if the air bag readiness light
oesn’t come on when you start your
ehicle, or stays on, or comes
on when
ou are driving, your air bag system may
ot work properly. Have your vehicle xviced right away.
. .22
I
HOW The Air Bag System When is an air bag expected to inflate?
moderate to severe frontal or near-frontal
Works The air bag is designed to inflate in
Where is the air bag? crashes. The air bag will only inflate if the
The driver’s air bag is
in the middle of the
steering wheel. The right-front
passenger’s air bag is located
in the
instrument panel
on the passenger’s side. velocity
of the impact is above the
designed threshold level. When impacting straight into a wall that does not move or
deform, the threshold level for most GM
vehicles is between 9 and 15 mph
(14 and 23 km/h). However, this velocity
threshold depends on the vehicle design
and may be several miles-per-hour faster or slower. In addition, this threshold
velocity will be considerably higher
if the
vehicle strikes an object such as a parked
car which will move and deform on impact. The air bag is also not designed to
inflate
in rollovers, side impacts, or rear
ProCarManuals.com
Page 52 of 290
I
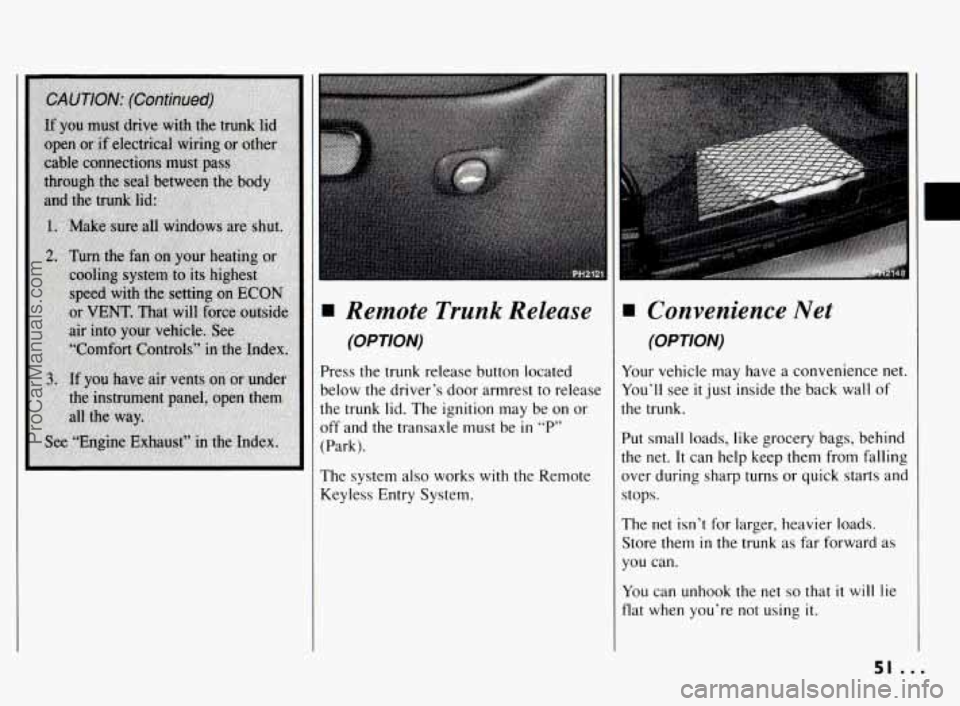
Remote Trunk Release
(OPTION)
Press the trunk release button located
below the driver’s door armrest to release
the trunk lid. The ignition may be on or
off and the transaxle
must be in “P”
(Park).
The system also works
with the Remote
Keyless Entry System.
Convenience Net
(OPTION)
Your vehicle may have a convenience net.
You’ll see
it just inside the back wall of
the trunk.
Put small loads, like grocery bags, behind
the net.
It can help keep them from falling
over during sharp turns or quick starts and
stops.
The net isn’t for larger, heavier loads.
Store them
in the trunk as far forward as
you can.
You can unhook the net
so that it will lie
flat when you’re not using
it.
51 ...
ProCarManuals.com
Page 183 of 290
Problems on the Road
How to Add Coolant to the
Radiator:
(CONT.)
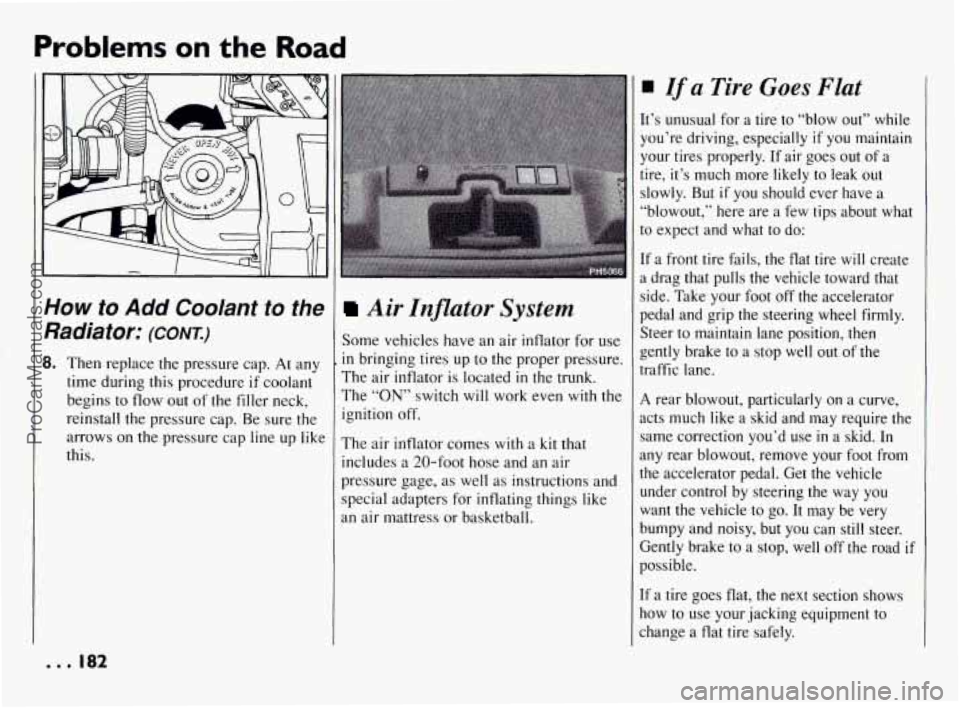
8. Then replace the pressure cap. At any
time during this procedure
if coolant
begins
to flow out of the filler neck,
reinstall the pressure cap. Be sure the
arrows
on the pressure cap line up like
this.
. . . 182
Air Inflator System
Some vehicles have an air inflator for use
in bringing tires up to the proper pressure.
The air inflator is located
in the trunk.
The “ON” switch will work even with the
ignition off.
The air inflator comes with a
kit that
includes a 20-foot hose and an air
pressure gage, as well as instructions and
special adapters for inflating things like
an air mattress or basketball.
If a Tire Goes FZat
It’s unusual for a tire to “blow out” while
you’re driving, especially
if you maintain
your tires properly. If air goes out of a
tire, it’s much more likely to leak out
slowly.
But if you should ever have a
“blowout,” here are a few tips about what
to expect and what to
do:
If a front tire fails, the flat tire will create
a drag that pulls the vehicle toward that
side. Take your foot
off the accelerator
pedal and grip
the steering wheel firmly.
Steer
to maintain lane position, then
gently brake
to a stop well out of the
traffic lane.
A rear blowout, particularly on a curve,
acts much like a skid and may require the
same correction you’d use
in a skid. In
my rear blowout, remove your foot from
the accelerator pedal. Get the vehicle
under control by steering the way you
want the vehicle
to go. It may be very
bumpy and noisy, but you can still steer.
Sently brake to a stop, well off the road
if
possible.
[fa tire goes flat, the next section shows
low
to use your jacking equipment to
:hange a flat tire safely.
ProCarManuals.com
Page 184 of 290
Changing a Flat Tire
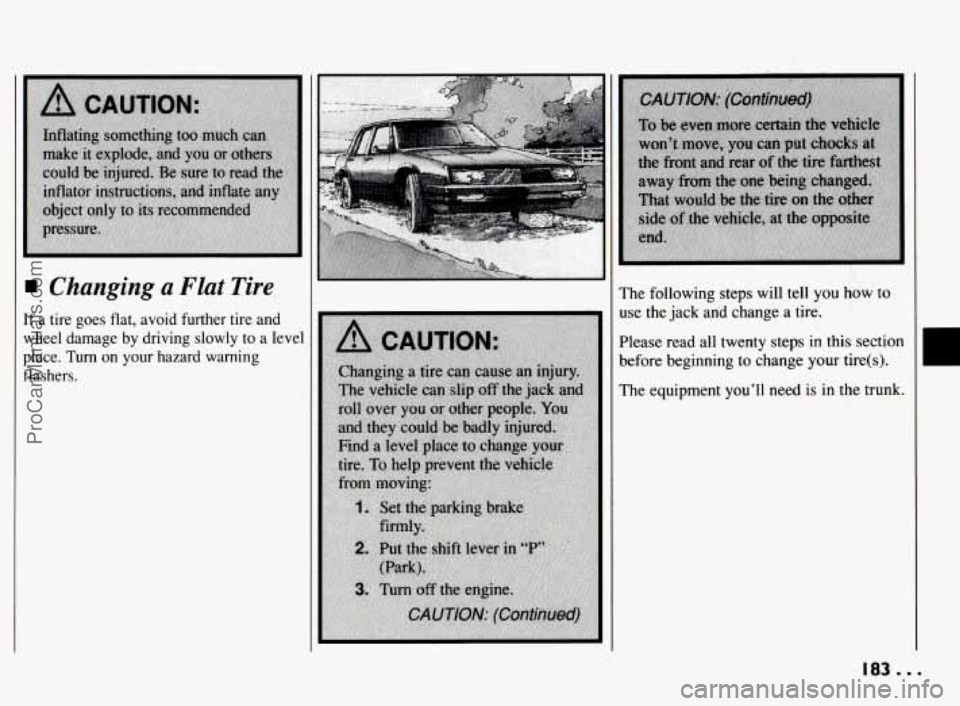
If a tire goes flat, avoid further tire and
wheel damage by driving slowly to a level
place.
Turn on your hazard warning
flashers.
..
The following steps will tell you how to
use the jack and change
a tire.
Please read all twenty steps in
this section
before beginning to change your tire(s).
The equipment you’ll need
is in the trunk.
183. ..
ProCarManuals.com
Page 185 of 290
Problems on the Road
I
Changing a Flat Tire
(CONI)
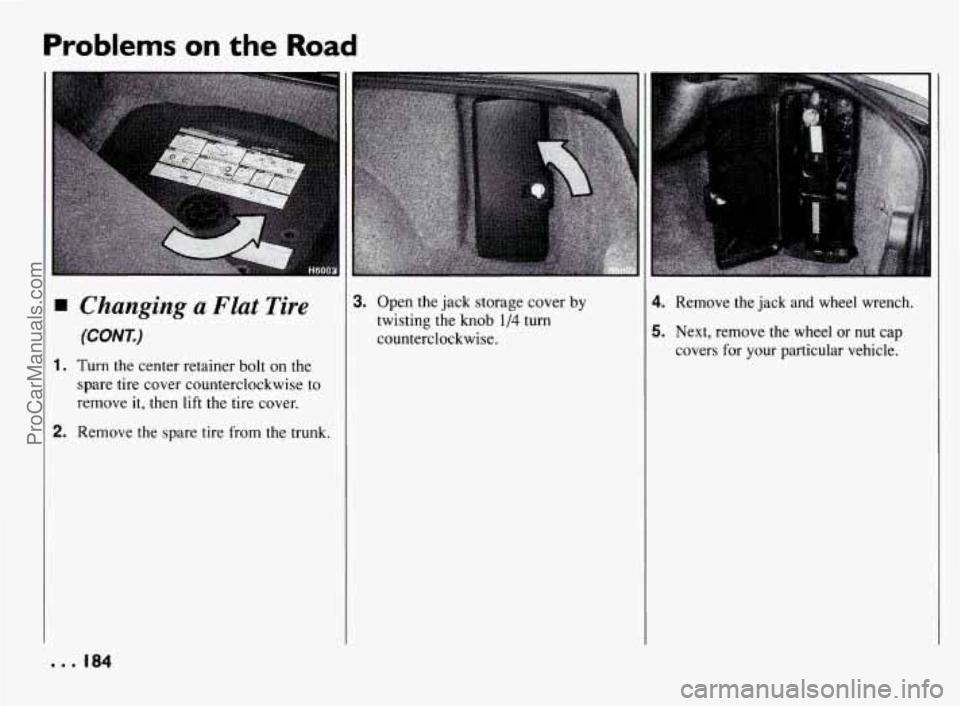
1. Turn the center retainer bolt on the spare tire cover counterclockwise to
remove
it, then lift the tire cover.
2. Remove the spare tire from the trunk.
. . . 184
#. Open the jack storage cover by
twisting the
knob 1/4 turn
counterclockwise.
4. Remove the jack and wheel wrench.
5. Next, remove the wheel or nut cap
covers for your particular vehicle.
ProCarManuals.com
Page 191 of 290
Problems on the Road
I
Changing a Flat Tire
(CONT.)
Don't try to put the wheel cover on the
compact spare tire. It won't fit. Store the
wheel cover
in the trunk until you have
replaced
the compact spare tire with a
regular tire.
NOTICE:
Wheel covers won't fit on your
compact spare.
If you try to put a
wheel cover
on your compact spare,
you could damage the cover or the
spare.
18. When you reinstall the full size whee
and tire, you install the wheel cover
or nut caps at this point. :1
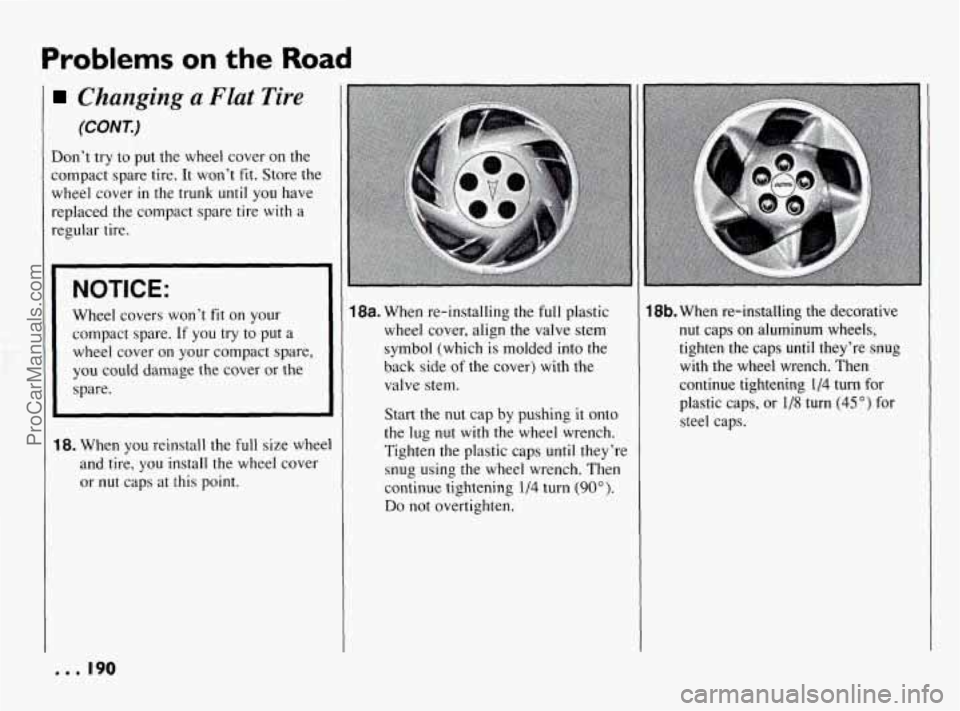
18a. When re-installing the full plastic
wheel cover, align the valve stem
symbol (which is molded into the
back side of the cover) with the
valve stem.
Start the nut cap by pushing it onto
the lug nut with the wheel wrench.
Tighten the plastic caps until they're
snug using the wheel wrench. Then
continue tightening
1/4 turn (90").
Do not overtighten.
18b. When re-installing the decorative
nut caps on aluminum wheels,
tighten the caps
until they're snug
with the wheel wrench. Then
continue tightening
1/4 turn for
plastic caps, or
1/8 turn (45") for
steel caps.
. . . 190
ProCarManuals.com