Page 244 of 340
Downloaded from www.Manualslib.com manuals search engine Thermostat
Engine coolant temperature is controlled by a thermostat in the engine
coolant system. The thermostat stops the
flow of coolant through the
radiator
until the coolant reaches a preset temperature.
When you replace your thermostat, an
AC@ thermostat is recommended.
Power Steering Fluid
NOTICE:
Always turn the engine off before checking or adding power
steering fluid. The power steering cap is close
to the fan and
other moving parts.
6-26
Page 246 of 340
Downloaded from www.Manualslib.com manuals search engine Windshield Washer Fluid
To Add
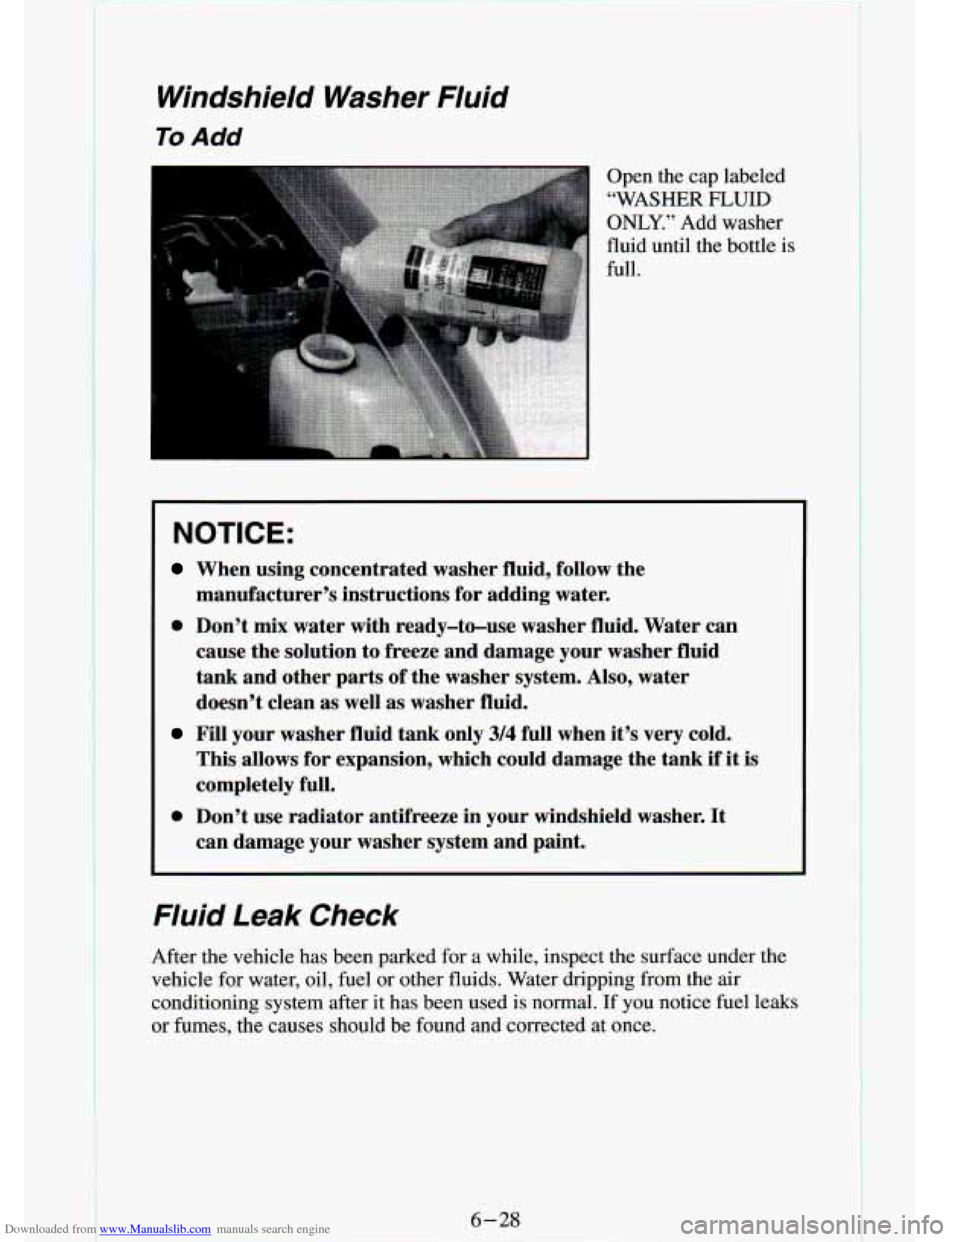
I Open the cap labeled
“WASHER
FLUID
ONLY.” Add washer
fluid until the bottle
is
full.
NOTICE:
When using concentrated washer fluid, follow the
manufacturer’s instructions for adding water.
0 Don’t mix water with ready-to-use washer fluid. Water can
cause the solution
to freeze and damage your washer fluid
tank and other parts
of the washer system, AIso, water
doesn’t clean as well as washer fluid.
Fill your washer fluid tank only 3/4 full when it’s very cold.
This allows for expansion, which could damage the tank
if it is
completely full.
can damage your washer system and paint.
0 Don’t use radiator antifreeze in your windshield washer. It
Fluid Leak Check
After the vehicle has been parked for a while, inspect the su\
rface under the
vehicle for water, oil, fuel or other fluids. Water dripping from the air
conditioning system after it has been used is normal. If you notice fuel leaks
or fumes, the causes should be found and corrected at once.
6-28
Page 247 of 340
Downloaded from www.Manualslib.com manuals search engine Brakes
Brake Master Cylnder
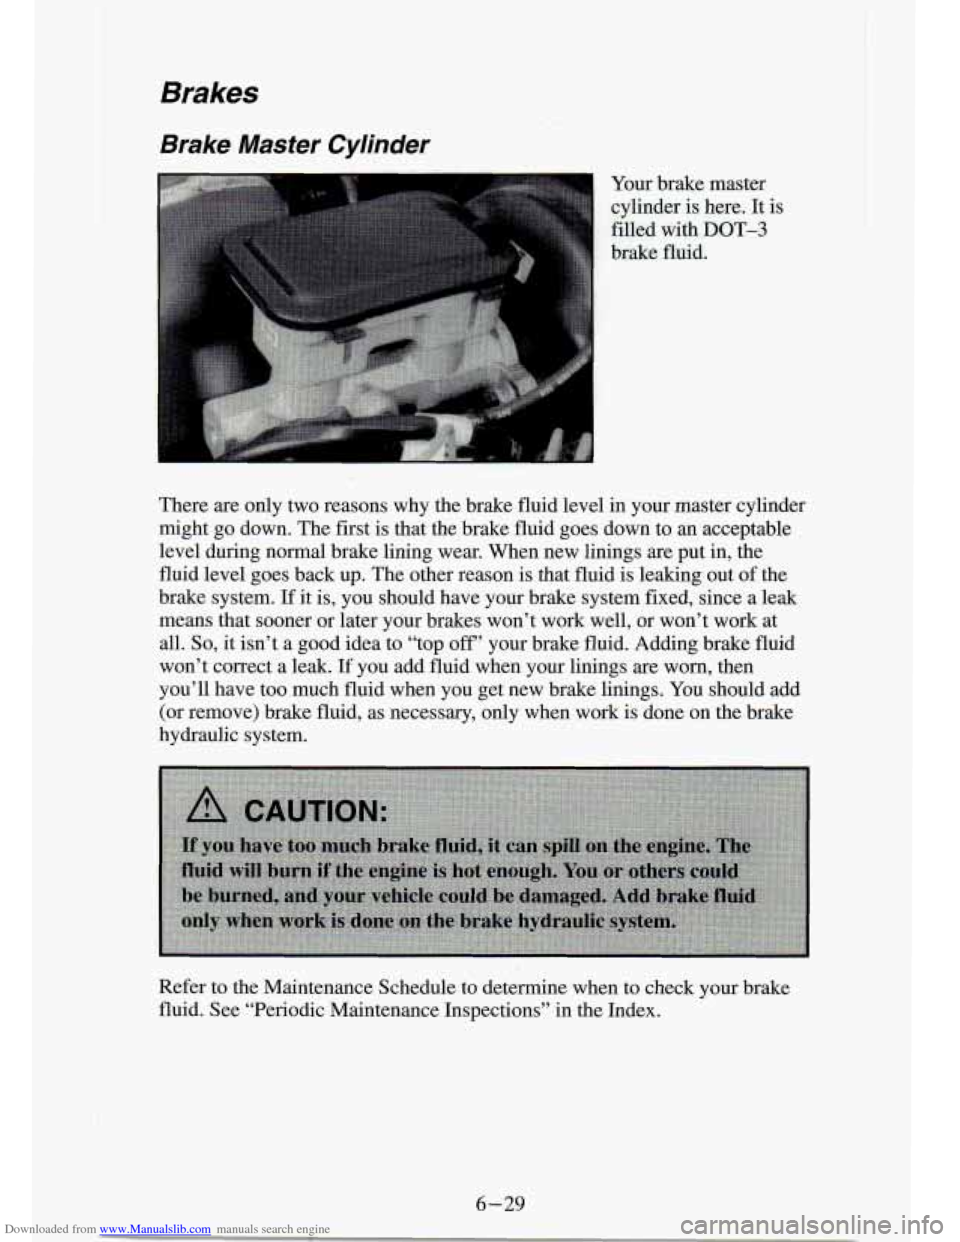
Your brake master
cylinder is here. It is
filled with
DOT-3
brake fluid.
There are only two reasons why the brake fluid level
in your master cylinder
might go down, The first is that the brake fluid goes down to an acceptable
level during normal brake lining wear. When new linings are pu\
t in, the
fluid level goes back up. The other reason is that fluid is leaking out of the
brake system.
If it is, you should have your brake system fixed, since a leak
means that sooner or later your brakes won’t work well, or \
won’t work at all.
So, it isn’t a good idea to “top off’ your brake fluid. Adding brake fluid
won’t correct a leak.
If you add fluid when your linings are worn, then
you’ll have too much fluid when you get new brake linings.
You should add
(or remove) brake fluid, as necessary, only when work is done on the brake
hydraulic system.
Refer to the Maintenance Schedule to determine when to check y\
our brake fluid. See “Periodic Maintenance Inspections” in the Index.
6-29
Page 248 of 340
Downloaded from www.Manualslib.com manuals search engine To Check Brake Fluid
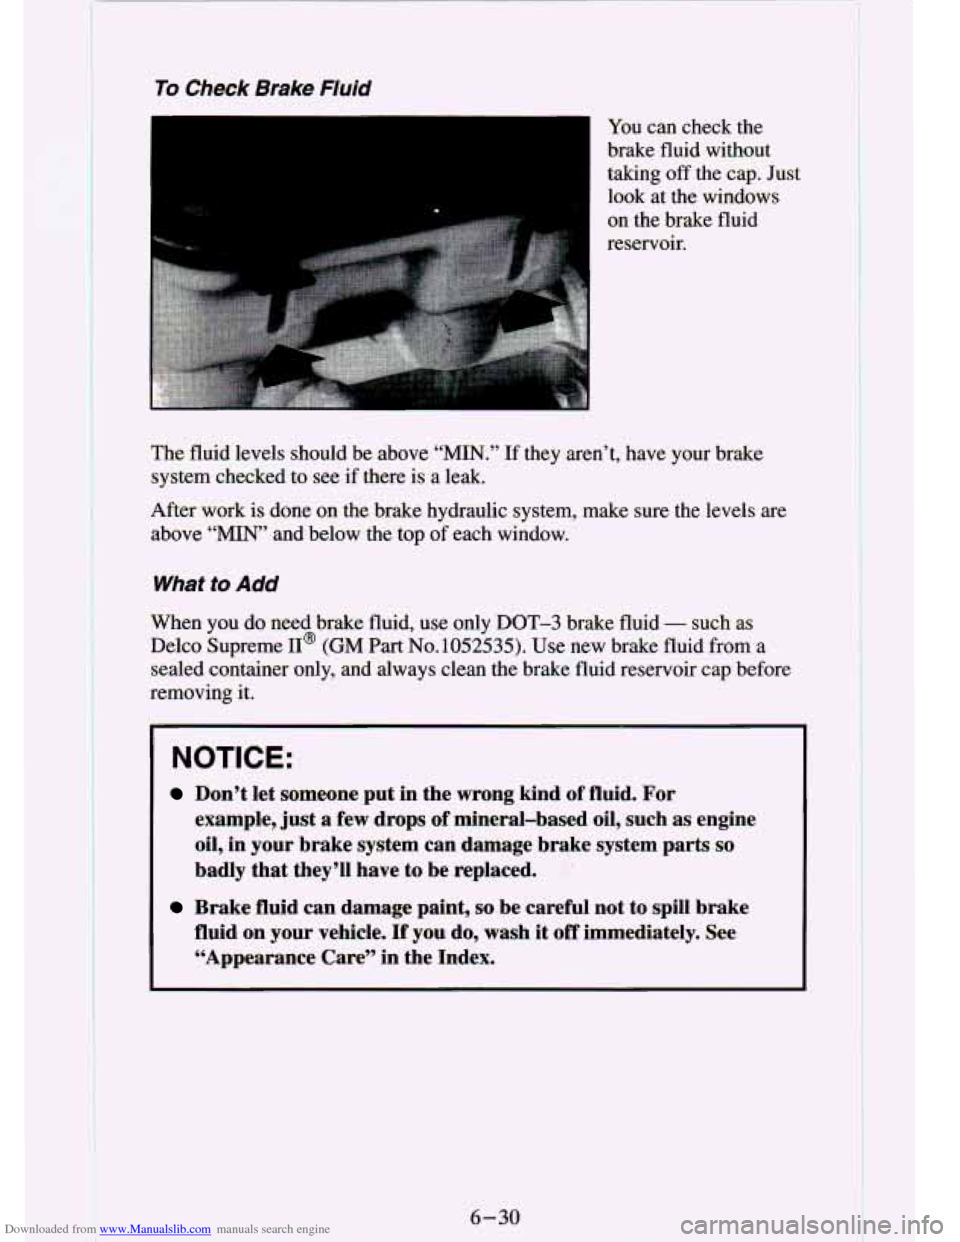
I You can check the
brake fluid without
taking
off the cap. Just
look at the windows
on the brake fluid
reservoir.
The fluid levels should be above
‘“IN.’’ If they aren’t, have your brake
system checked
to see if there is a leak.
After work is done
on the brake hydraulic system, make sure the levels are
above
“MIN” and below the top of each window.
What to Add
When you do need brake fluid, use only DOT-3 brake fluid - such as
Delco Supreme
II@ (GM Part No.1052535). Use new brake fluid from a
sealed container only, and always clean the brake fluid reservo\
ir cap before
removing it.
NOTICE:
Don’t let someone put in the wrong kind of fluid. For
example, just a few drops
of mineral-based oil, such as engine
oil, in your brake system can damage brake system parts
so
badly that they’ll have to be replaced. :
Brake fluid can damage paint, so be careful not to spill brake
fluid on your vehicle.
If you do, wash it off immediately. See
“Appearance Care” in the Index.
6-30
Page 251 of 340
Downloaded from www.Manualslib.com manuals search engine Fluid Leak Check
After the vehcle has been parked for awhile, inspect the surface under the
vehicle
for water, oil, fuel OX other fluids. Water dripping from the air
conditioning system after it has been used is normal. If you notice fuel leaks
or fumes, the causes should be found and corrected at once.
Bulb Replacement
Before you replace any bulbs, be sure that all the lights are off and the
engine isn’t running.
Halogen Bulbs
NOTICE:
Page 260 of 340
Downloaded from www.Manualslib.com manuals search engine Be sure that the notches are locked by the bottom claws. Make sure that
all other claws are properly locked on both sides of the insert slots.
2
1. Claw in Notch
2. Correct Installation
3. Incorrect Installation
Put the blade assembly pivot in the wiper arm hook. Pull up until the
Carefully lower the wiper arm and blade assembly onto the wind\
shield.
pivot locking tab locks
in the hook slot.
Air Conditioning
Every now and then have your dealership check your air conditi\
oning
system to be sure it has not lost any cooling ability.
If you think the system
is not working properly, have your dealership check it out as soo\
n as
possible.
The air conditioning will not work when the temperature is
- - v 40°F
(4°C).
Page 261 of 340
Downloaded from www.Manualslib.com manuals search engine Lubrication
Accelerator Control System
Refer to the Maintenance Schedule to determine how often the a\
ccelerator linkage pivot points must be lubricated and what type
of lubricant to use.
Accelerator cables and cruise control cables should not be lubr\
icated. Any
cables that are worn or are hard
to pull should be replaced.
When cleaning the engine compartment with water or steam, avoid\
directing the flow onto the throttle linkage
in a manner that would cause moisture to
enter the cables.
Hood Latches and Hood Hinge
Refer to the Maintenance Schedule to determine how to lubricate\
the hood
latch and hood hinge assembly.
Propeller Shaft Slip Splines/Universal Joints
Refer to the Maintenance Schedule to determine how often the slip and
universal joints must be lubricated and what type
of lubricant to use.
Body
Normal use of your vehicle will cause metal to metal wear at some points on
the cab and body if they are not lubricated.
For exposed surfaces, such as door checks, door lock bolts, lock s\
triker
plates, dovetail bumper wedges, etc., a thin film
of engine oil should be
applied.
Where oil holes are provided in the body or cab, a dripless oil can be used.
The seat adjusters and seat track should be lubricated with chassis\
grease.
Door weatherstrips and rubber hood bumpers should be wiped clea\
n with a wet cloth and lightly coated with a rubber lubricant.
Never use too much
of any lubricant and be sure to wipe up any extra
lubricant when you are finished.
Window regulators and controls are inside the doors. They are lubricated
with a long lasting grease.
If lubrication is required your dealer should
perform this service.
Refer to the Maintenance Schedule to determine how often to lubricate
these items and what type of lubricant to use.
Page 268 of 340
Downloaded from www.Manualslib.com manuals search engine You must weigh any accessories, trailer hitches or other equipment you a\
dd
to your vehicle. Then, subtract this extra weight from the CWR\
. This extra weight may shorten the center of gravity zone for your vehicle. Your dealer
can help you with this.
If your slide-in camper and its load weigh less than the CWR, the center of
gravity zone
for your vehicle may be larger.
Your dealer can help you make a good vehicle-camper match. He’ll also
help you determine your CWR.
After you’ve loaded your vehicle and camper, drive to a wei\
gh station and weigh on the front and rear wheels separately. This will tell you the loads on
your axles. The loads on the front and rear axles shouldn’t be more than
either
of the GAWRs. The total of the axle loads should not be more than
the GVWR.
Open your driver’s door and look at the door lock pillar for the
CertificationD‘ire label to find out your GAWR and GVWR.
11 you ve gone over ; Jr weight ratings, move or take out some things until
all the weights fall below the ratings. Of course, you should always tie down
any loose items when you load your vehicle or camper.
When you install and load your slide-in camper, check the manu\
facturer’s instructions.
If you want more information on curb weights, cargo weights, cargo weight
rating and the correct center of gravity zone for your vehicle, your dealer
can help you. Just ask for a copy of “Consumer Information, Truck
-
Camper Loading.”
Trailer Recommendations
You must subtract your hitch loads from the CWR for your vehicle. Weigh
your vehicle with your trailer attached,
so that you won’t go over the
GVWR or the GAWR.
You’ll get the best performance if you spread out the weight of your load
the right way, and if you choose the correct hitch and trailer brakes.
For more information, see “Trailer Towing’’ in the Index.
Pickup Conversion To Chassis Cab
General Motors is aware that some vehicle owners may consider having the
pickup
box removed and a commercial or recreational body installed.
However, we recommend that conversions of this type not be done to this
pickup. Owners should be aware that, as manufactured, there are differences
between a chassis cab and a pickup with the box removed which\
may affect vehicle safety.
For further information, contact the GM Zone Office for your
area. (See the “Warranty and Owner Assistance” booklet fo\
r Zone Office.)
6 --50