1994 CHEVROLET S10 check engine
[x] Cancel search: check enginePage 104 of 340
Downloaded from www.Manualslib.com manuals search engine running at 2,000 revolutions per minute (rpm). The tachometer needle will
vary all the time that the engine is running.
The yellow warning range tells you that your engine speed is reach\
ing its
upper limits. Don’t drive very long with the tachometer in the yellow range.
If you have a manual transmission, shift to a higher gear as soon as possible.
If you have an automatic transmission, lift your foot off
of the accelerator
pedal
so that the transmission can select a higher gear.
The Red danger range tells you that your engine speed is at its upper limits.
You should immediately shift to a higher gear, or lift your foot
off of the
accelerator pedal. If you drive for very long with the tachometer in the red
danger range, engine damage will result.
NOTICE:
Do not operate the engine with the tachometer in the red area,
or engine damage
will occur.
I
Warning Lightsy Gages and Indicators
This section describes the warning lights and gages that may be on your
vehicle. The pictures will help you locate them.
Warning lights and gages can signal that something is wrong be\
fore it
becomes serious enough to cause an expensive repair or replacem\
ent.
Paying attention to your warning lights and gages could also s\
ave you or
others from injury.
Warning lights
go on when there may be or is a problem with one of your
vehicle’s functions.
As you will see in the details on the next few pages,
some warning lights come on briefly when you turn the ignition\
key just to
let you know they’re working. If you are familiar with this sec\
tion, you
should not
be alarmed when this happens.
Gages can indicate when there may be or is a problem with one
of your
vehicle’s functions. Often gages and warning lights work toge\
ther to let you
know when there’s a problem with your vehicle.
When one of the warning lights comes on and stays on when you are
driving, or when one of the gages shows there may be a problem, check the
section that tells you what to
do about it. Please follow the manual’s advice.
Waiting to do repairs can be costly
- and even dangerous. So please get to
know your warning lights and gages. They’re a big help.
2-58
I
Page 107 of 340
Downloaded from www.Manualslib.com manuals search engine Malfunction Indicator (Service Engine Soon) Lamp
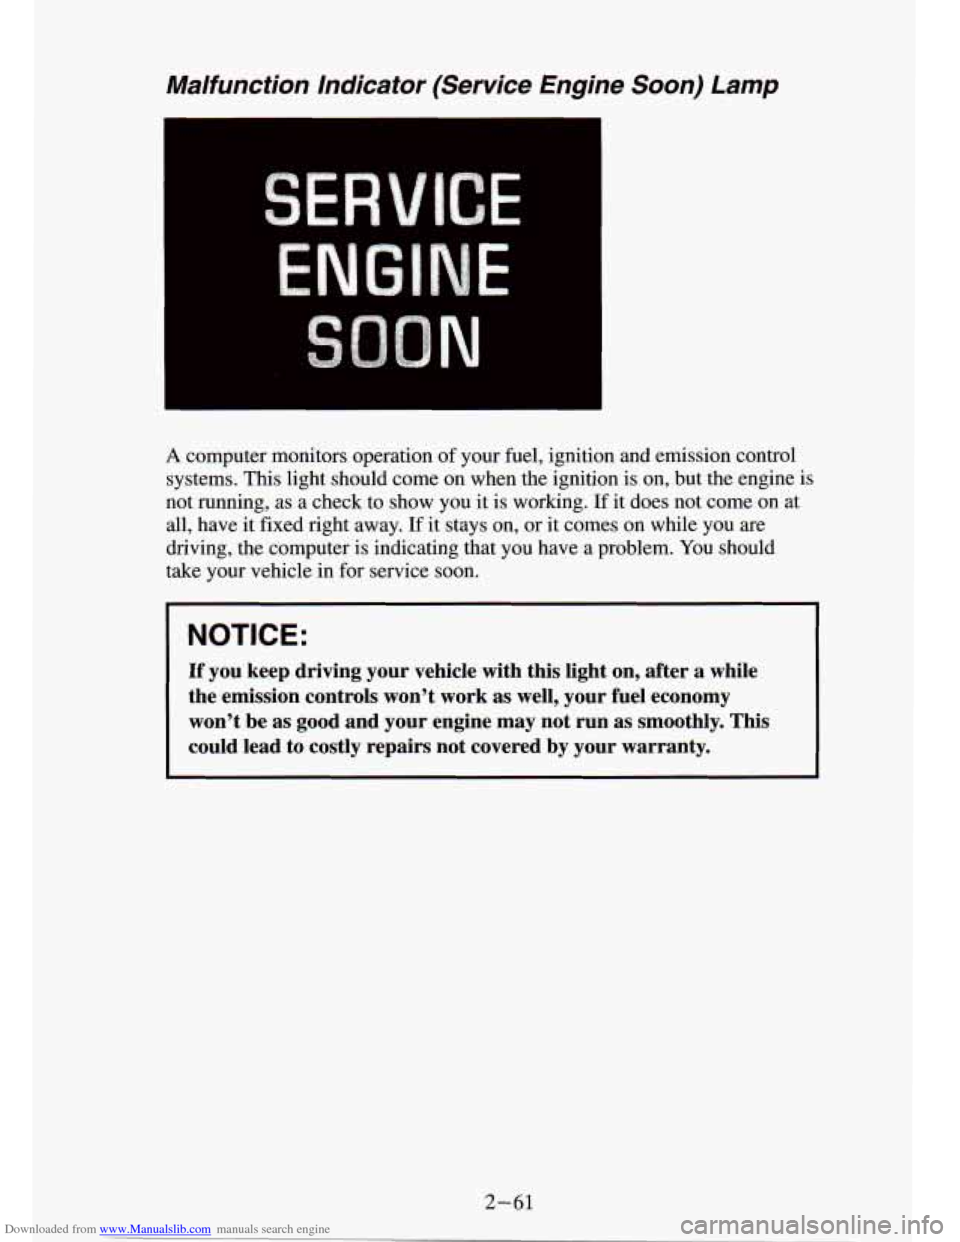
A computer monitors operation of your fuel, ignition and emission control
systems. This light should come on when the ignition
is on, but the engine is
not running, as a check to show you it is working.
If it does not come on at
all, have it fixed right away.
If it stays on, or it comes on while you are
driving, the computer is indicating that you have a problem. You should
take your vehicle in for service soon.
NOTICE:
If you keep driving your vehicle with this light on, after a while
the emission controls won’t work as well, your fuel economy \
won’t be as good and your engine may
not run as smoothly. This
could lead to costly repairs not covered by your warranty.
2-61
Page 109 of 340
Downloaded from www.Manualslib.com manuals search engine Charging System Light
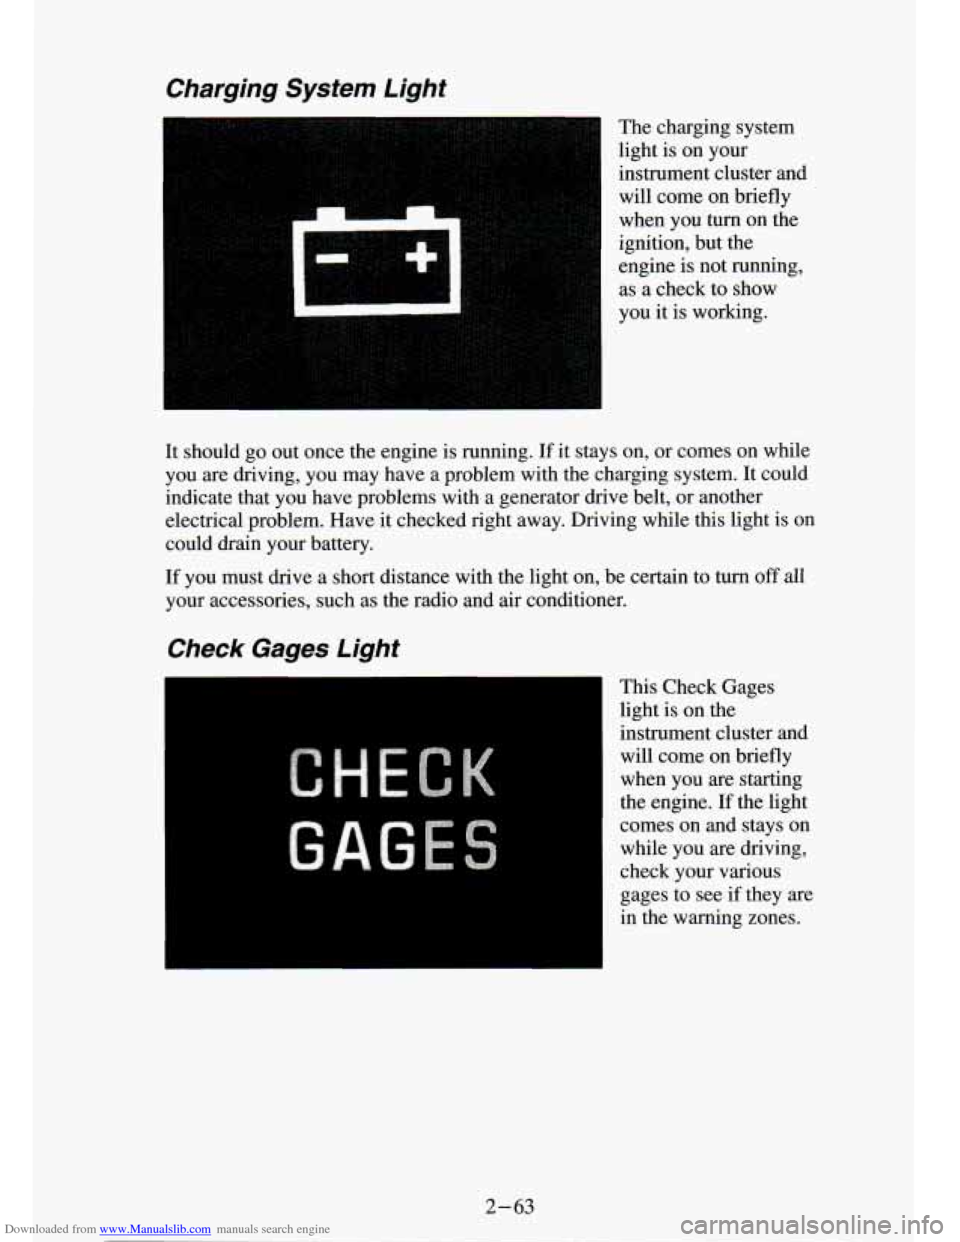
The charging system
light is on your
instrument cluster and will come on briefly
when you turn on the
ignition, but the
engine is not running,
as a check to show
you it is working.
It should
go out once the engine is running. If it stays on, or comes on while
you are driving, you may have a problem with the charging system.
It could
indicate that you have problems with a generator drive belt, or another
electrical problem. Have it checked right away. Driving while this light is on
could drain your battery.
If you must drive a short distance with the light on, be certain to turn off all
your accessories, such as the radio and air conditioner.
Check Gages Light
This Check Gages
light is on the
instrument cluster and
will come on briefly
when you are starting
the engine.
If the light
comes on and stays on while you are driving,
check your various
gages to see
if they are
in the warning zones.
2-63
Page 120 of 340
Downloaded from www.Manualslib.com manuals search engine To help avoid hemng loss or aamL_,z
Adjust the volume control to the lowest setting.
0 Increase volume slowly until you hear comfortably and clearly.
FM Stereo
FM stereo will give you the best sound. But FM signals will reach only
about
10 to 40 miles (16 to 65 km). And, tall buildings or hills can interfere
with FM signals, causing the sound to come and go.
AM
The range for most AM stations is greater than for FM, especially at night.
The longer range, however, can cause stations to interfere with eac\
h other.
AM can pick up noise from things like storms and power lines. Tr\
y reducing
the treble to reduce this noise if you ever get
it.
AM Stereo
This means the Delco’ system can receive C-QUAM’ stereo broadcasts.
Many AM stations around the country use C-QUAM@ to produce ste\
reo, though some
do not. (C-QUAM@ is a registered trademark of Motorola,
kc.) If your DelcoB system can get C-QUAM@, your “STEREO’ light will
come on when you’re receiving it.
NOTICE:
Before you add any sound equipment to your ~ehicle - like a
tape player,
CB radio, mobile telephone or two-way radio - be
sure you can add
what you want. If you can, it’s very important
to do
it properly. Added sound equipment may interfere with the
operation of your vehicle’s engine, Delco@ radio or other
systems, and even damage them. And, your vehicle’s systems
may interfere with the operation of sound equipment that has
been added improperly.
So, before adding sound equipment, check with your dealer and
be sure to check Federal rules covering mobile radio and
telephone units.
3-6
1
Page 133 of 340
Downloaded from www.Manualslib.com manuals search engine To PIay A Compact Disc (CD)
NOTI( ::
I
Before you Degin, please note: DO NOT use mini-discs that are
called singles. They won’t eject.
USE FULL-SIZE COMPACT
DISCS.
If the disc player is very hot, or if you’re driving on a very rough
road,
a disc may come out or just not play. If you see the word
HOT on the display, the disc player is too hot to play the disc.
Press RCL to make the word HOT
go off the display. When
things get back
to normal, the disc should play again. Press
PWR to turn the system on.
Insert a disc partway into the slot, label side up. The player will pull it in.
Wait a few seconds and the disc should play.
If the disc comes back out, check whether:
The disc is upside down.
It is dirty, scratched, or wet.
0 Too much moisture is in the air. (If there is, wait about one hour and try
again.)
RCL
Press RCL to see what track is playing. Press
it again within 5 seconds to
see how long
it has been playing. The track number also appears when you
change the volume or when a new track starts to play.
COMP
Press the COMP button
to make soft and loud passages more nearly equal
in volume. COMP appears in the display while using this command.
RDM
The RDM button means random and when it is pressed, it causes the
CD
mechanism to play the tracks in a random order rather than in the sequential
1,2, 3 order.
REV
Press and hold the REV button to quickly return to a favorite passage. The
counter reading will be displayed when using this control.
FWD
Press and hold the FWD button
to advance quickly within a track. Release it
to resume playing. Watch the display to stop at a specific passage.
Page 136 of 340
Downloaded from www.Manualslib.com manuals search engine Care of Your Compact Discs
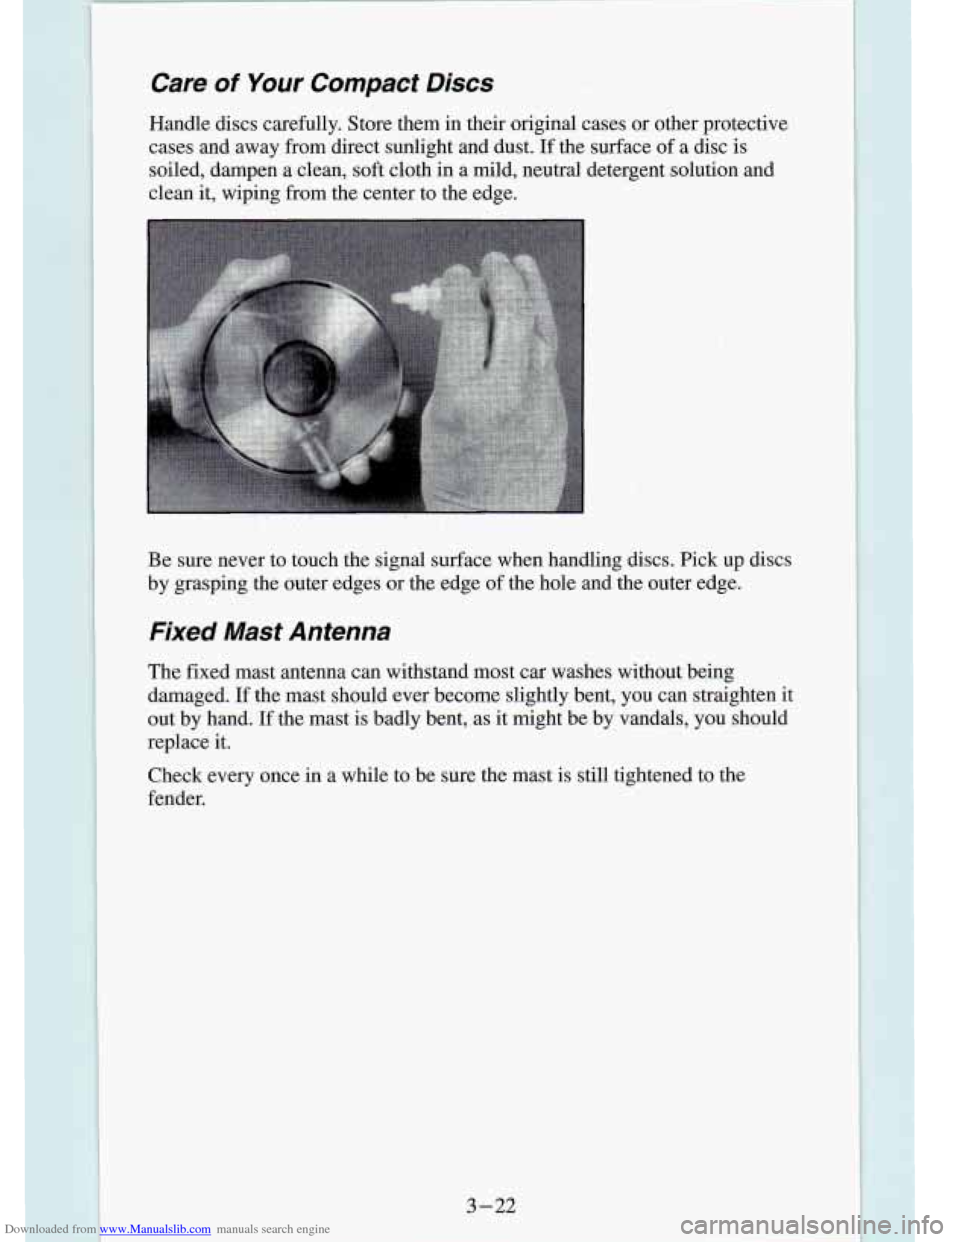
Handle discs carefully. Store them in their original cases or \
other protective cases and away from direct sunlight and dust.
If the surface of a disc is
soiled, dampen
a clean, soft cloth in a mild, neutral detergent solution and
clean
it, wiping from the center to the edge.
Be sure never
ta touch the signal surface when handling discs. Pick up discs
by grasping the outer edges or
the edge of the. hole and the outer edge.
Fixed Masf Antenna
The fixed mast antenna can withstand most c,ar washes without being
damaged.
If the mast should ever become sli,ghtly bent, you can straighten \
it
out by band.
If the mast is badly bent, as it might be by' vandals, you should
replace it.
Check every once in a while to be sure the mast is still tightened to the
fender.
Page 148 of 340
Downloaded from www.Manualslib.com manuals search engine Check your rnlrro , glance over your shoulder, and start your left lane
change signal before moving out of the right lane to pass. When you
are far enough ahead of the passed vehicle to see its front in your inside
mirror, activate your right lane change signal and move back i\
nto the
right lane. (Remember that your right outside mirror is convex\
. The
vehicle you just passed may seem to be farther away from you than it
really is.)
Reconsider before passing the next vehicle.
brake lights are not flashing, it may be slowing down or starting to turn.
ahead of you. Perhaps you can ease a little to the right.
0 Try not to pass more than one vehicle at a time on two-lane \
roads.
Don’t overtake a slowly moving vehicle too rapidly. Even tho\
ugh the
If you’re being passed, make it easy for the following driver to get
Loss of 0 mo/
Let’s review what driving experts say about what happens whe\
n the three
control systems (brakes, steering and acceleration) don’t ha\
ve enough
friction where the tires meet the road to do what the driver has asked.
In any emergency, don’t give up. Keep trying to steer and \
constantly seek
an
escape route or area of less danger.
Skidding
In a skid, a driver can lose control of the vehicle. Defensive drivers avoid
most skids by taking reasonable care suited to existing conditi\
ons, and by
not “overdriving” those conditions. But skids are always p\
ossible.
The three types of skids correspond to your Vehicle’s three control systems.
In the braking skid your wheels aren’t rolling.
In the steering or cornering
skid, too much speed or steering in a curve causes tires to slip and lose
comering force. And in the acceleration skid too much throttle causes t\
he
driving wheels to spin.
A cornering skid and an acceleration skid are best handled by easing your
foot off the accelerator pedal.
If your vehicle starts to slide, ease your foot off the accelerator pedal and
quickly steer the way you want
the vehicle to go. If you start steering
quickly enough, your vehicle may straighten out. Always be ready for a
second skid if it occurs.
Of course, traction is reduced when water, snow, ice, gravel, or other
material is
on the road. For safety, you’ll want to slow down and adjust \
your
driving to these conditions. It is important
to slow down on slippery
surfaces because stopping distance
will be longer and vehicle control more
limited.
. L.
4-12
F. ”
Page 149 of 340
Downloaded from www.Manualslib.com manuals search engine While driving on a surrace with reaucea traction, try yo best to a td
sudden steering, acceleration, or braking (including engme braki\
ng DY
shifting to a lower gear). Any sudden changes could cause the tires to slide.
You may not realize the surface is slippery until your vehicle is skidding.\
Learn to recognize warning clues
- such as enough water, ice or packed
snow on the road to make a “mirrored surface”
- and slow down when you
have any doubt.
Remember:
If you have the four-wheel anti-lock braking system, it helps
avoid only the braking skid. The rear-wheel anti-lock braking system helps
avoid only a rear braking skid. In a braking skid (where the\
front wheels are
no longer rolling), release enough pressure on the brakes to \
get the front
wheels rolling again. This restores steering control. Push the brake pedal
down steadily when you have to stop suddenly. As long as the front wheels
are rolling, you will have steering control.
Driving Guidelines
Off-Road Driving with Your Four-wheel
Drive Vehicle
This off-road guide is for vehicles that have four-wheel drive.
Also, see “Anti-lock Brakes’’
in the Index.
If your vehicle doesn’t have four-wheel drive, you shouldn’\
t drive off-road
unless you’re on a level, solid surface.
Off-road driving can be great fun. But it does have some definite hazards.
The greatest of these is the terrain itself.
“Off-roading” means you’ve left the great North American road system
behind. Traffic lanes aren’t marked. Curves aren’t banked. \
There are no
road signs. Surfaces can be slippery, rough, uphill or downhill\
. In short,
you’ve gone right back to nature.
Off-road driving involves some new skills. And that’s why it\
’s very
important that you read this guide. You’ll find many driving tips and
suggestions. These
will help make your off-road driving safer and more
enjoy able.
Before You Go Off-Roading
There are some things to do before you go out. For example, be sure to have
all necessary maintenance and service work done. Be sure
you read all the
information about your four-wheel drive vehicle in this manual. \
Is there
enough fuel?
Is the spare tire fully inflated? Are the fluid levels up where
they should be? What are the local laws that apply to off-roading where
you’ll be driving? If you don’t know, you should check with law
enforcement people in the area. Will you
be on someone’s private land? If
so, be sure to get the necessary permission.
4-13