1994 CHEVROLET CORVETTE manual transmission
[x] Cancel search: manual transmissionPage 144 of 274
Downloaded from www.Manualslib.com manuals search engine 1 Jump Starting
If your battery has run down, you may
want to use another vehicle and some
jumper cables to start your Corvette.
But please follow the steps below to
do it safely.
NOTICE:
Ignoring these steps could result
in costly damage to your vehicle
that wouldn’t be covered by your
warranty.
Trying to start your Corvette by
pushing or pulling it could damage
your vehicle,
even if you have a
manual transmission. And if you
have an automatic transmission, it
won’t start that way.
Ib Jump Start Your Corvette:
1. Check the other vehicle. It must have
a 12-volt battery with a- negative
ground system.
NOTICE:
If the other system isn’t a 12-volt
system with a negative ground, both
vehicles can be damaged.
2. Get the vehicles close enough so the
jumper cables can reach, but be sure
the vehicles aren’t touching each
other. If they are, it could cause a ground connection you don’t
want.
You wouldn’t be able to start your
Corvette, and the bad grounding could
damage the electrical systems.
3. Turn off the ignition on both vehicles.
Turn
off all lights that aren’t needed,
and radios. This will avoid sparks and
help save both batteries. And it could
save your radio!
I NOTICE:
I
If you leave your radio on, it could be
badly damaged. The repairs wouldn’t
be covered by your warranty.
4. Open the hoods and locate the
batteries. Find the positive
(+) and
negative
(-) terminals on each.
143 ...
Page 148 of 274
Downloaded from www.Manualslib.com manuals search engine IC
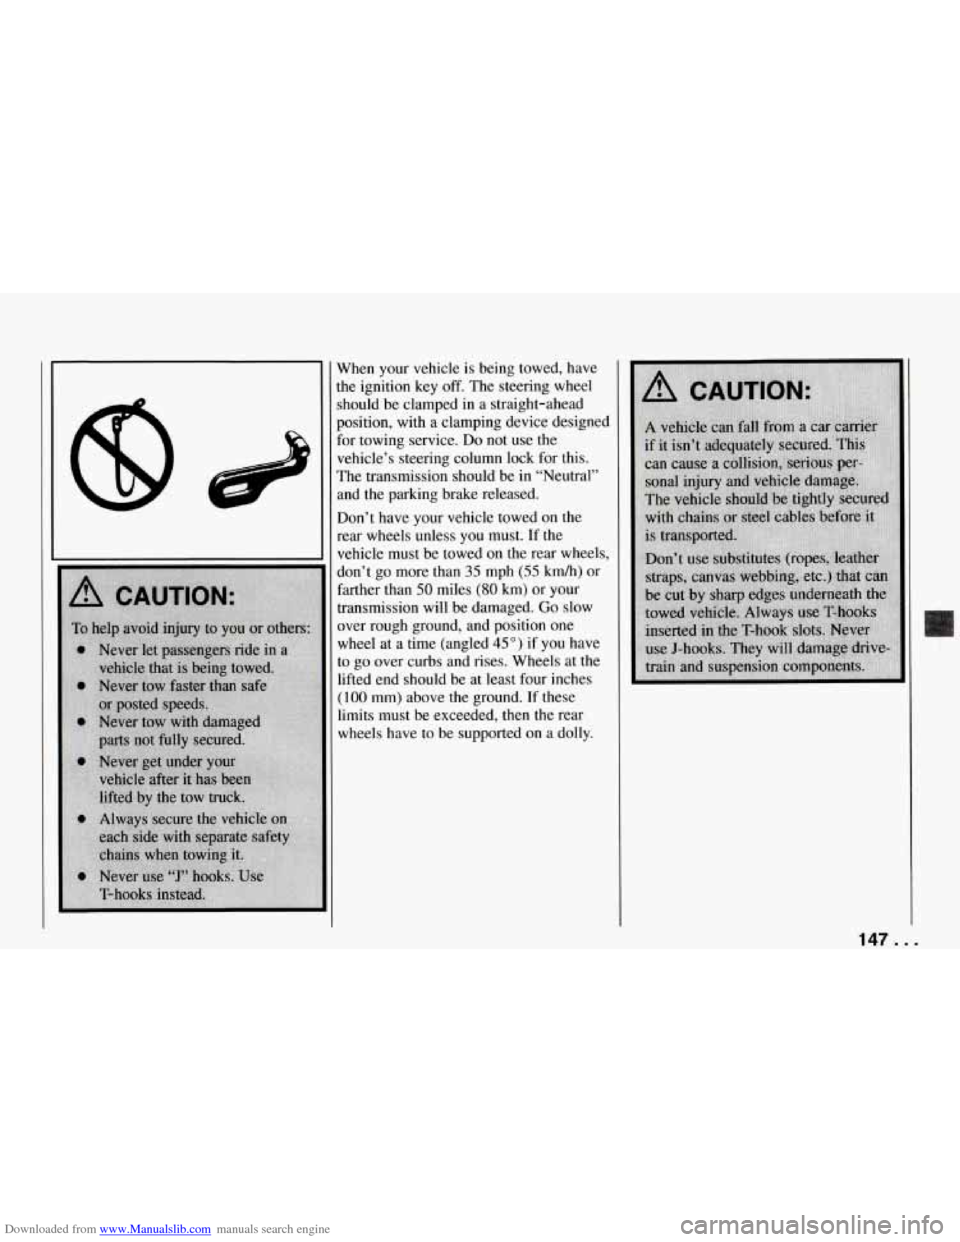
When your vehicle is being towed, have
he ignition key
off. The steering wheel
should be clamped in a straight-ahead
position, with a clamping device designed
For towing service.
Do not use the
vehicle’s steering column lock for this.
The transmission should be in “Neutral”
and the parking brake released.
Don’t have your vehicle towed
on the
rear wheels unless you must. If the
vehicle must be towed on the rear wheels,
don’t go more than
35 mph (55 kmh) or
farther than
50 miles (80 km) or your
transmission will be damaged.
Go slow
mer rough ground, and position one
wheel at a time (angled
45”) if you have
to go over curbs and rises. Wheels at the
lifted end should be at least four inches
(1 00 mm) above the ground. If these
limits must be exceeded, then the rear
wheels have to be supported
on a dolly.
14f ...
Page 171 of 274
Downloaded from www.Manualslib.com manuals search engine Problems on the Road
NOTICE:
Spinning your wheels can destroy
parts of your vehicle as well as the
tires. If you spin the wheels too fast
while shifting your transmission
back and forth, you can destroy your
transmission.
. . .I70
Rocking your vehicle to get it out:
First, turn your steering wheel left and
ight. That will clear the area around your
front wheels. You should
turn your ASR
system
off. (See “ASR System” in the
[ndex.) Then shift back and forth between
“R’ (Reverse) and a forward gear (or with
9 manual transmission, between First or
Second gear and Reverse), spinning the
wheels as little as possible. Release the
accelerator pedal while you shift, and
press lightly on the accelerator pedal
when the transmission is in gear. If that
doesn’t get you out after a few tries, you
may need to be towed out.
If you do need
to be towed out, see “Towing Your
Vehicle” in the Index.
Page 172 of 274

Downloaded from www.Manualslib.com manuals search engine Here you will find information
about the care of your Corvette
.
This part begins with service
and fuel information. and then it
shows how
to check important
fluid and lubricant levels
. There
is also technical information
about your vehicle. and a section devoted
to its
appearance care
.
Part 6
Service & Appearance Care
Service ........................................................
Fuel ..........................................................
Checking Things under the Hood ...................................
HoodRelease .................................................
Engineoil .................................................
Aircleaner ........................... ...................
Automatic Transmission Fluid ..................................
Manual Transmission Fluid ......................................
Hydraulic Clutch ...............................................
RearAxle ....................................................
Enginecoolant ................................................
Power Steering Fluid ...........................................
Windshield Washer Fluid ........................................
Brake Master Cylinder ..........................................
Battery ......................................................
Bulb Replacement ...............................................
Windshield Wiper Blades ..........................................
Tires ..........................................................
Appearancecare ................................................
Appearance Care Materials Chart ...................................
Vehicle Identification Number (VIN) ................................
Service Parts Identification Label ...................................
Add-on Electrical Equipment ......................................
Fuses and Circuit Breakers ........................................
Replacement Bulbs ..............................................
Capacities and Specifications ...................................
LoadingYourVehicle ............................................
172
173
175
175
178
182 184
186
187
188
188
191
192
193
195
195
202
202
204
210
217
218
218
218
219
223
224
171 ..
Page 177 of 274
Downloaded from www.Manualslib.com manuals search engine Service and Appearance Care
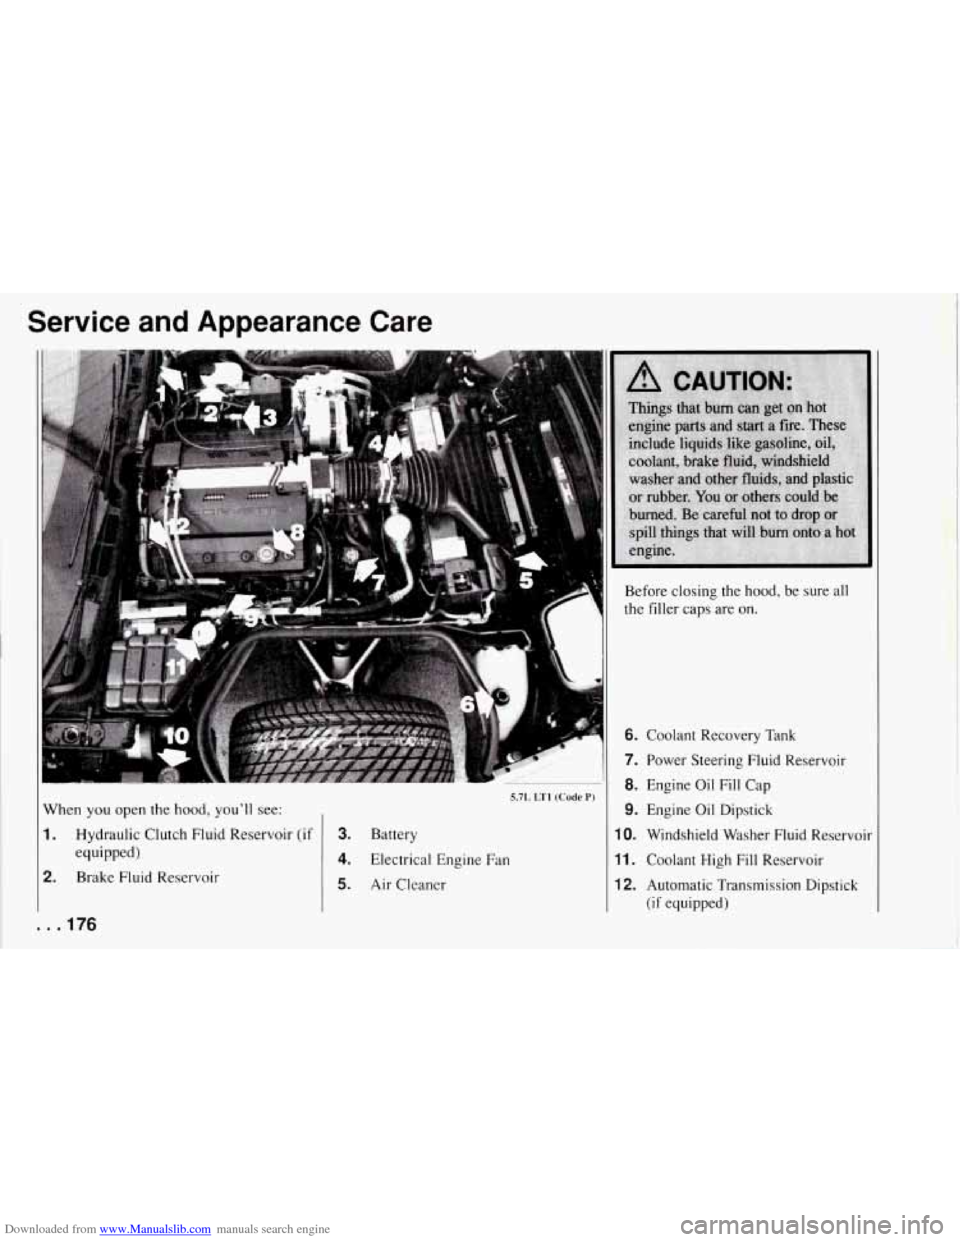
When you open the hood, you'll see:
1. Hydraulic Clutch Fluid Reservoir (if
2. Brake Fluid Reservoir
equipped)
. . .I76
1
Before closing the hood, be sure all
the filler caps are on.
'*?-
5.7L LTI (Code P)
3. Battery
4. Electrical Engine Fan
5. Air Cleaner
6. Coolant Recovery Tank
7. Power Steering Fluid Reservoir
8. Engine Oil Fill Cap
9. Engine Oil Dipstick
10. Windshield Washer Fluid Reservoir
11. Coolant High Fill Reservoir
12. Automatic Transmission Dipstick
(if equipped)
I
Page 185 of 274

Downloaded from www.Manualslib.com manuals search engine Service and Appearance Care
5.
0
0
Reverse the steps.
Align the tabs
to the slots in the
bottom of the assembly before you
replace it.
Install the short knob into the middle
hole first. Then install the longer
knobs into the outer holes.
Automatic Transmission Fluid
When to Check and Change
4 good time to check your automatic
:ransmission fluid level is when the
mgine oil is changed. Refer to the
Maintenance Schedule to determine when
co change your fluid. See “Scheduled
Maintenance Services” in the Index.
How to Check
Because this operation can be a little
iifficult, you may choose to have this
done at a Chevrolet dealership Service
Department.
[f you do it yourself, be sure to follow all
the instructions here, or you could get a
false reading on the dipstick.
NOTICE:
Too much or too little fluid can dam-
age your transmission.
Too much can
mean that some of the fluid could
come out and fall
on hot engine parts
or exhaust system, starting a fire. Be
sure to get an accurate reading if you
check your transmission fluid. Wait
at least 30 minutes before checking
the transmission fluid level if you have
been driving:
0 When outside temperatures are above
0 At high speed for quite a while.
0 In heavy traffic - especially in hot
To get the right reading, the fluid should
be at normal operating temperature, which is
180°F to 200°F (82°C to 93°C).
To check transmission fluid hot: Get
the vehicle warmed up by driving
about
15 miles (24 km) when outside
temperatures are above
50°F (10°C). If
it’s colder than
50°F (10°C)’ drive the
vehicle in
“D’ (Third Gear) until the
engine temperature gage moves and then
remains steady for ten minutes. Then follow the hot check procedures.
To check transmission fluid cold: A cold
check is made after the vehicle has been sitting for eight hours or more with the
engine
off and is used only as a reference.
Let the engine run at idle for five minutes
if outside temperatures are 50” F ( 1 OOC)
or more. If it’s colder than 50°F ( 10°C)’
you may have to idle the engine longer.
Should the fluid level be low during a
90°F (32°C).
weather.
. . .184
Page 186 of 274
Downloaded from www.Manualslib.com manuals search engine cold check, you must perform a hot check
before adding fluid. This will give you a
more accurate reading
of the fluid level.
To check the fluid hot or cold
0
Park your vehicle on a level place.
With the parking brake applied, place
the shift lever in “P” (Park).
With your foot
on the brake pedal,
move the shift lever through each gear
range, pausing for about three seconds
in each range. Then, position the shift
lever
in “P’ (Park).
Let the engine run at idle for three
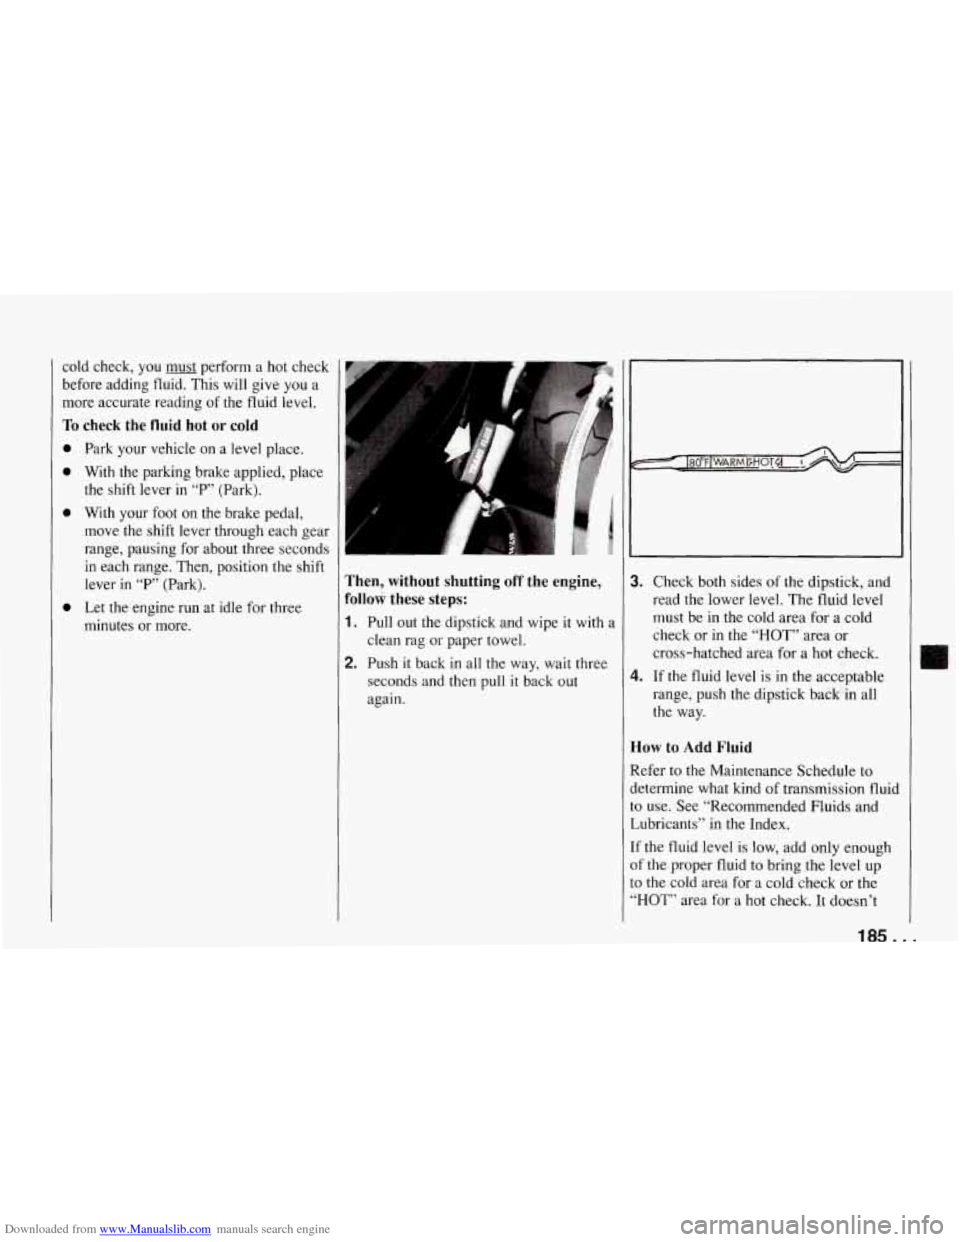
minutes or more. Then, without shutting off the engine,
Follow these steps:
1. Pull out the dipstick and wipe it with a
clean rag or paper towel.
2. Push it back in all the way, wait three
seconds and then pull
it back out
again.
3. Check both sides of the dipstick, and
read the lower level. The fluid level
must be in the cold area for a cold
check or in the
“HOT” area or
cross-hatched area for a hot check.
range, push the dipstick back in all
the way.
4. If the fluid level is in the acceptable
How to Add Fluid
Refer to the Maintenance Schedule to
determine what kind of transmission fluid to use. See “Recommended Fluids and
Lubricants” in the Index.
If the fluid level
is low, add only enough
of the proper fluid to bring the level up
to the cold area for a cold check or the
“HOT” area for a hot check. It doesn’t
Page 187 of 274
Downloaded from www.Manualslib.com manuals search engine Service and Appearance Care
;ake much fluid, generally less than a pint.
Don’t overfill. We recommend you use
mly fluid labeled DEXRON@-111 or
DEXRON@-IIE, because fluids with that
label are made especially for your
automatic transmission. Dama e caused
by fluid other than DEXRON -111 or
DEXRON@-IIE is not covered by your
new vehicle warranty.
0 After adding fluid, recheck the fluid
level as described under “How to
Check.”
obtained, push the dipstick back in all
the way.
D
0 When the correct fluid level is
Manual Transmission Fluid
How to Check:
Because this operation can be difficult,
you may choose to have this done at a
Chevrolet dealership Service Department.
If you do it yourself, be sure to follow all
the instructions here, or you could get a
false reading.
. . .I86
NOTICE:
Too much or too little fluid can
damage your transmission.
Too much
can mean that some of the fluid could
come out and fall on hot engine parts
or exhaust system, starting a fire. Be
sure to get an accurate reading if
you
check your transmission fluid.
:heck the fluid level only when your
mgine is
off, the vehicle is parked on a
eve1 place and the transmission is cool
:nough for you to rest your fingers on
he transmission case. Then, follow these steps:
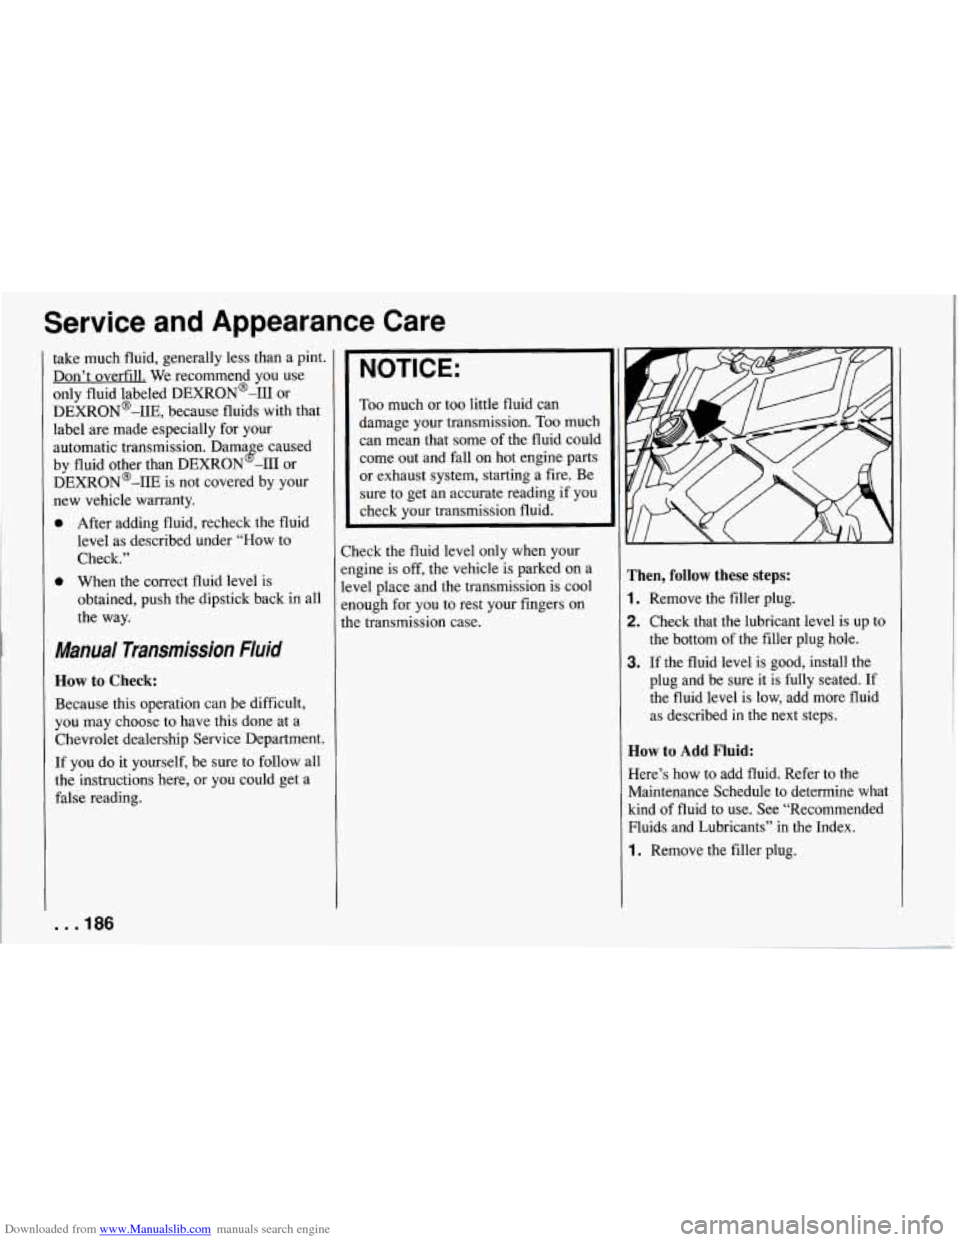
1. Remove the filler plug.
2. Check that the lubricant level is up to
the bottom of the filler plug hole.
3. If the fluid level is good, install the
plug and be sure it is fully seated. If
the fluid level is low, add more fluid
as described in the next steps.
How to Add Fluid:
Here’s how to add fluid. Refer to the
Maintenance Schedule to determine what
kind of fluid to use. See “Recommended
Fluids and Lubricants”
in the Index.
1. Remove the filler plug.