Page 67 of 274

Downloaded from www.Manualslib.com manuals search engine Features and Controls
Passing Another Vehicle While Using
Cruise Control
Use the accelerator pedal to increase your
speed. When you take your foot off the
pedal, your vehicle will slow down to the
Cruise Control speed you set earlier.
Using Cruise Control on Hills
How well your Cruise Control will work
on hills depends upon your speed, load,
and the steepness of the hills. When going
up steep hills, you may have to step on
the accelerator pedal to maintain your
speed. When going downhill, you may
have to brake or shift to a lower gear to
keep your speed down. Of course,
applying the brake takes you out of
Cruise Control. Many drivers find this to
be too much trouble and don’t use Cruise
Control on steep hills.
... 66
:o Get Out of Cruise Control
’here are several ways to turn off the
bise Control:
. Step lightly on the brake pedal or push
the clutch pedal, if you have a manual
transmission;
OR
!. Move the Cruise switch to “OFF.”
ro Erase Speed Memory
Nhen you turn off the Cruise Control or
he ignition, your Cruise Control set speed
nemory is erased.
Operation of Lights
4lthough your vehicle’s lighting system
:headlights, parking lights, fog lamps,
sidemarker lights and taillights) meets all
applicable federal lighting requirements,
2ertain states and provinces may apply
their own lighting regulations that may
require special attention before you
operate these lights.
For example, some jurisdictions may
require that you operate your fog lamps
only when your lower beam headlights
are also on, or that headlights be turned
on whenever you must use your
windshield wipers. In addition, most
jurisdictions prohibit driving solely with
parking lights, especially at dawn or dusk.
It is recommended that you check with
your own state or provincial highway
authority for applicable lighting
regulations.
Page 71 of 274
Downloaded from www.Manualslib.com manuals search engine Features and Controls
Roof Panel (COUPE)
Until you are sure you can remove the
panel alone, have someone help you.
Removing the Roof Panel
1. Park on a level surface, set the parking
brake firmly and shift an automatic
transmission into
“P” (Park). Shift a
manual transmission into
“R’
(Reverse). Lower both windows, turn
the ignition key to
“LOCK” and move
both sunshades to the side.
... 70
2. Remove the ratchet from the console. 1. Use the ratchet to loosen the front
bolts. Don’t remove them. They’ll
stay
in place when loose.
Page 73 of 274

Downloaded from www.Manualslib.com manuals search engine Features and Controls
6. Gently lift up on the roof panel to be
sure
it is locked in place.
Installing the Roof Panel
1.
2.
Park on a level surface, set the parking
brake firmly and shift an automatic
transmission into “P” (Park). Shift a
manual transmission into
“R’
(Reverse).. Lower both windows, turn
the ignition key to “LOCK” and move
both sunshades to the side.
If the roof panel is stored in the rear
area, remove
it by reversing the steps
under “Storing the Roof Panel” above.
... 72
3. Lower the roof panel onto the vehicle,
rear edge first, and place the rear
guide pins into the holes in the roof
opening.
4. Lower the front of the roof panel, and
align the front guide pins.
5. Tighten the rear bolts part way.
NOTICE:
If you tighten bolts that are
improperly started,
the threads can
become stripped. Be sure all bolts are
properly started before you tighten
them.
6. Use the ratchet to start the front bolts.
If the bolts are hard to start, tighten
the rear bolts some more. Holding
down the panel on the outside will
also help.
front bolts.
7. Fully tighten the rear bolts, then the
If you hear a popping noise when you
drive,
the bolts may not be tight enough.
Be sure to tighten’them securely.
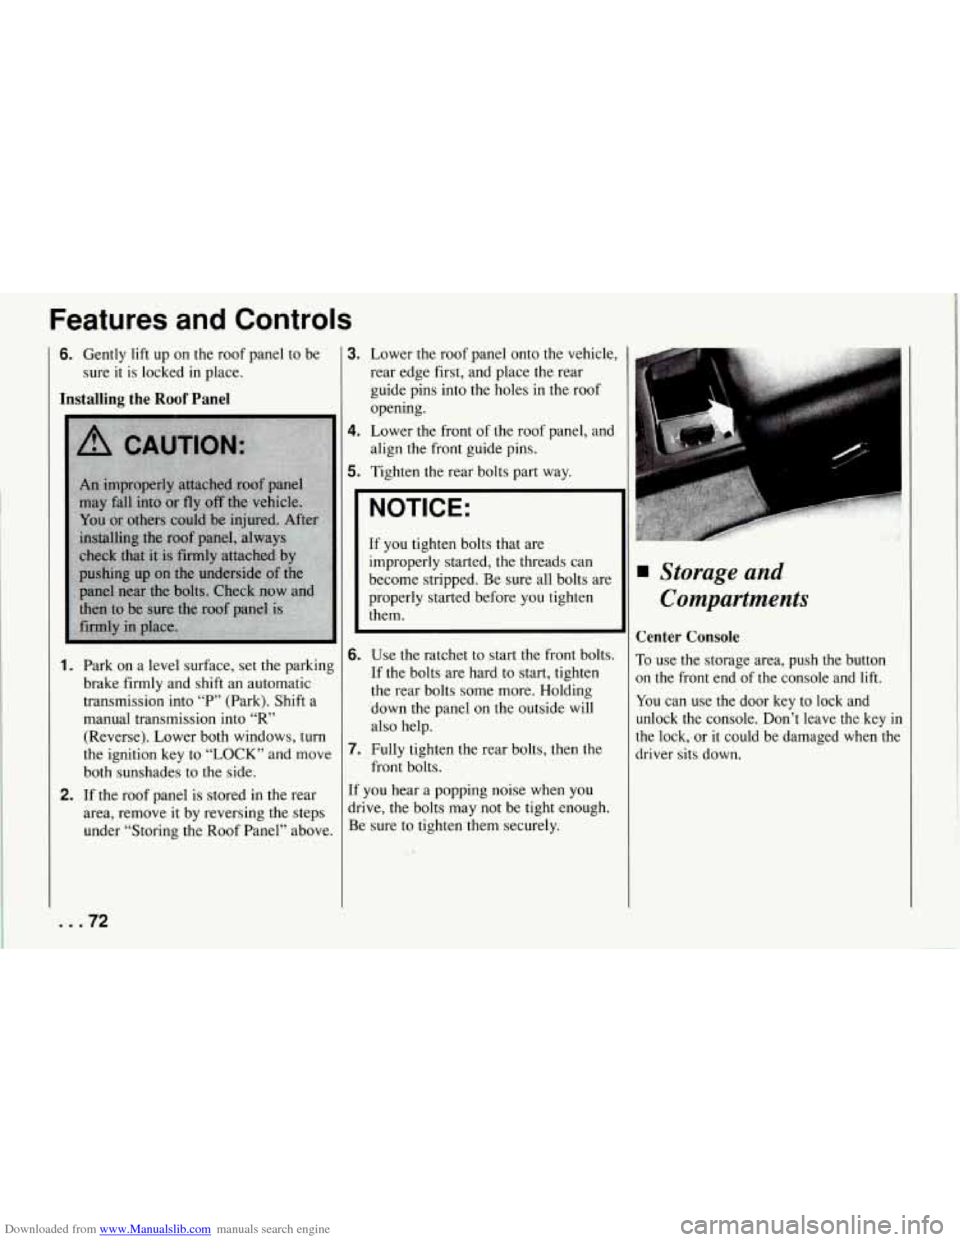
Storage and
Compartments
Center Console
To use the storage area, push the button
on the front end of the console and lift.
You can use the door key to lock and
unlock the console. Don’t leave the key
in
the lock, or it could be damaged when the
driver sits down.
Page 97 of 274

Downloaded from www.Manualslib.com manuals search engine Features and Controls
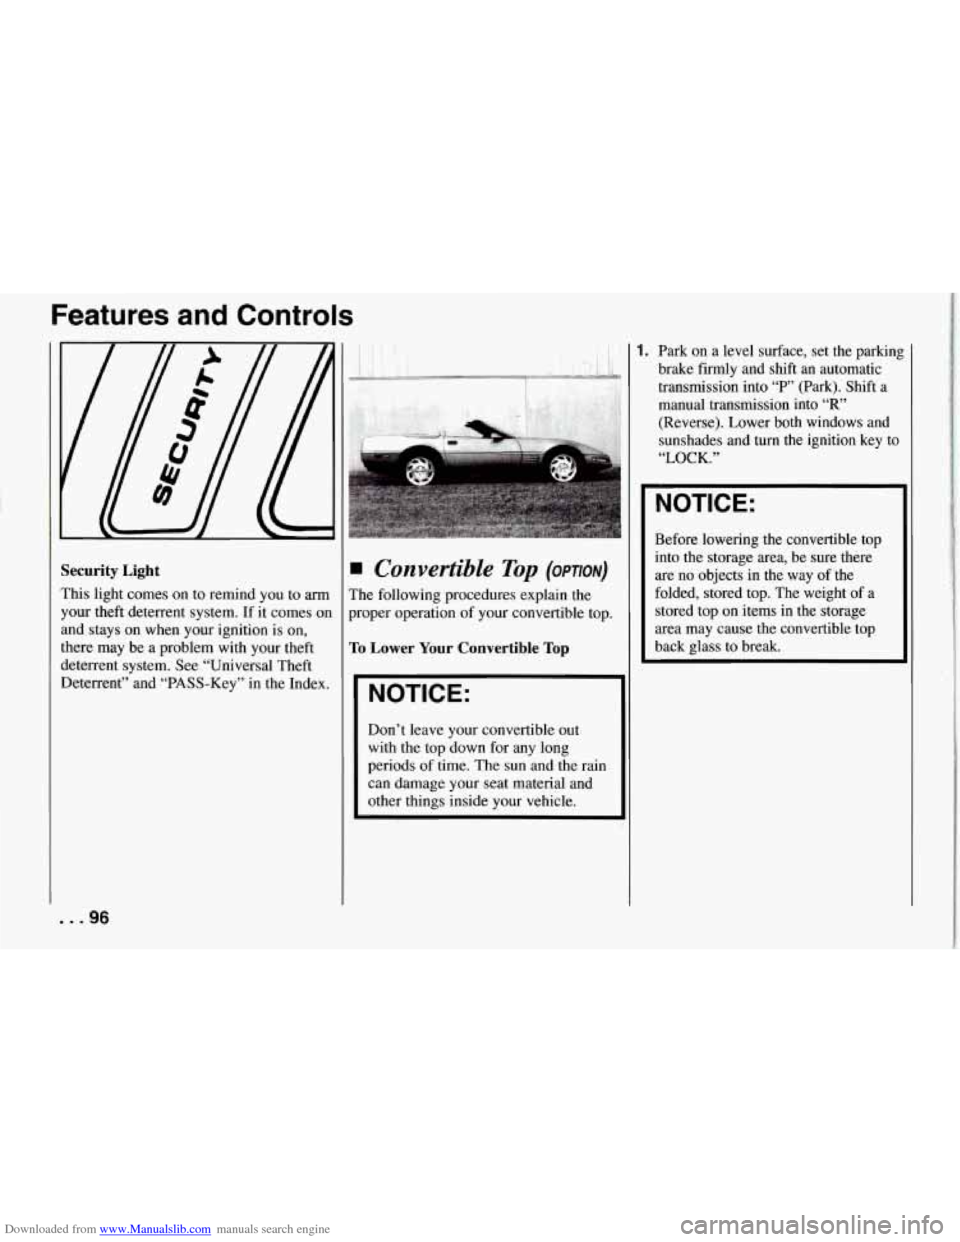
Security Light
This light comes on to remind you to arm
your theft deterrent system. If it comes on
and stays on when your ignition is on,
there may be a problem with your theft
deterrent system. See “Universal Theft
Deterrent” and “PASS-Key” in the Index.
Convertible Top (OPTION)
The following procedures explain the
proper operation of your convertible top.
To Lower Your Convertible Top
NOTICE:
~~
Don’t leave your convertible out
with the top down for any long
periods
of time. The sun and the rain
can damage your seat material and
other things inside your vehicle.
1. Park on a level surface, set the parkin8
brake firmly and shift an automatic
transmission into
“P’ (Park). Shift a
manual transmission into
“R”
(Reverse). Lower both windows and
sunshades and
turn the ignition key to
“LOCK.”
NOTICE:
Before lowering the convertible top
into the storage area, be sure there
are
no objects in the way of the
folded, stored top. The weight of a
stored top
on items in the storage
area may cause the convertible top
back glass to break.
... 96
Page 100 of 274
Downloaded from www.Manualslib.com manuals search engine To Raise Your Convertible Top
1. Park on a level surface, set the parking
brake firmly and shift an automatic
transmission into
“P” (Park). Shift a
manual transmission into
“R’
(Reverse). Lower both windows and
sunshades and turn the ignition key to
“LOCK.”
2. Press either the storage compartment lid release button behind the driver’s
seat or in the center console.
3. Turn the latch handles outward. Pull
the top up and forward until it lines
UI
with the windshield.
4. Latch the top by turning the handles
toward the center of the vehicle.
If
needed, push down on the outside
corners.
5. Lift the rear of the top and close the
compartment lid firmly.
I I
6. Lower the rear of the top so the latch
pins align with the holes in the lid.
To
secure the rear of the top, push down
firmly on both corners.
99 ...
Page 101 of 274
Downloaded from www.Manualslib.com manuals search engine Fe’atures and Controls
1
pm;.
I
7. Fasten the strips for the, headliner at
the rear of each window opening.
I
1 [
t
8. Then fasten the lower front corner of
the top.
NOTICE:
Certain automatic vehicle washes
may cause damage to your vehicle.
The top fabric can be damaged by top
cleaning brushes.
?or care and cleaning
of your convertible
:op, see “Cleaning Your Convertible Top”
in the Index.
Convertible Hardtop
(OPTION)
The convertible hardtop is designed for
extended use in both warm and cold
weather. The installation and removal
of
this top requires two people and takes about
30 minutes. You will need the
wrench and ratchet stored in the center
console.
To Remove Your Convertible Hardtop
1. Park on a level surface, set the parking
brake firmly and shift an automatic transmission into
“P” (Park). Shift
a manual transmission into “R”
(Reverse). Lower both windows and
sunshades and turn the ignition key
Off.
Page 104 of 274

Downloaded from www.Manualslib.com manuals search engine TO Install Your Convertible Hardtop
1. Park on a level surface, set the parkinl
brake firmly and shift an automatic
transmission into
“F’” (Park). Shift
a manual transmission into
“R’
(Reverse). Lower both windows and
sunshades.
Turn off the radio to lower
the power antenna and turn the
ignition key to
“LOCK.”
electrical connectors behind the lock
pillar.
3. Lower the convertible top. Refer to
“Convertible Top” in the Index.
4. With one person on each side,
carefully position the hardtop over
the vehicle. Lower the hardtop slowly. aligning the rear bolt spacers onto the
bezels, and front conical nuts into the
2. Disconnect both rear window defogger
tapered receivers. Realign the hardtop
if necessary.
NOTICE:
To help avoid damage, don’t force
the rear of the hardtop down. The
hardtop may rest slightly above the
$forage compartment lid until the
release lever
is pulled. See step 8 in
this procedure.
\Q
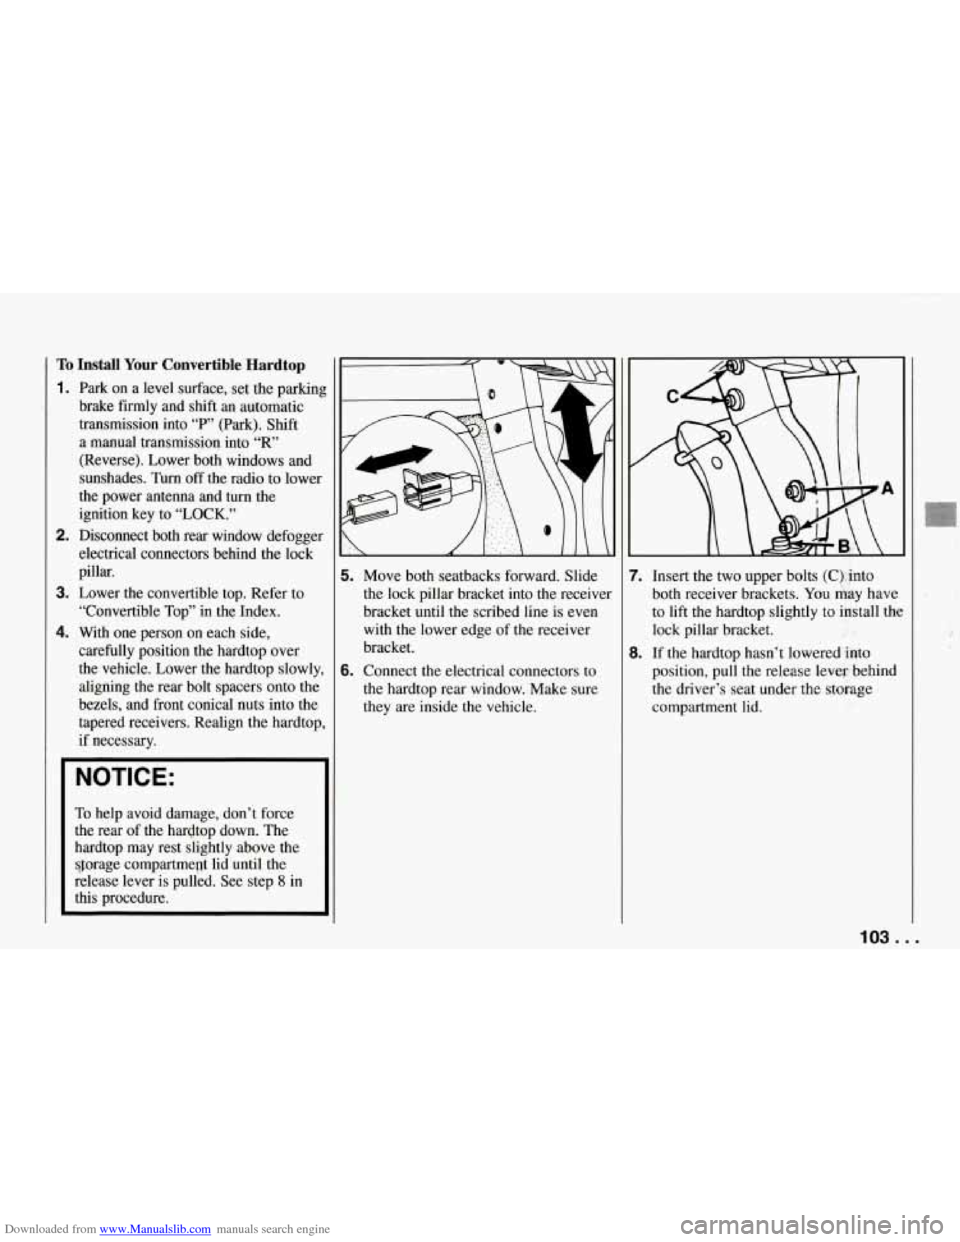
i. Move both seatbacks forward. Slide
the lock pillar bracket into the receiver
bracket until
the scribed line is even
with the lower edge of the receiver
bracket.
i. Connect the electrical connectors to
the hardtop rear window. Make sure
they are inside the vehicle. 7.
Insert the two upper bolts
(C), into
both receiver brackets. You kay have
to lift the hardtop slightly to install the
lock pillar bracket.
8. If the hardtop hasn’t lowered into
position, pull the release lever- behind
the driver’s seat under the storage
compartment lid.
103 ...
Page 137 of 274

Downloaded from www.Manualslib.com manuals search engine Your Driving and the Road
What can you do about highway
hypnosis? First, be aware that
it can
happen.
Then here are some tips:
0 Make sure your vehicle is well
ventilated, with a comfortably cool
interior.
0 Keep your eyes moving. Scan the road
ahead and to the sides. Check your
rearview mirrors and your instruments
frequently.
0 If you get sleepy, pull off the road into
a rest, service, or parking area and
take a nap, get some exercise, or both.
For safety, treat drowsiness on
the
highway as an emergency.
Hill and Mountain
Roads
Driving on steep hills or mountains is
jifferent from driving in flat or rolling
terrain. If you drive regularly in steep
zountry, or if you’re planning to visit there, here are some tips that can make
your trips safer and more enjoyable.
Keep your vehicle in good shape.
Check all fluid levels and also the
brakes, tires, cooling system and
transmission. These parts can work
hard on mountain roads.
Know how to go down hills. The most
important thing to know is this: let
your engine do some
of the slowing
down. Shift to a lower gear when you
go down a steep or long hill.
0 Know how to go uphill. You may
want to shift down to a lower gear.
The lower gears help cool your engine and transmission, and you can climb
the hill better.
. . .136