1994 CHEVROLET CORVETTE center console
[x] Cancel search: center consolePage 42 of 274
Downloaded from www.Manualslib.com manuals search engine 6. Bring one transmitter into range. The
light will stop flashing and stay on to
show that the code is stored.
7. Move the transmitter out of range.
8. Repeat steps 6 and 7 with each
The programming mode will shut
off if:
0 You don’t program any transmitters
0 You take the key out of the ignition or
0 You have programmed three
The light should
start flashing again.
additional transmitter.
for two minutes.
turn the ignition on.
transmitters.
Battery Replacement
Under normal use, the battery in your
key chain transmitter should last about
18 months.
You can tell the battery is weak if the
transmitter won’t work at
the normal
range in any location.
If you have to
get close to your vehicle before the
transmitter works, it’s probably time to
change the battery.
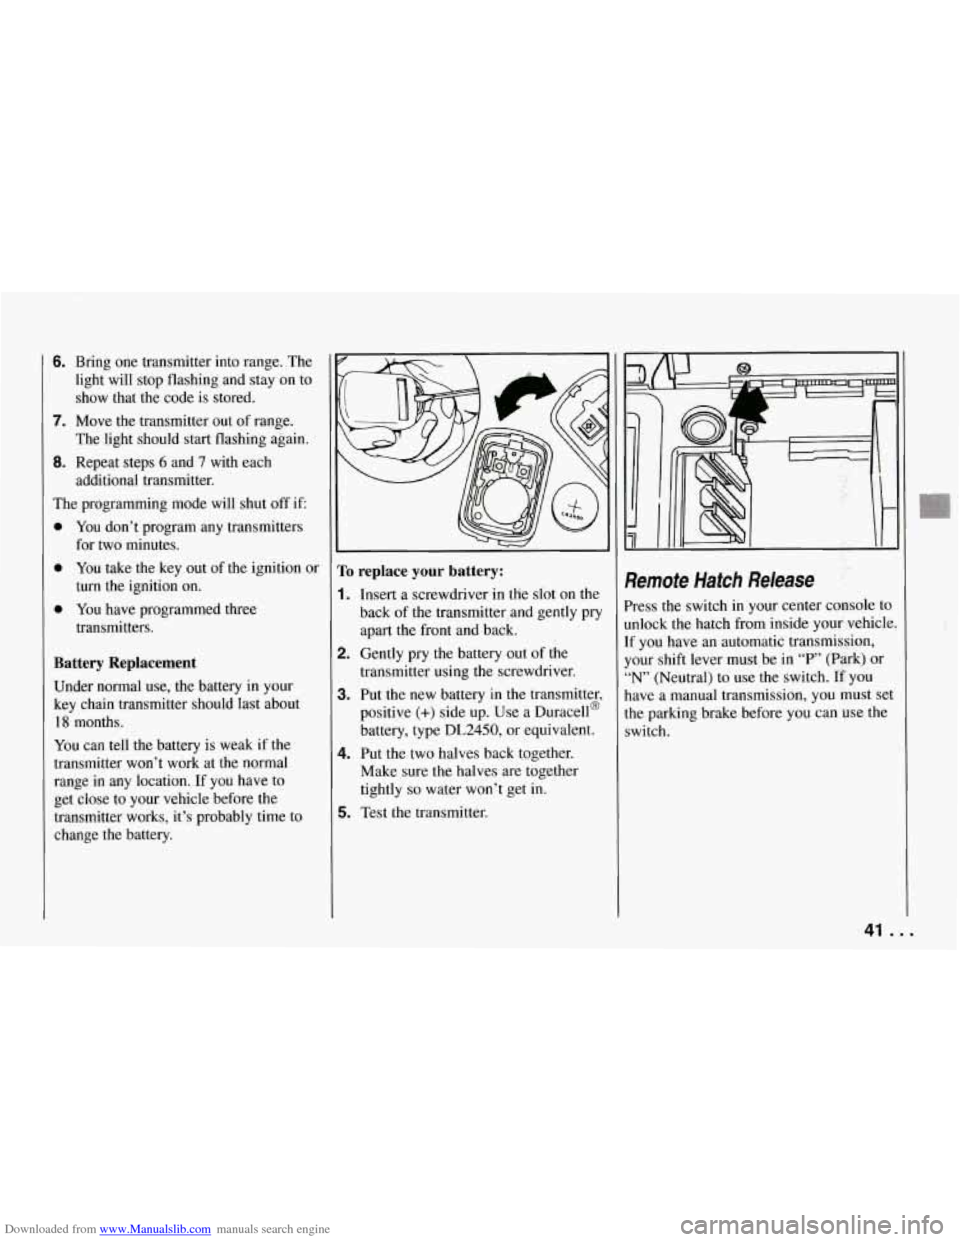
ro replace your battery:
I. Insert a screwdriver in the slot on the
back
of the transmitter and gently pry
apart the front and back.
2. Gently pry the battery out of the
transmitter using the screwdriver.
3. Put the new battery in the transmitter,
positive
(+) side up. Use a Duracell@
battery, type DL2450, or equivalent.
4. Put the two halves back together.
Make sure the halves are together
tightly
so water won’t get in.
5. Test the transmitter.
?emote Hatch Release
’ress the switch in your center console to
mlock the hatch from inside your vehicle
f you have an automatic transmission,
[our shift lever must be
in “P’ (Park) or
‘N’ (Neutral) to use the switch. If you
lave a manual transmission, you must sei
he parking brake before you can use the
;witch.
..
.i ,
41 ...
Page 44 of 274

Downloaded from www.Manualslib.com manuals search engine NOTICE:
If you put things in the hatchback
area, be sure they won’t break the
glass when
you close it.
Never slam the hatch down. You
could break the glass or damage the
defogger grid.
When you close the hatch, make sure
you pull down from the center, not
the sides. If you pull the hatch down
1 from the side too often, the weather-
1 strip can be damaged.
Theft
Vehicle theft is big business, especially in
;ome cities. Although your Corvette has a
lumber of theft-deterrent features, we
mow that nothing we put on
it can make
It impossible to steal. However, there are
ways you can help.
Key in the Ignition
[f you walk away from your vehicle with
the keys inside, it’s an easy target for joy
riders or professional thieves
- so don’t
do it.
When you park your Corvette and open
the driver’s door, you’ll hear a tone
reminding you to remove your key from
the ignition and take it with you. Always
do this. Your steering wheel will be
locked, and
so will your ignition. If you
have an automatic transmission, taking
your key out also locks your transmission.
And remember to lock the doors.
Parking at Night
Park in a lighted spot, close all windows
and lock your vehicle. Remember to keep
your valuables out of sight. Put them in a
storage area, or take them with you.
Parking Lots
If you park in a lot where someone will be
watching your vehicle, it’s best to lock it
up and take your keys. But what if you
have to leave your ignition key? What
if
you have to leave something valuable in
your vehicle?
0 Put your valuables in a storage area,
0 Lock the storage area.
Lock all the doors except the driver’s.
0 Then take the door key with you.
like the rear area or center console.
43 ...
Page 57 of 274

Downloaded from www.Manualslib.com manuals search engine Features and Controls
RIDE CONTROL
SPORT
To@F
fl
-
PS c
Selective Ride Control
(OPTION)
This knob is on the center console. Turn i
to select the ride control of your choice:
TOUR: Use for city and highway driving
Provides a smooth, soft ride.
SPORT: Use where road conditions or
personal preference demand more control
Provides more “feel,” or response to the
road conditions.
PERF: Use for performance driving.
Provides tight, firm ride and precise
response to road conditions. ‘TOUR” and “SPORT” will
provide a
imilar ride at low speeds around town,
md both settings will increase control
tnd firmness at higher speeds. “SPORT,”
lowever, will adjust more at ‘higher
;peeds than “TOUR” will.
,‘PERF” will provide much more
Zontrol and a firmer ride at all speeds.
You can select a setting at any time.
Based on your speed,
the system
wtomatically adjusts to provide the best
aide and handling. Select a new setting
whenever driving conditions change.
The “SERVICE
RIDE CONTROL” light
monitors the system. Refer to “Service
Ride Control Light” in the Index.
Limited-Slip Rear Axle
Your rear axle can give you additional
traction on snow, mud, ice, sand or gravel.
It works like a standard axle most
of the
time, but when one of the rear wheels
has no traction and the other does,
the
limited-slip feature will allow the wheel
with traction to move the vehicle.
Parking
Parking Brake
To set the parking brake: Hold the brak
pedal down. Pull the parking brake lever
up, then move it back down. This sets
your parking brake, even though the leve
is down. If the ignition is on, the parking
brake indicator light will come on.
... 56
Page 73 of 274
Downloaded from www.Manualslib.com manuals search engine Features and Controls
6. Gently lift up on the roof panel to be
sure
it is locked in place.
Installing the Roof Panel
1.
2.
Park on a level surface, set the parking
brake firmly and shift an automatic
transmission into “P” (Park). Shift a
manual transmission into
“R’
(Reverse).. Lower both windows, turn
the ignition key to “LOCK” and move
both sunshades to the side.
If the roof panel is stored in the rear
area, remove
it by reversing the steps
under “Storing the Roof Panel” above.
... 72
3. Lower the roof panel onto the vehicle,
rear edge first, and place the rear
guide pins into the holes in the roof
opening.
4. Lower the front of the roof panel, and
align the front guide pins.
5. Tighten the rear bolts part way.
NOTICE:
If you tighten bolts that are
improperly started,
the threads can
become stripped. Be sure all bolts are
properly started before you tighten
them.
6. Use the ratchet to start the front bolts.
If the bolts are hard to start, tighten
the rear bolts some more. Holding
down the panel on the outside will
also help.
front bolts.
7. Fully tighten the rear bolts, then the
If you hear a popping noise when you
drive,
the bolts may not be tight enough.
Be sure to tighten’them securely.
Storage and
Compartments
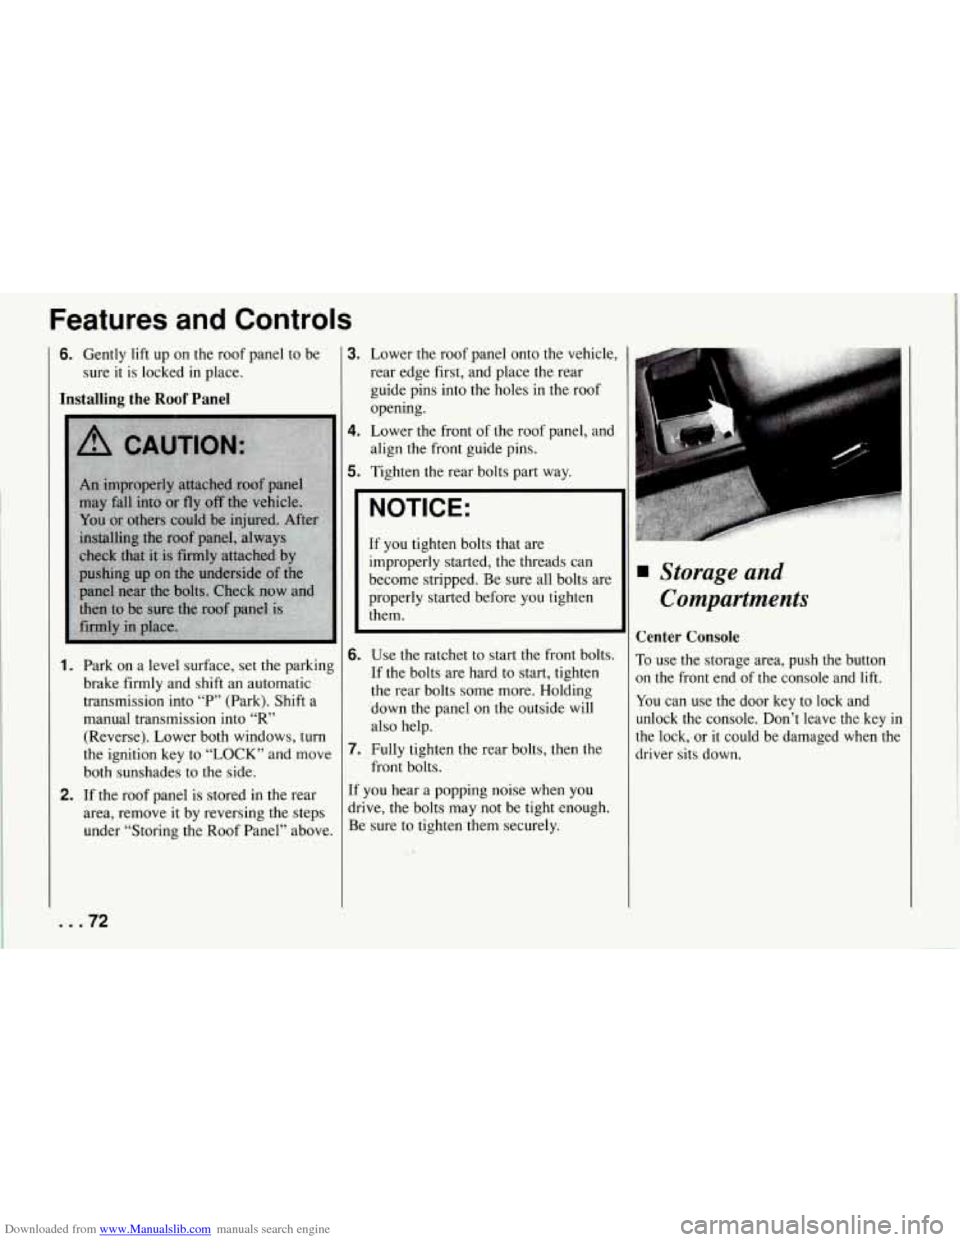
Center Console
To use the storage area, push the button
on the front end of the console and lift.
You can use the door key to lock and
unlock the console. Don’t leave the key
in
the lock, or it could be damaged when the
driver sits down.
Page 77 of 274
Downloaded from www.Manualslib.com manuals search engine Features and Controls
Cigarette Lighter
To use the lighter, push it in all the way
and let go. When it’s ready, it will pop
back by itself.
NOTICE:
Don’t hold a cigarette lighter in with
your hand while it is heating. If you
do, it won’t be able to back away
from the heating element when it’s
ready. That can make it overheat,
damaging the lighter and the heating
element.
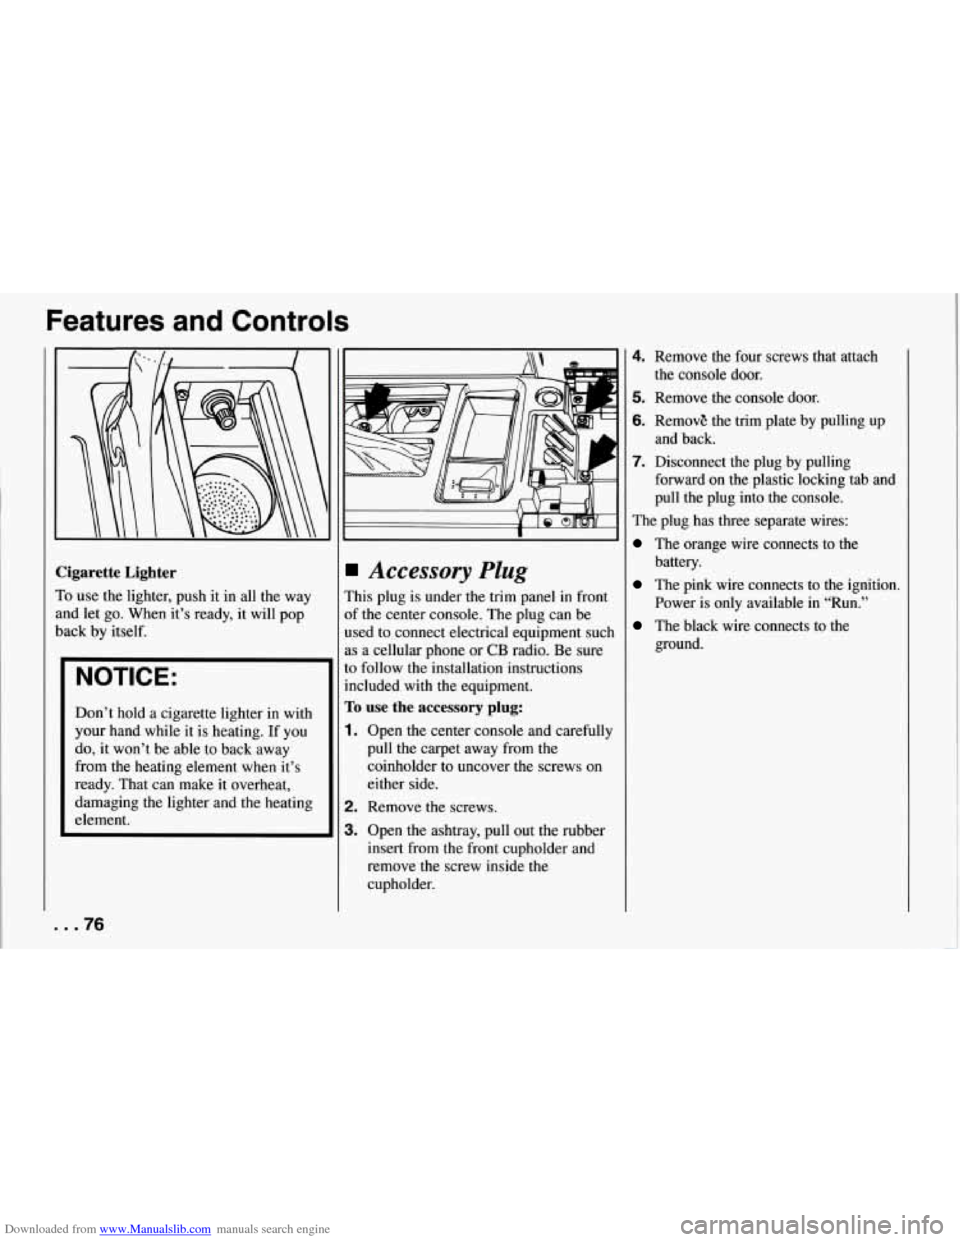
Accessory Plug
This plug is under the trim panel in front
of the center console. The plug can be
used to connect electrical equipment such
as a cellular phone
or CB radio. Be sure
to follow the installation instructions
included with
the equipment.
To use the accessory plug:
1. Open the center console and carefully
pull the carpet away from the
coinholder to uncover the screws on
either side.
2. Remove the screws.
3. Open the ashtray, pull out the rubber
insert from the front cupholder and
remove the screw inside the
cupholder.
4. Remove the four screws that attach
5. Remove the console door.
6. RemovE the trim plate by pulling up
7. Disconnect the plug by pulling
the console door.
and back.
forward on the plastic locking tab and
pull the plug into the console.
The plug has three separate wires:
The orange wire connects to the
battery.
The pink wire connects to the ignition.
Power is only available in “Run.”
The black wire connects to the
ground.
... 76
Page 99 of 274
Downloaded from www.Manualslib.com manuals search engine Features and Controls
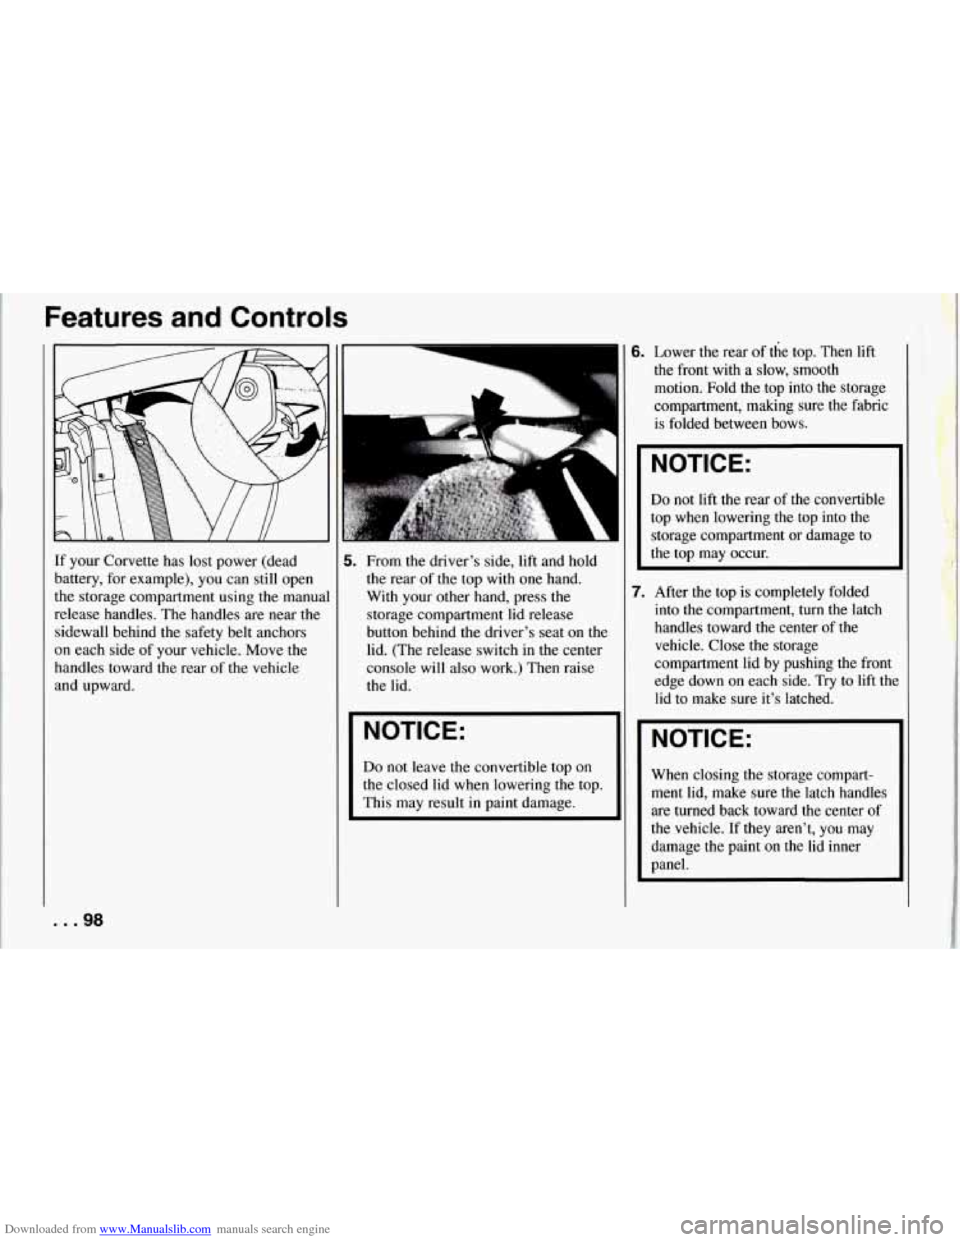
If your Corvette has lost power (dead
battery, for example), you can still open
the storage compartment using the manual
release handles. The handles are near the
sidewall behind the safety belt anchors
on each side of your vehicle. Move the
handles toward the rear
of the vehicle
and upward.
6. Lower the rear of the top. Then lift
the front with a slow, smooth
motion. Fold the top into
the storage
compartment, making sure the fabric
is folded between bows.
5. From the driver’s side, lift and hold
the rear of the top with one hand.
With your other hand, press the
storage compartment lid release
button behind the driver’s seat on the
lid. (The release switch in the center
console will also work.) Then raise
the lid.
NOTICE:
Do not leave the convertible top on
the closed lid when lowering the top.
This may result in paint damage.
I NOTICE:
Do not lift the rear of the convertible
top when lowering
the top into the
storage compartment or damage to
the top may occur.
7. After the top is completely folded
into the compartment, turn the latch
handles toward the center of the
vehicle. Close the storage
compartment lid by pushing
the front
edge down on each side.
Try to lift the
lid to make sure it’s latched.
NOTICE:
When closing the storage compart-
ment lid, make sure the latch handles
are turned back toward the center of
the vehicle. If they aren’t, you may
damage the paint on the lid inner
panel.
. .98
Page 100 of 274
Downloaded from www.Manualslib.com manuals search engine To Raise Your Convertible Top
1. Park on a level surface, set the parking
brake firmly and shift an automatic
transmission into
“P” (Park). Shift a
manual transmission into
“R’
(Reverse). Lower both windows and
sunshades and turn the ignition key to
“LOCK.”
2. Press either the storage compartment lid release button behind the driver’s
seat or in the center console.
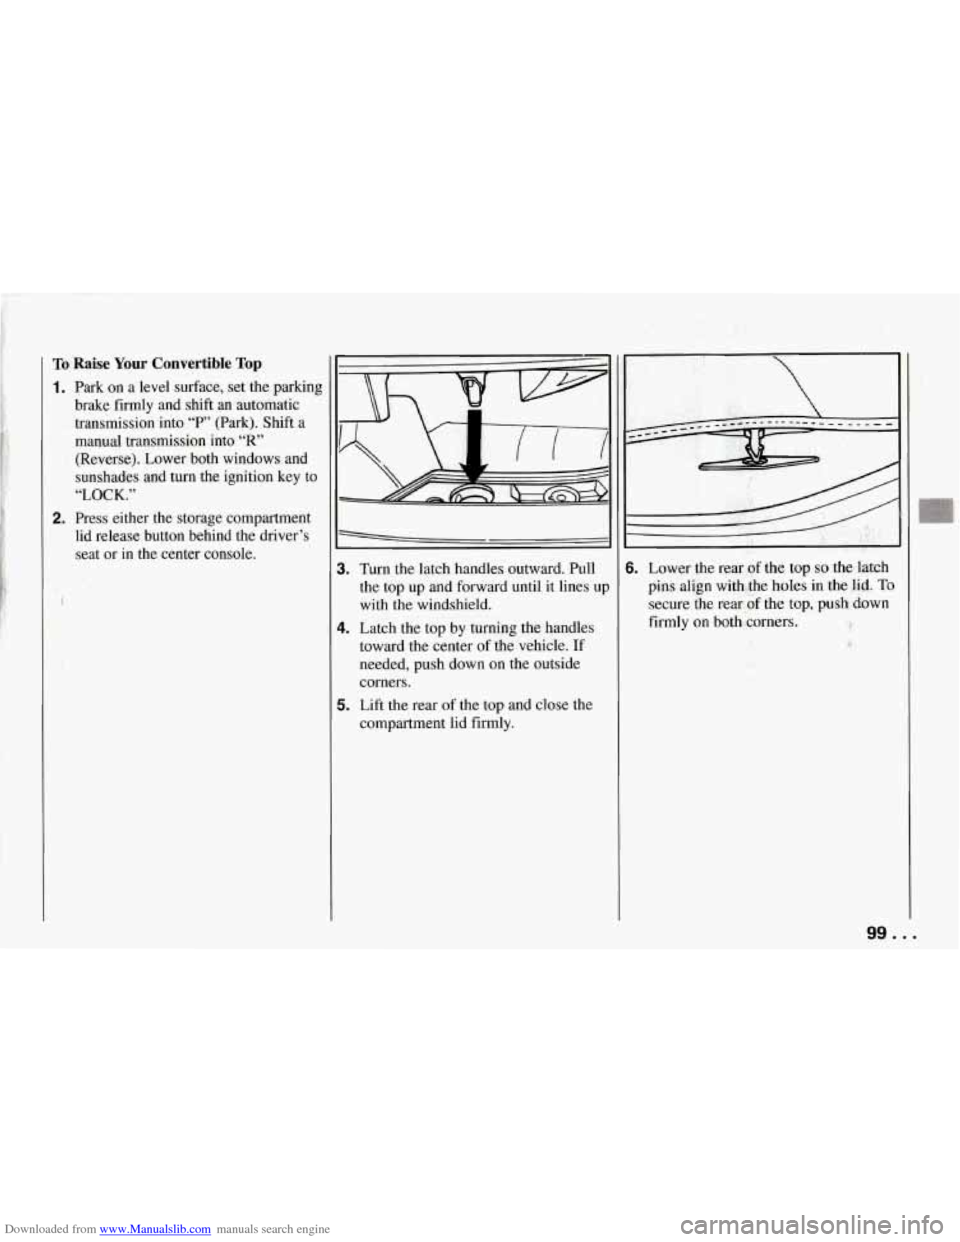
3. Turn the latch handles outward. Pull
the top up and forward until it lines
UI
with the windshield.
4. Latch the top by turning the handles
toward the center of the vehicle.
If
needed, push down on the outside
corners.
5. Lift the rear of the top and close the
compartment lid firmly.
I I
6. Lower the rear of the top so the latch
pins align with the holes in the lid.
To
secure the rear of the top, push down
firmly on both corners.
99 ...
Page 101 of 274
Downloaded from www.Manualslib.com manuals search engine Fe’atures and Controls
1
pm;.
I
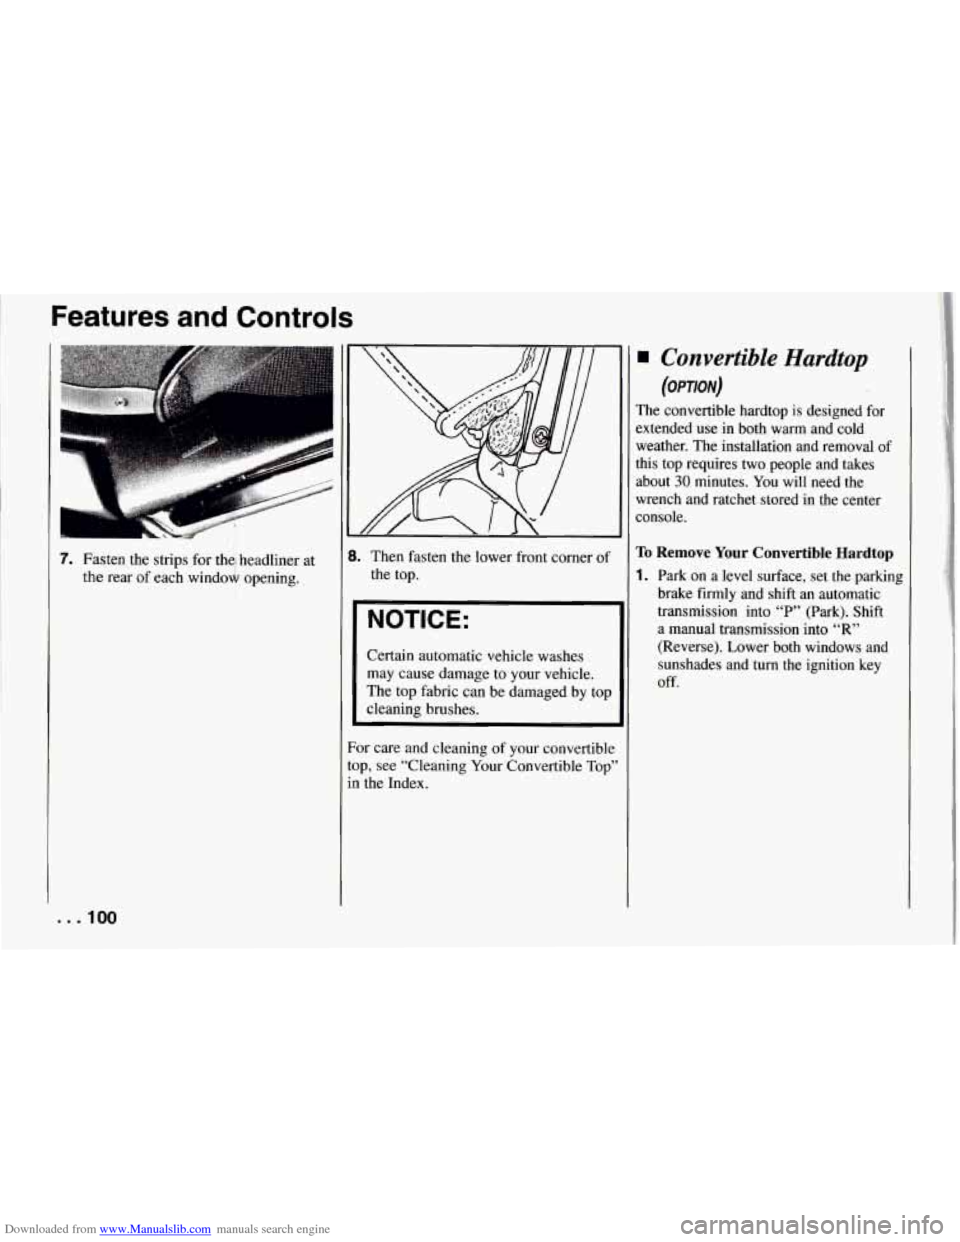
7. Fasten the strips for the, headliner at
the rear of each window opening.
I
1 [
t
8. Then fasten the lower front corner of
the top.
NOTICE:
Certain automatic vehicle washes
may cause damage to your vehicle.
The top fabric can be damaged by top
cleaning brushes.
?or care and cleaning
of your convertible
:op, see “Cleaning Your Convertible Top”
in the Index.
Convertible Hardtop
(OPTION)
The convertible hardtop is designed for
extended use in both warm and cold
weather. The installation and removal
of
this top requires two people and takes about
30 minutes. You will need the
wrench and ratchet stored in the center
console.
To Remove Your Convertible Hardtop
1. Park on a level surface, set the parking
brake firmly and shift an automatic transmission into
“P” (Park). Shift
a manual transmission into “R”
(Reverse). Lower both windows and
sunshades and turn the ignition key
Off.