1994 CHEVROLET CORVETTE lights
[x] Cancel search: lightsPage 132 of 274
Downloaded from www.Manualslib.com manuals search engine While driving on a surface with reduced
traction, try your best to avoid sudden steering, acceleration, or braking
(including engine braking by shifting to
a lower gear). Any sudden changes could
cause the tires to slide.
You may not
realize the surface is slippery until your vehicle is skidding. Learn to recognize
warning clues
- such as enough water,
ice or packed snow on the road to make a
“mirrored surface”
- and slow down
when you have any doubt.
Remember: Any anti-lock braking system (ABS) helps avoid only the braking skid.
I
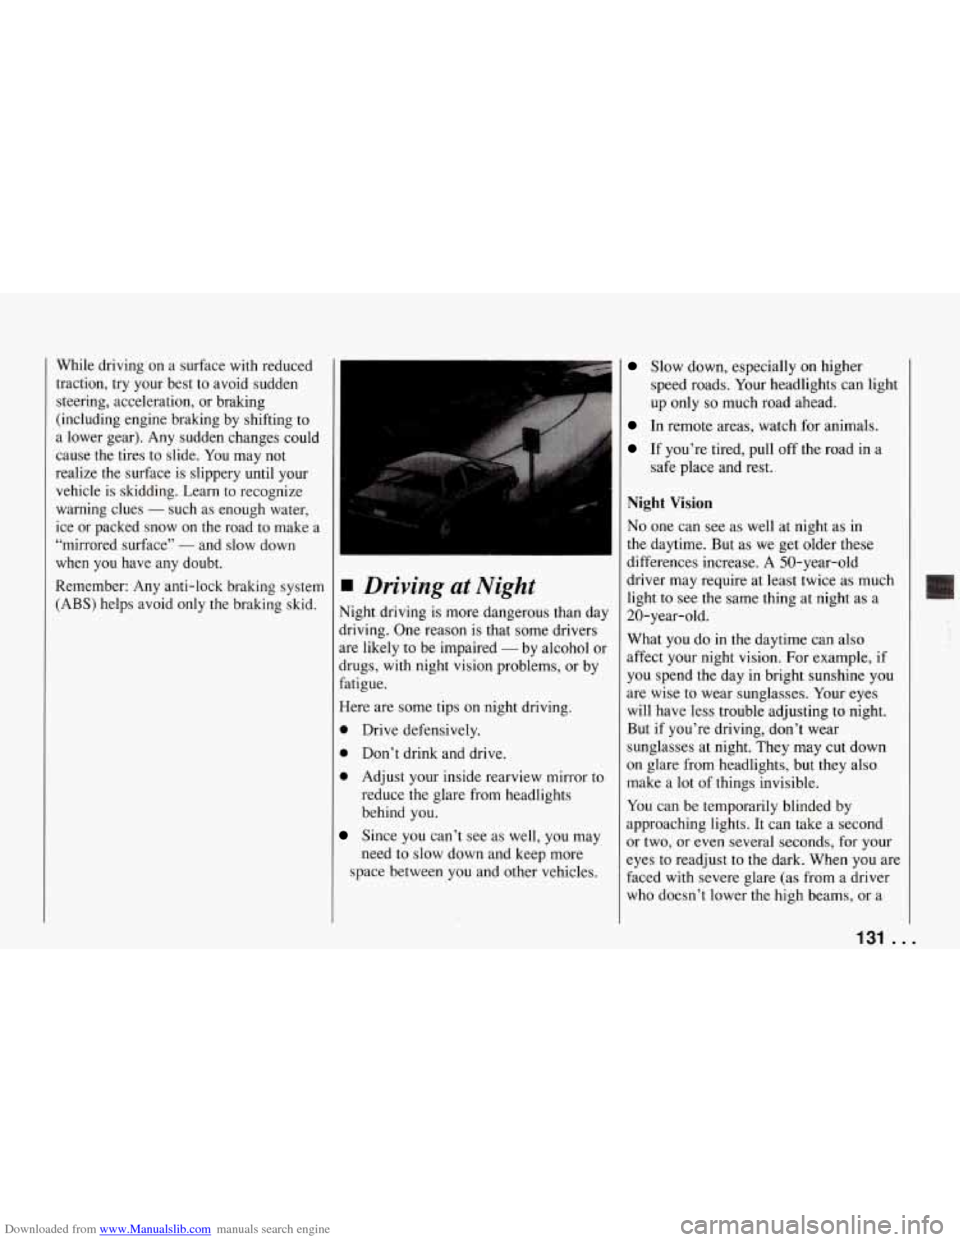
1 Driving at Night
Night driving is more dangerous than day
driving. One reason is that some drivers
are likely to be impaired
- by alcohol or
drugs, with night vision problems, or by
fatigue.
Here are some tips on night driving.
0 Drive defensively.
0 Don’t drink and drive.
0 Adjust your inside rearview mirror to
reduce the glare from headlights
behind you.
Since you can’t see as well, you may
need to slow down and keep more
space between you and other vehicles.
Slow down, especially on higher
speed roads. Your headlights can light
up only
so much road ahead.
In remote areas, watch for animals.
If you’re tired, pull off the road in a
safe place and rest.
Night Vision
No one can see as well at night as in
the daytime. But as we get older these
differences increase.
A 50-year-old
driver may require at least twice as much
light to see the same thing at night as a
20-year-old.
What you do in the daytime can also
affect your night vision. For example, if
you spend the day in bright sunshine you
are wise to wear sunglasses. Your eyes
will have less trouble adjusting to night.
But if you’re driving, don’t wear
sunglasses at night. They may cut down
on glare from headlights, but they also
make a lot of things invisible.
You can be temporarily blinded by
approaching lights. It can take
a second
or two, or even several seconds, for your
eyes to readjust to the dark. When you are
faced with severe glare (as from a driver
who doesn’t lower the high beams, or a
131 ..
Page 133 of 274
Downloaded from www.Manualslib.com manuals search engine Your Driving and the Road
vehicle with misaimed headlights), slow
down a little. Avoid staring directly into
the approaching lights.
Keep your windshield and all the glass
on your vehicle clean
- inside and out.
Glare at night is made much worse by dirt
on the glass. Even the inside of the glass
can build up a film caused by dust. Dirty
glass makes lights dazzle and flash more
than clean glass would, making the pupils
of your eyes contract repeatedly.
Remember that your headlights light up
far less of a roadway when you are in a
turn
or curve. Keep your eyes moving;
that way, it’s easier to pick out dimly
lighted objects. Just as your headlights
should be checked regularly for proper
aim,
so should your eyes be examined
regularly. Some drivers suffer from night
blindness
- the inability to see in dim
light
- and aren’t even aware of it.
. . .I32
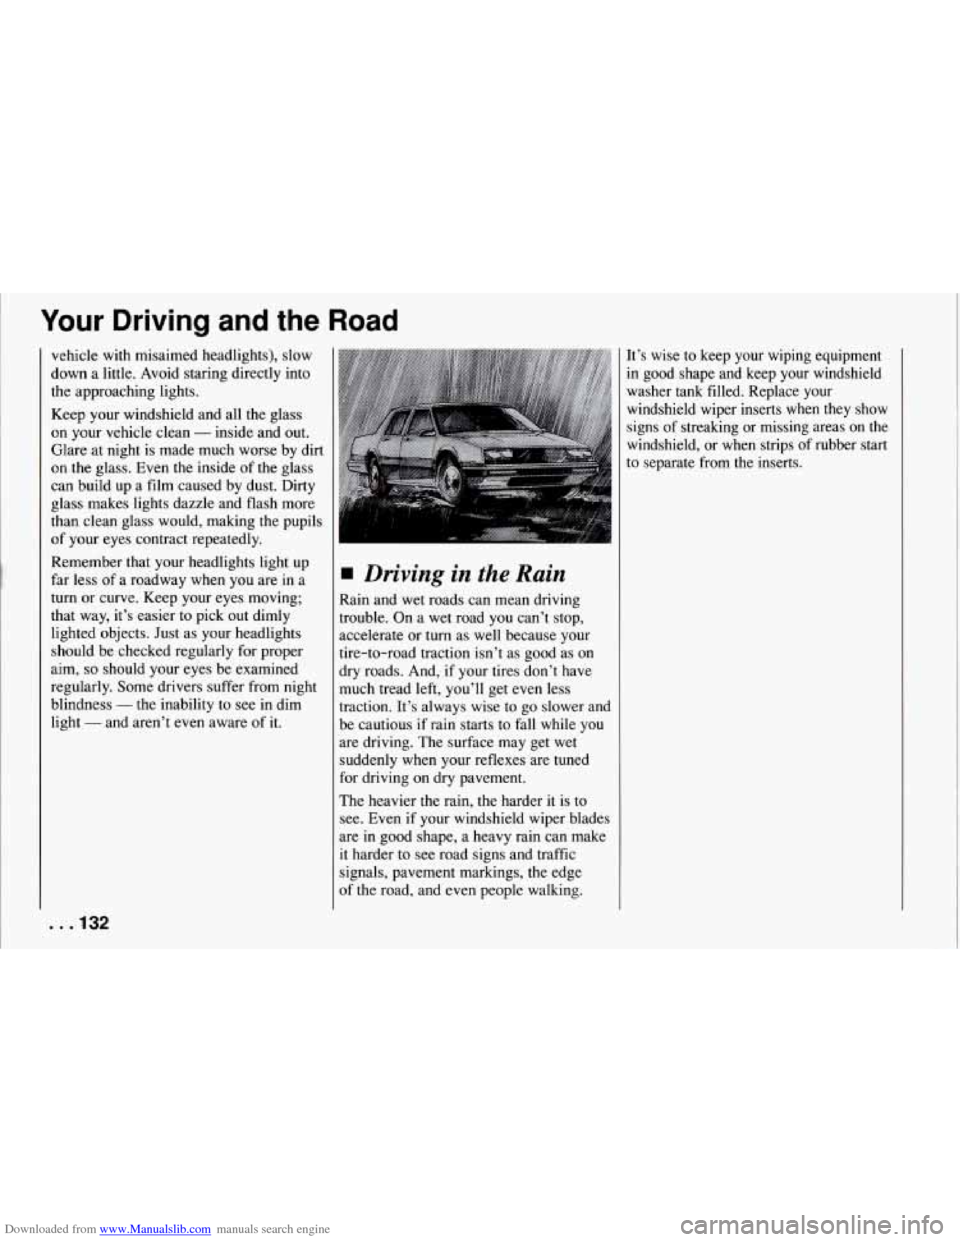
Driving in the Rain
Rain and wet roads can mean driving
trouble. On a wet road you can’t stop,
accelerate or turn as well because your
tire-to-road traction isn’t as good as on
dry roads. And, if your tires don’t have
much tread left, you’ll get even less
traction. It’s always wise to go slower and
be cautious
if rain starts to fall while you
are driving. The surface may get wet
suddenly when your reflexes are tuned
for driving on dry pavement.
The heavier the rain, the harder it is to
see. Even if your windshield wiper blades
are in good shape, a heavy rain can make
it harder to see road signs and traffic
signals, pavement markings, the edge
of the road, and even people walking. It’s wise
to keep your wiping equipment
in good shape and keep your windshield washer tank filled. Replace your
windshield wiper inserts
when they show
signs of streaking or missing areas on the
Windshield, or when strips of rubber start
to separate from the inserts.
Page 134 of 274
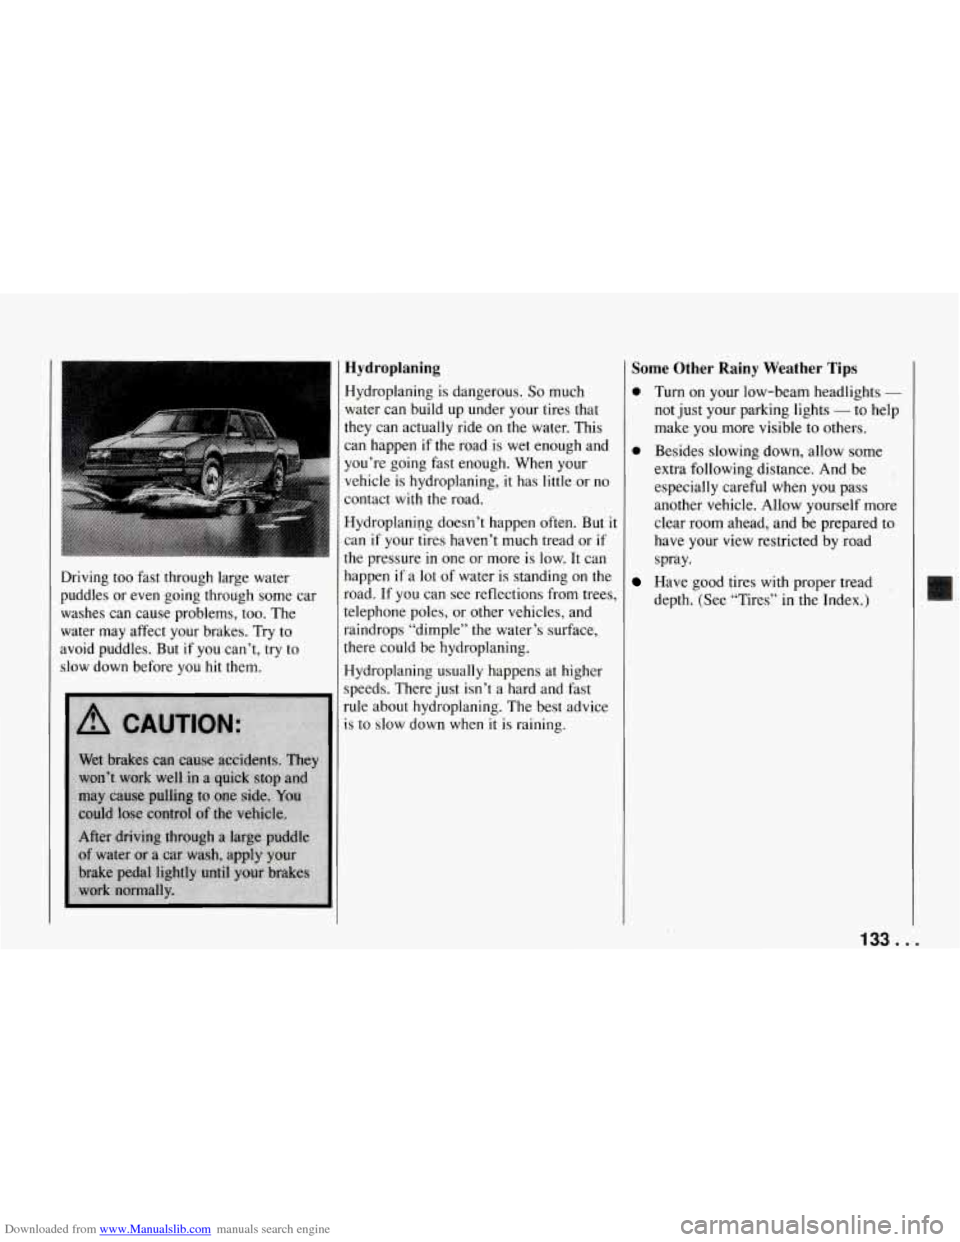
Downloaded from www.Manualslib.com manuals search engine Driving too fast through large water
puddles or even going through some car washes can cause problems, too. The
water may affect your brakes. Try to
avoid puddles.
But if you can’t, try to
slow down before you
hit them.
Hydroplaning
Hydroplaning is dangerous. So much
water can build up under your tires that
they can actually ride
on the water. This
can happen if the road is wet enough and
you’re going fast enough. When your
vehicle is hydroplaning, it has little or
no
contact with the road.
Hydroplaning doesn’t happen often. But it
can
if your tires haven’t much tread or if
the pressure in one or more is low. It can
happen if a lot of water is standing on the
road.
If you can see reflections from trees,
telephone poles, or other vehicles, and
raindrops “dimple” the water’s surface,
there could be hydroplaning.
Hydroplaning usually happens at higher
speeds. There just isn’t a hard and fast
rule about hydroplaning. The best advice
IS to slow down when it is raining.
Some Other Rainy Weather Tips
0 Turn on your low-beam headlights -
not just your parking lights - to help
make you more visible to others.
0 Besides slowing down, allow some
extra following distance. And be
especially careful when you pass
another vehicle. Allow yourself more
clear room ahead, and be prepared to
have your view restricted by road
spray.
Have good tires with proper tread
depth. (See “Tires” in the Index.)
133 ...
Page 136 of 274
Downloaded from www.Manualslib.com manuals search engine begin to check traffic. Try to determine
where you expect to blend with the flow.
Try to merge into the gap
at close to the
prevailing speed. Switch on your turn
signal, check your mirrors and glance
over your shoulder as often as necessary.
Try to blend smoothly with the traffic
flow.
Once you are on the freeway, adjust your
speed to the posted limit or to the
prevailing rate if it’s slower. Stay in the
right lane unless you want to pass.
Before changing lanes, check your
mirrors. Then use your turn signal. Just
before you leave the lane, glance quickly
over your shoulder to make sure there
isn’t another vehicle in your “blind” spot.
Once you are moving on the freeway,
make certain you allow a reasonable
following distance. Expect to move
slightly slower at night.
When you want to leave the freeway,
move to the proper lane well
in advance.
If you miss your exit do not, under any
circumstances, stop and back up. Drive on
to the next exit.
The exit ramp can be curved, sometimes
quite sharply. The exit speed is usually
posted. Reduce your speed according to your speedometer, not
to your sense of
motion. After driving for any distance at
higher speeds, you may tend to think you
are going slower than you actually are.
Before Leaving on a Long Trip
Make sure you’re ready. Try to be well
rested. If you must start when you’re not
fresh
- such as after a day’s work -
don’t plan to ,make too many miles that
first part
of the journey. Wear comfortable
clothing and shoes you can easily drive
in.
Is your vehicle ready for a long trip? If
you keep it serviced and maintained, it’s
ready to go. If it needs service, have it
done before starting out. Of course, you’ll
find experienced and able service experts
in Chevrolet dealerships all across North
America. They’ll be ready and willing to
help if you need
it.
Here are some things you can check
before a trip:
Windshield Washer Fluid: Is the
reservoir full? Are all windows clean
inside and outside?
0 Wiper Blades: Are they in good
shape?
0
0
Fuel, Engine Oil, Other Fluids:
Have you checked all levels?
Lights: Are they all working? Are the
lenses clean?
Tires: They are vitally important to a
safe, trouble-free trip.
Is the wead
good enough for long-distance
driving? Are the tires all inflated to
the recommended pressure?
Weather Forecasts: What’s the
weather outlook along your route?
Should you delay your trip
a short
time to avoid a major storm system?
Maps: Do you have up-to-date maps?
Highway Hypnosis
Is there actually such a condition as
“highway hypnosis”? Or is it jugt plain
falling asleep at the wheel? Call it
highway hypnosis, lack of awareness, or
whatever.
There is something about an easy stretch
of road with the same scenery, along with
the hum of the tires on the road, the drone
of the engine, and the rush of the wind
against the vehicle that can make you
sleepy. Don’t let it happen to you! If it
does, your vehicle can leave the road in
less than a second, and you could crash
and be injured.
135
Page 140 of 274
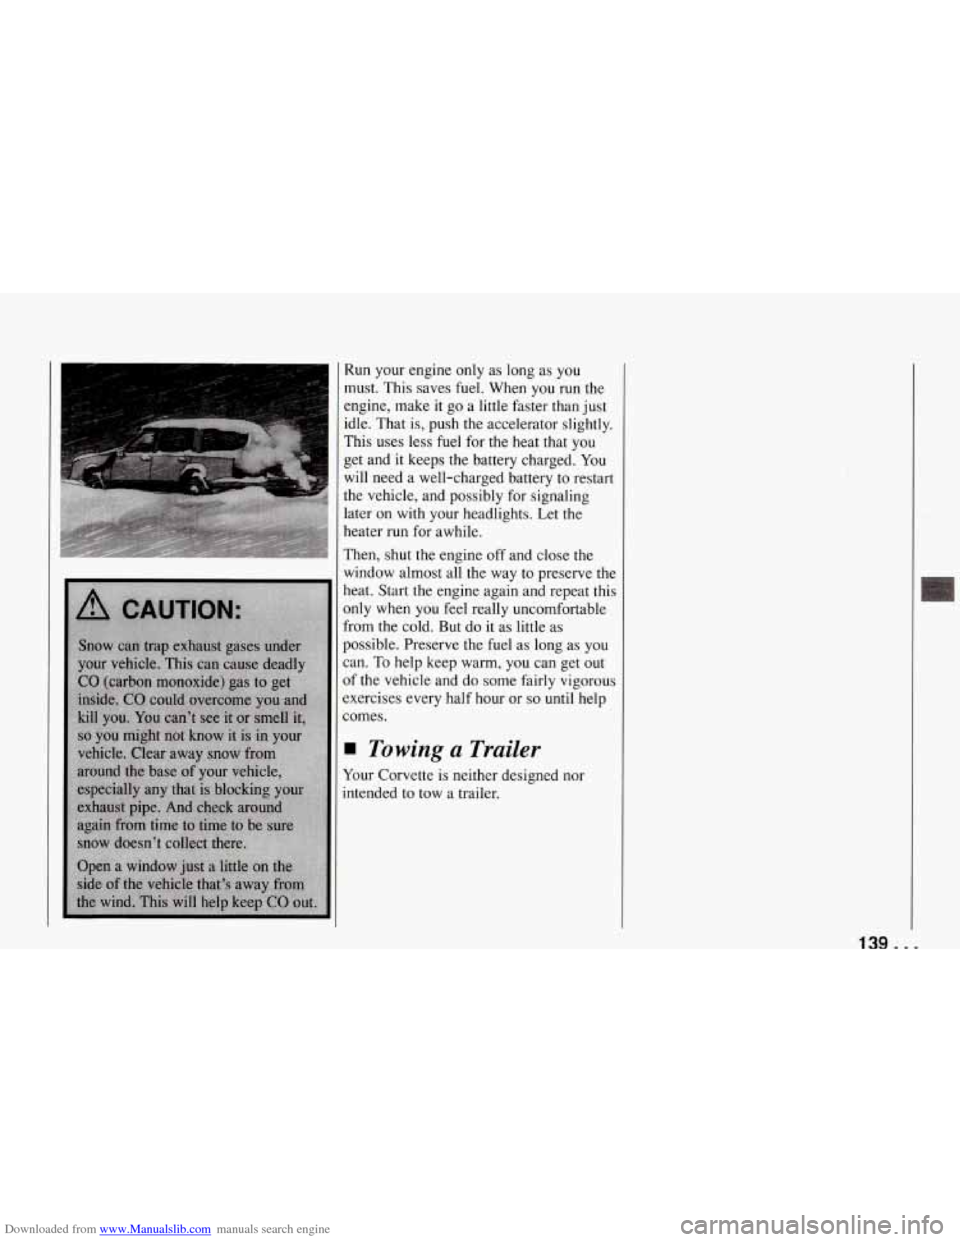
Downloaded from www.Manualslib.com manuals search engine Run your engine only as long as you
must. This saves fuel. When you run the
engine, make it go a little faster than just
idle. That is, push the accelerator slightly.
This uses less fuel for the heat that you
get and it keeps the battery charged. You
will need a well-charged battery to restart
the vehicle, and possibly for signaling
later on with your headlights. Let the
heater run for awhile.
Then, shut the engine
off and close the
window almost all the way to preserve the
heat. Start the engine again and repeat this
only when you feel really uncomfortable
from the cold. But do it as little as
possible. Preserve the fuel as long as you
can.
To help keep warm, you can get out
of the vehicle and do some fairly vigorous
exercises every half hour or
so until help
comes.
Towing a Trailer
Your Corvette is neither designed nor
intended to tow a trailer.
139 ...
Page 143 of 274
Downloaded from www.Manualslib.com manuals search engine Problems on the Road
Hazard Warning
Flashers
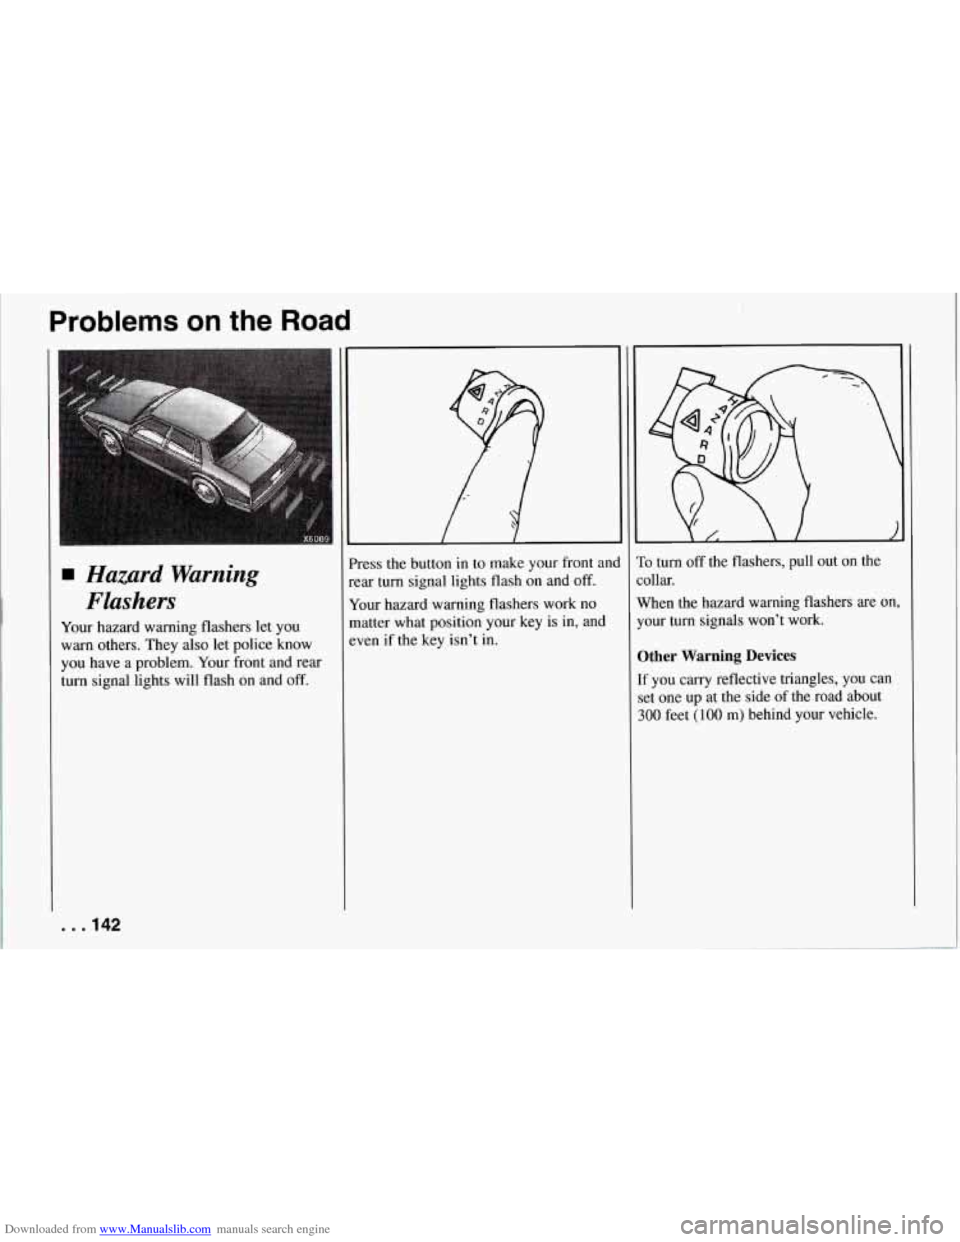
Your hazard warning flashers let you
warn others. They also let police know
you have a problem. Your front and rear
turn signal lights will flash on and off.
'ress the button in to make your front an(
:ar turn signal lights flash on and off.
lour hazard warning flashers work no
matter what position your
key is in, and
ven if the key isn't in.
'0 turn off the flashers, pull out on the
ollar.
Vhen the hazard warning flashers are
on,
'our turn signals won't work.
Ither Warning Devices
f you carry reflective triangles, you can
et one up at the side of the road about
100 feet (100 m) behind your vehicle.
. . .I42
Page 144 of 274
Downloaded from www.Manualslib.com manuals search engine 1 Jump Starting
If your battery has run down, you may
want to use another vehicle and some
jumper cables to start your Corvette.
But please follow the steps below to
do it safely.
NOTICE:
Ignoring these steps could result
in costly damage to your vehicle
that wouldn’t be covered by your
warranty.
Trying to start your Corvette by
pushing or pulling it could damage
your vehicle,
even if you have a
manual transmission. And if you
have an automatic transmission, it
won’t start that way.
Ib Jump Start Your Corvette:
1. Check the other vehicle. It must have
a 12-volt battery with a- negative
ground system.
NOTICE:
If the other system isn’t a 12-volt
system with a negative ground, both
vehicles can be damaged.
2. Get the vehicles close enough so the
jumper cables can reach, but be sure
the vehicles aren’t touching each
other. If they are, it could cause a ground connection you don’t
want.
You wouldn’t be able to start your
Corvette, and the bad grounding could
damage the electrical systems.
3. Turn off the ignition on both vehicles.
Turn
off all lights that aren’t needed,
and radios. This will avoid sparks and
help save both batteries. And it could
save your radio!
I NOTICE:
I
If you leave your radio on, it could be
badly damaged. The repairs wouldn’t
be covered by your warranty.
4. Open the hoods and locate the
batteries. Find the positive
(+) and
negative
(-) terminals on each.
143 ...
Page 189 of 274
Downloaded from www.Manualslib.com manuals search engine Service and Appearance Care
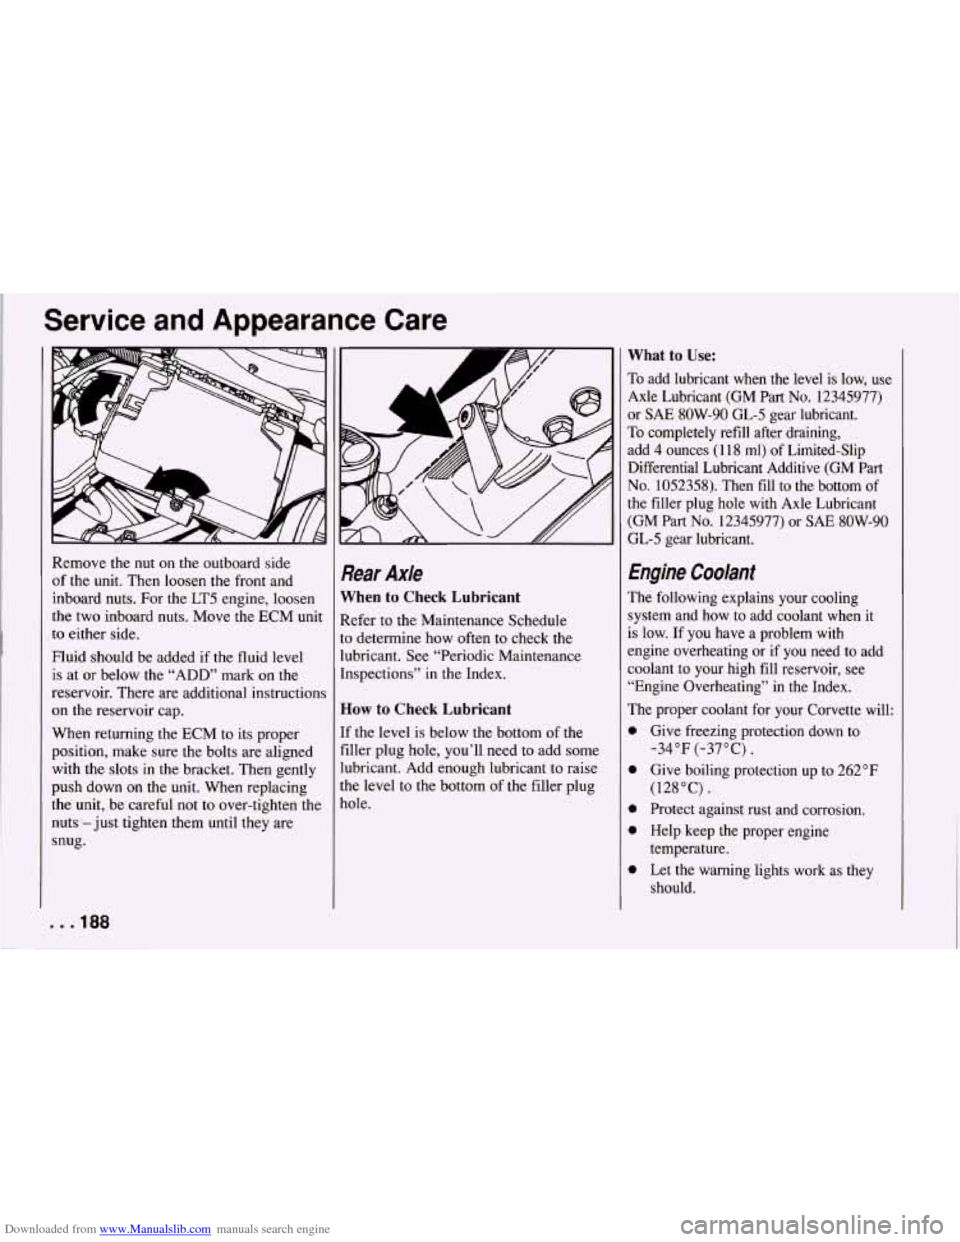
Remove the nut on the outboard side
of the unit. Then loosen the front and
inboard nuts. For the LT5 engine, loosen
the two inboard nuts. Move the ECM unit
to either side.
Fluid should be added if the fluid level
is at or below the “ADD” mark on the
reservoir. There are additional instructions
on the reservoir cap.
When returning the ECM to its proper
position, make sure the bolts are aligned
with the slots in the bracket. Then gently
push down on the unit. When replacing
the unit, be careful not to over-tighten the
nuts -just tighten them until they are
snug.
. . * 188
Rear Axle
When to Check Lubricant
Refer to the Maintenance Schedule
to determine how often to check the
lubricant. See “Periodic Maintenance
Inspections” in the Index.
How to Check Lubricant
If the level is below the bottom of the
filler plug hole, you’ll need to add some
lubricant. Add enough lubricant to raise
the level to the bottom of the filler plug
hole.
What to Use:
To add lubricant when the level is low, use
Axle Lubricant (GM Part
No. 12345977)
or
SAE 8OW-90 GL-5 gear lubricant.
To completely refill after draining,
add 4 ounces (1 18 ml) of Limited-Slip
Differential Lubricant Additive (GM Part
No. 1052358). Then fill to the bottom of
the filler plug hole with Axle Lubricant
(GM Part
No. 12345977) or SAE 8OW-90
GL-5 gear lubricant.
Engine Coolant
The following explains your cooling
system and how to add coolant when
it
is low. If you have a problem with
engine overheating or
if you need to add
coolant to your high fill reservoir, see
“Engine Overheating” in the Index.
The proper coolant for your Corvette will:
0
0
0
0
0
Give freezing protection down to -34°F (-37°C).
Give boiling protection up to 262°F
(128°C).
Protect against rust and corrosion.
Help keep the proper engine
temperature.
Let the warning lights work as they
should.